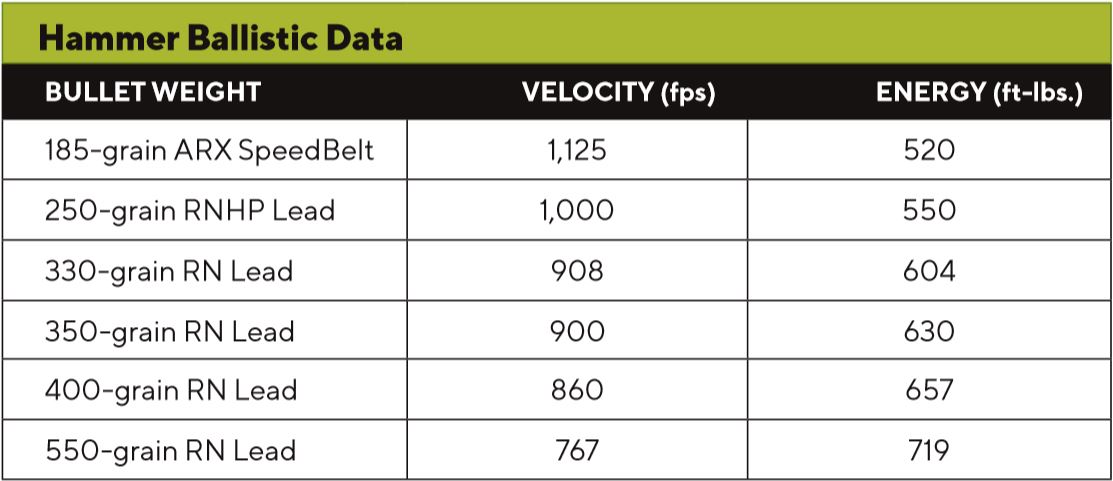
Vintage smoothbores and new classics, these 10 classic shotguns are gems of any gun safe.
What Are The Classic Shotguns:
- Winchester Model 97
- Browning Automatic-5
- Winchester Model 12
- Browning Superposed
- Remington Model 31
- Ithaca Model 37
- Remington Model 870
- Mossberg 500
- Remington Model 1100
- Benelli Super Black Eagle
If there is one gun that might do it all, short of long-distance work, it’s the shotgun. The jack-of-all-trades is an absolute bruiser in a fight, arming shooters with overwhelming firepower. Shotguns have literally taken nearly every game species known to man, from the very smallest to the absolute largest (we’re talking elephants here people). And finally, certain specimens are among the most elegant and coveted guns ever forged from blued steel and walnut. Honestly, if your gun safe is devoid of a shotgun it is truly not complete. Thankfully, the firearms world is brimming with excellent examples, many among the most affordable guns around. So what are you waiting for? Check out these 10 classic shotguns you’ve got to own and find that smoothbore that can do it all for you.
Winchester Model 97
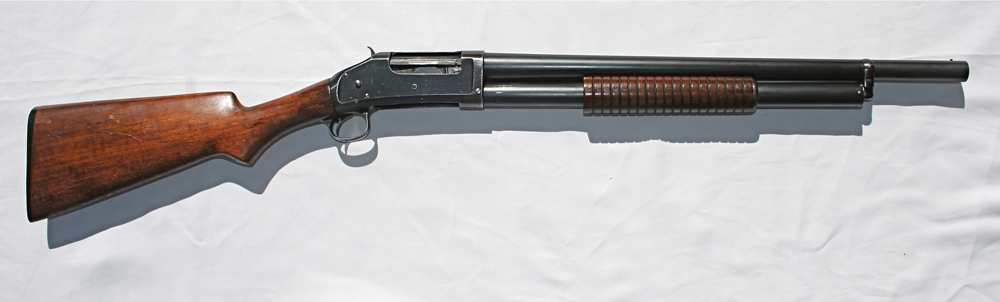
Yeah, the Model 97 took its fair share of game in its 60 years of production, but that’s not why it’s remembered. U.S. doughboys thinning the German ranks in World War I with the “Trench Gun” or “Trench Broom” is what etched this John Browning design into history. The Model 97 was apparently so effective at its job during the Great War, the Germans filed a diplomatic protest over the weapon, claiming the shotgun was illegal per the Hague Convention due to it causing unnecessary suffering. Crocodile tears for the purveyors of poison gas and inventors of the modern flamethrower. The 97 was essentially the evolution of another Browning shotgun design, the Model 1893, strengthened to handle new-for-the-time smokeless powders.
Browning Automatic-5
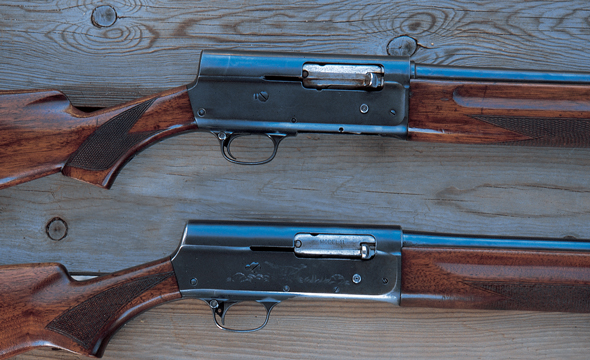
Introduced in 1903, the iconic “Humpback” was perhaps one of the most successful sporting arms ever conceived. It’s no wonder, as it was a product of the legendary John M. Browning’s mind. This classic was one of the most flexible autoloaders of its day, able to shoot a wide variety of loads, thanks to Browning’s ingenious reversible friction ring. Before this point, most autoloaders were only capable of cycling specific loads. To boot, the Auto-5 would chew through shells rain, shine or choked with duck marsh mud. Despite Browning ceasing the production of the original A5 in 1999, they can still be found at a reasonable price, for shotgunners willing to do some digging for this true classic. A few years back, Browning also reintroduced a version of this classic using a short-recoil operated system it has dubbed Kinematic Drive.
Winchester Model 12
Known as “The Perfect Repeater,” for the better part of the 20th Century this was the shotgun by which all other pump actions were measured. The Model 12 was Thomas C. Johnson’s improvement of John Browning’s Model 1897, the primary modification being the internalized hammer. In addition to giving the shotgun cleaner lines, this change also did away with any visual obstructions between shots, thus making it faster for a hunter to bag a coveted double. The Model 12 struck a cord with the shooting public upon its release in 1912, with 100,000 initially sold its first two years of production. In particular, the shotgun’s ability to really reach out — 60 yards or better — made it among the most popular fowling pieces to ever come down the pike. Winchester would go on to produce more than 2 million of the fast shooting and deadly accurate smoothbores. And it was the only shotgun to ever be offered in more than 100 different variations and configurations during its lifetime.
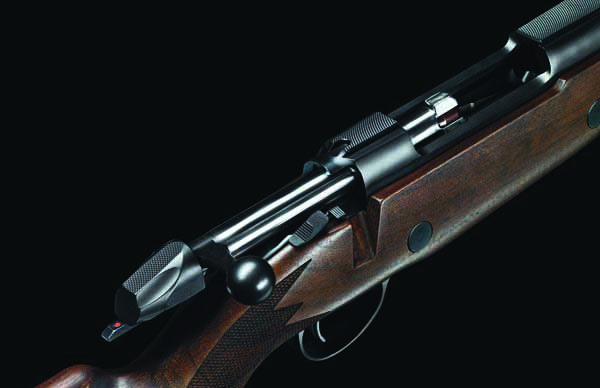
Browning Superposed
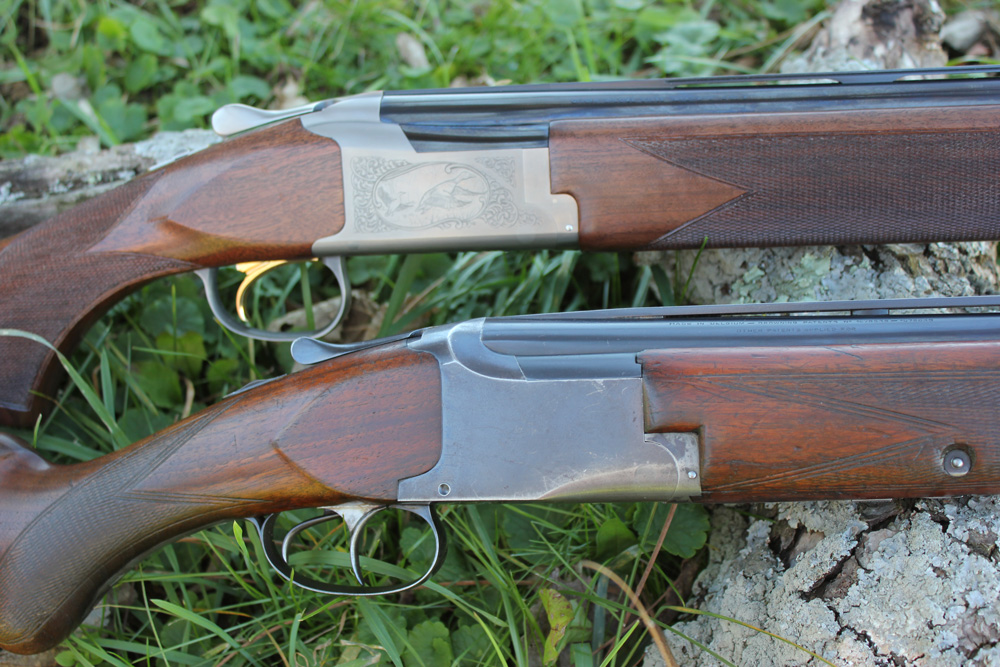
Like nearly all of John Browning’s designs, his last gun truly shifted the sands of the shooting world. The firearms genius did not come up with the over/under shotgun concept — Boss & Co. introduced its design in 1909. Instead, Browning came up with a design that could be mass-produced — what became know as the Superposed. In turn, the moderately priced double became the classic field gun for bird hunters of all stripes, particularly in America. It’s no wonder. Not only is the Superposed a shooter, it’s also a looker. Though not all the credit of this absolute classic should go to Browning himself. He died before the firearm was finished. His son Val Browning saw his father’s final work through to production. And every wing and clay shooter today owes a debt of gratitude to this son’s dedication.
Remington Model 31
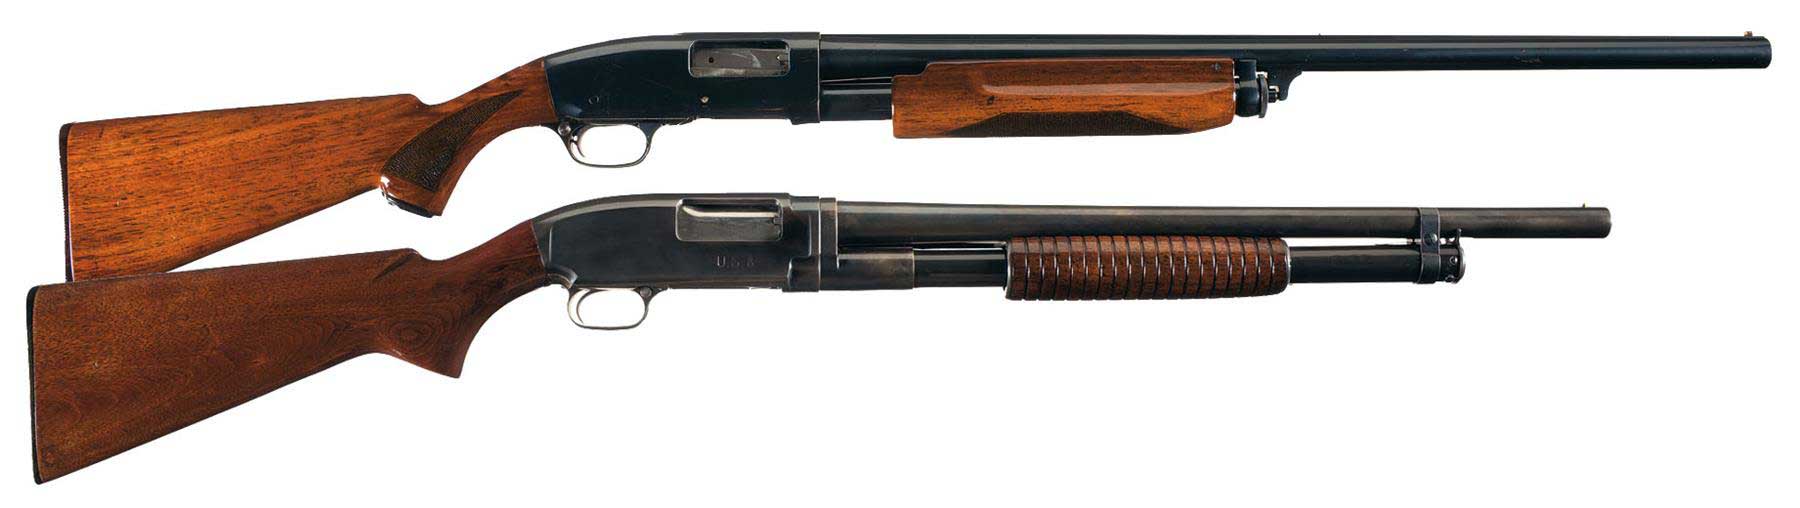
In some circles, there was no finer pump action ever produced. But there was a very good reason for this — there was a lot of sweat equity invested in this Remington. The silky-smooth action coveted by bird hunters and competitive shooters alike was due to hand fitting of its parts. This, and the Model 31’s extensive machining, not only made for a superior shooting experience, it also sowed the seed of its demise. As time wore on, it became less and less profitable for Remington to produce its first side-ejecting pump action. On the bright side, the C.C. Loomis and John Pedersen design would provide the foundation of another truly classic Remington shotgun — the 870. (Photo: Rock Island Auction Company)
Draw A Bead On Shotguns:
- Lever-Action Shotgun: Past, Present And Future
- 7 Affordable Double-Barrel Shotgun Options
- 12 Affordable Pump-Action Shotgun Options
- Practical Guide To The Tactical Shotgun
Ithaca Model 37
Being the longest produced pump-action shotgun should tell you a little bit about the tough-as-nails Model 37. Like many of the other classics, the shotgun not only saw action afield but also in war, serving in U.S. operations from World War II to Vietnam. It was also a widespread choice of police departments. One of the Model 37’s great advantages was its bottom load/ejection port, which made it a truly ambidextrous firearm. Ithaca engineer Harry Howland did the final refinements on the Model 37 before its release in 1937. And if its design seems familiar, it should. The shotgun’s roots are in another legendary smoothbore, the John Browning and John Pederson designed Remington Model 17. The Model 37 is essentially the Model 17. Ithaca waited out the patents limits on the Model 17 to produce a pump action that could compete with the then-ubiquitous Winchester Model 12.
Remington Model 870
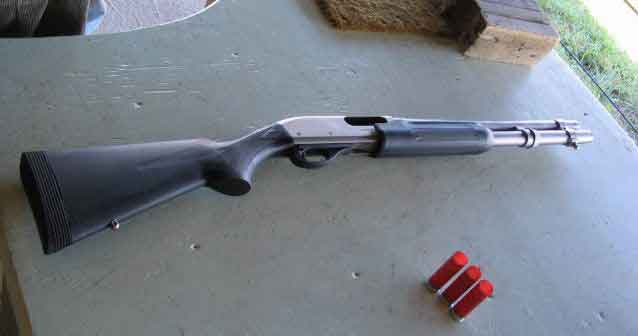
Today, if you say shotgun, it’s likely one model comes to mind — the 870. Why not? The pump action is as common as dust mites, with more than 11 million produced since it was introduced in 1950. The heir apparent of the Remington Model 31, the Model 870 carried on a number of the elder smoothbore’s desirable features, but in a much more easy to manufacture package. What made the pump action so appealing — aside from its affordability — was its reliability and wide spectrum of configurations. Its first year alone, there were 15 different variations to choose from. In its time, the 870 has filled every conceivable role that could be demanded of a smoothbore, tackling every size and shape of game, reporting for duty with various military forces around the world and cleaning up the streets in the hands of law enforcement. A wide variety of models are still being produced today.
Mossberg 500
Rugged as they come, it’s no wonder why more than 10 million Mossberg 500s have been produced. Introduced in 1960, and from the branch of the Remington 31 in the shotgun family tree, the pump action was designed by Mossberg lead engineer Carl Benson. But it had its hiccups to start, with the early model’s single action bar known to bend and sometimes break. Not exactly a desirable trait. Mossberg weathered the problems then added another bar to remedy the issue once Remington’s patent on twin action bars ran out in 1970. The Mossberg 500 offered shooters, military and law enforcement a reliable pump action ready for any kind of duty. It also did so on the cheap, as one of the most affordable smoothbores around. Like the 870, there are many different variations of the 500 in current production.
Remington Model 1100
Wayne Leek made a bold statement when he introduced the new semi-auto to the Remington executives: “[I]t’s going to revolutionize shotgun shooting.” But it was a boast that had legs. The 1100 arguably ushered in the age of gas-operated shotguns for the masses. The 1100 wasn’t the first gas-operated smoothbore to come down the pike, but it was the first truly reliable variation, and one that didn’t kick like a mule. This made it a dynamite option for high-volume shooters, whether they were busting up blue rock or downing doves by the dozens. On top of that, the 1100 was proportioned just right so that even new shooters could intuitively shoulder the shotgun. The secret was its narrow comb. The semi-automatic is still a favorite today and is an excellent choice for those looking for an autoloader that won’t break the bank.
Benelli Super Black Eagle
Gas-operated shotguns, for a spell, seemed to put their recoil-driven counterparts on their heels, until the eagle landed. With its ingeniously simple inertia action and excellent handling, the Benelli Super Black Eagle became a staple of duck blinds and goose pits up and down flyways. Similar to Browning’s Auto-5, the Eagle was as reliable as the march of time, giving waterfowlers — and other hunters — peace of mind they’d knock birds out of the sky, no matter how deep into the cattails they ventured. Add in its ability to really reach out, and, well, it became a classic nearly the moment it was introduced in 1991. The captivating aspect of the shotgun is its innovative action, designed by Bruno Civolani in 1967. He tried to unsuccessfully sell it to a number of gunmakers, until he happened upon Benelli — then better known as a motorcycle maker. And dedicated wing shooters have reaped the benefits ever since.
Blast Through the Basics: All About Shotguns
- AR-12 Buyers Guide – Everything You Need to Know
- Best 410 Shotgun – A Buyer’s Guide
- Best Over Under Shotguns – Affordable Doubles
- Best Semi Auto Shotguns for Self-Defense
- Buyer’s Guide: Best Affordable Double Shotguns
- The History and Legacy of 8 Gauge Shotguns
- Tactical Shotgun Reviews – Pump & Semi-Auto
- Lever Action Shotgun Designs – Past, Present And Future
- Pump Action Shotguns – A Buyer’s Guide
- Bullpup Shotgun Reviews – Best Options for Self-Defense