A look at some American-crafted gear for American gunners.
Political correctness has never been my strong suit. My editors have gotten used to it; they just replace potentially offensive comments with smoother language. I’m OK with that; that’s their job, and it makes them feel like they’re doing something good for humanity.
However, while this article isn’t intended to offend anyone, it’s all about American made. There are a lot of sub-par products in the gun world, but there’s also a lot of good stuff, too. This article is about stuff for shooters that’s made in America—and works. I know, because I’ve used them.
You might already know about some of these companies but might not know about some of the cool stuff they make. If you believe in supporting American manufacturing but also demand high quality … well, here you go.
Hunters HD Gold
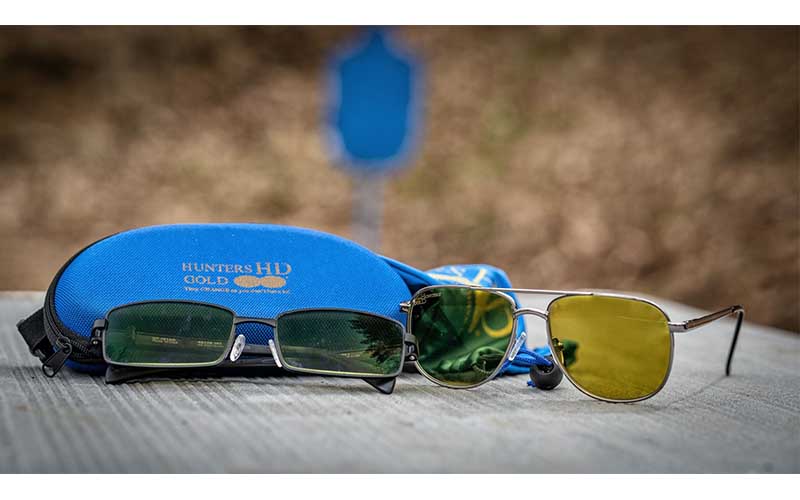
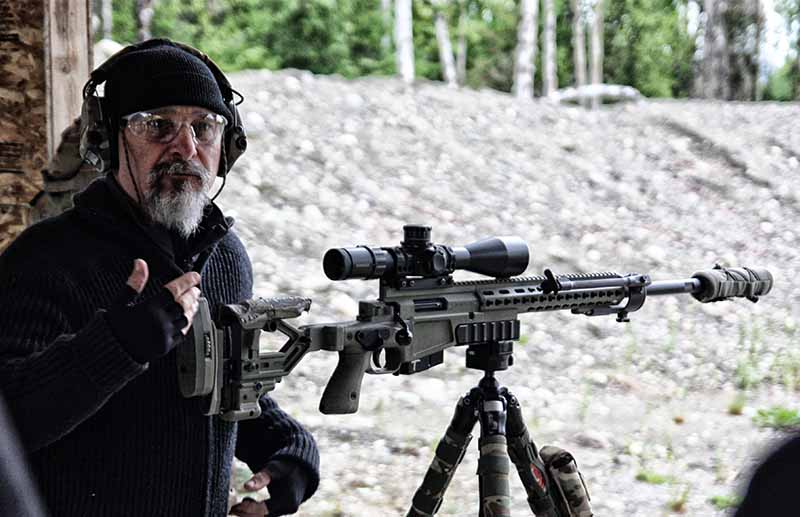
Most shooting glasses are less than great, but you can’t say that about the glasses from Hunter’s HD Gold. They’re ballistic rated—but more importantly, they’re photochromatic and treated to eliminate harmful rays. The gold-colored lenses also enhance contrast and help you see better when shooting, hunting, driving or … well, doing just about anything.
Several styles are available, but unlike most of the overseas junk, you can have Hunter’s HD Gold lenses cut to your prescription and fitted to you own frames! I don’t shoot or hunt without them. Prices start at $375. HuntersHDgold.com
Lehigh Defense
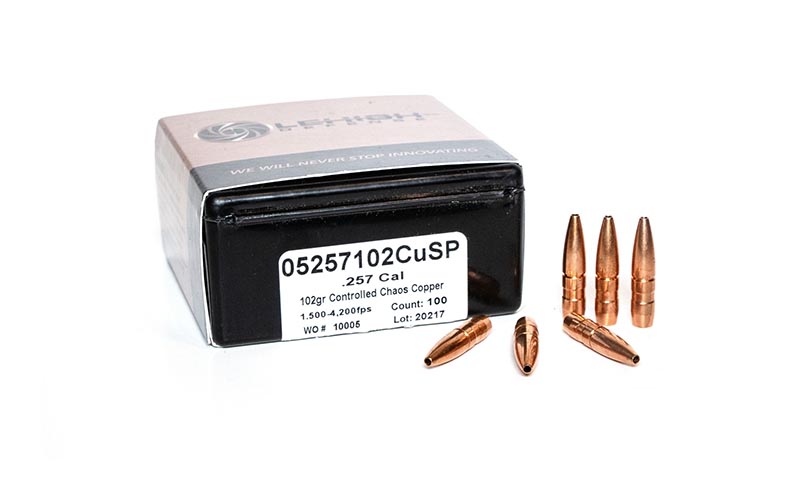
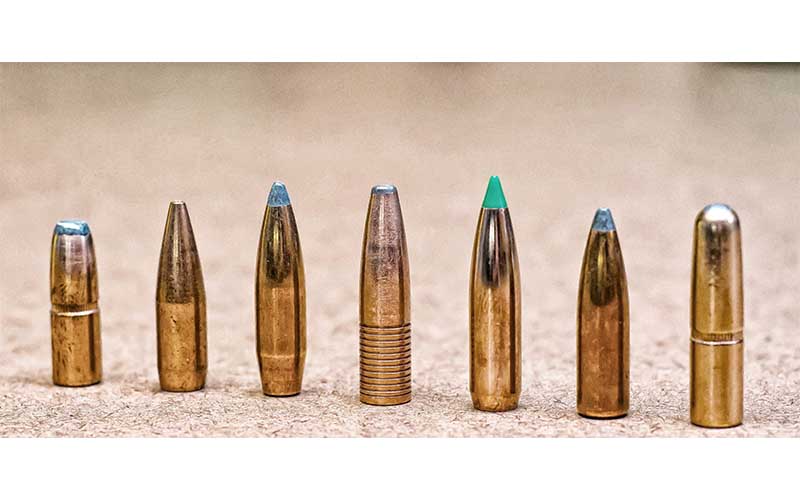
There are several great American bullet companies, but none have embraced the leadless projectile like Lehigh Defense. They create some incredibly magnificent bullets for special applications and special operations. Black Hills and Buffalo Bore are now using Lehigh bullets.
One of their most creative projectiles is the Controlled Chaos. This is a solid copper bullet with a front end that turns to shrapnel during penetration, creating massive tissue damage. But like with the Nosler Partition, the base of the bullet continues to penetrate. They’re offered in a variety of calibers and bullet weights. My son killed his Africa buffalo with a single Lehigh Defense Controlled Chaos bullet. Enough said! LehighDefense.com
Wyoming Sight Drifter

Installing and adjusting iron sights on rifles and handguns has traditionally been done by pounding on a brass rod with a hammer. If you’ve done this, you’ve no doubt wondered how it’s possible to hit a brass rod so hard and not move the sight. You’ve also probably missed the brass rod and hit your gun or your finger, all the while thinking, There has to be a better way. Well, there is, and it’s called the Wyoming Sight Drifter.
This is an incredibly simple device, consisting of a brass punch on one end and a spring-loaded hammer on the other. It’s only about 5 inches long and weighs less than 3 ounces. You place the brass end against the sight, pull on the spring-loaded end … and let it go. The spring-loaded hammer impacts the brass end, and inertia causes the sight to move. I’ve used mine hundreds of times and have yet to find a sight it won’t install. It costs only $35. WyomingSightDrifter.com
Skinner Sights
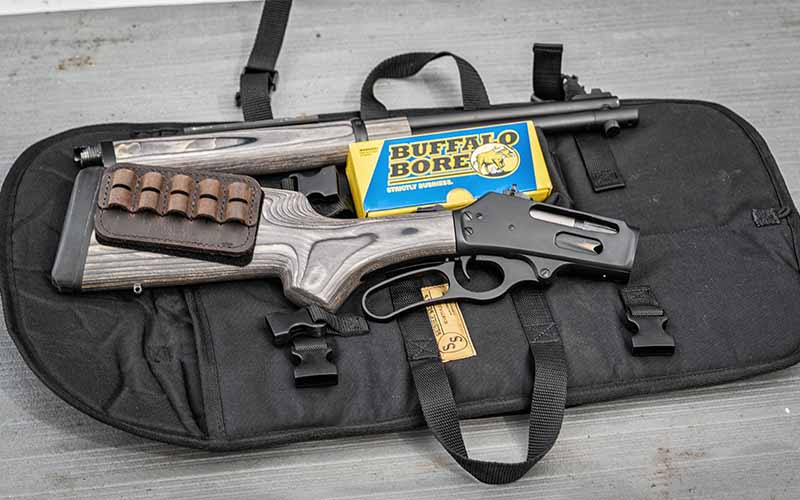
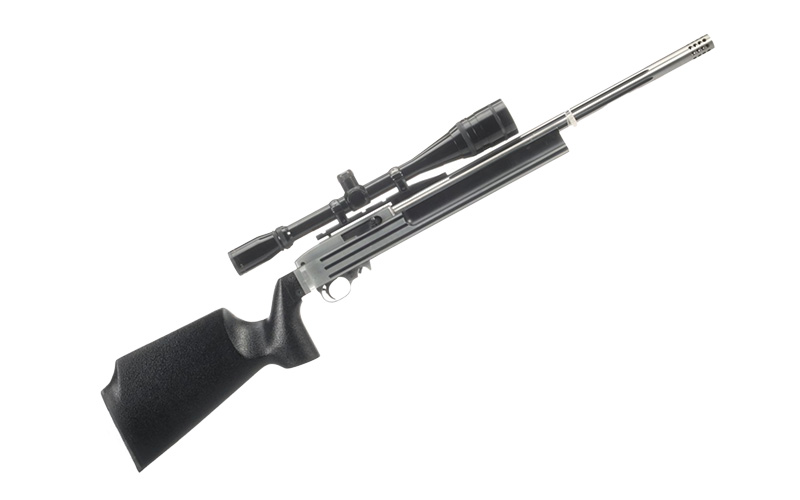
Montana-based Skinner sights is known for their rugged aperture-style peep sights, and they’re used by several firearms manufacturers. However, what you probably don’t know is that Skinner Sights has recently gotten into gun cases. They offer a variety of cases to include a very unique garment bag rifle case that’ll hang in your closet.
But their coolest new case is one made for take-down rifles. I picked up one ($59) for my Dove Custom Marlin 336 lever-scout in 35 Remington, and it’s amazing how compact this case makes for carrying this gun and a full box of ammo. While you’re ordering, take some time and enjoy the Skinner Sights website, you’ll find all kinds of goodies there. SkinnerSights.com
EDC CLP
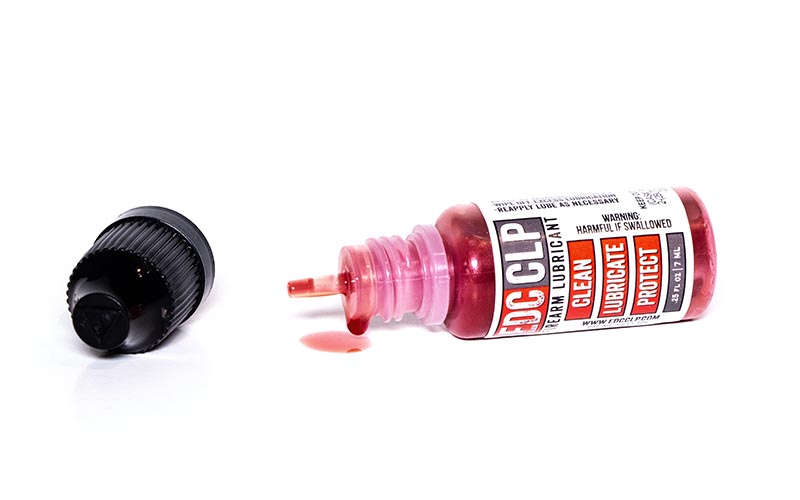
I’ll keep this one short and sweet. If you like for your guns to run and you like for them to last, you should use a high-quality cleaner, lubricant and protector. EDC CLP’s detergent properties penetrate deep into the crevasses of moving parts to prevent carbon buildup, and it’s designed to function in high heat.
It not only increases the firearm’s lubricity, but it also cleans while you’re shooting. It’s patented, it’s made in America and it works. A 2-ounce bottle retails for $14.99 EDCclp.com
Gauge Outfitters
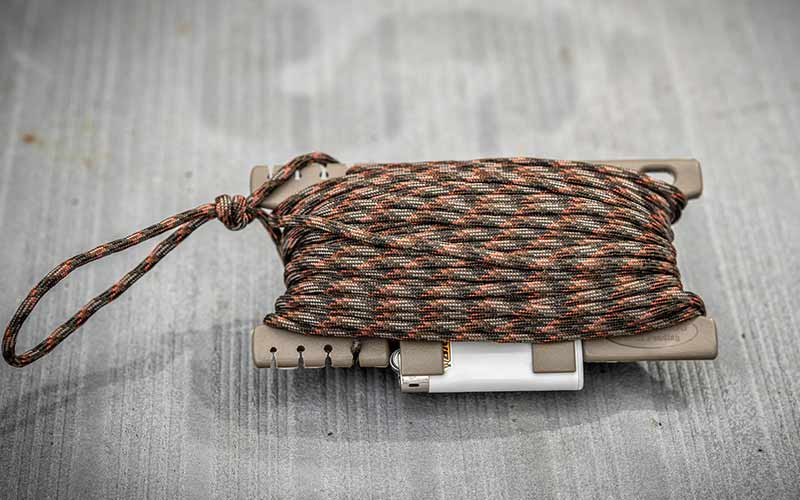
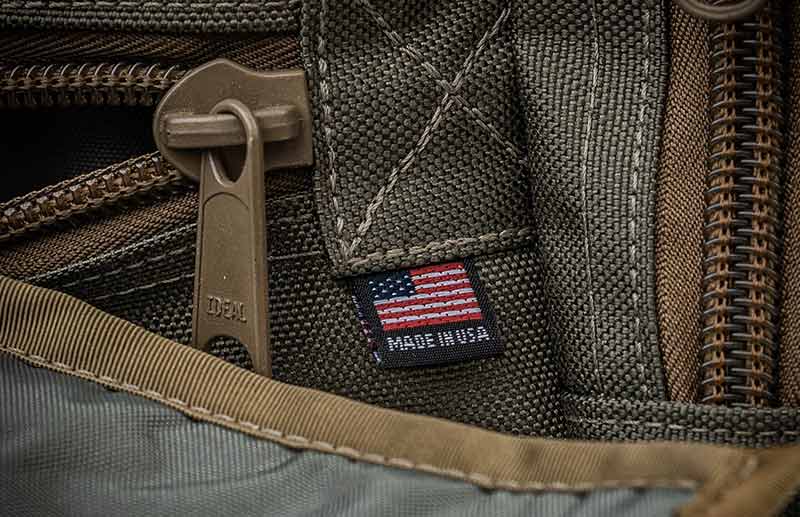
I stumbled on this company by accident, and what I found was a fantastic range bag and a very unique tool to manage paracord. Their Heritage Gun Range Bag is 100-percent American made out of durable 1000D Cordura. It measures 16 by 12 by 9 inches and comes with two dividing inserts, has a removable hard bottom and one of its neatest features is a built-in, roll-out gun mat that can be used for cleaning or just as a clean place to lay out your gear. At $150, it’s not cheap, but it’s without question the best range bag I’ve seen.
As for the paracord tool, essentially, it’s a spool to store paracord on. In reality, it’s much more. It has a built-in blade to cut the paracord and a built-in socket to store a lighter to burn the ends of the cord after it’s been cut. Retail price is only $16.49, but if you use a lot of paracord, this tool is worth three times that much. GaugeOutfitters.com
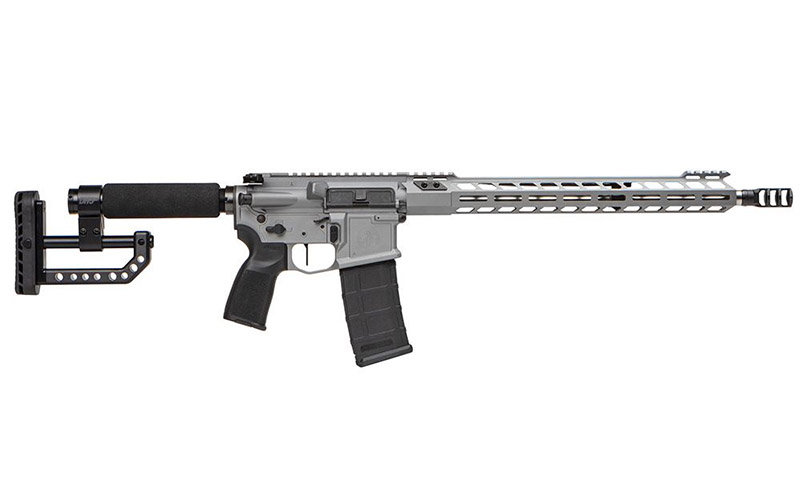
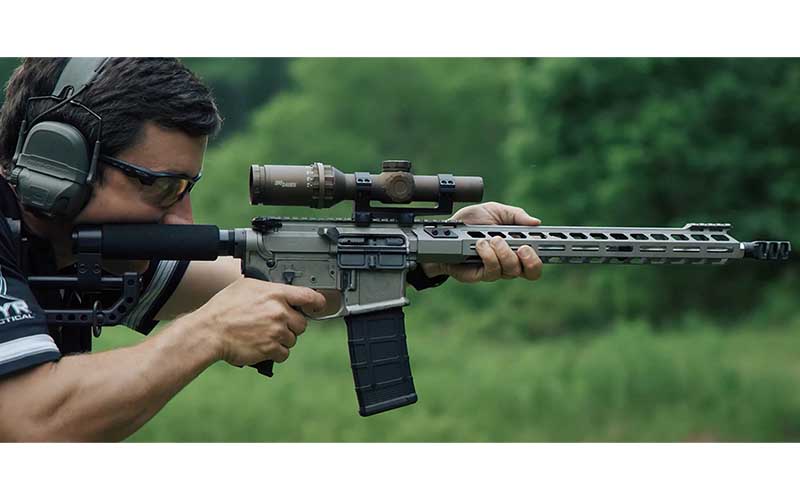
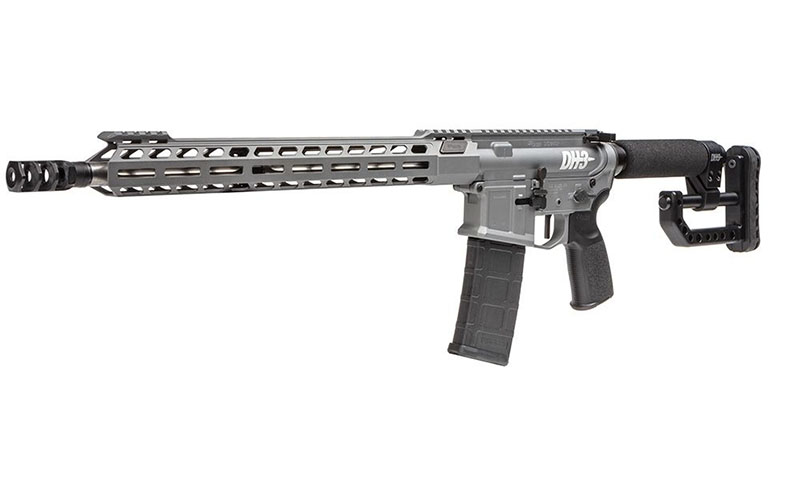
Wilson Combat
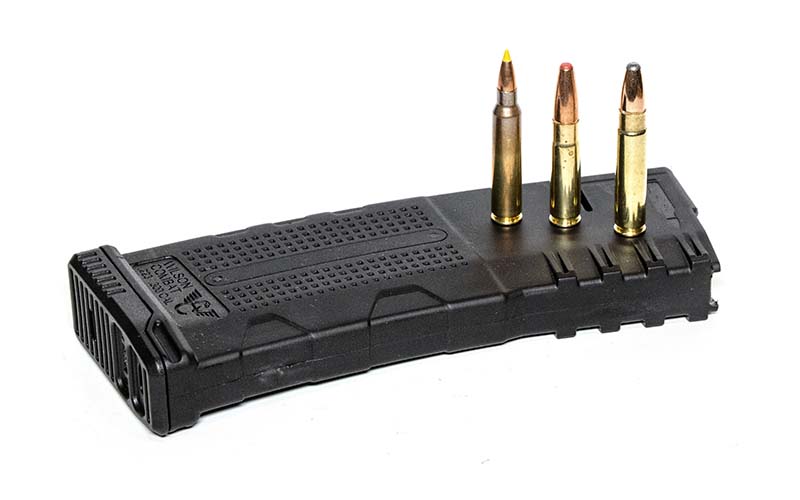
If you’re a gun person and haven’t heard of Wilson Combat, we probably can’t be friends. Wilson Combat builds the best-quality ARs and 1911-styled pistols, but what many might not know is that Wilson Combat is now offering a 30-round, multi-caliber AR-15 magazine that’ll work with the .223 Remington/5.56 NATO, .300 Blackout and the .300 HAMR. It retails for $18.95. The .300 HAMR was specifically designed for the AR-15 by Wilson Combat and is probably the best dual-purpose hunting/tactical cartridge available in that platform. It duplicates the ballistics of the .30-30 Winchester and is now SAAMI approved.
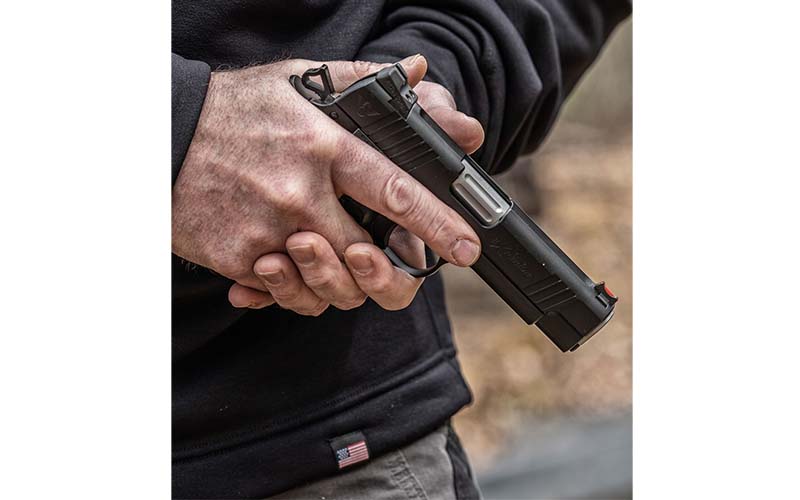
You can convert your .223/5.56 AR to .300 HAMR with nothing but a new barrel and the aforementioned magazine. Wilson Combat has all the ammo you need, and while you’re there ordering, do not check out their Experior Commander Double-Stack pistol unless there’s a lot of space on your credit card. WilsonCombat.com
Andy’s Leather
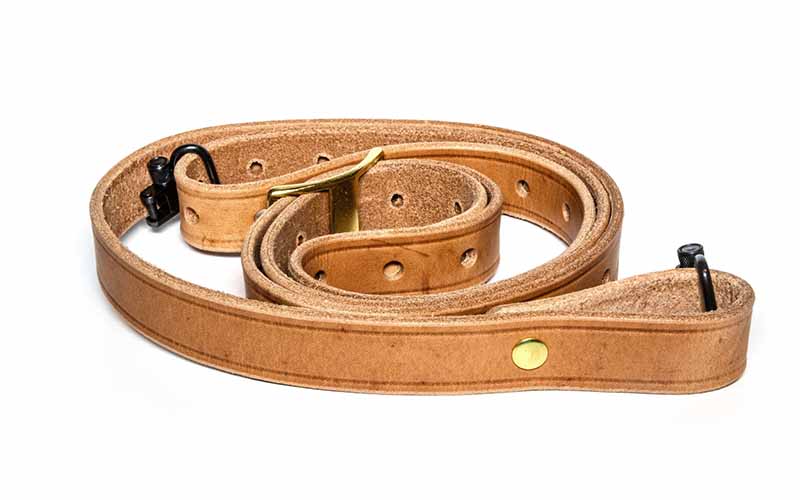
There’s lots of custom leather crafters out there that make holsters, straps and other gun accessories. Andy’s Leather, however, specializes in shooting slings—not carry straps—that help stabilize your shooting position.
Andy at Andy’s leather is Gunsite Academy trained and is the go-to source for Ching slings and Rhodesian-style shooting slings. Prices range from about $40 to $65, and he also offers a variety of other quality leather goods. AndysLeather.com
Wicked Grips

Humans have been fascinated by weaponry since some caveman used a rock to kill something. Like a hammer, a firearm is just a tool, but to humans these tools have a special meaning. And, just like a caveman probably decorated his favorite rock, soldiers, shooters and hunters have been decorating their weaponry for centuries.
With handguns, the best way to do this is with custom grips, and you won’t find any cooler than those from Wicked Grips. Ed Strange with Wicked Grips told me, “I manufacture all my stuff here. If it’s not made from raw materials in my facility, it’s made in a vendor/partner facility here in the USA. The aluminum panels we use are bare machined parts my buddy Chris at Alumagrips machines for us, to our specifications. Everything else we make. There are 1,200 products when all variations are counted. Nothing foreign!” WickedGrips.com
Kitanica

Kitanica’s new Nightwatch pullover has become one of my favorite outer garments. It reminds me of the commando-type wool sweaters of World War II, but it’s made of Power Stretch Pro Polartec. And comfortable and warm it is. It also makes a fine-looking outer garment with enough length to cover an IWB holster. It’s $150 and you’ll look good in it; maybe not as good as I do, but good enough.
Kitanica’s RSP pants might be even better. I tried them three years ago and have been hooked ever since. They have more pockets than you can use, and the pocket placement, belt loops and closures are all well thought out. However, their most important attribute is durability. They’ll outlast most relationships, they’re American made, retail for $175 and are worth every single penny. Kitanica.com
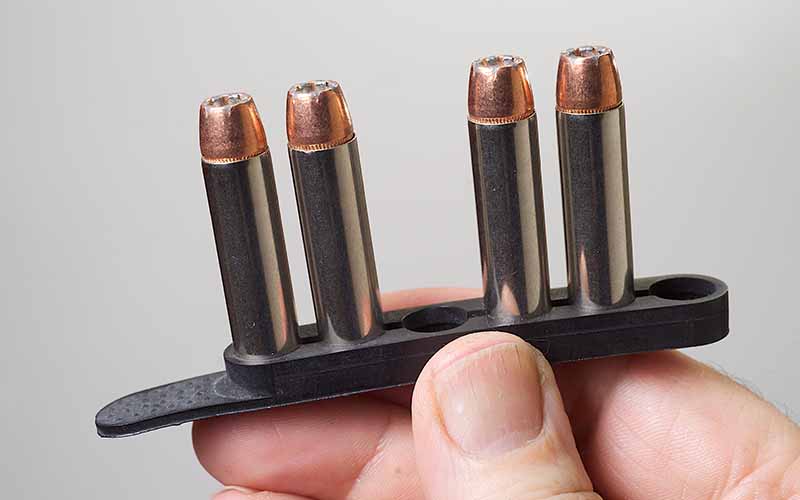
Versacarry
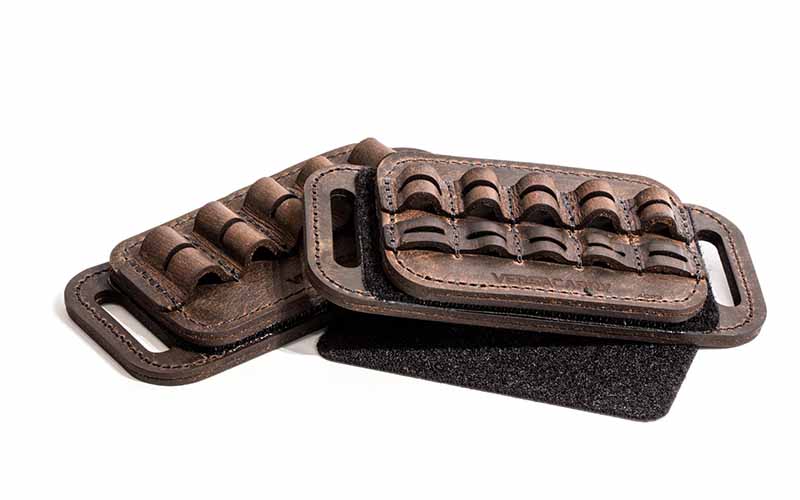
Versacarry is a well-known manufacturer of well-made-but-affordable handgun holsters. What many don’t know is that they make the best gadget for carrying extra ammunition on your rifle. Lace-up leather butt-cuffs have always been popular, especially on lever guns, but the Versacarry Ammo Caddy is lighter, easier to install and looks and works better. It even comes with a belt pad that allows you to switch its location or carry an extra Ammo Caddy.
I’ve written about the Ammo Caddy multiple times in these pages, and I’m astonished it’s not one of Versacarry’s best-selling items at $54.99. Pay attention, because there’s no better way to carry ammunition on your rifle. Period! VersaCarry.com
Editor’s Note: This article originally appeared in the 2021 USA special issue of Gun Digest the Magazine.