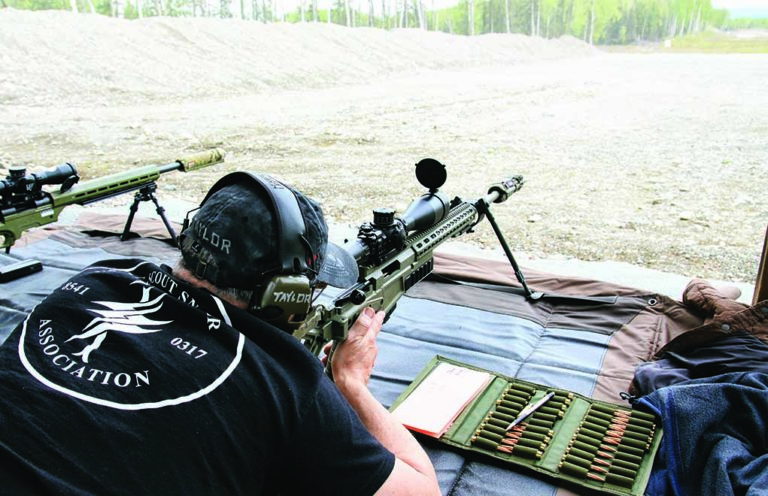
Aiming to become a proper precision shooter? Here are the long-range shooting fundamentals you must master.
What Are The Long-Range Shooting Fundamentals You Need To Master:
- Setting Up The Rifle
- Positioning Behind The Rifle
- Natural Point Of Aim
- Checking For Parallax
- Breathing
- Trigger Control
- Follow-Through
- Recognizing Time
- Calling Your Shot
Detailed fundamentals are the building blocks of all great shooting. There are plenty of “good-bad shooters,” as I like to call them, out there—shooters who have learned to adapt their bad habits into successful shots. Most people focus on results, but the results don’t always tell the entire tale.
Properly executed, the fundamentals make the difference between a hit and a miss when it comes to precision long-range shooting. There is no “voodoo” when it comes to engaging targets at long distances. But it does require that you know and focus on the fundamentals of marksmanship down to the millisecond. All shooting is a game of milliseconds and how you control the time between each one matters.
Setting up the Rifle to the Shooter
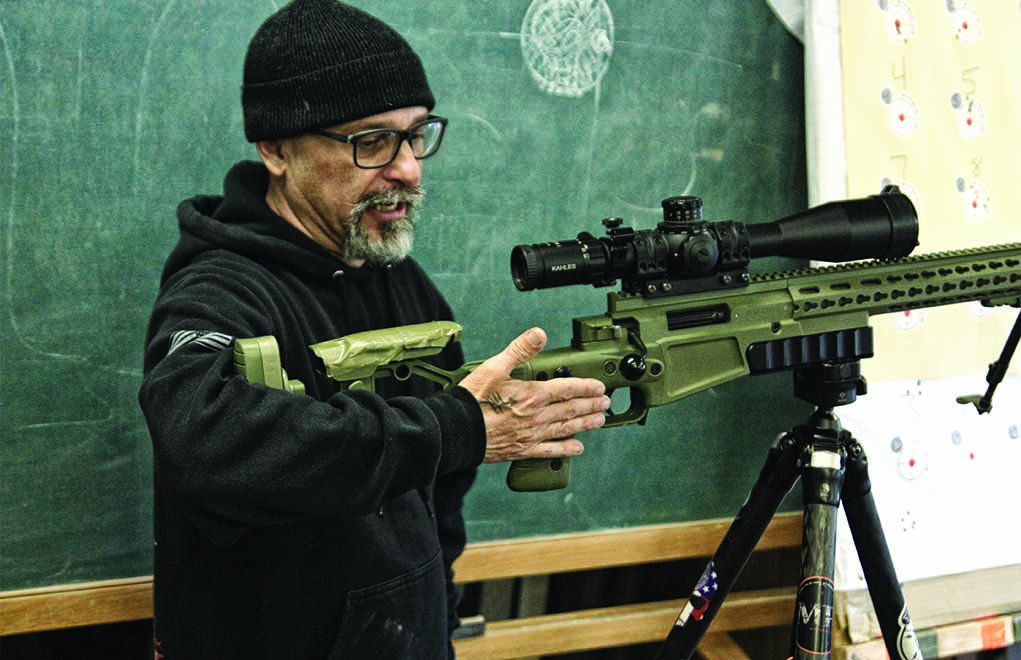
Many shooters are limited by the equipment they can afford. The closer to a bare-bones rifle you get, the fewer adjustments you will find. This is OK. But understanding the ways to properly fit the rifle to your body will help you progress in your journey. There’s nothing wrong with adding a bit of padding and duct tape to your stock to help with the fit. Modified is a good thing. Don’t shy away from it.
The Proper Length of Pull
Everybody hears a different answer on the proper length of pull; and, for different disciplines, there might be more than one acceptable answer. If you are strictly a prone shooter, the length of pull can be a bit longer.
In the past, the “mantra” was to place the buttstock of the rifle in the crook of the elbow. Then, with our “ninja” knife hand extended, we measure to the tip of the trigger finger. Today, I recommend a slightly different approach:
Use this same method, but adjust the trigger to a 90-degree angle and measure to the trigger shoe of the rifle. This confirms you can properly manipulate the trigger without disturbing the lay of the sights.
Setting up the Cheek Weld
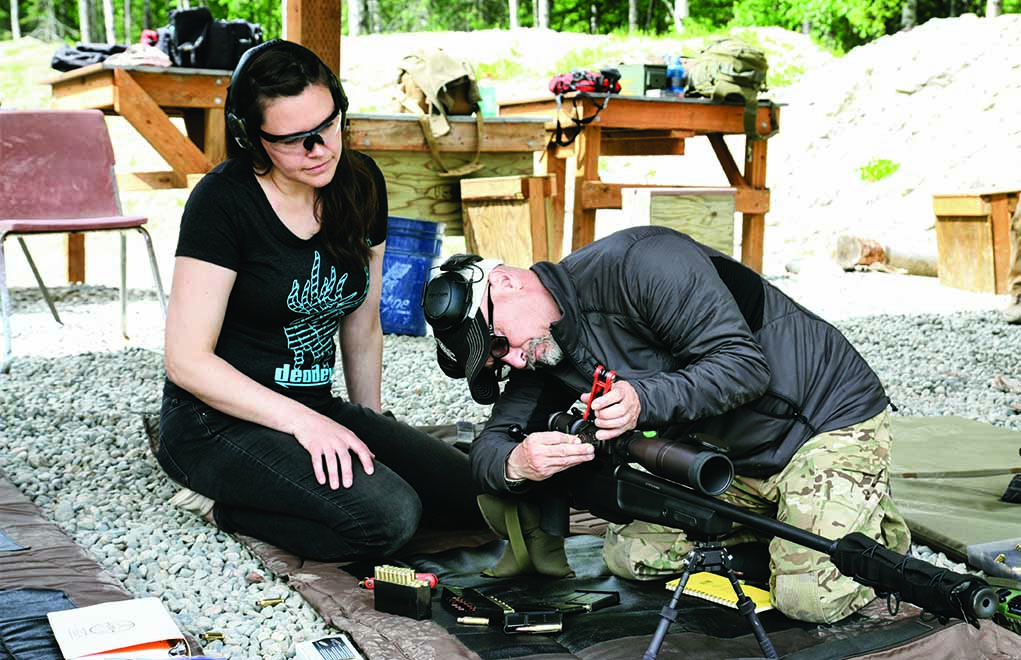
Before we set up the cheek weld, we have to mount the scope. The scope should be mounted in the rings ahead of time and can be attached to the rifle, but it should not be tightened.
We will assume the rifle has some form of Picatinny rail on the action. These Picatinny rails will help you set the eye relief, which will determine how we set up the stock. When setting the scope in the rail, it is best not to put it in the last slot at the back. Give room, both in front and behind the rings, so you can move the scope either forward or backward. It should also be noted that you bring the system to you. Don’t try to wrap yourself around the rifle.
Choosing a stock with an adjustable cheekpiece will further assist the shooter in setting up the rifle. Additionally, it will help you get a consistent cheek weld from shot to shot.
We do this by addressing the rifle in the prone position. The shooter should be straight behind it, not at an angle to the stock, with spine in line with the bore. Rest the head naturally on the stock, obtaining a good, solid cheek weld. Looking through the scope, there should be instant edge-to-edge clarity. Shadowing will tell you which direction to move the scope or cheekpiece on the stock.
Get On Target With Frank Galli:
- Mils vs. MOA: Which Is The Best Long-Range Language?
- Buying the Perfect Precision Scope
- Shooting Positions: Variety Is The Spice Of Life
- Riflescope Tracking: Why It’s Crucial To Test It
- Long-Range Shooting: Becoming Your Own Spotter
Straight Back Behind the Rifle
Being straight behind the rifle is going to pay off down the road. It is going to allow the recoil to move down your body and exit your legs equally. If you are properly squared up (your shoulders straight across, regardless of being in the standing or prone position), the rifle will recoil and return to target. The movement will be minimal, allowing the shooter to maintain sight picture throughout the firing process.
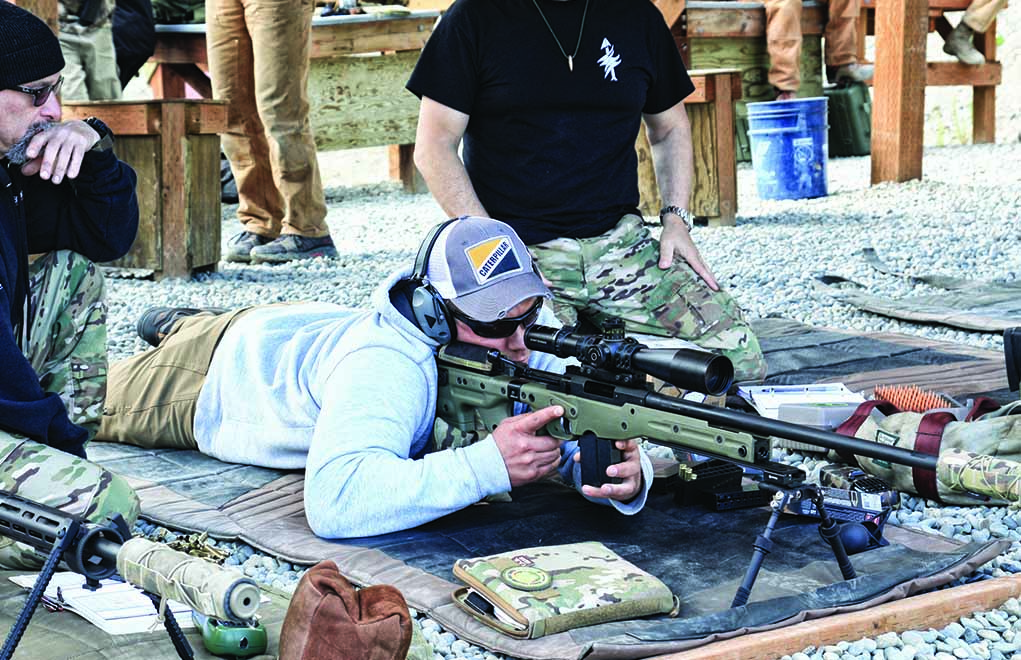
Get into position before mounting your scope. Get a good, natural feel for the rifle in your shoulder pocket, making sure your bipod is correctly adjusted for your body. After your cheek weld is established, put the scope on the Pic rail and bring the sight picture to you. By mounting the scope this way, you get a good, natural position with a comfortable sight picture. Remember, we don’t want to have to work for edge-to-edge clarity.
Natural Point of Aim
In order to establish a good firing position, we want our muscles to be relaxed. When the body mentally perceives recoil, it will subconsciously relax for a microsecond, which can move the rifle to the point where it is naturally aligned. So, if the shooter is forcing the position, even a little, the body will subconsciously steer the rifle off target during firing.
The way to check for our natural point of aim is to align the sights on the target. While in position, go through a couple of breathing cycles with your eyes closed. Upon opening your eyes, see if the sights moved off the target. If the sights have moved, realign the rifle and your body as one unit on the target. Small movements will go a long way here. The movement should come from the shooter’s core and not the shoulders and/or arms.
Taking a couple of deep breaths relaxes the body just enough for the brain to change our position, should it find that position uncomfortable. When we opened our eyes, if the sights are off target, we have to fix this alignment. We call this the “gross adjustment for natural point of aim.”
By practicing getting into position straight behind the rifle repeatedly, one can help shortcut this process by being square, not only to the target, but behind the rifle. Indexing with the legs and the knees, the shooter wants to point his or her body to the rifle, which is pointed at the target. This will help align the shooter quickly and effectively in the field.
The fine-tune adjustment for natural point of aim is the dry-fire. This will show the shooter if his position is perfect. Given time and opportunity, always dry-fire before going live. If the reticle moves, that is a clue to adjust your position ever so slightly.
How Do We Check for Parallax?
To check for parallax, line up the reticle on a target and move your head ever so slightly, side to side or up and down. Don’t move your head enough to cause shadowing to appear around the edges. Use very small motions to see if the reticle appears to “float” on the target. Just remember, in some optics, focus is not parallax, and being parallax free might put you out of perfect focus.
The scope should be set up in position, placed on maximum power and then fine-tuned in place. At this point, lowering the magnification for different positions will open up the eye relief, thus creating a more forgiving eye box. This minor compromise is necessary because different positions will move the head ever so slightly behind the scope.
Breathing
Holding your breath is the last thing you want to do in long-range shooting. When we are hammering a nail or driving our cars, we don’t think about our breathing. Correct? The same thing applies when shooting a rifle. What we need to know about breathing while shooting is where to break the shot, which is at the bottom of our natural respiratory pause.
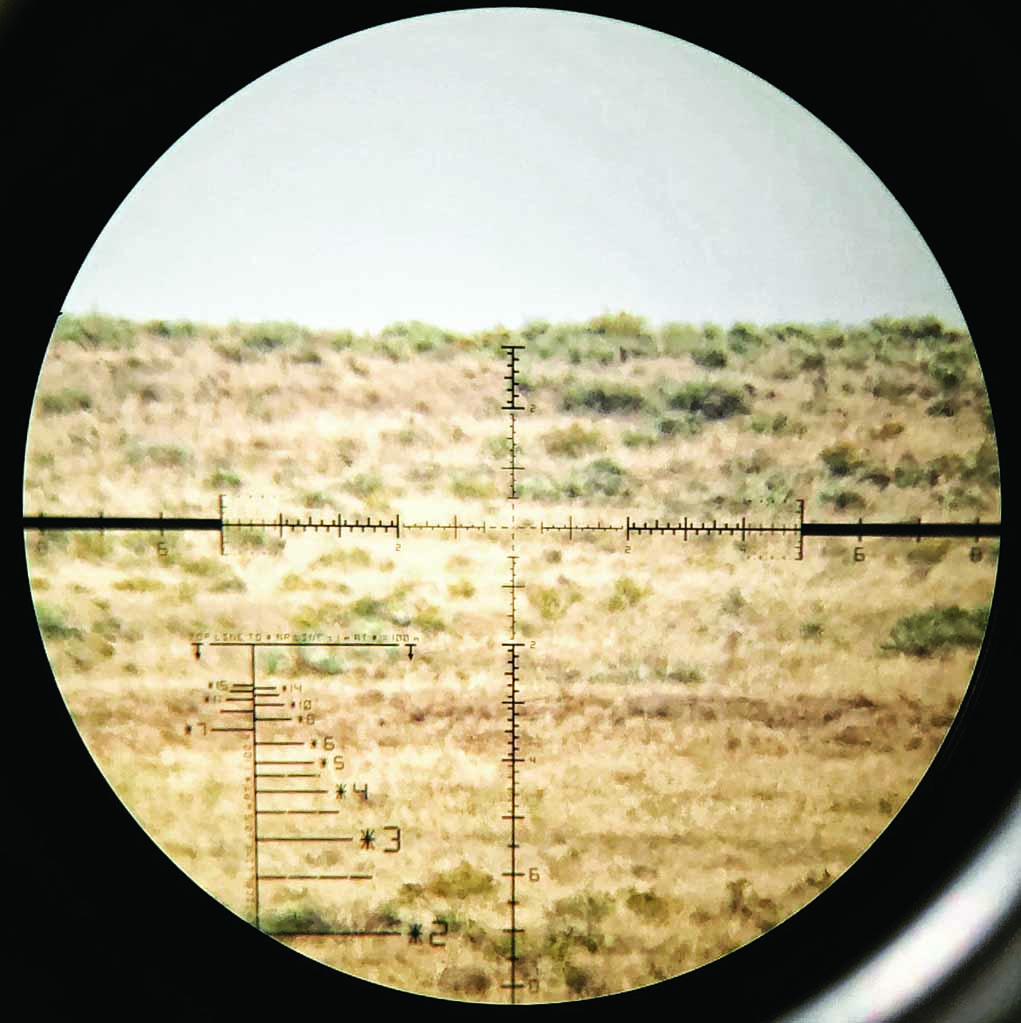
We all have a natural respiratory pause, even if we’re running with 80 pounds on our backs; there is a bottom of the breathing cycle. That is where we break the shot. If your shot is not lined up right immediately, continue to breathe until it is.
We do not have to tell our body to breathe heavily when exerting ourselves. It just does it naturally. In order to clear out of this condition, we need to breathe more and not less. So, holding your breath in the case of long-range shooting is a very bad thing and does not make the shooter steady.
Trigger Control
Trigger control is defined as “the manipulation of the trigger without disturbing the rifle or the lay of the sights on the target.” Most errors in long-range shooting can be attributed to improper manipulation of the trigger.
The purpose of the firing hand is to manipulate the trigger and hold the rifle into the shoulder pocket. We aren’t gripping it like a handgun; rather, we are holding it straight back to the rear. This requires very little pressure. The shooter should establish a firing position on the stock that starts from the trigger back and not from the stock forward. This is more a mental process than a literal one, because we don’t want people putting their fingers on a live-weapon trigger first. The initial practice should have the shooter visualize the trigger finger before the grip. You can do this during dry practice, which is highly recommended.
We want to place the trigger shoe squarely on the pad of the finger, creating a 90-degree angle with the finger and second joint. This will vary slightly from shooter to shooter, but the goal should be to get the fingernail to point to 9 o’clock for a right-handed shooter and 3 o’clock for a left-handed shooter. This right-angle position should be there before the trigger is pressed and remain there afterward.
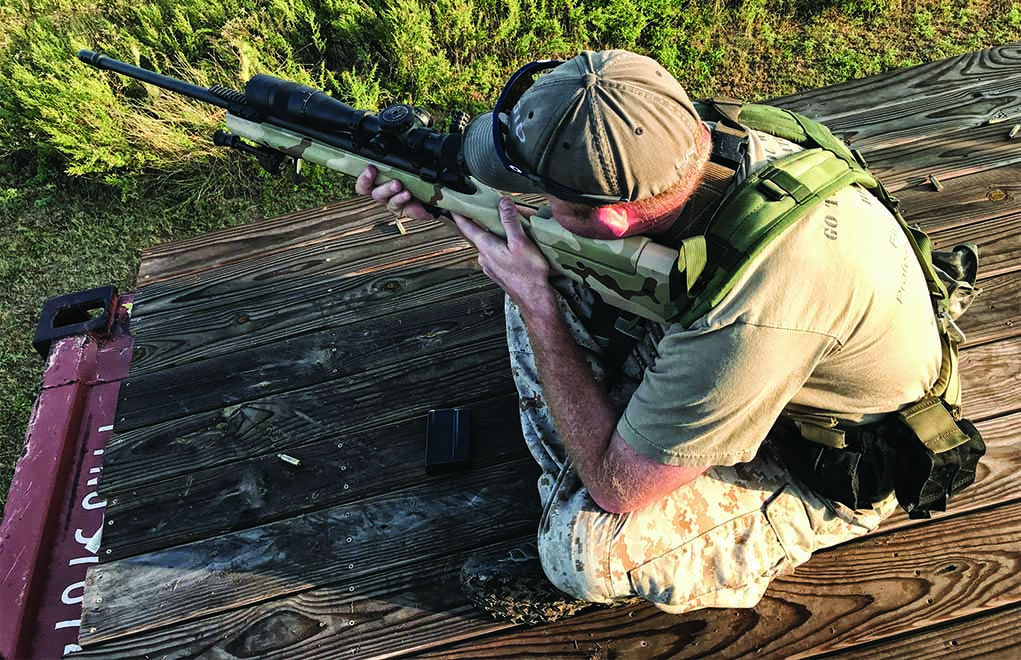
When addressing the stock, regardless of the type, we want to make sure the movement of the trigger finger is not touching the stock. The trigger finger should be moving like a hinge—straight to the rear, using our body mechanics to our advantage. If the fingernail starts at 9 o’clock and ends at 9 o’clock, you can rest assured you are manipulating the trigger straight back to the rear.
The three fingers below the trigger finger should be pressing the stock straight back into the shoulder pocket. We want to develop a front-to-back management of the stock. It’s not necessary to engage the thumb. Depending on the stock type, many will lay the thumb on the strong side or use it as a reference point on the stock, putting it in an out-of-the-way place. We call this “floating” the thumb, and it is a perfectly acceptable position, because we don’t need our thumb for the task of long-range shooting.
Follow-Through
“Follow-through” is simply holding the trigger to the rear until the recoil pulse has ended. We don’t want to be in such a hurry that we are rushing for the bolt to reload before the bullet has left the bore. It is possible to disturb the system and cause the round to deviate off target.
Lastly, we want to continue to watch the reticle on the target. Before breaking the shot, a shooter can lose focus thinking about all the fundamentals—one, then another, then another. The last thing we want to mentally think about, and focus on, is the reticle on the target. We need to watch this throughout the entire firing process. Here is where you want to put the bullet. So, it is here you need to focus.
I like to mentally follow the bullet to the target before moving at all. That means a delay in running the bolt. If I’m trying to spot my impact on target, if I start moving, the sight picture will be compromised, and I might miss the result. If I hit the target, I want to know without the aid of a spotter; and if I miss, I really need to know where so I can correct it. Most of the time of flight that we are dealing with is relatively short, so don’t sweat the few seconds we are asking to freeze in place.
Recognizing Time
With trigger control and follow-through working together, we have to recognize time. Every rifle system has a lock time. That is usually applied to the firing pin movement: the time from the trigger break to the primer being hit. However, our lock time does not just apply to the firing pin movement. We have to consider the time it takes for the brain to relay the will to press the trigger to the hand. Different shooters have different reaction times. That can mean a shooter with a slower reaction time using a bigger lead on a moving target. Then, we have to look at the time it takes for bullets to leave the barrel.
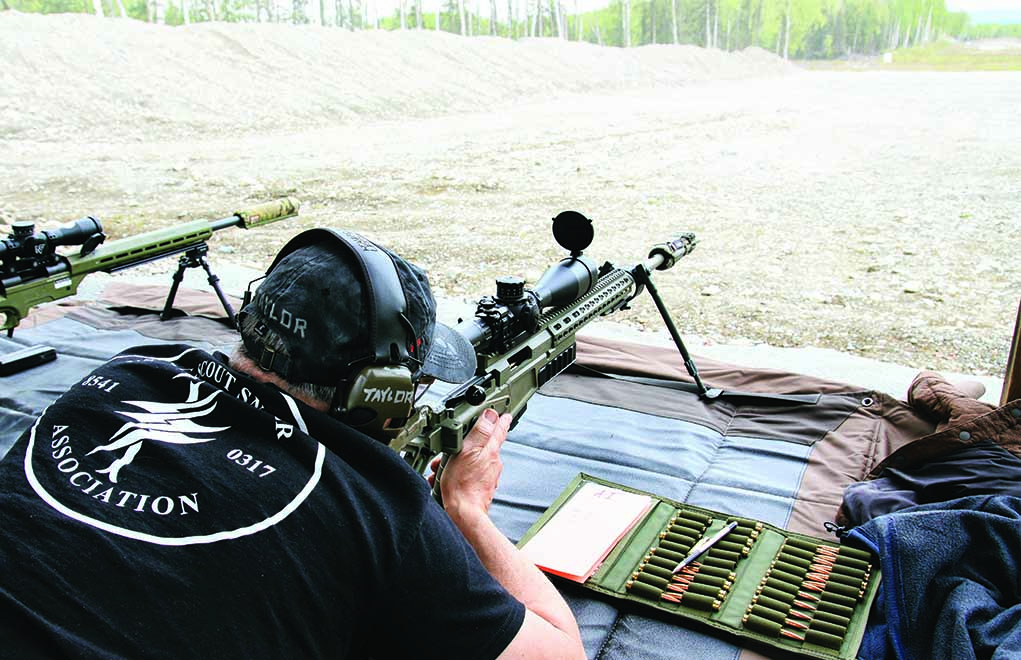
Your precision rifle is a machine; we are turning on the machine in order to send the bullet downrange to the target. I would submit to you that the shot is not over until the bullet has hit the target or we have confirmed a miss. Stay engaged with the rifle and sights until we’re sure we need a follow-up shot or we are sure the target has been successfully engaged.
Calling Your Shot
All this information is great as a theoretical exercise. But how do we know we are doing it right in our practical application? The best way is with a competent instructor to watch you shoot and correct any errors in your form. The next-best way to know you are doing it right is “calling your shot.”
The tactical shooter needs to ask, “Where are the sights when the shot broke?” It will force the shooter to focus on the sight picture during the critical moment when the shot is fired. Shooting is a game of milliseconds, and if you divert your attention from the target, you risk drifting off target.
In so many cases, shooters will not even notice this. They will establish their sight picture, consider the crosshairs on target and then begin to think about something else. It is during these moments that we miss the movement caused by a poor trigger press or a subconscious shift in our body. We need to carefully watch the reticle so we can answer the question, “Where are our sights during the firing sequence?”
If we have practiced and trained our body to execute the fundamentals correctly, during live fire, the benefits will be immediately apparent. This also extends to positional shooting—from any position. Making this a part of the firing sequence will train you to be more effective.
Editor's Note: This article is an excerpt from Frank Galli's book Precision Rifle Marksmanship: The Fundamentals – A Marine Sniper’s Guide to Long Range Shooting, available at GunDigestStore.com.

Next Step: Get your FREE Printable Target Pack
Enhance your shooting precision with our 62 MOA Targets, perfect for rifles and handguns. Crafted in collaboration with Storm Tactical for accuracy and versatility.
Subscribe to the Gun Digest email newsletter and get your downloadable target pack sent straight to your inbox. Stay updated with the latest firearms info in the industry.

![Best Concealed Carry Guns In 2025 [Field Tested] Wilson Combat EDC X9S 1](https://gundigest.com/wp-content/uploads/Wilson-Combat-EDC-X9S-1-324x160.jpg)


![Best 9mm Carbine: Affordable PCCs [Tested] Ruger Carbine Shooting](https://gundigest.com/wp-content/uploads/Ruger-Carbine-Shooting-100x70.jpg)
![Best AR-15: Top Options Available Today [Field Tested] Harrington and Richardson PSA XM177E2 feature](https://gundigest.com/wp-content/uploads/Harrington-and-Richardson-PSA-XM177E2-feature-100x70.jpg)
