All about riflescopes, objective lenses, light transmission and your eyes.
We crept into the hyena blind in complete darkness, listening for the telltale cackle of the scavengers. The wind was swirling that morning in the Makuti Safari Area of Zimbabwe, and Professional Hunter Lindon Stanton gave a shake of his head in disapproval. “Can you see the bait, if by some miracle they do come in?”
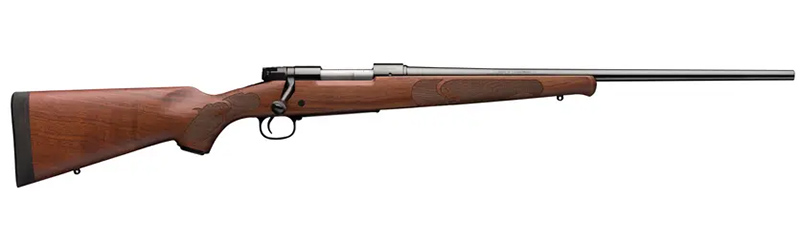
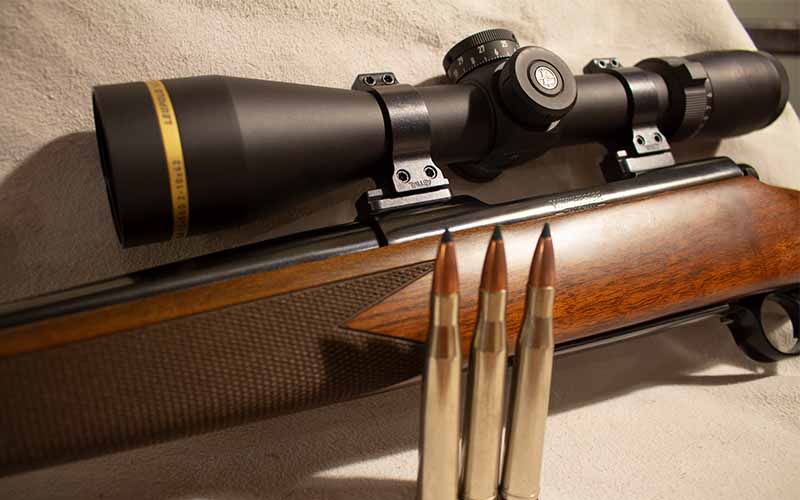
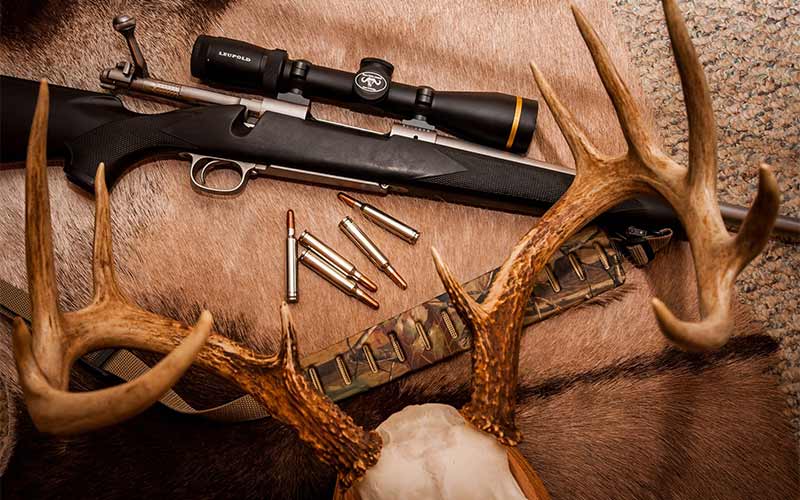
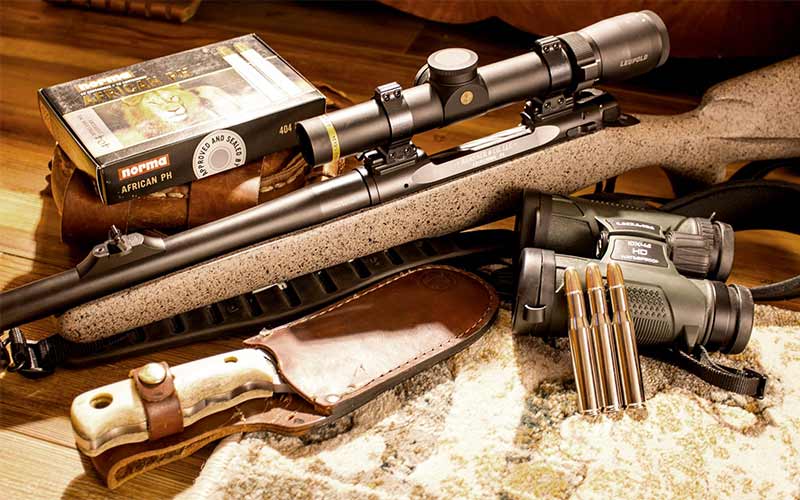
I slowly brought the Winchester 70 to shoulder and eased the muzzle through the small hole the trackers had so craftily made in the grass wall. With the scope set at 6x magnification, I could clearly make out the remnants of buffalo rib cage, which had been thoroughly hammered by the mpisi, in spite of the predawn light. I was happily admiring the VX-5HD 2-10x42mm—with the FireDot reticle—mounted on top of my .300 H&H, when the guttural roar of the lionesses brought home the fact that our hyena hunt was over, at least for that morning.
There are all sorts of scope configurations on the market these days, from the straight-tube dangerous game scopes, looking like the front end has been sawn off—to the huge objective lenses that seem like they might be able to detect life on other planets.
Is bigger always better? Will the largest objective lenses give the shooter an advantage at first and last light? Let’s look at the practical application of our modern optics, and the relationship between objective lenses and the usable amount of light perceptible by the human eye.
How Much Light Gets Through
It’s the exit pupil of a riflescope or binocular that determines the apparent brightness of an image. This figure is easily computed by dividing the objective lens diameter by the magnification. For example, that 2-10×42 Leupold I had in Zimbabwe would have an exit pupil of 4.2mm at maximum magnification (42mm divided by 10mm equaling 4.2mm).
Our pupils can expand and contract—depending on the surrounding light conditions—to measure between 2mm and 7mm. So, the amount of usable light will vary, depending on the conformation of your riflescope. As natural light decreases, the pupil will open wider to let more light in, and a higher exit pupil value will deliver more light to your eye.
Lowering your magnification can increase the perceived light delivered to your eye, as the equation can quickly show. Divide your objective lens diameter by a lower number, and the exit pupil value increases. If your pupil expands due to lower natural light, your scope appears brighter.
This is one reason for choosing a scope with a lower bottom-end magnification; it may make a difference in those first and last light situations where seconds count. It’s also a reason for choosing a scope with a larger objective lens, as in theory there’ll be more light transmitted to your eye.
But bigger objective lenses pose some logistical issues when they’re mounted on a rifle. To clear the barrel, those scopes with larger objective lenses need to be mounted higher than scopes with smaller bells—and that can be a real pain. A rifle with a comb that’s too low for proper sight alignment will result in the shooter getting slapped hard during recoil. Instead of obtaining proper cheek weld—where the comb sits just underneath the shooter’s cheekbone—the comb will sit against the jaw or teeth. This results in some seriously uncomfortable recoil.
I always strive to mount my scopes as low to the bore as is physically possible, to have the rifle’s comb sit in the proper location on my face. Generally speaking, on my hunting rifles, a 42mm objective lens is about as big as like to go. The bigger 50mm and the huge 56mm bells tend to be mounted uncomfortably high, especially for a hunting gun with a conventional comb.
If you insist on a scope with an objective lens of that magnitude, there are comb risers you can purchase, which either tie onto the stock or are attached via Velcro straps to raise the comb for proper sight alignment. Some of the polymer-stocked rifles offer adjustable combs in one fashion or another, like the Savage AccuStock, which offers risers of differing heights that can be installed by the user—or the Browning X-Bolt Western Hunter Long Range, which has a sort of adjustable “over-comb” that allows the user to properly align the scope to the eye.
Ideally, I prefer to mount my scope in a manner such that, with my eyes closed, I bring the rifle to shoulder instinctively and when I open my eyes, the scope is properly aligned, with as little need for adjustment as possible. Leupold tried a rather unconventional method of mounting a scope with a large diameter objective lens low to the bore when they released their VX-3L series, with a 56mm objective lens that looked like it had a bite taken out of the bottom, to compensate for the barrel. It didn’t catch on.
In addition to the cheek weld issue, a scope mounted too high above the bore can exaggerate the effects of scope cant, driving bullets to the left or to the right at longer ranges, depending on the amount of cant. With the true long-range target scopes, which can easily have a 56mm bell, getting them low is an extremely difficult prospect, and you’ll just have to do the best you can.
Not All Lenses Are Created Equal
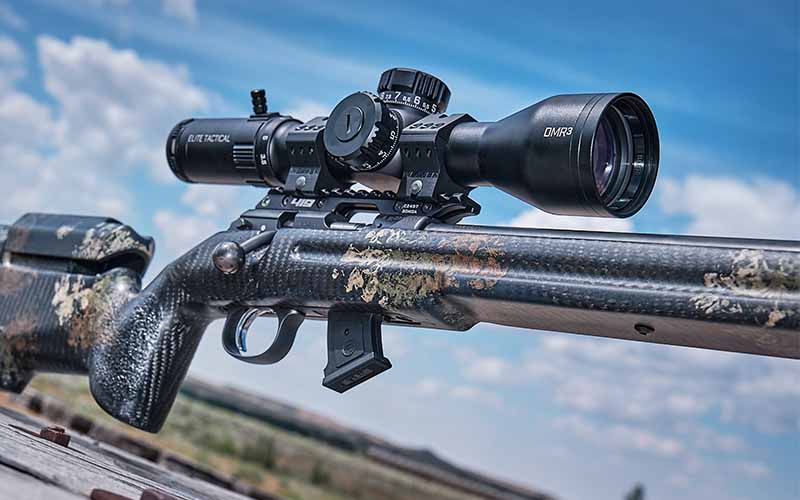
Light transmission is more than just a function of exit pupil. The quality of your riflescope’s lenses and overall construction play a significant role in how bright, clear and crisp your target will appear. If you’ve ever owned or had the opportunity to shoot through a Swarovski riflescope, you’ll understand exactly what good glass is. They certainly aren’t cheap, but they’re amazingly crisp.
I’ve always been a fan of the Swarovski Z5 3.5-18x44mm scope. The tube length is long enough to put the objective lens further out along the barrel so it can be mounted nice and low, but it’s undoubtedly the Austrian glass that’s the selling point of Swarovski riflescopes and binoculars.
Any scope with high-quality lenses—replete with the proper coatings, which can make all the difference in the world—will be a game changer, especially if you’re used to the lesser-quality lenses. For years, when my hunting budget was so tight that it squeaked, I was convinced that higher magnification was always better. One look through a high-quality European riflescope changed my opinion completely, to the point where I much prefer a lower magnification riflescope of higher quality to any higher magnification scope of lesser quality. And, thankfully, a good number of the riflescope manufacturers have really improved their products.
I am an unabashed fan of Leupold’s products and have been for decades, and their HD series—including the VX-3HD, VX-5HD and VX-6HD—are real winners. The lens coating is stellar, and these scopes are wonderfully bright. I took a VX-5HD 1-5x24mm on top of my Bansner & Co. .404 Jeffery to coastal Alaska for brown and black bears in the spring (when it only gets dark for a couple hours) and had no problem seeing through that scope when there was any light at all.
In fact, the two guides on that hunt were amazed at that scope; cranked down to 1x it is a perfect tool for bears in the thick stuff, yet at 5x magnification, the 200- to 250-yard shots were totally possible. I feel that the VX-5HD and VX-6HD series are the best hunting scopes Leupold has made to date. Zeiss has revamped their Conquest line of scopes, with what I assume to be a new lens coating, because they have a much brighter appearance than the previous iteration of those scopes.
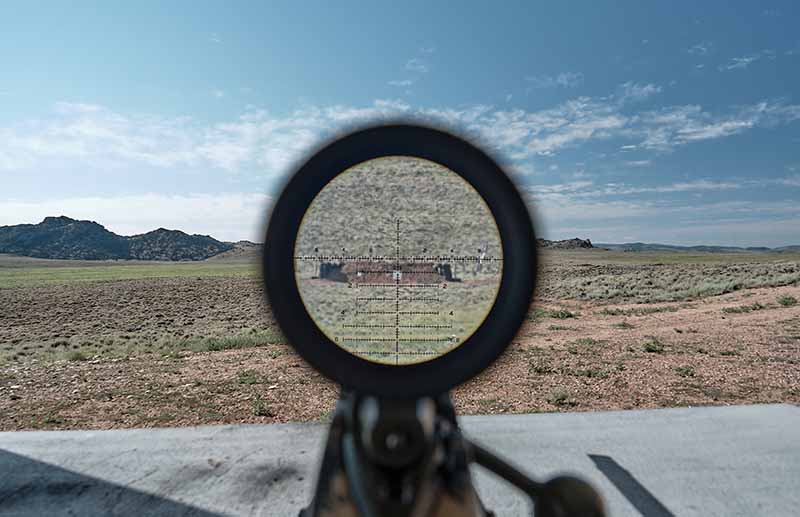
No lens will ever possess the ability to give 100 percent light transmission, but they’re getting closer every year. Under midday sun, just about any scope will work. But it’s when the light begins to fade, when the shadows start to remove the contrast and the images get fuzzy that a scope with a set of good lenses—which have been coated to highlight images in that fading light—will show its value.
Objective lens diameter has no bearing on your riflescope’s field of view, but tube diameter certainly does. A scope with a 30mm main tube will have a wider field of view than one sporting a 1-inch tube—though that advantage will come at the cost of additional weight. The big 34mm and 35mm tubes are employed more to give additional elevation adjustment than for the field of view, but the increase is certainly there.
Choosing a Scope for Your Needs
I’ve had a shift in opinion regarding scopes in the past decade. Whereas I used to consider a scope as an accessory to the rifle, in many instances I spend more on a scope than I do on the rifle. After all, if you can’t see that target you can’t hit it, and the quality of affordable rifles has increased greatly.

I’ve also opted for the best quality scope I can afford, even if the magnification level is on the lower side of the spectrum. Were the whitetail of a lifetime on the other end of the equation in low-light conditions, I’d be happier with a premium scope with a top end of 8x to 10x than one of lesser quality of 14x magnification.
Even when shooting long range, I tend to reduce magnification for image clarity, especially when dealing with mirage. So, when I’m looking at a scope for a particular purpose, I take the low-end magnification under consideration as much as I do the top end; under the worst light conditions, it’ll keep the image nice and bright.
Editor’s Note: This article originally appeared in the November 2021 issue of Gun Digest the Magazine.
Scope Out More Optics Info:
- 8 Revolutionary Reticles For Long-Range Accuracy
- Buying the Perfect Precision Scope
- The Best Tactical Red-Dot Performance-to-Price Option?
- Shifting Winds: SIG BDX Changing Shooting For The Better