The straight-pull bolt-action concept has been enthusiastically received by European riflemen … and ignored almost completely by U.S. gun manufacturers.
What Are Some Of The Notable Straight-Pull Bolt-Action Rifles:
- T-Bolts
- Blaser R93
- Blaser R8
- Mauser 96
- Heym SR-30
- Merkel RX Helix
- Anschutz 1727
- Roessler Titan 16
- Browning Maral
Since the appearance of the bolt-action rifle nearly 200 years ago, the operating mechanics have remained the same: handle up, back, forward, down. But what if someone were to tell you there were manually operated bolt-actions that could be cycled more than twice as fast as those of traditional design?
Well, such rifles do exist, and they’ve been available for quite some time. I’m talking about guns built on straight-pull bolt-actions—a concept that’s been enthusiastically received by European hunters but almost totally ignored by our American gun companies.
The Straight-Pull Idea
It’s a simple concept really. Instead of the four motions required to cycle a conventional bolt-action, a straight-pull requires only two. Not only does that reduce the required movements by half, it also reduces by more than half the time needed to do it. Lifting the bolt handle on a shouldered rifle employs muscles that are otherwise rarely used, making it awkward, even for those who are well practiced.
Should a fired case hug the chamber too tightly—a common occurrence with handloads—lifting the bolt handle on a shouldered rifle can range from difficult to impossible. It’s the reason so many hunters lower the gun to the port arms position to reload—it’s the only way they can get enough leverage to initiate primary extraction. Another advantage to the pull-push action is that it disturbs the gun less, allowing one to get back on target faster on a follow-up shot.
More Rifle Articles:
- Weatherby’s Krieger Custom Rifle
- Aussie-Style Accuracy With The Lithgow LA102
- 5 Articles On The 6.5 Creedmoor You Must Read
- Best Precision Rimfire Rifles Guaranteed To Own The Bullseye
- AR-10 vs. AR-15: How Stoner’s Rifles Stack Up
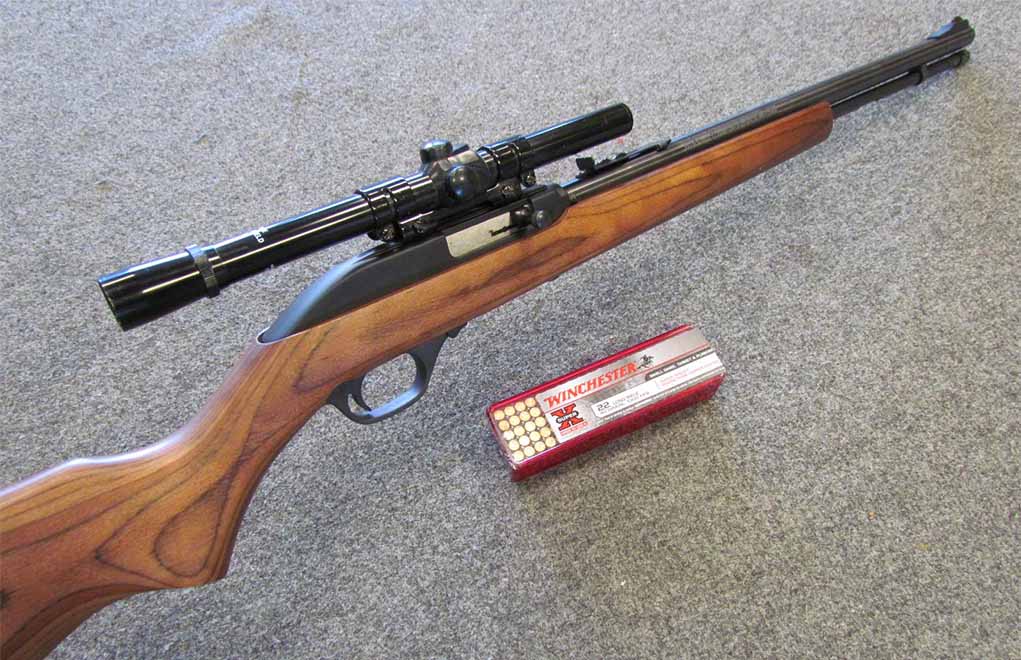
The T-Bolts
The straight-pull bolt-action concept is hardly new: In the waning years of the 19th century and the first decade of the 20th, we saw the Swiss Schmidt-Ruben Model 95, Austro-Hungarian Steyr-Mannlicher, Canadian Ross and our own Lee-Navy—all straight-pull military rifles. However, as for making the transition to the sporting rifle market, the straight-pull thing went limp for several decades, because no firearms manufacturer here or abroad showed interest.
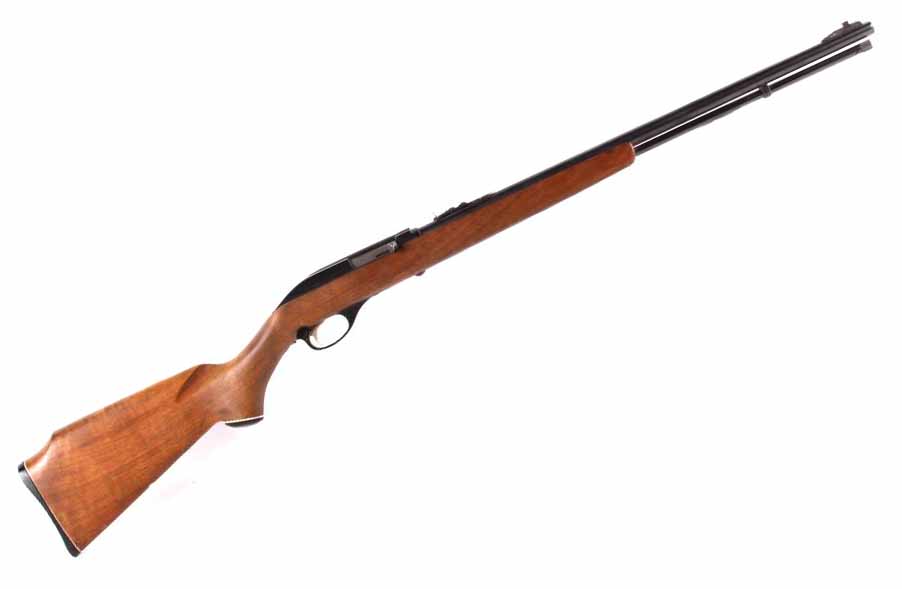
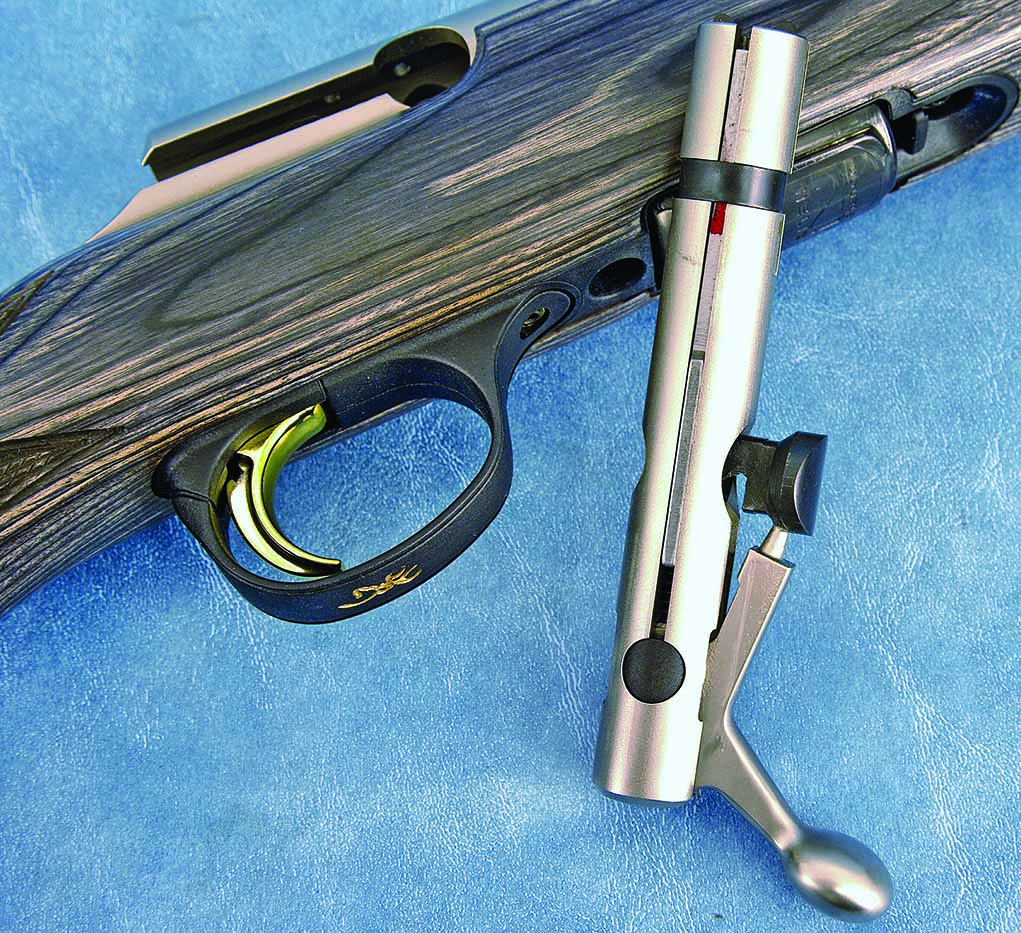
The first glow of an ember appeared here, in the United States, in the form of the Browning T-bolt .22 LR, which was rolled out in 1965. Made for Browning in Belgium by FN, the first-generation T-bolt was the first production rifle I acquired after graduating college. The gun’s highly unorthodox action brought out the iconoclast in me (and there’s a lot of that!). The T-bolt was unlike anything I’d ever seen before. The way the action snicked open and closed with such a positive feel was so radically different from the bolt-, lever- and pump-action .22s I was familiar with.
Trying to describe how the T-bolt works (and this applies to the other straight-pulls we’ll be reviewing here) is challenging. The locking lugs, such as they are, consist of two circular plates the size of dimes on either side of the bolt body. These, when in battery, fit into corresponding holes at either side of the receiver. The bolt handle is an obtuse “L” shape that pivots horizontally on a vertical pin at its apex. The initial rearward movement of the bolt handle pivots the forward tip of the L outward, pulling the circular locking lugs out of their recesses.
The T-bolt was discontinued in 1986 and reintroduced in 2006 in a redesigned iteration now being made for Browning by Miroku of Japan. Originally chambered only in .22 LR, it’s now available in .22 WMR and .17 HMR in right- and left-hand models, along with a choice of sporter- or varmint-weight barrels in walnut or synthetic stocks.
Blaser R93: Unique Locking System
The next straight-pull bolt-action to come onto the scene was in 1993 with the German-made Blaser R93—the gun that truly ushered in the age of the straight-pull as a viable centerfire sporting rifle. With the R93 came a unique annular locking system that provided 360-degree contact between the locking “lugs” and their abutment surfaces. The head of the bolt is a steel tube, or collet, comprising 14 pliable splines (or fingers), each of which has a small bulge at the front edge. These “bulges” form an annular locking lug.
Inside the collet is a cone that, upon the closing movement of the bolt, wedges the splines outward to where they engage an annular groove in the barrel extension.
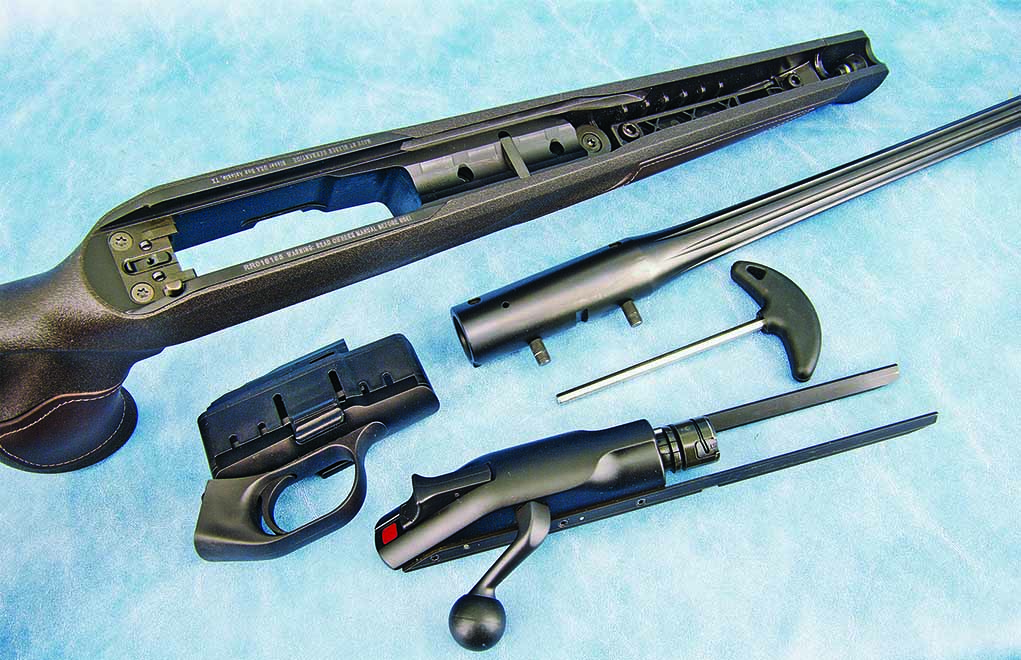
Because the bolt locks up directly with the barrel rather than the receiver, the latter is a non-stressed component, allowing it to be made of aluminum. As with most rifles coming out of Germany and Austria today, the R93’s modularity makes barrel/caliber switching easily done.
The Successful Blaser R8
In 2008, Blaser introduced the R8 (a gen 2, if you will, of the R93), and the foregoing general description of it applies to the current R8.
The R93 was an instant success with European hunters, as well as competitive shooters, especially for running boar events, where rapidity of fire is important. It was also adopted by the military or law enforcement agencies of 13 countries around the world.
The improved R8 continues to enjoy that same success … except here, in the States, where its starting price of around $3,000 kind of limits its popularity.
The Mauser 96
It was only three years after the warm reception given the Blaser that Mauser countered with its version of a straight-pull bolt-action rifle—the Model 96. Unlike the Blaser, the 96 employed a 16-lug rotary bolt. It was an ungainly looking thing, because not only was the bolt handle much farther forward than normal, it also angled forward, making it look really strange to anyone with a definite opinion about what a bolt-action rifle should look like.
It was probably a combination of the cosmetics and the position of the bolt handle that prevented the 96 from gaining popularity, even though it worked splendidly, was accurate and, in 1996, had an MSRP of $699, making it much more affordable than the Blaser. The 96 was only in production for a few years before being discontinued.
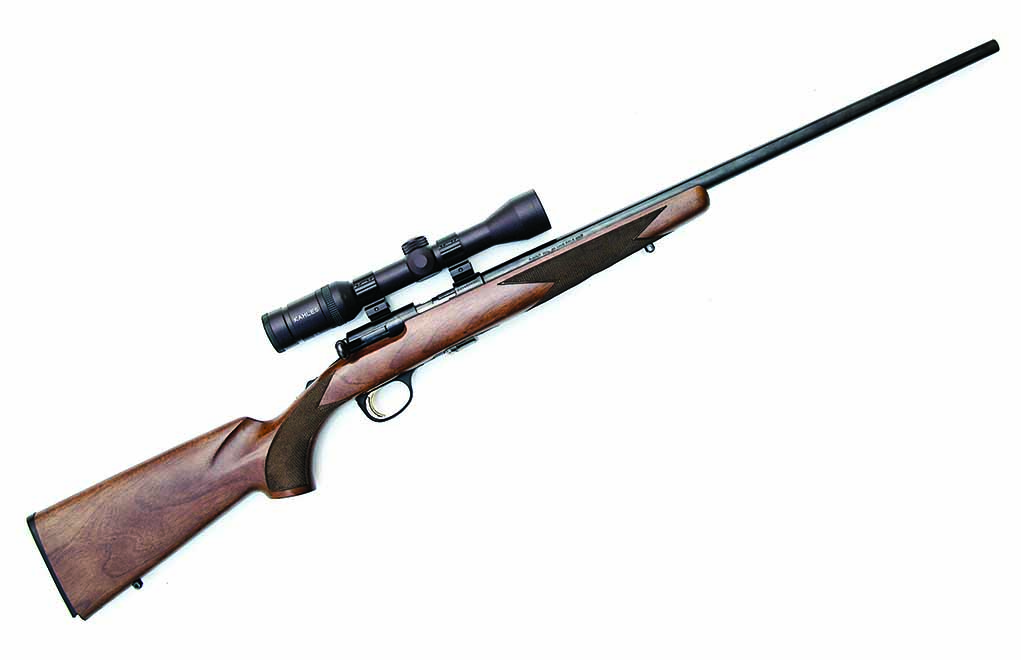
Heym SR-30
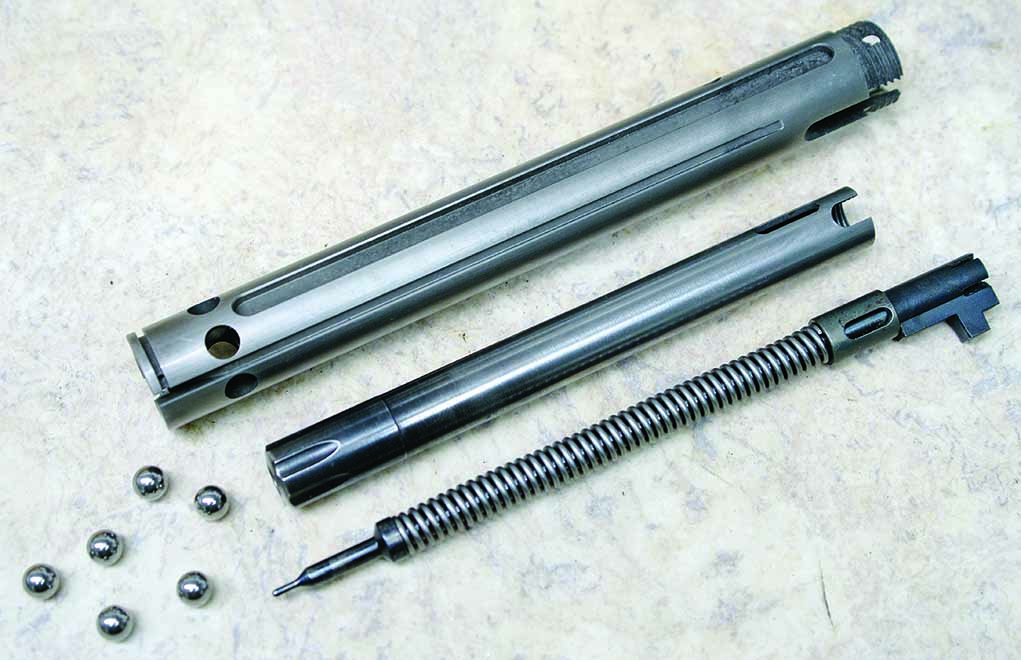
Another member of the straight-pull bolt-action family is the Heym SR-30. It was introduced in 1998. Unlike the Blaser and Mauser, whose bolt handles pivot rearward on a vertical plane before the bolt, itself, starts to move and then pivots again the same distance short of lockup, the SR-30 pivots on the horizontal plane like the Browning T-bolt. That, however, is where all similarity ends.
Instead of finding conventional locking lugs at the head of the bolt, there are six ball bearings oriented on 60-degree centers held captive is spherical recesses. The mechanics are conceptually similar to those of the Blaser, in that the final movement of the bolt handle forces a steel tube inside the bolt body forward to where it wedges the ball bearings outward, engaging an annular groove inside the receiver. It’s perhaps the most innovative of all the SPs and the closest to looking like a traditional bolt-action rifle.
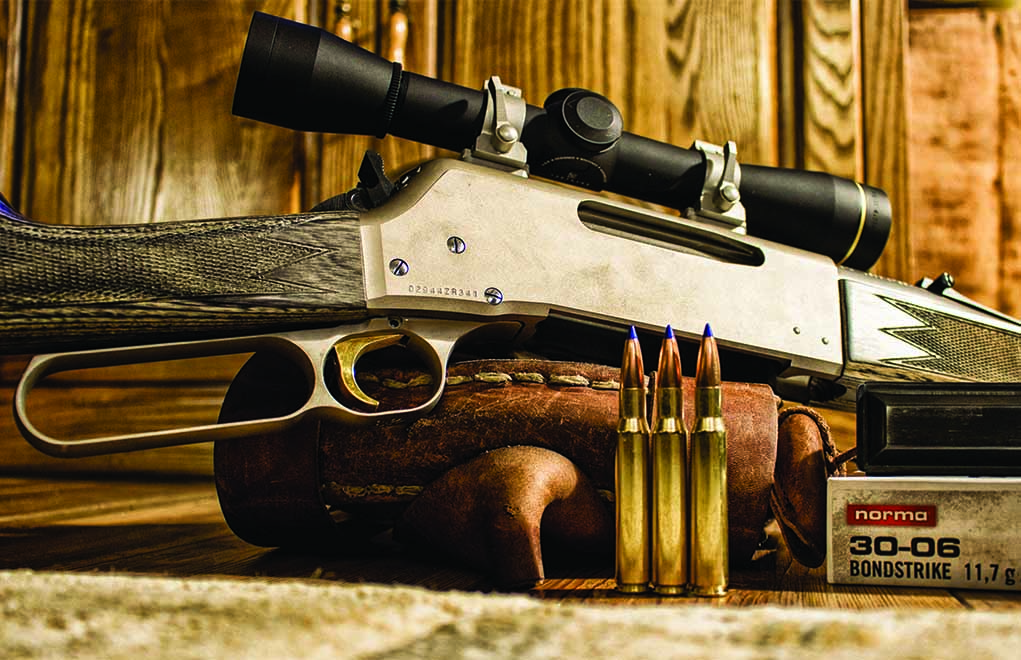
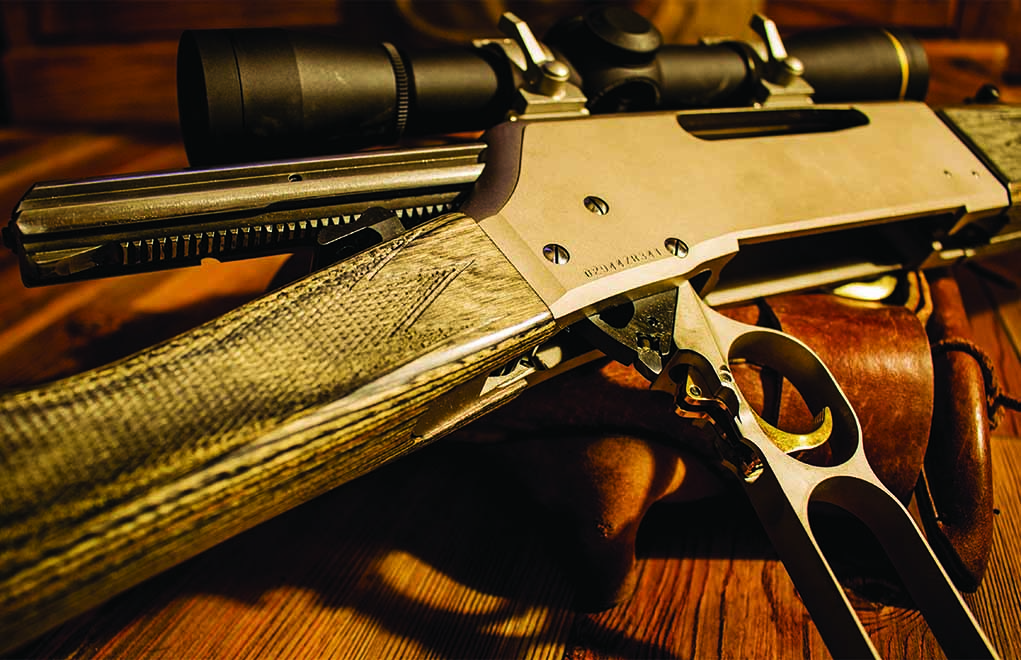
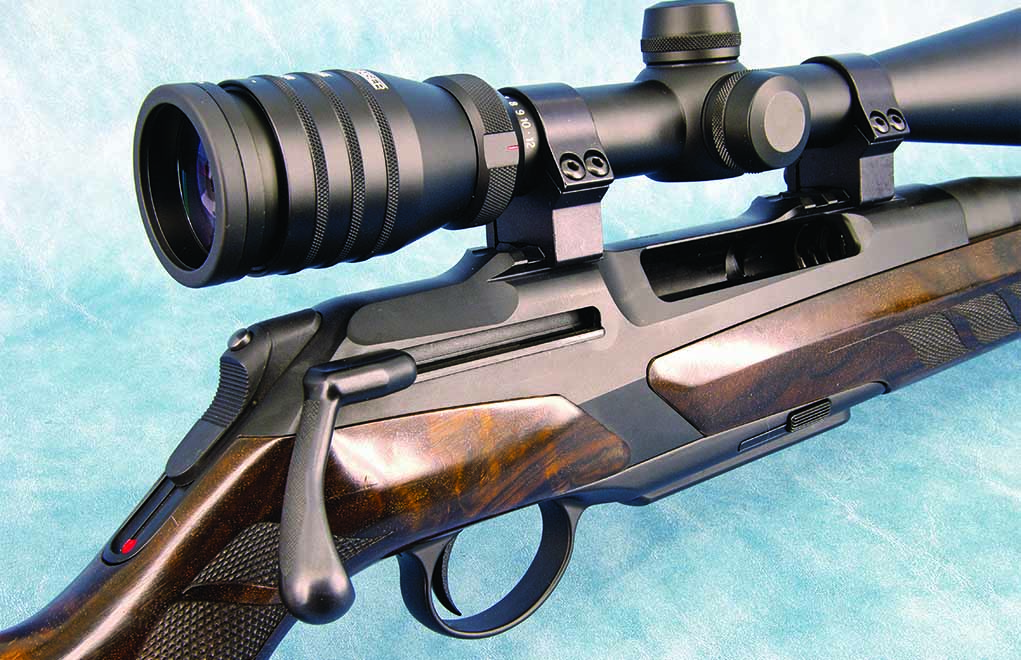
Merkel RX Helix
My favorite among the straight-pull bolt-action rifles is Merkel’s superb RX Helix. As on the Blaser, the Helix’s bolt head locks up with the barrel, which allows an aluminum receiver and barrel interchangeability. But, unlike the Blaser, there is no rocking of the handle upon the action opening and closing. In fact, the handle does not pivot at all; it simply moves back and forth. In so doing, it rotates a multi-lug bolt head in and out of battery.
What’s really cool is that the bolt carrier and handle are connected by a rack-and-pinion arrangement whereby the handle moves only 2½ inches, but the bolt, itself, moves 4¼ inches. You can’t believe how fast this action can be cycled from the shoulder when all you have to do is pull back and push forward just 2½ inches!

A feature the RX shares with the Blaser is that it must be manually cocked before the first shot can be fired. The action is cocked by forcibly pushing a deeply serrated cocking lever up a steep incline at the back of the receiver; doing so compresses the mainspring. Depressing a small release button at the front of the thumbpiece allows it to be backed down, relaxing the spring.
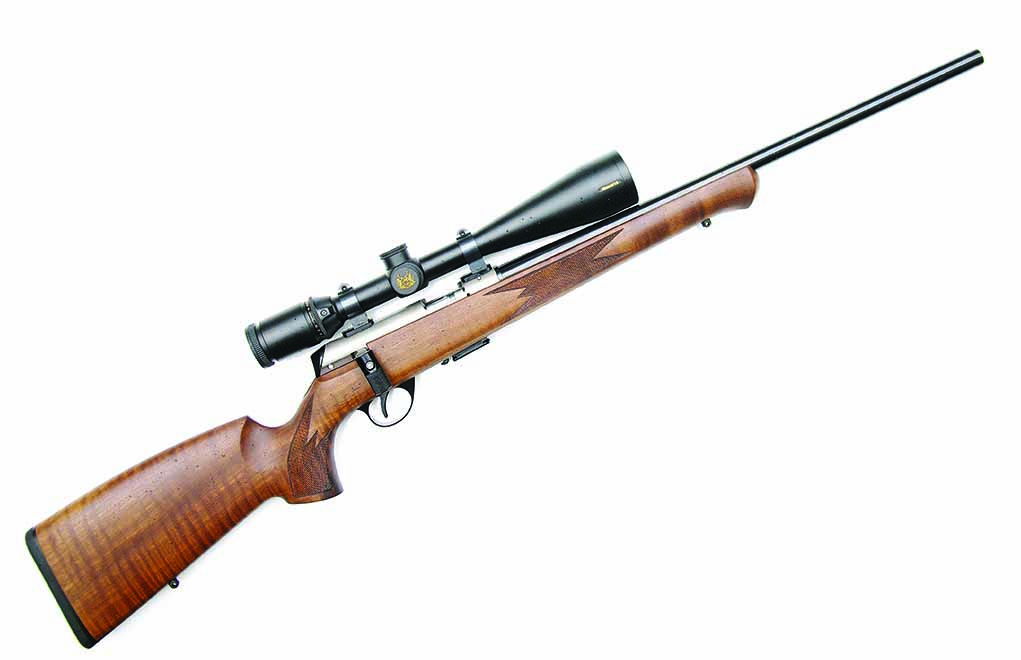
Anschutz 1727
Next on our list of straight-pulls is another rimfire, the Anschutz 1727. It was originally designed as a biathlon rifle but is now offered in sporting iterations.
Like the Heym SR-30, this rifle employs ball bearings to serve as its locking lugs. The difference, however, is that this rimfire’s ball bearings are located at the rear of the bolt just ahead of the handle and engage an annular ring in the receiver bridge, rather than up front at the bolt head.
With cycling speed being essential in biathlon competition, the Anschutz folks felt a straight-pull action would provide an edge, especially when the bolt travel needed in order to cycle a .22 LR cartridge is about 1½ inches. However, to further that advantage, they designed the bolt so that the action could be cycled with two fingers—the forefinger to open the action, the thumb to close it—all without disturbing one’s grip!
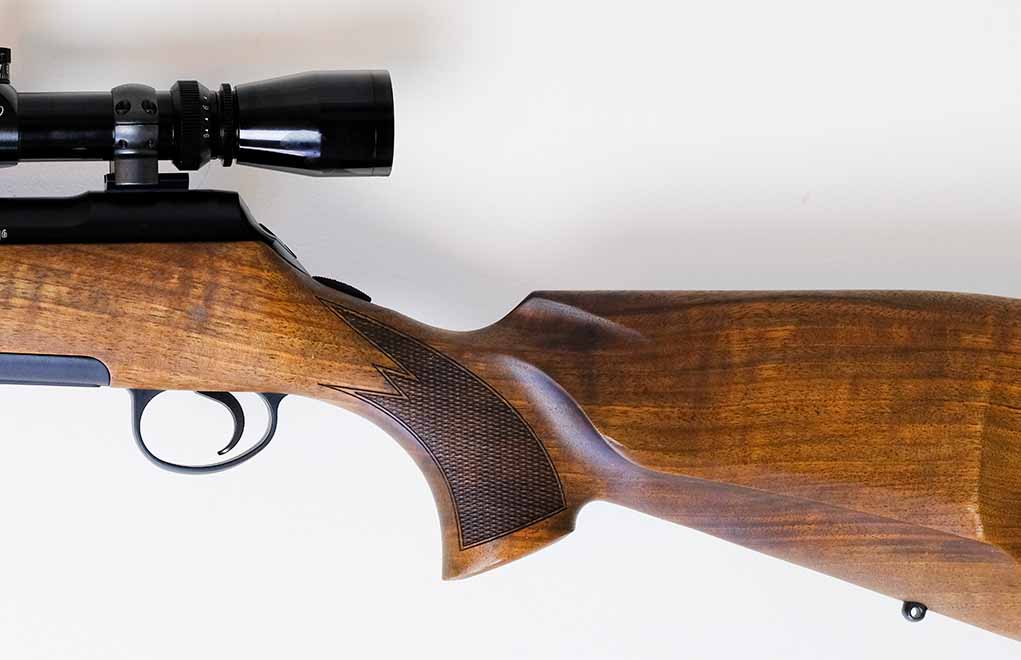
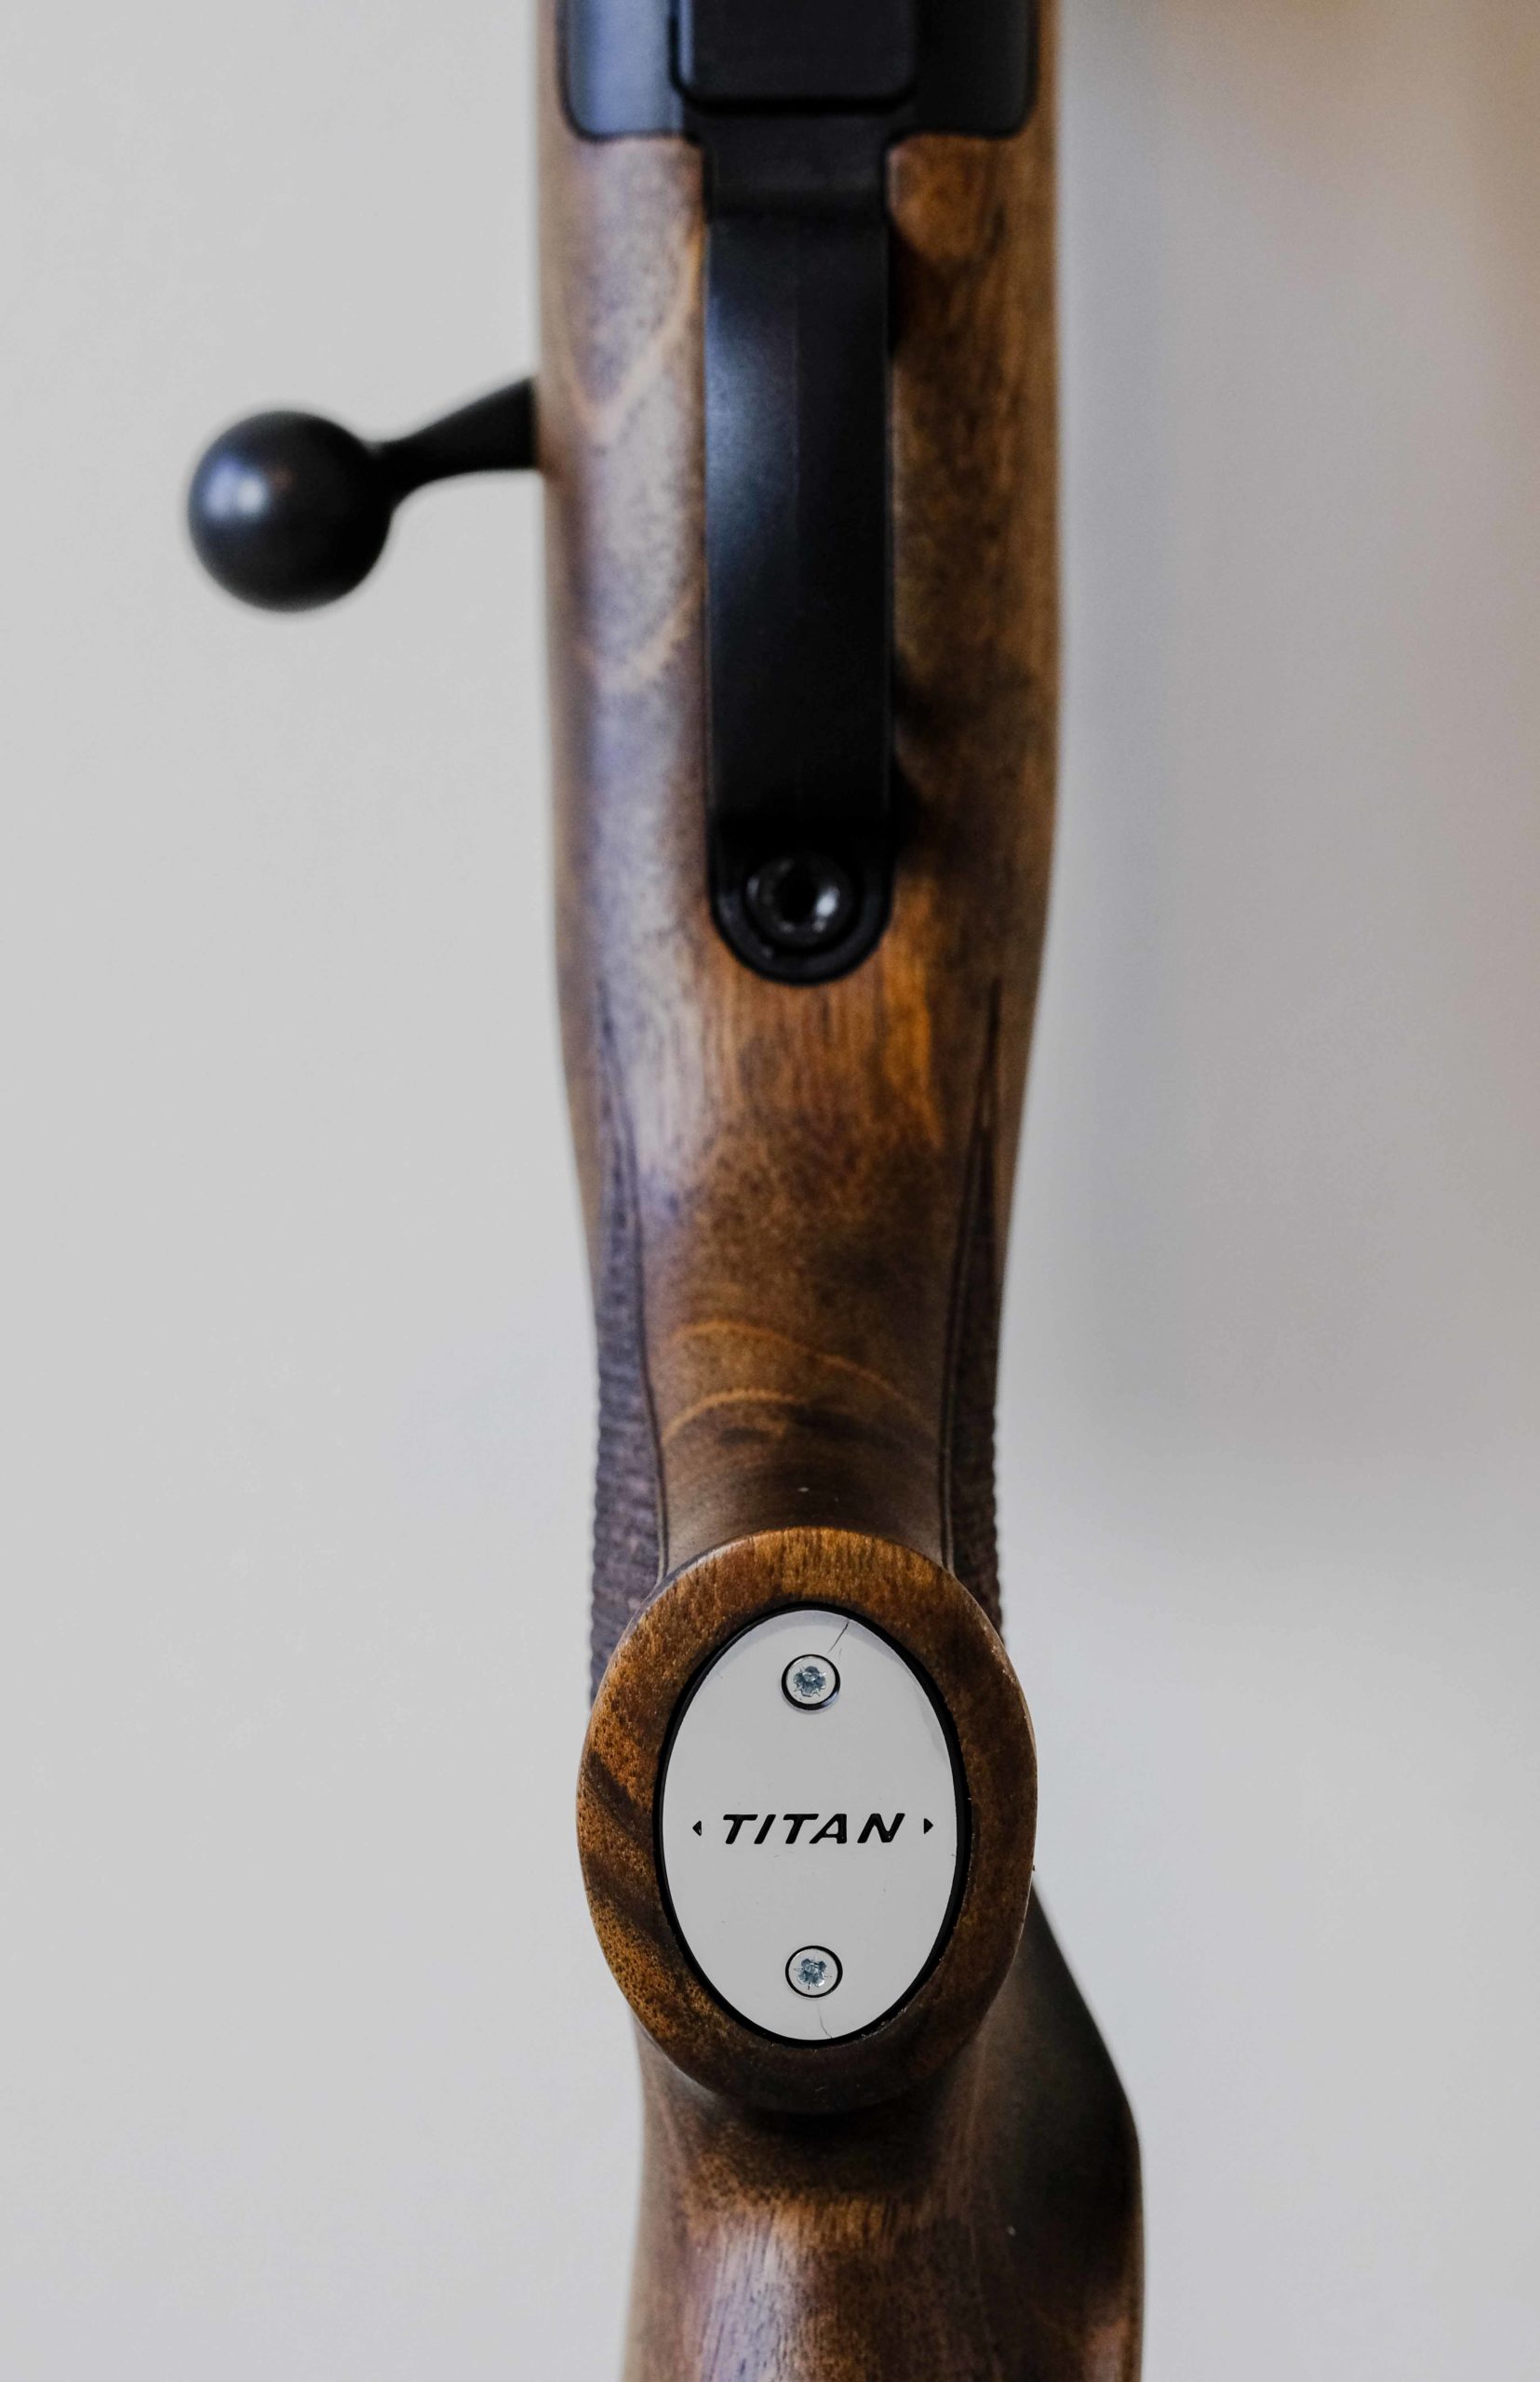
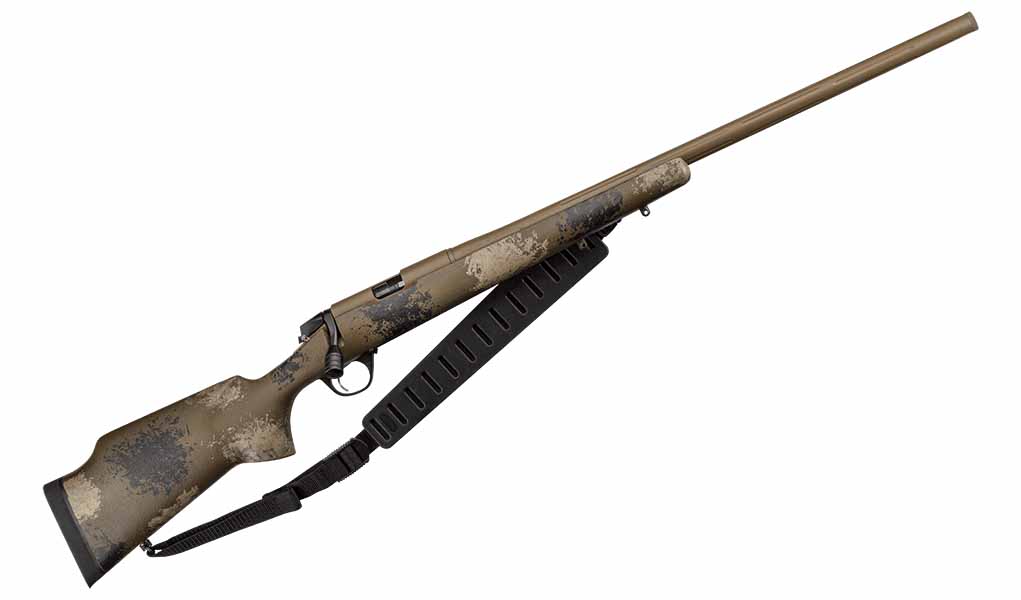
Roessler Titan 16 and Browning Maral
I’ve reviewed and/or hunted with more than one example of each of the aforementioned guns. Two I haven’t personally tested are the Austrian-made Roessler Titan 16 and the Browning Maral.
As its name suggests, the Titan is a rotary-bolt, 16-lug straight-pull very similar to the discontinued Mauser Model 96.
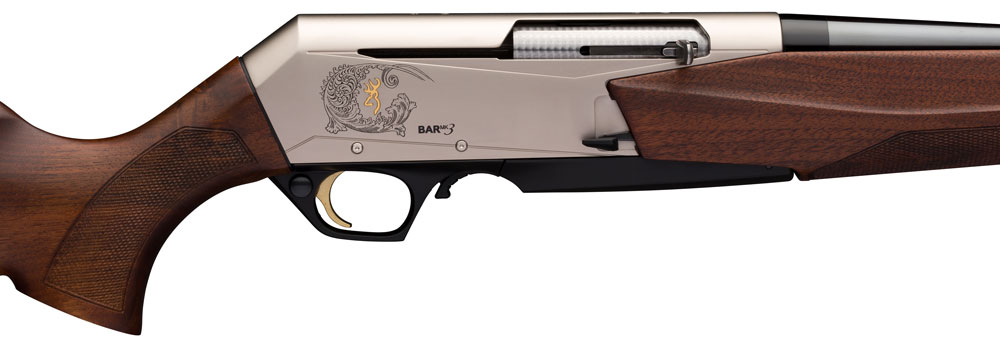
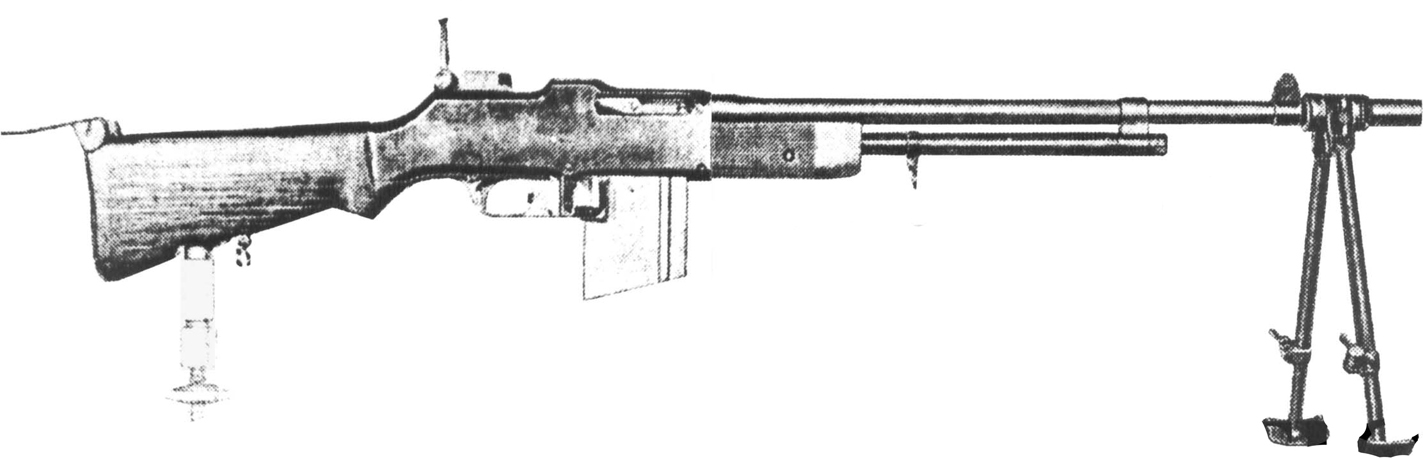
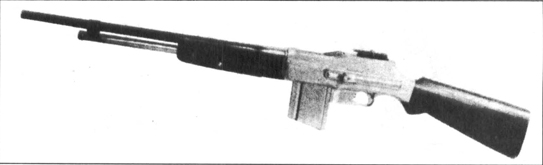
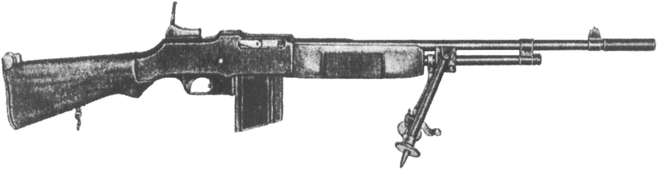
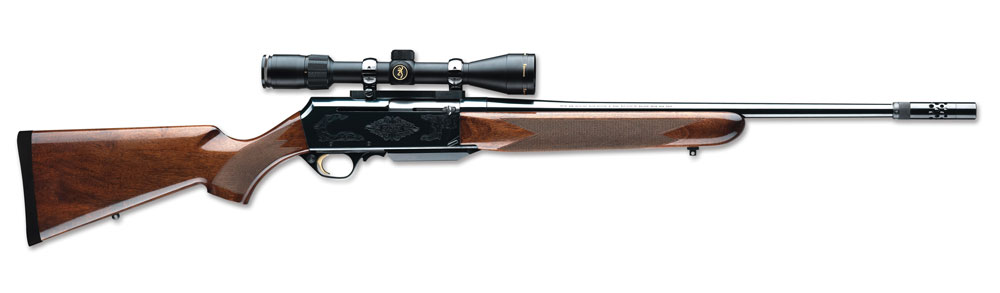
As for the Maral, it’s been around for several years but has been marketed only in Europe and Australia. It’s essentially a BAR without the gas system. The bolt is cycled manually—but only the opening stroke. The action closes automatically, just as on a semi-auto. This makes it the fastest of the straight-pulls. Its raison d’être is that some countries don’t allow hunting with a semi-auto, and the Maral is as close as you can get without it being a semi-auto.
Straight-Pull Drawbacks
If there’s a weakness in the straight-pull bolt-action concept it’s that it lacks the tremendous camming force that a traditional bolt-action can exert to chamber a dirty cartridge or extract a sticky case. In all honesty, though, extraction problems are usually due to handloads that are too hot or because a case has been resized too many times. Factory ammo or once-fired reloads properly resized are no problem.
Yes, straight-pulls are more complicated and expensive to make, but I still hope some American gun manufacturer takes up the challenge … soon!
The article originally appeared in the December 2019 issue of Gun Digest the Magazine.