Nighthawk Custom’s T4 is an elegant work of art, but it’s also a fine pistol that serves equally well in defense of life.
Why the Nighthawk Custom T4 is a serious consideration for defense:
- Nighthawk’s “One Gun, One Gunsmith” approach ensures the highest quality production.
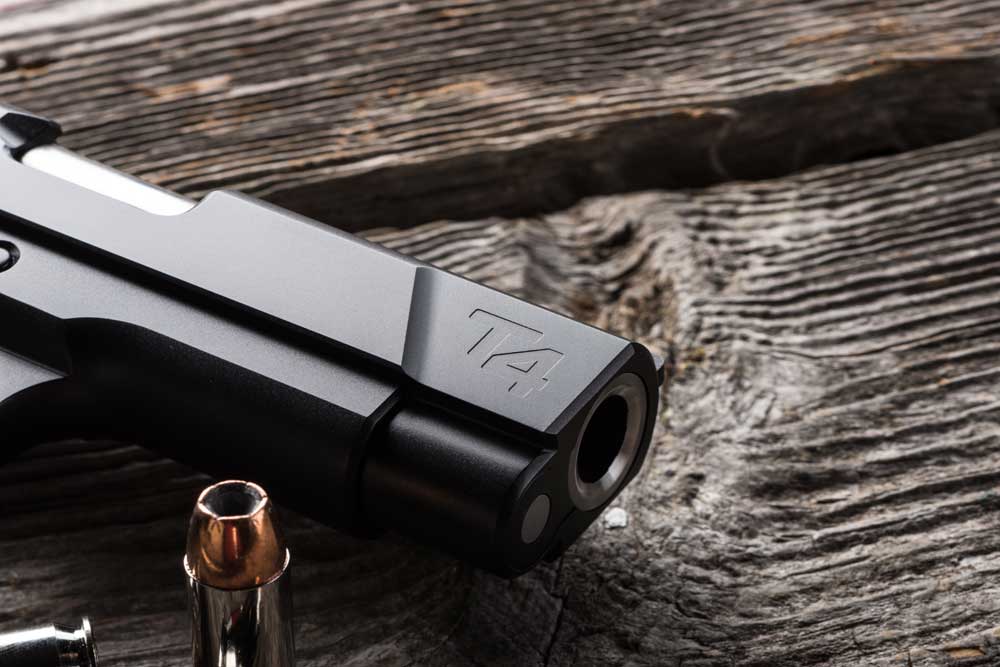
- It features a shorter 3.8-inch match grade barrel.
- This allows the gun to be concealed but remain highly shootable.
- The entire gun is beveled and dehorned for comfortable carry.
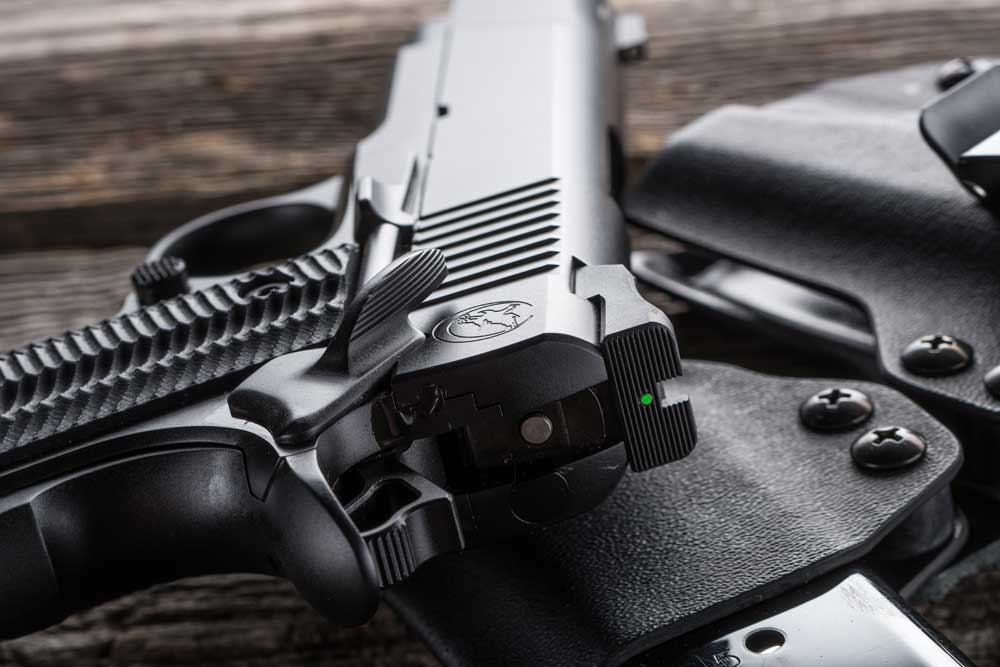
- The Tritium night sights are highly useful in low light, when most shootings occur.
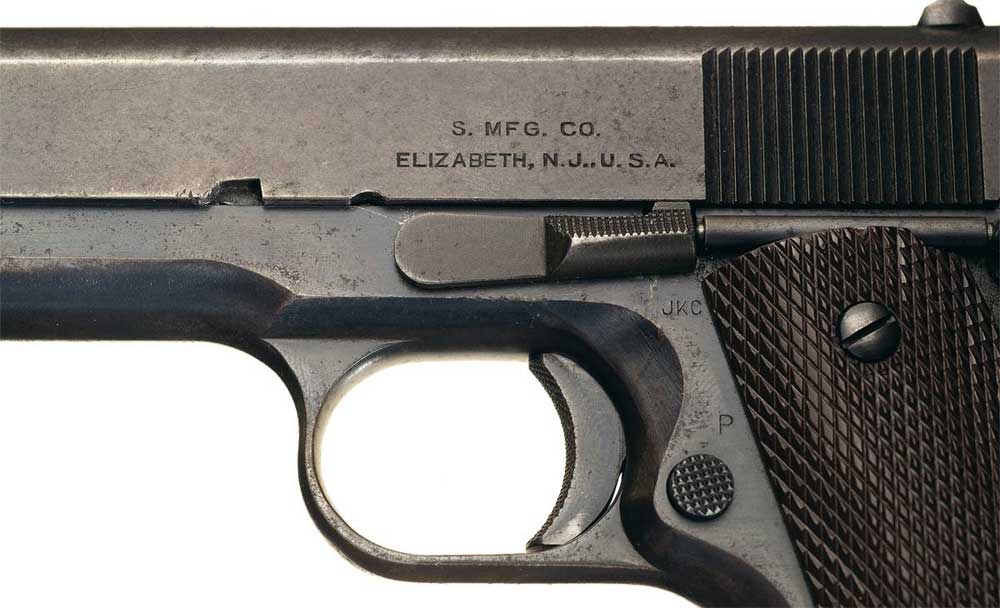
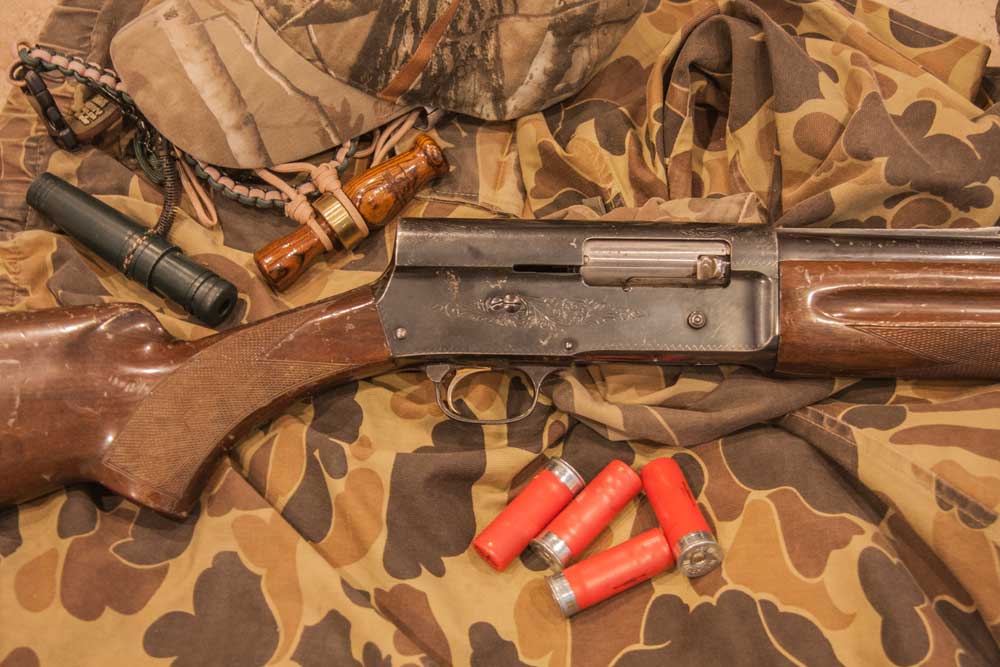
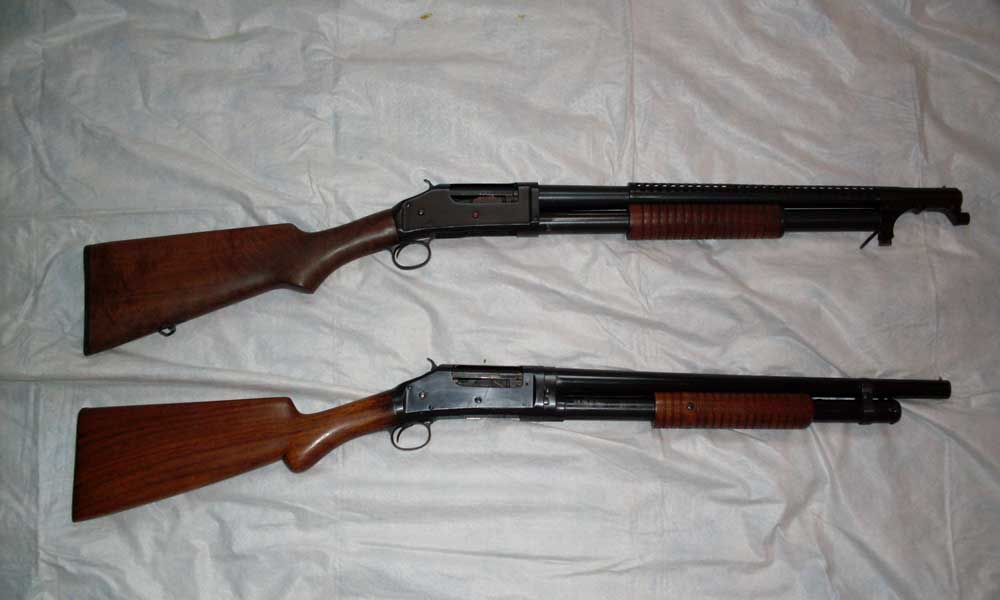
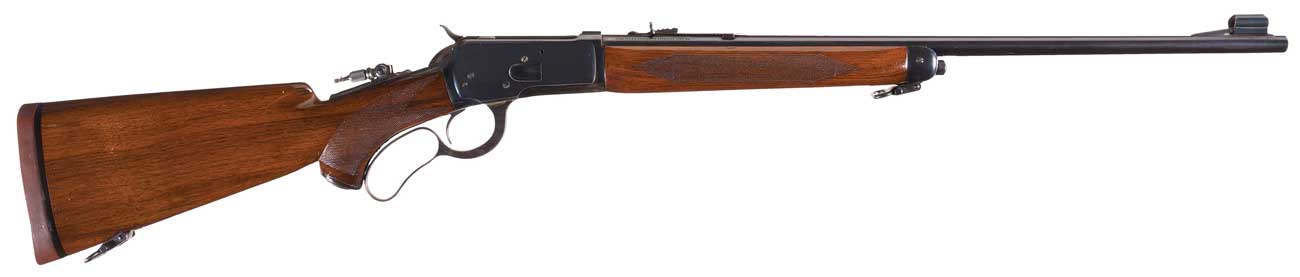
The beginning of the 20th century was a classic age for shotguns. High-quality shotguns were being made here in the United States and around the world. Most guns sold were standard-grade guns, perfectly serviceable for hunting and recreational shooting, but during that time — and continuing on through modern times — there has been a demand for high-quality ”bespoke” guns. That desire for firearms that are a cut above the norm continues today in shotguns, rifles and pistols.
I’ve said many times that it’s harder today to buy a bad gun than a good one. Modern manufacturing techniques, the open information stream of the internet and a more educated gun buying public have stifled the sales of inferior, poor-quality guns, and such firearms simply don’t survive.
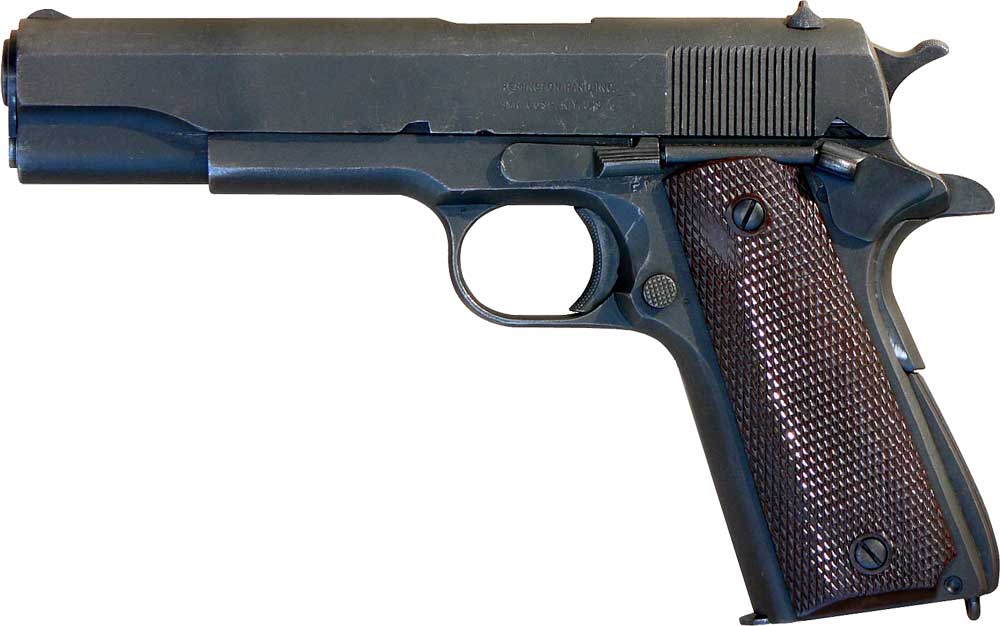
 Of course, the computer-designed and machine-formed guns widely available perform reasonably well. They function reliably, they’re reasonably accurate, and they produce the same terminal ballistics as their handmade and much more costly counterparts, but they lack the feeling of being truly crafted by the hands of a true gunmaker.
On a practical basis, there’s no practical reason to spend several thousand dollars for a handgun, but there are several companies across the country who are doing a thriving business building them simply because there’s a demand for a firearm that’s a cut above the norm.
 A Cut Above
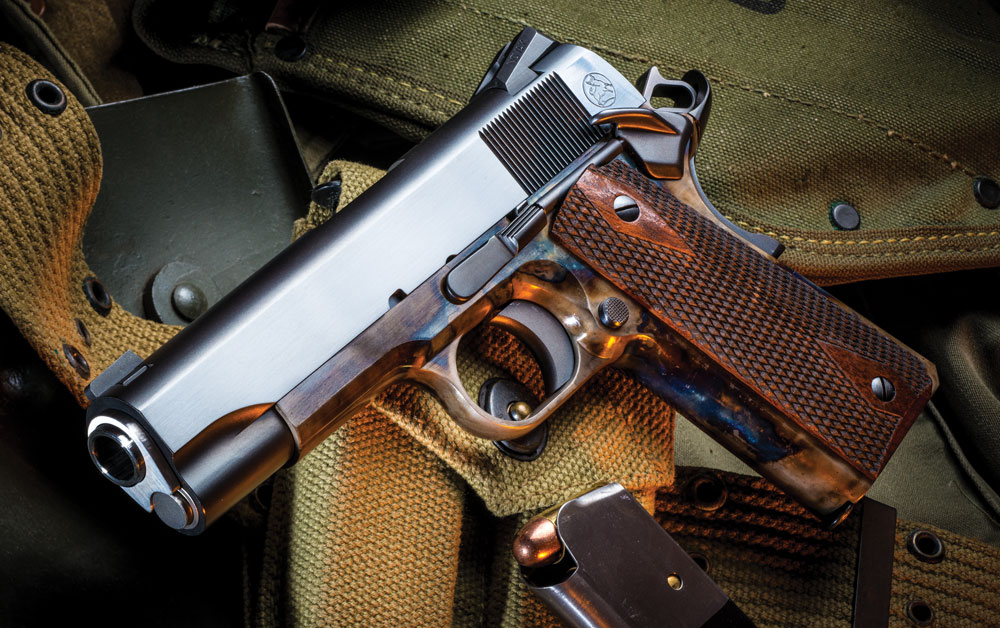
Such are the 1911s built by Nighthawk Custom. According to Tim Lehr, Director of Marketing, “It all revolves around one gun, one gunsmith. Every Nighthawk Custom pistol is stamped with the initials of the gunsmith who builds it.” Forged frames and slides, machined parts, match-grade barrels and bushings, all hand-fitted by a master gunsmith, create a gun that’s not only functional and accurate beyond the capability of the best shooter, but also an heirloom that can be proudly handed down for generations.
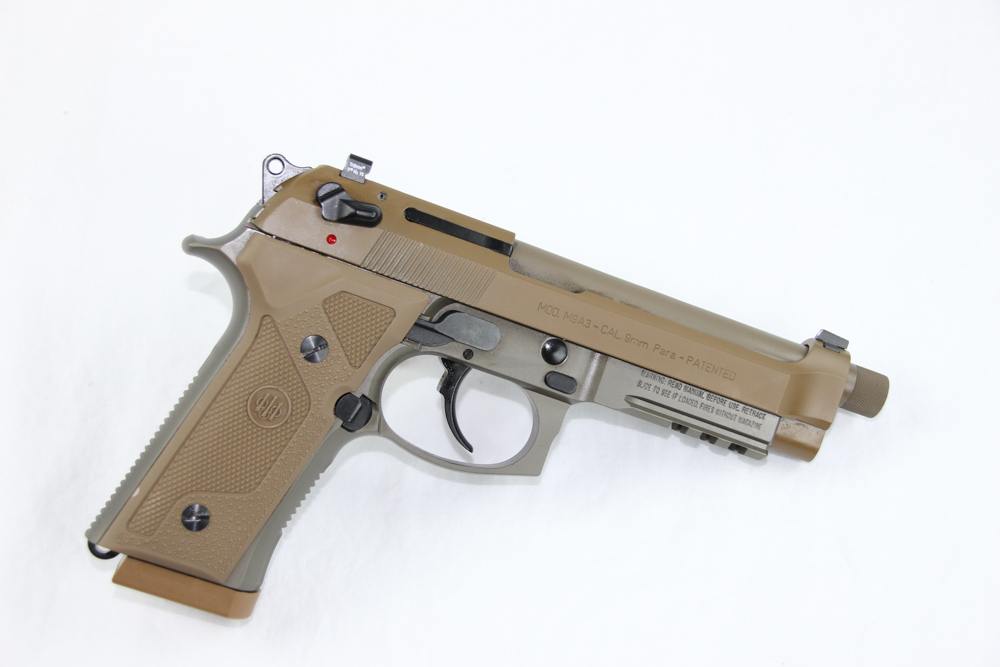
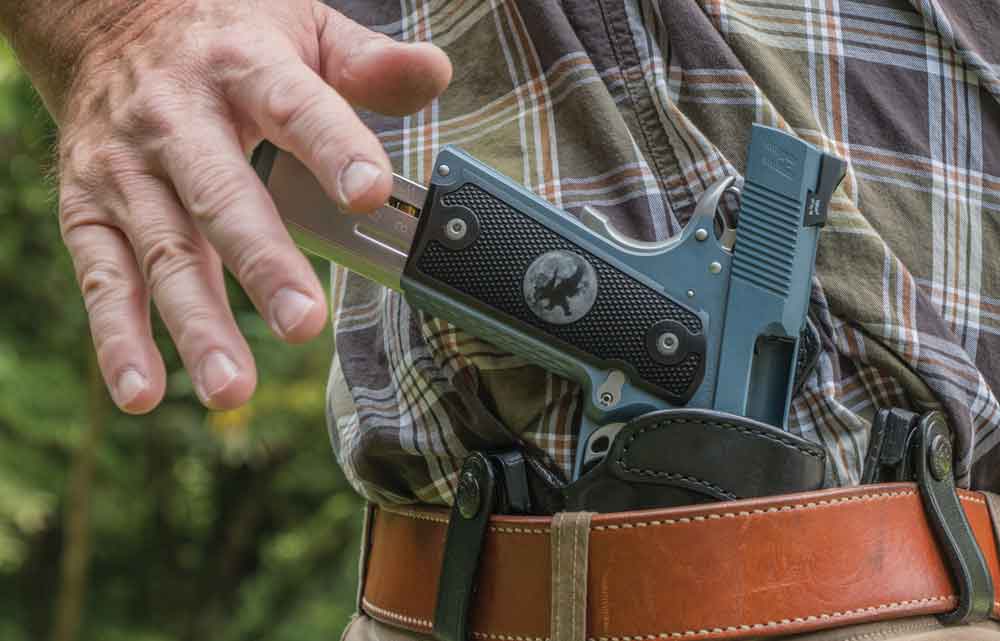
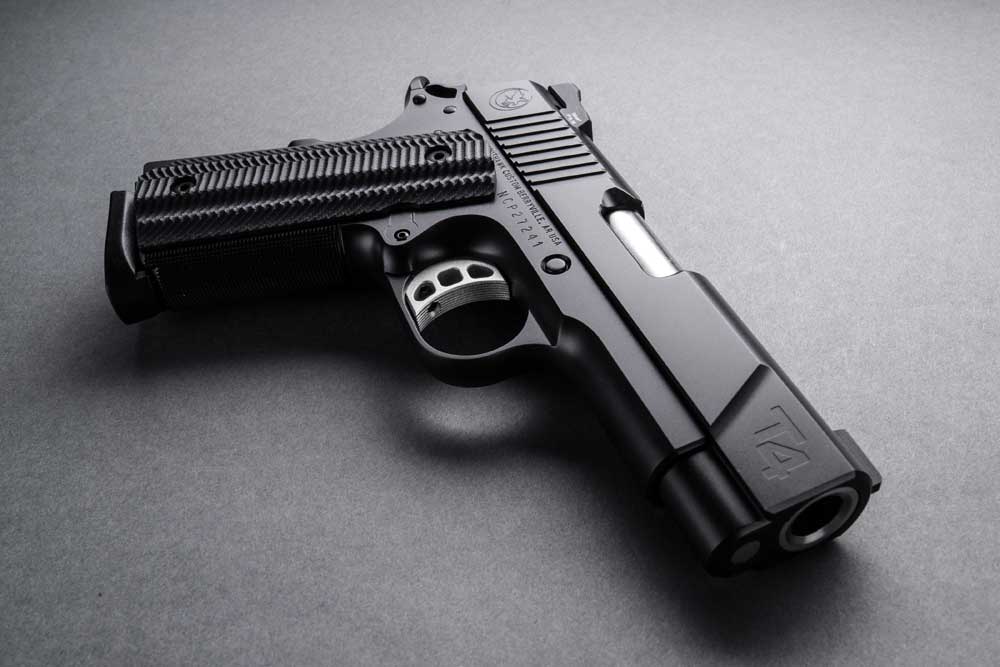
Nighthawk’s T4 is such a gun. Designed for concealed carry with a 3.8-inch match-grade bull barrel for more reliability than the shorter-barreled T3, the T4 also features the Everlast flat spring recoil system for more manageable recoil and faster follow-up shots. It’s built on a forged Officer-sized frame, making it more compact — but still maintaining a seven-plus-one capacity in .45 ACP. Other features include a thinned frame for more concealability, weight-reducing cuts on the front of the slide and thinner G10 grips. It’s available in 9mm Luger and .45 ACP.
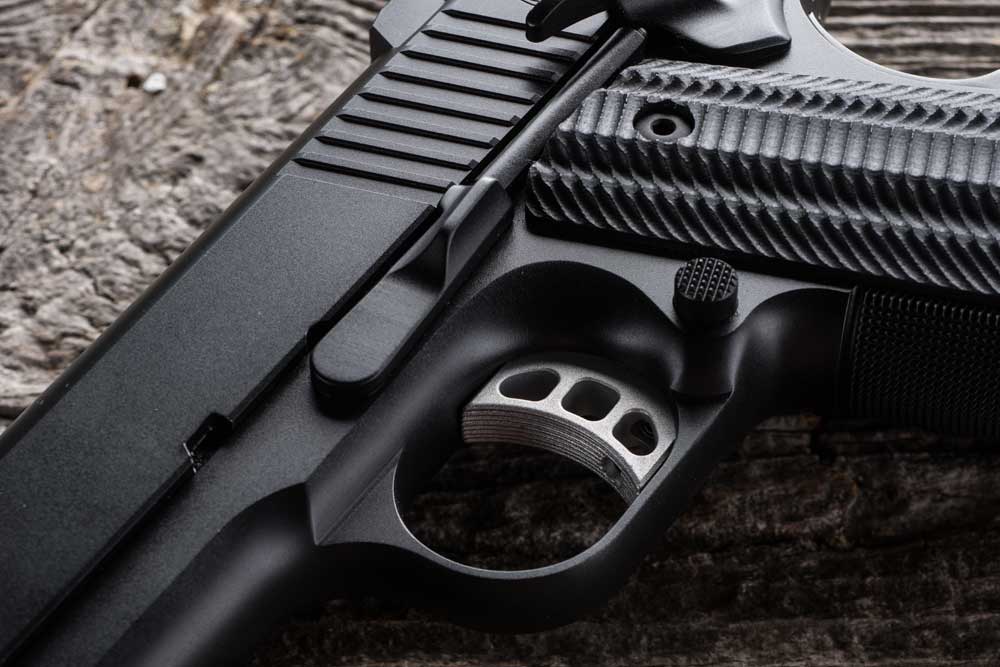
 There are coarse cocking serrations on the rear of the slide and 25 lines-per-inch checkering on the front and back straps. The beavertail is generous and melted for comfort, as is the thumb safety. In fact, the entire gun is beveled and de-horned for comfortable carry.
The rear sight is a Heinie Straight Eight Slant Pro Tritium night sight with a Tritium front sight, and the blade width of the front matches the rear notch well for fast and precise shooting. To enable a higher grip, the front strap is cut higher than normal and smoothly contoured. Both hammer and aluminum trigger are skeletonized and adjustable for backlash.
 Where Brawn Meets Beauty
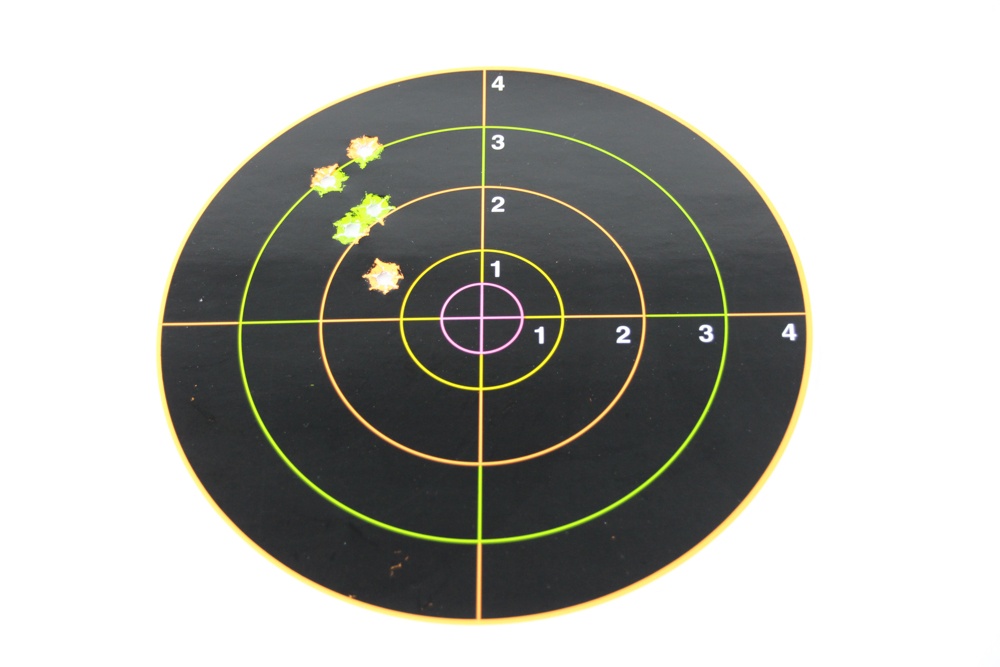
As would be expected on a firearm of this level of quality, each gun is tested before shipping and comes with a target that reflects the name of both the builder and the tester. My test gun was built by K. J. Phillips and tested with three bullet configurations for reliability. The test group was a slightly elongated hole. I suspect there are few, if any, shooters capable of fully utilizing the accuracy capabilities of this gun.
Shooting the T4 was pleasant and comfortable. The front and rear checkering, along with the G10 grips, provided ample purchase but weren’t rough on my hands. The smoothly melted safety was positive in both engagement and disengagement, and the trigger was exceptional, breaking on my scale at 2.8 pounds, crisp and with no discernible backlash.
 At my standard test distance of 15 yards, it was possible for me to shoot ragged holes in deliberate two-handed shooting. Fast shooting resulted in good groups and follow-up shots easy for a smaller 1911 in .45 ACP. Recoil was mild, partially due to the 34-ounce empty weight but also quite smooth, making it feel less abrupt for a downsized .45.
I fired more than 250 rounds during the test, mostly Winchester Win3Gun 230-grain ammo, but I also ran about 60 rounds of Winchester Kinetic HE 185-grain hollow-points. There were no malfunctions with either, and while this is hardly a definitive test, there’s no doubt of Nighthawk’s reputation for reliability.
Going For A Walk
While shooting targets is the standard method of testing a handgun, the Nighthawk T4 is designed for personal defense and concealed carry. If you live a t-shirt and soccer shorts kind of life, you might find the Nighthawk a bit bulky and heavy. If you wear a jacket or leave your shirt tail outside you pants, the T4 is easily concealable.
It’s slimmer than normal 1911s due to the trimmed-down frame and thinner G4 grips. Yes, it’s a bit heavier than some compacts, but if you like 1911 .45s, it’s only five more ounces than an alloy-framed Commander, and it has a forged and machined steel frame that will last several lifetimes.
 Other features of the T4 indicate its dedicated mission to personal defense. The safety is easily disengaged, but unobtrusive, and engagement is positive in both on and off positions. When carrying single-action semi-autos with manual thumb safeties in position one — round chambered, hammer cocked, safety on — a vague feeling safety can become accidently disengaged while fastening a seat belt or other maneuvers. That’s not a concern here.
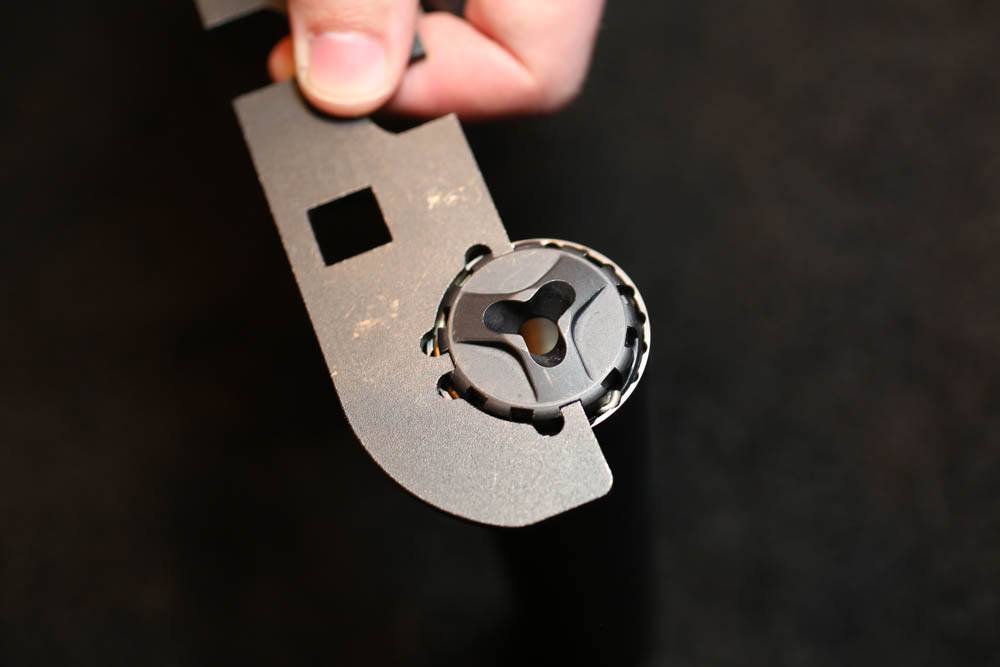
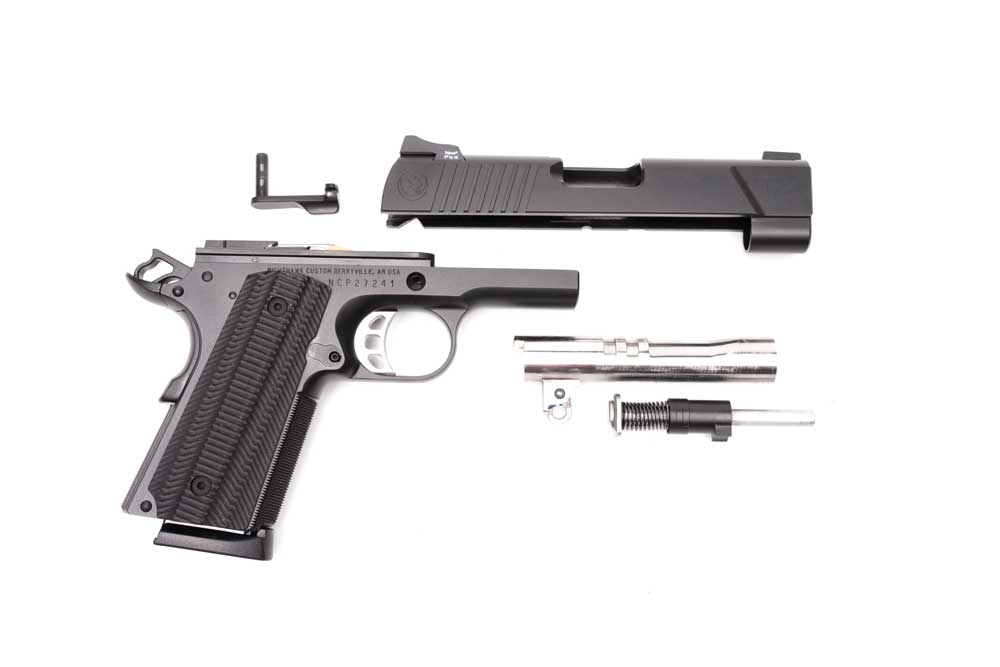
Disassembly for cleaning is a bit off the norm for 1911s, as are all bull-barreled 1911s. To disassemble, clear the chamber and remove the magazine, lock the slide to the rear, insert the disassembly tool in the guide rod, and slowly release the slide. You can then remove the slide lock, and the slide comes off the front. The guide rod and barrel will then drop out of the slide.
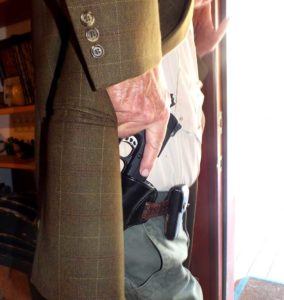
I carried the T4 for a few days in a Galco Concealable Belt Holster, and it was quite comfortable, though it would have been a bit difficult to hide in my normal summer dress of shorts and a tucked in shirt. Depending on your preference, a lighter and smaller striker fired gun might be more suitable, but no one will argue that a gun like the Nighthawk Custom T4 is a gun that’s a cut above the average and likely to be passed down to the next generation with pride. Pricing starts at $3,495.
Specifications:
Nighthawk Custom T4
Type: Semi-auto, single-action
Caliber: .45 ACP
Frame: Forged, Officer sized
Barrel: 3.8 in.
Overall Length: 7.4 in.
Height: 4.99 in.
Width: 1.32 in.
Weight: 34.3 oz.
Grips: Thinned, G10
Trigger: Skeletonized aluminum with backlash adjustment
Capacity: 7+1
Sights: Heinie Straight Eight Slant Pro Tritium Rear, Tritium Front
Finish: Black nitride
MSRP: $3,495
Editor’s Note: This article is an excerpt from the December 2017 issue of Gun Digest the Magazine.