
Editor’s Note: This article is an excerpt from Gunsmithing the AR-15: The Bench Manual, by Patrick Sweeney
One of the most common questions that comes up in an AR armorer’s class is, “In what order do you assemble a box of parts?” No, really. I get questions like this all the time.Let’s take a look at how to assemble an AR from a box o’ parts.
In what order do you assemble a box of AR-15 parts?
- Inventory the parts.
- Inspect the parts.
- Start by checking the fit of the upper and lower.
- Check the fit of the other major parts.
- Assemble the upper and the lower according to the sequence below.
- Connect the assembled upper and lower.
Inventory and inspection
First pull everything out of your box o’ parts and do an inventory. Some parts may be missing, duplicated, wrong or even unidentifiable. You want to make sure everything you need is at the ready before you start.
Next, do a preliminary inspection of the parts, making sure they are the correct ones. For instance, if you ordered a barrel with a 1/7 twist, is it marked to reflect that? If not, you have a return or exchange to make. Similarly, if you ordered a barrel with a mid-length gas system, and the gas tube that arrived with it is a carbine or rifle tube, you need to make a swap. Do you have the correct buffer for the stock? Is it the correct stock?
Once you’ve made sure that all the parts are there, and they are the ones you asked for, you’re ready to check fit.
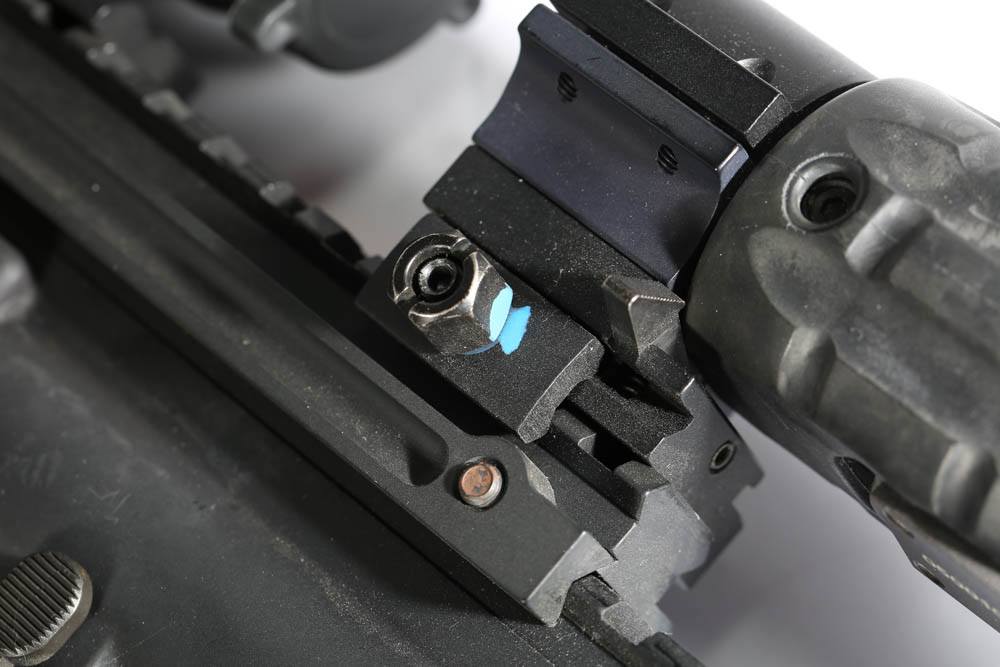
Checking the fit of the parts
Start with the upper, lower and the two takedown pins. Press the upper and lower together, passing the front pin through. Don’t worry about the retainer or spring, just fit the pin. Check that the upper hinges smoothly on the lower. If not, you’ll need to swap parts until you find ones that do. Close the upper and lower, pressing the rear pin through. It should slide in smoothly. The upper and lower should have little or no wobble.
If you can’t fit the pin in, or it needs to be pressed or hammered, pass on this set and have the place you got it from replace one or both.
Here’s a pro tip. If you have other rifles, go on a fit-check mission to see if your other uppers and lowers will match the new ones. If you’re willing to do some swapping, you can often find a set that will work.
If all of your parts came from a genuine mil-spec shop and they don’t fit, you have cause to complain. But the volume of good non-mil-spec products is large. The number of real-deal mil-spec parts is a small subset. You can build a perfectly good AR and not have a single mil-spec part in it. That’s your choice.
Check how well the other major parts match. Does the barrel extension slide smoothly into the upper receiver? Is it excessively loose, or does it fit so darn tight you’ll need a mallet?
Does the buffer tube screw into its hoop on the lower, or not?
Is the handguard the one you asked for, and will it fit the barrel length? If it is supposed to come with a replacement barrel nut, does it?
Upper and lower assembly
It doesn’t matter if you start assembling the upper or lower. I tossed a coin, and tails came up. So I took that as a sign that I should describe the sequence of assembling a lower first.
Assemble an AR-15 lower
Check the fit of the fire control parts in the lower. Do they fit? Do the pins go through? Is the trigger pull something approaching normal? If so, pull them out. Check the fit of a magazine to the lower. Does it slide in normally and fall out of its own weight? Good, then we can go on.
Assemble the lower in this sequence:
- Install the bolt hold-open, trigger guard, front takedown pin, fire control parts, pistol grip and then the stock.
- Since it doesn’t have to depend on anything else, you can install the magazine catch any time that suits you.
- If there are any extra parts or accessories you want to put on the lower, add them last, unless they have a reason otherwise. One example would be the single-point sling plates on buffer tubes. If you are going to use one, install it as part of your stock assembly. Don’t install a plain one only to remove it and replace with a single-point.
Assemble an AR-15 upper
Assemble the upper in this sequence:
- Begin with the bolt and carrier. Check the carrier for a properly staked key. If wrong, get it staked.
- Assemble the bolt, with all of its upgrades and do the function checks.
- Install the forward assist, if any, and the ejection port cover.
- Install the barrel, gas or piston system, flash hider or muzzle device, handguards, sights and optics, and then put the upper and lower together.
There, that wasn’t so hard, was it?

Truth is, I had to figure this out from scratch back when Reagan was President. I made mistakes, but then I moved on, and here I am. So, if you make minor mistakes non-essential to function, while assembling your rifle, it isn’t the end of the world. Look on it as a learning experience, and make the next one better.
Editor’s Note: This article is an excerpt from Gunsmithing the AR-15: The Bench Manual, by Patrick Sweeney

Next Step: Get your FREE Printable Target Pack
Enhance your shooting precision with our 62 MOA Targets, perfect for rifles and handguns. Crafted in collaboration with Storm Tactical for accuracy and versatility.
Subscribe to the Gun Digest email newsletter and get your downloadable target pack sent straight to your inbox. Stay updated with the latest firearms info in the industry.


