There are a ton of great powders out there for reloaders — and not all of them are new.
Getting the most out of your powder:
The means of propelling a projectile is an often-overlooked link in the ballistic chain. Whether you credit the Chinese — who had developed the substance earliest — or the works of Friar Roger Bacon, the use of gunpowder to launch a bullet changed the world forever. Black powder, that mixture of sulfur, saltpeter and charcoal, remained relatively unchanged until the mid-19th century, when nitric acid was put upon cellulose to produce nitrocellulose.
This substance was known as guncotton, and it was capable of producing pressures and velocities much greater than its black powder counterpart, and it took a bit to develop metallurgy that could withstand the pressures generated. Later, in 1887, Mr. Alfred Nobel invented Ballistite, which consisted of a mixture of nitroglycerine and nitrocellulose and created a plasticized substance that was a stabile compound. This substance was something of a precursor to cordite, a British version introduced two years later.
Cordite was the chosen propellant for many of our classic cartridges. One of cordite’s little peculiarities was the fact that it was extremely sensitive to temperature fluctuation, and those cartridges that were developed in England and Continental Europe often saw dramatic pressure increases when brought to Africa and India. The heat of the tropics quickly brought out the flaws of cordite, from extraction troubles to cracked receivers, and this is why some of the huge cases like the .416 Rigby and the .470 Nitro Express came about. They simply needed that case volume to keep the pressures at an acceptable level.
Our modern era of smokeless powders has seen incredible advances in the science of propellants; these new developments have made the older cartridge designs even more effective, and they’re an important part of the excellent accuracy we are all enjoying today. It’s relatively simple: Accuracy is — taking the shooter’s effects out of the equation — a product of consistency, in cartridge, projectile and barrel.
The Silent Partner
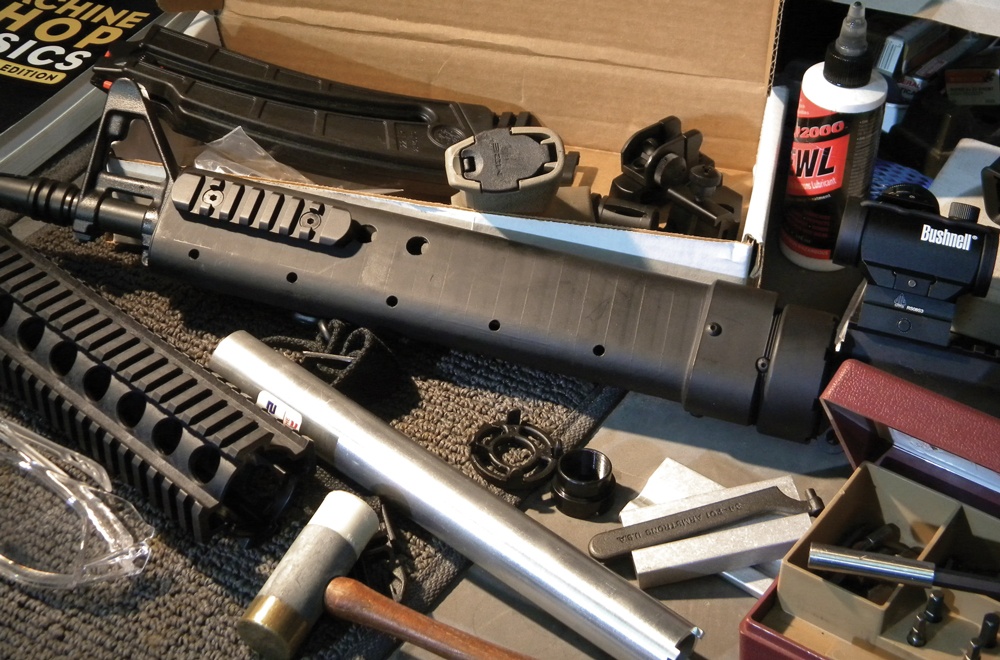
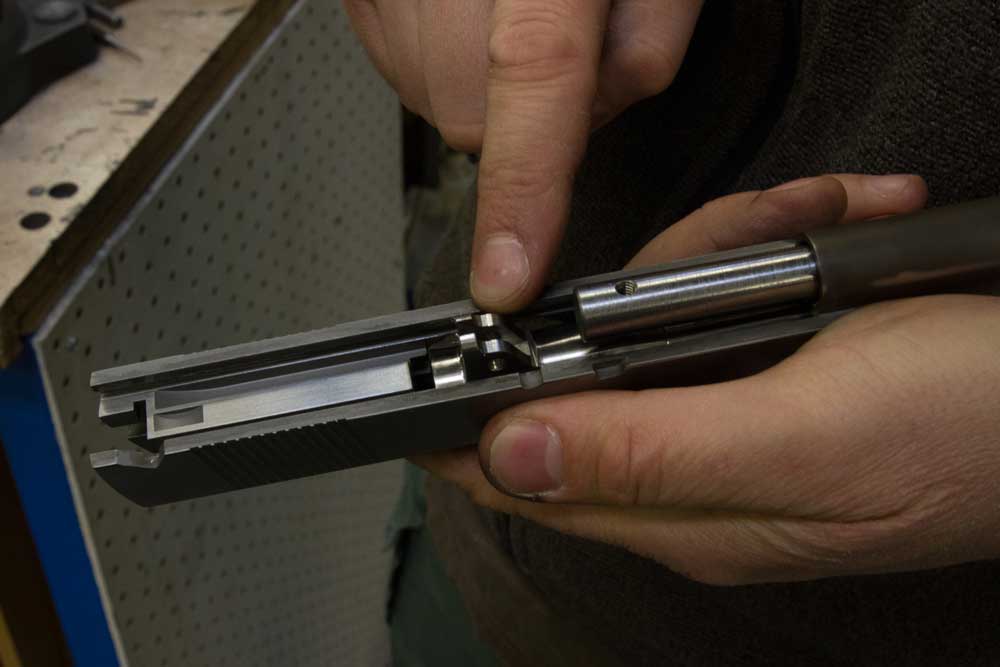
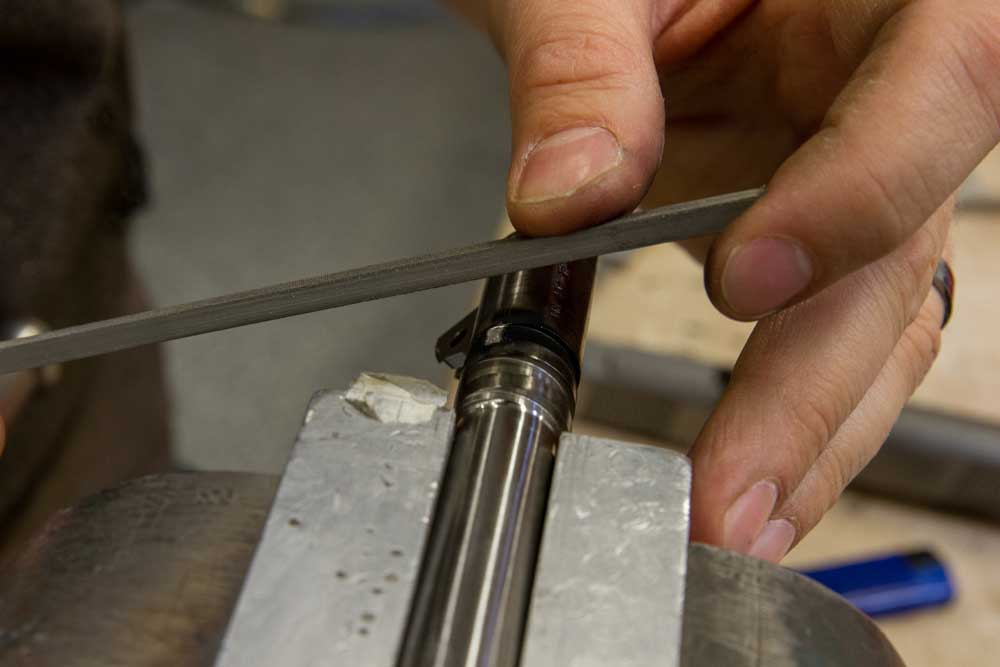
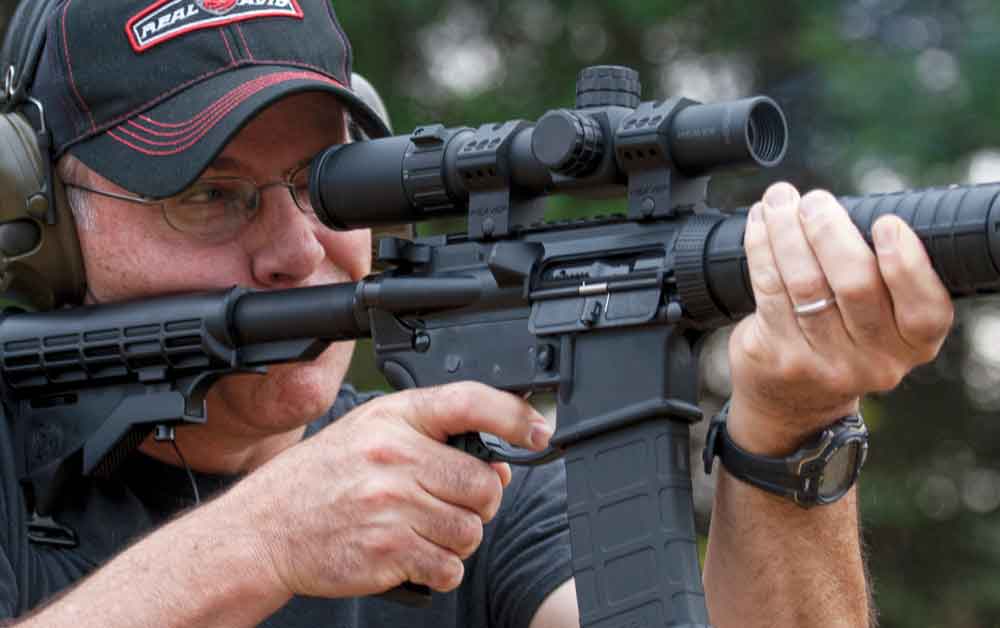
We’re all pretty familiar with the quality of modern barrels, and most definitely with the fantastic bullets of the 21st century, but the powders have an equally important role. If you’re not a handloader, you might not have an opportunity to examine or experiment with the variations in powder performance, at least not in a method that is controllable.
If you handload your ammunition, you’ve more than likely seen how big a part that powder choice plays in the results of your handloaded ammunition. In either case, a deeper investigation is warranted in order to best understand how our ammunition works and how to arrive at the best results for your particular shooting situation.
There are three types of grain structure we need to be concerned with: flake, ball and stick. Flake powders are usually employed in handgun cartridges and shotshells, as they tend to have a fast burn rate that is optimal for both of those applications. Ball powders are good choices for rifle cartridges with a lesser case capacity, especially when using the longer-for-caliber bullets. Stick powder is extruded into thin, spaghetti-like sticks and then cut to a specific length. It’s stick powder that dominates the rifle cartridge market.
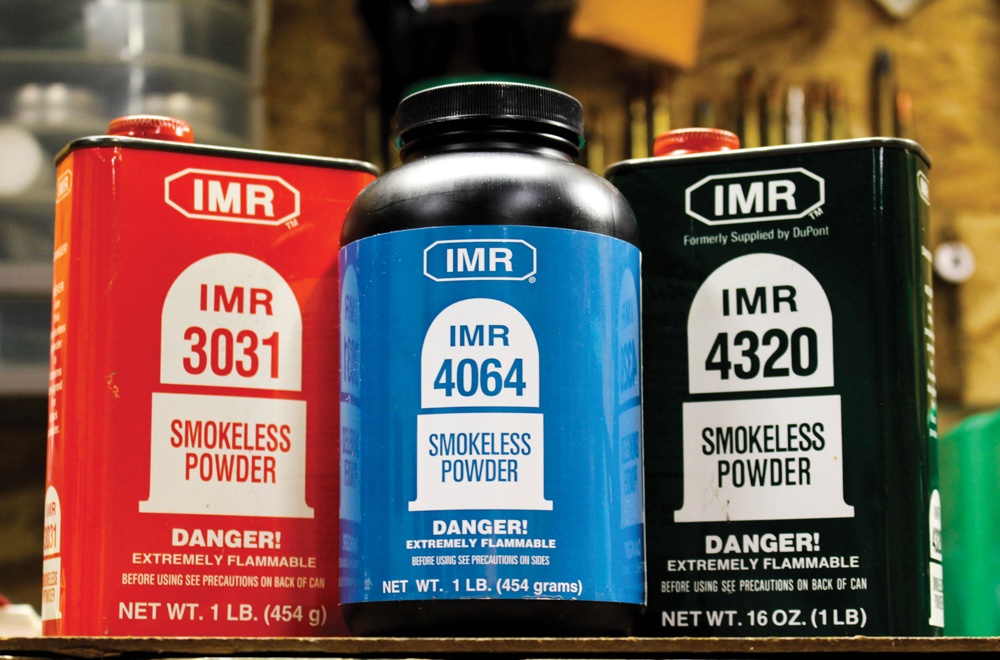
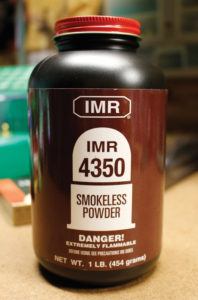
We owe much to the DuPont company, founded in America just after the turn of the 19th century, for the development of powders we’ve relied on for the past 80 years. Under the IMR, or Improved Military Rifle, brand, DuPont gave us the classic IMR 3031, IMR 4064 and IMR 4350 — all during the 1930s. These powders gave handloaders and wildcatters a means of expounding on the magnum cartridge idea, developing higher pressures and correlative velocities.
After the Second World War, Bruce Hodgdon — who learned that the U.S. government had burned huge amounts of surplus powder at the end of WWI — decided that he’d market surplus powder. The Hodgdon Powder Company sold kegs of 4895 — designed for the .30-06 but useful in many cartridges — and began a journey that continues to this day. While those early powder developments are still used by many today, there are many new offerings that have changed the game.
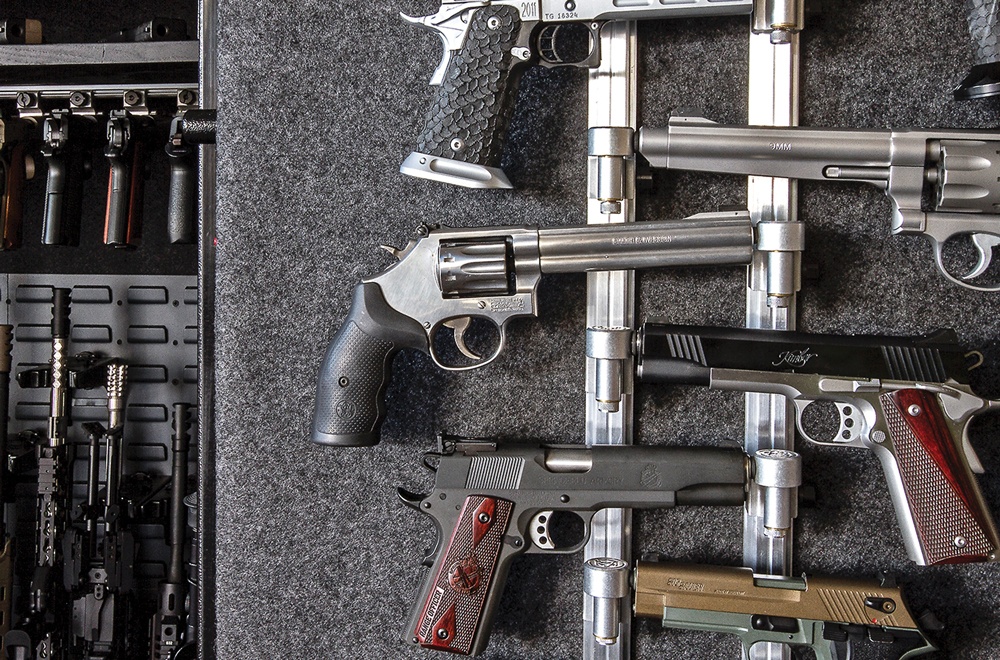
As a handloader, I use many different brands of powder, including Hodgdon, IMR, Winchester, Alliant, Norma and Vihtavuori. Some of the first accurate loads I ever developed are still in use and will more than likely remain so, based on the “if-it-ain’t-broke-don’t-fix-it” theory, but I also enjoy experimenting with new powders in a constant effort to improve performance.
In the effort to enhance accuracy — something every shooter chases — powder engineers have made every effort to reduce the velocity variations produced by temperature fluctuation. It has been an accepted premise that ammunition would lose 1-2 fps for every Fahrenheit degree of change from the mean temperature of 68 degrees, which might not seem like much, but it’s a definite factor when hunting in extreme temperatures. It also might not dramatically affect trajectory at sane hunting ranges, but it can be a nagging problem for the long-range target shooters.
New-But-Proven Champions
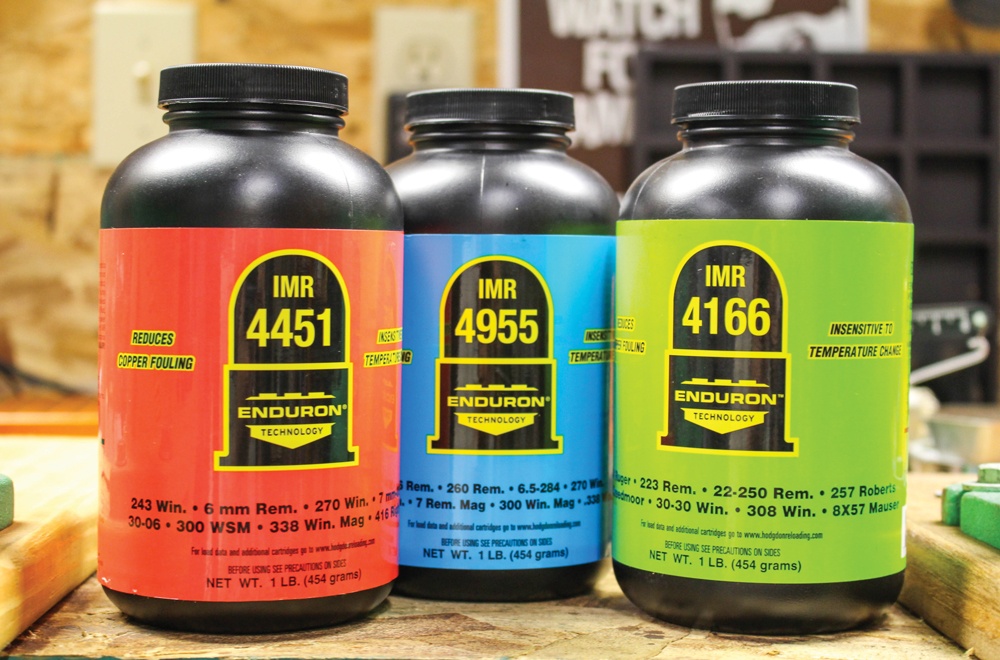
temperature insensitivity, as well as reducing copper fouling.
Hodgdon has been at the forefront of powder development, in both their Extreme line — which includes VARGET, H4831SC, and H322 — and in the IMR Enduron line (IMR is currently owned by Hodgdon), and both series of powders are designed to virtually negate the effects of temperature fluctuation. I’ve done a bit of work over the years with both of these lines of powders, and they’ve been true to the advertised claims.
When I handload my ammunition for African hunting, I do my best to test the ammo in the hottest conditions I can muster. I leave the cartridges and rifle in the summer sun to get them as warm as possible, and then test for pressure signs. If the area of Africa I’m hunting is cooler, then there are no pressure concerns, perhaps at worst a change of point of impact.
When I was heading to South Africa to hunt the first week of November, I knew things would be warm, but not as warm as I found out it would be. I had loaded a bunch of .300 Winchester Magnum with IMR 4451 — one of the quartet of Enduron powders — and found the accuracy pretty close to maximum. Temperatures during load development peaked at about 80 degrees, but our first full hunting day in South Africa rose to 112 degrees, and that’s hot enough to test the mettle of any powder. I’m happy to report that the Enduron powder functioned perfectly, giggling at the effects of the African blast furnace.
H335, one of Hodgdon’s spherical powders designed to run perfectly in the .223 Remington, saved the day for me when my Dad and I headed to Tanzania. Ol’ Grumpy Pants was bringing a Winchester Model 70 in .458 Winchester Magnum for Cape buffalo and wanted 500-grain bullets at 2,150 fps. I had some of the old A-Square Dead Tough softpoints and Monolithic Solids and went nuts trying to find a powder that would give me velocities anything close to what I wanted. Enter H335, a powder that took up the least amount of room yet delivered the goods in both the accuracy and velocity department. Three-shot groups measured an average of 1.5 MOA, and muzzle velocities ran at 2,120 fps. Mission accomplished.
A key part of accurate ammunition is a consistent muzzle velocity. The serious long-range shooters strive for a standard deviation on velocity in the single digits to ensure the most consistent performance. Hunting ammunition doesn’t necessarily need that same level of consistency, but it sure doesn’t hurt.
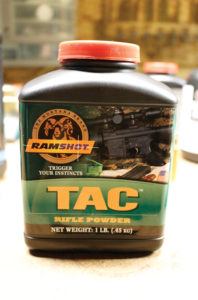
Sometimes, experimenting with new or different powders will yield some unexpected results in a rifle that will appear unsatisfactory. My buddy has a family heirloom: a Savage Model 99 in .300 Savage. That rifle, while equally handsome and sentimentally valuable, didn’t like any factory offerings; some groups were as large as 4 inches. Mike had given up on the rifle until I suggested we handload for it. The first attempts were fruitless. I grabbed a canister of Ramshot TAC powder, which has a burn rate perfect for the .300 Savage cartridge, and set to work. The first set of loads gave us 1.5-MOA groups, and after some tweaking, we got that rifle to print sub-MOA.
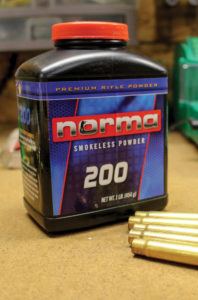
When my wife was preparing for her first safari, she knew she wanted to use her Legendary Arms Works Big Five rifle in .375 H&H Magnum. She trained with all sorts of ammunition, but we settled on a 235-grain Cutting Edge Raptor for the plains game species she was after. Experimenting with a few powders that I’d used in the three-seven-five before, I wasn’t getting what I wanted for Mama.
Once again, I tried some Norma 200 powder on a whim and was more than pleased with the results. Group size was 0.8 inch at 100 yards, and muzzle velocity was just shy of 2,800 fps. Had I stayed with the powders that work so well with the 300-grain bullets, I might have given up on the bullet and missed out on a great combination.
Pistol cartridges are equally benefitting from powder advancements. The Barnes XPB bullet is a good choice for those who hunt with a handgun, but it will definitely pose some different reloading challenges. They are long for caliber and take up a good amount of room in the case. Classic powders like Unique and Bullseye are still valid, but other choices such as AA No. 9 from Accurate Arms can make a huge difference in performance, especially with the monometals. Likewise, powders like Titegroup, CFE Pistol, IMR Unequal and Alliant’s Sport Pistol all deserve a worthy audition in your favorite handgun cartridges, where applicable.
Time-Proven Propellants
Now, with all these new developments, does that mean the old standbys are sent into obscurity? I don’t believe that’s the case at all.
Good old Reloder 19 — a powder oft cursed for its mood swings correlative to the thermometer — has given me some very accurate results. The same can be said for IMR 4350. Alliant’s Reloder 15 is a neat little secret for so many of the big-bore cartridges I love, giving good velocities with what feels like an appreciable reduction in recoil. IMR 4064 has been with us for over 80 years, yet it still fuels a .308 Winchester, .22-250 Remington and .375 H&H perfectly. That said, if I know for certain that I’m headed into an extreme environment, be it hot or cold, I might take full advantage of one of the less volatile powders and develop an entirely new load.
Battling Variances
What about the variances in powder, from one lot to the next? Does it play a part in the accuracy equation?
Absolutely.
I was invited to tour the Norma Precision ammunition plant in Sweden and got to see how the manufacturer’s African PH line of ammunition is put together. This ammunition line has a great reputation — my own Heym .404 will put three 450-grain Woodleigh softpoints from the Norma stuff into ¾-MOA — and I wanted to see what made it tick.
It turns out that the Norma African PH line is handloaded by a very talented man named Victor, and it’s part of that process to check the lot-to-lot variation in powder pressures and velocities. For example, the .470 Nitro Express ammunition needs to be at an even 2,150 fps in order to regulate properly in a double rifle. Each lot of powder is tested in a machine to verify that the tolerances are acceptable, and if not, an adjustment is made to rectify the variance.
Trust But Verify
I know — first hand — that all of the powder companies take every possible step to ensure that their products are the most consistent and repeatable that they produce, yet we handloaders need to be aware of the possible pitfalls, and the same theories explain why some factory ammunition will show variances from case to case. It’s better than it ever was, but still part of the bigger picture.
Should you change your favorite powder/bullet/cartridge combination? Well, that’s a personal decision, but I’m the type of hunter and handloader who likes to hedge his bets, always having a backup plan should we face the drought of 2013-2014. At the very least, you’ll enjoy the time spent with your handgun, shotgun or rifle while experimenting for a minimal investment.
Having good loads already developed for most of my rifles and handguns, I enjoy the sheer experimentation involved with new powders, adding to my library of loads. Either way, I feel that modern powder developments are as important as modern bullets or modern optics — they’ve made our lives as hunters and shooters much easier.
Editor’s Note: This article originally appeared in the December 2017 issue of Gun Digest the Magazine.