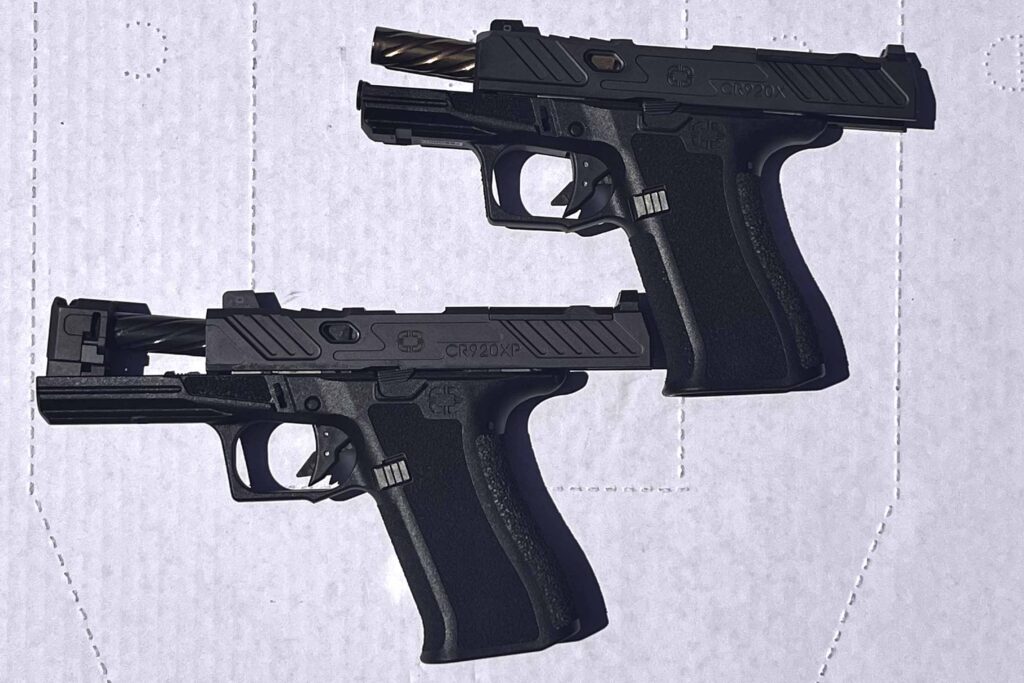
We tested CR920X vs CR920XP to see which compact Shadow Systems came out on top–the compensated XP or non-compensated X.
In general, I’m a fan of Shadow Systems and what they’re doing. It’s innovating, it’s putting out new products that meet market demand quickly. It’s dropped 4 new pistols in less than a year. Three of them have integrally compensated barrels that fit into readily available holsters.
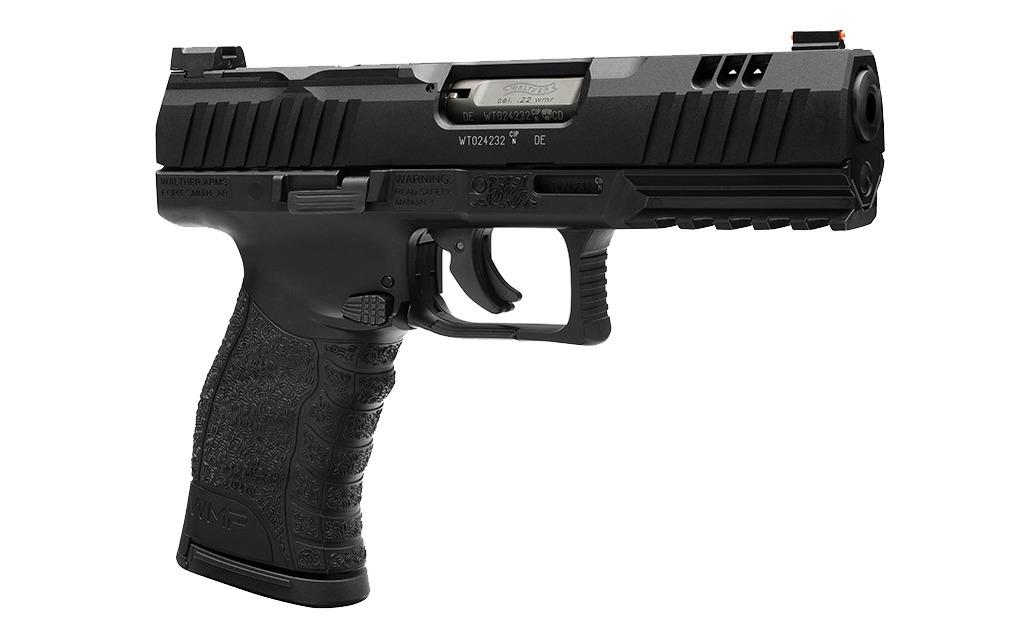
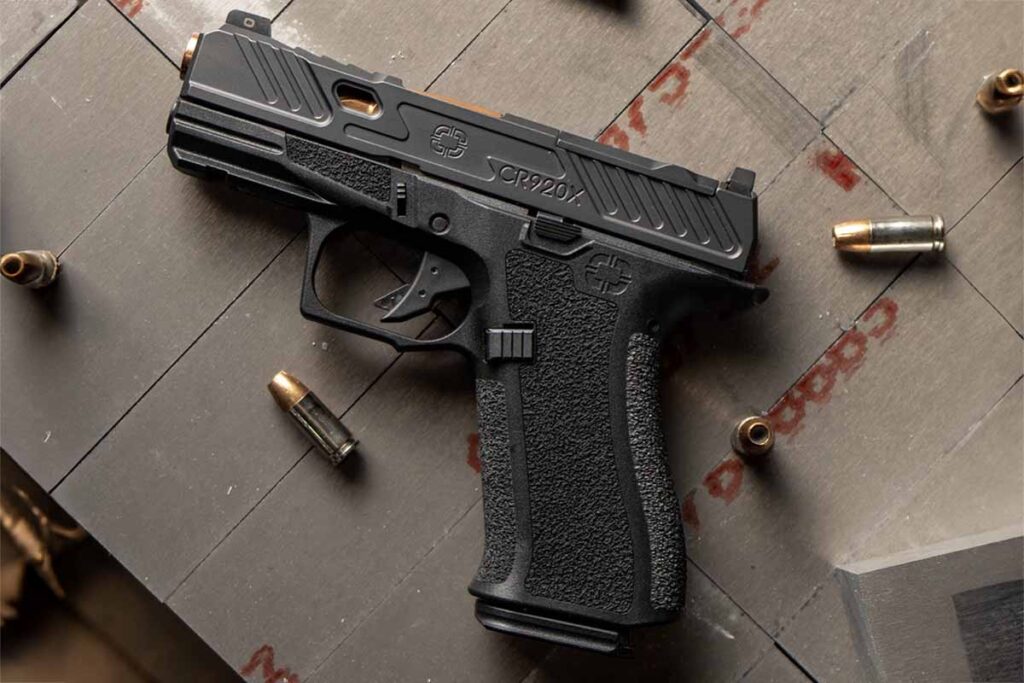
Most recently the company released the CR920X, its most requested pistol, akin to a Glock 43x or Glock 48. I say “akin” because it’s cross-compatible with Glock holsters and has the slim profile of a single stack. However, it boasts a 15+1 metal magazine in addition to all the trimmings we expect from Shadow Systems: stippled frame, optics ready, cross-compatibility and accuracy.
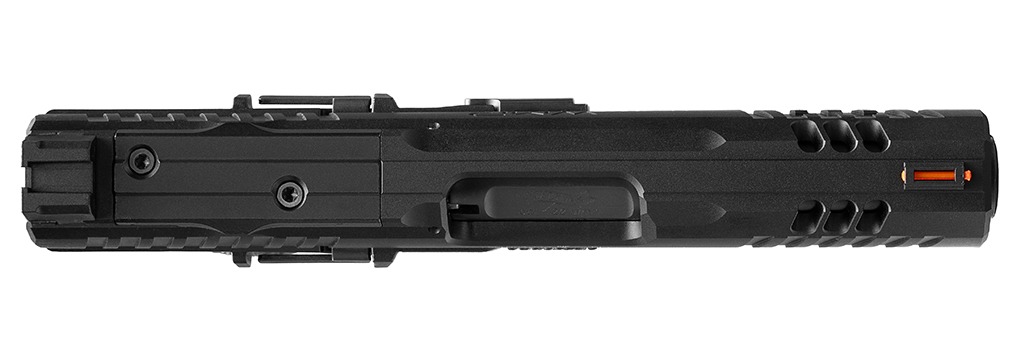
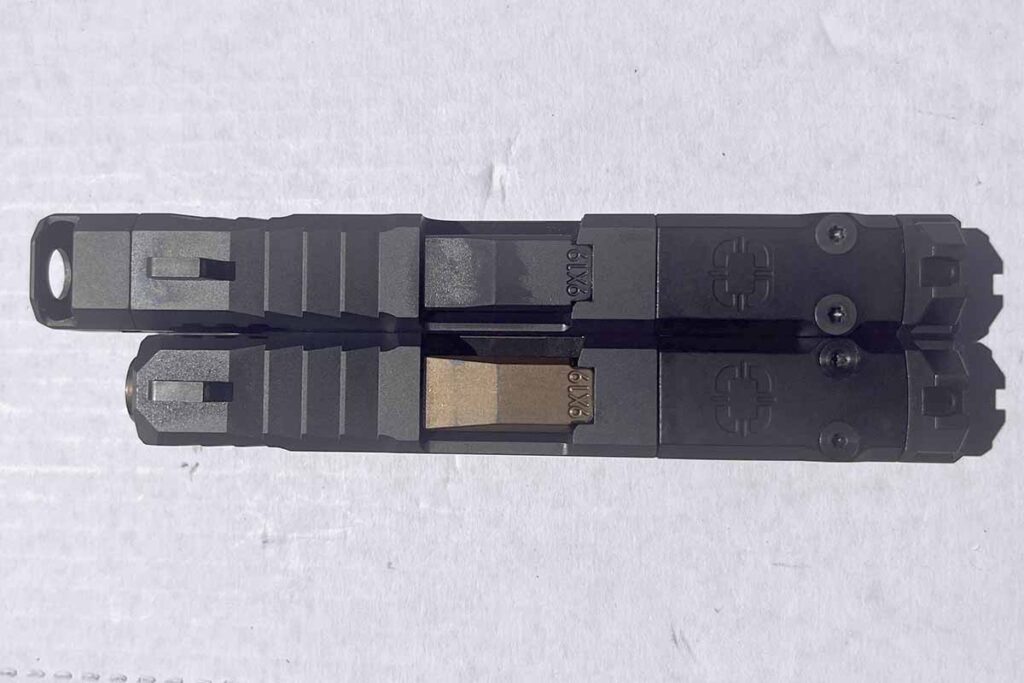
Then last month, they released an integrally compensated CR920XP. While it boasts many of the same features of the X, it has a slightly longer dust cover and most importantly an integral compensator machined from steel with a tool-less novel locking mechanism. This last feature makes it quite a different animal.
We will examine both of these offerings and compare and contrast them.
CR920X Overview
CR920X Specs
Caliber: 9MM
Magazine Capacity: 15 rounds
Barrel Length: 3.41-inches
Overall Length: 6.5-inches
Height: 5.18-inches
Weight Empty: 19.1 ounces
Finish: Nitride
MSRP: $940
Pros
- Extremely compact design
- Zero malfunctions, even during break-in
- 15+1 capacity
Cons
- Snappy recoil
- Proprietary magazines
- Expensive
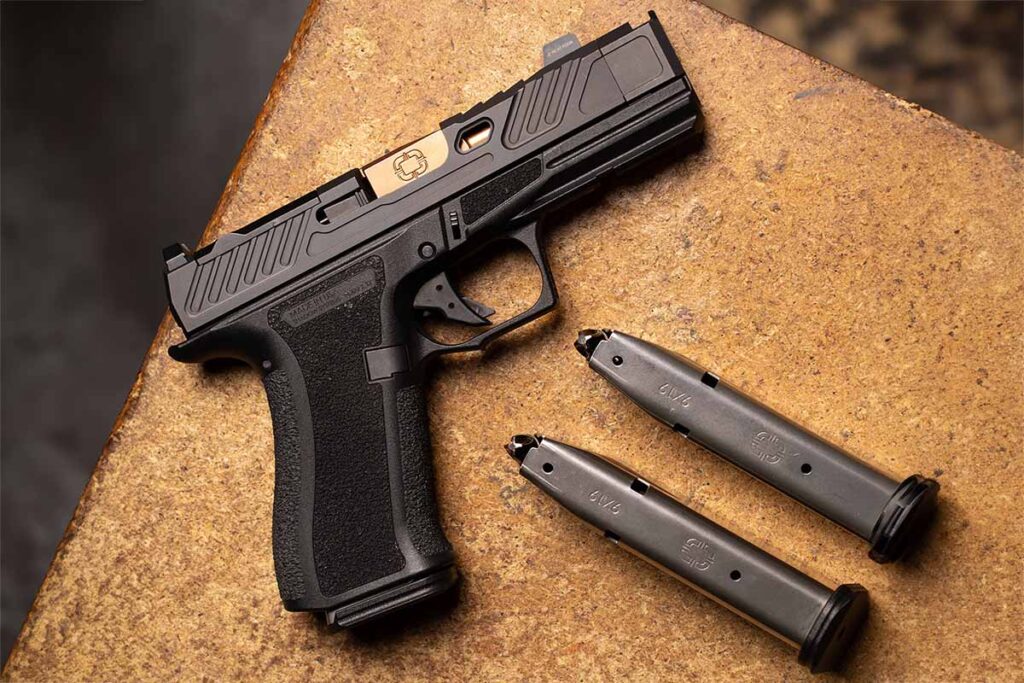
The CR920X is a slimline, single-stack width 9mm pistol, but it contains a double-stack steel magazine that holds 15+1 or 18+1 with a plus 3 extension. The magazine has an enhanced spring to ensure proper feeding and all the trimmings we expect from Shadow Systems.
Ergs
The ergonomics on this pistol are second to none in the sub-compact space in the writer’s opinion. My natural point of aim and indexing of this pistol allows me to line up the sights quickly and effectively which is mission critical with a carry pistol, in addition to the additional grip of real estate making it controllable. I own and have shot the standard CR920 and CR920P quite a bit (these are the true subcompact offerings—think Glock 43 size). While it’s definitely a less-snappy sub-compact, with a flush-fit magazine it’s near impossible to get all 4 fingers on the grip.
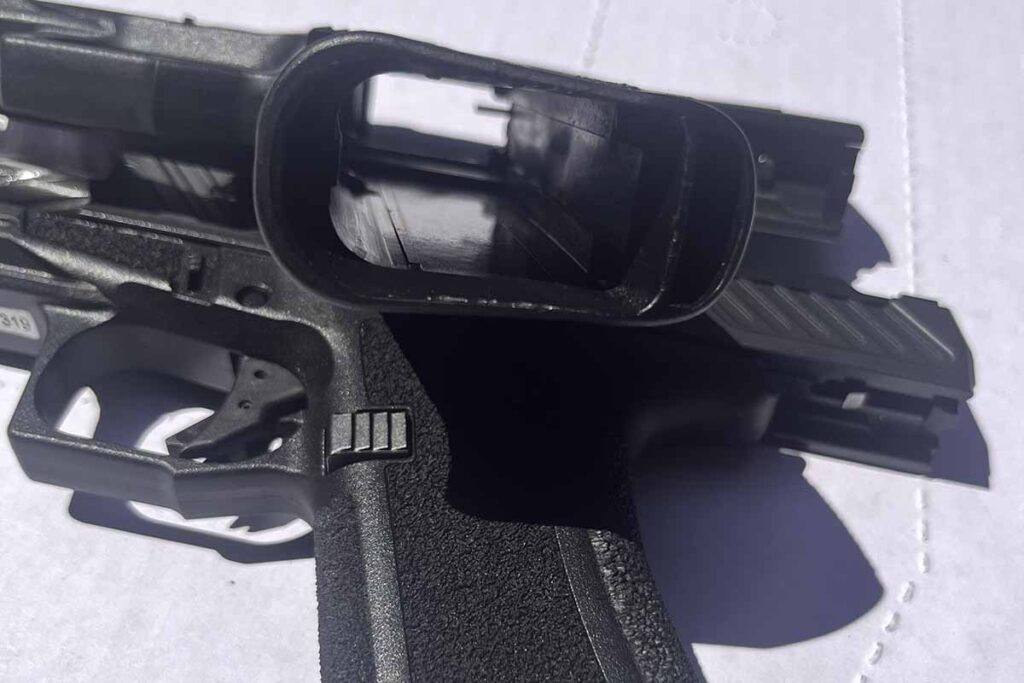
The grip also has a nice magazine well, with some sloping and geometry that makes magazine changes a breeze. From a capacity and dimensions standpoint, it’s a double-stack Glock 48 with more ammo onboard. Since it’s a subcompact, it will only fit a handful of lights, like the TLR7sub.
CR920X Reliability
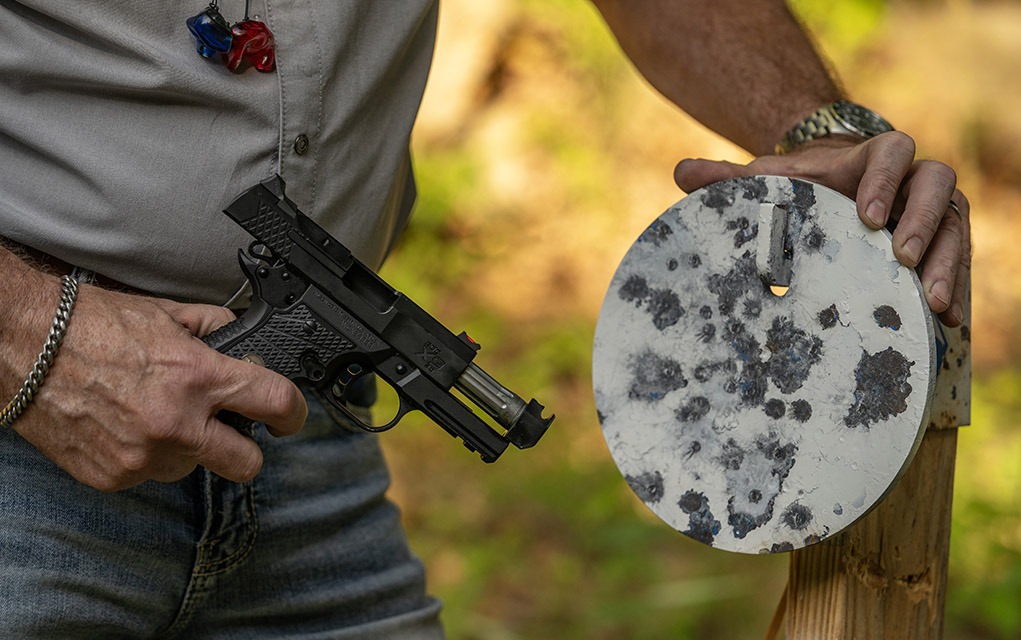
As mentioned, unlike my other Shadow Systems pistols that require a break-in period to function reliably. The manual recommends 500 rounds—and I urge this to pressure check any pistol—before it’s broken in. I’ve even had some front-end malfs with other Shadow Systems pistols. That said, I had zero failures from shot one with the CR920X. It has been 100 percent reliable with various ammunitions and incredibly accurate despite its 3.4-inch barrel.
CR920X Fit & Finish
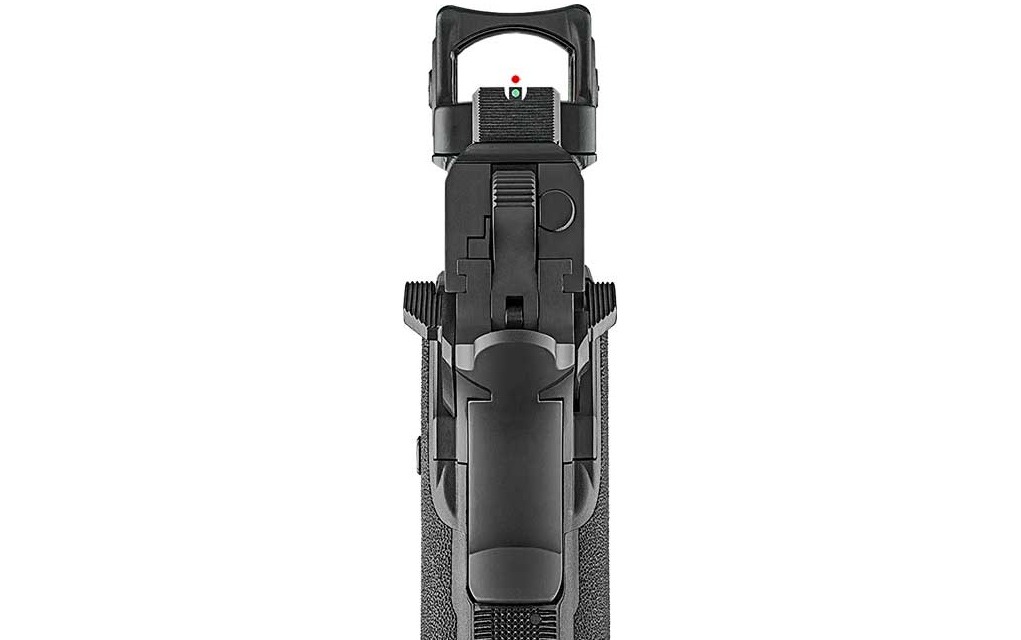
The machining on the pistol is yet again what I expect from the company’s guns—flawless. The pistol has ample serrations, as well as lightening cuts in the slide to reduce the “coupled mass” of the slide as it cycles.
CR920XP Overview
CR920XP Specs
Caliber: 9mm
Magazine Capacity: 15
Barrel Length: 3.4 inches
Overall Length: 7.18 inches
Height: 5.18 inches
Weight Empty: 21.2 ounces
Finish: Nitride
MSRP: $1,046
Pros
- Very controllable shot-to-shot
- More balanced than uncompensated model
- Accurate
Cons
- Had some malfunction during break-in
- Slightly heavier than the CR920x
- Not compatible with some holsters
The CR920XP is built on almost the exact frame as the CR920X. As I mentioned, it has a longer dust cover, but this keeps the compensator hidden. For those familiar with Shadow Systems, it’s similar to how the XR920P (their integrally compensated crossover that’s roughly the size of a Glock 17) is set up.
This design, I think gives the pistol a more refined aesthetic. Though from a size point of view, it does make the gun more a compact and less of a sub-compact. The CR920XP in this respect is essentially the same size, albeit slimmer, as the MR920 or Glock 19 but it’s compensated and has the same capacity (15+1).
CR920XP Ergonomics
To the quick, the grip frame is the same as the 920X and it points similarly, but the compensator makes the pistol’s balance different. The device adds a touch of weight to the front of the gun. This adds balance to the gun you feel when you point it initially and also under recoil. Not that I don’t like the way the CR920X points, but the XP’s heft in the front, in addition to the downward force from the compensator, helps you get on target and stay on target.
CR920XP Reliability
Typically I’m leery of compensated guns because I’ve experienced reliability issues with some models, especially in the beginning. And I did have some issues with CR920XP, but nothing that raised red flags. The pistol suffered a failure to extract and failure to battery in my first 10 rounds shooting my 125-grain handloads. However, after switching to 147-grain factory ammo I had no issues—including with my handloads when I went back to them.
CR920XP Shootability
I’ll admit, I didn’t expect there to be as stark of a difference between the pistols from a recoil mitigation perspective. I find 9mm to be incredibly controllable and never felt like it needed to be compensated. Then I shot the CR920X next to the 920XP. The difference in both perceived recoil and muzzle flip between the pistols is not only palpable but significant.
Do I have a problem controlling the CR920X? Not in the slightest, it’s pleasant to shoot for as light as it is at 19 ounces. The CR920XP however is more controllable, flatter, and faster, with minimal muzzle rise and is only 2 ounces heavier with the steel compensator.
Point shooting with the 920XP is a breeze and the rounds land in basically the same hole with minimal effort at high speed. As with most comped guns, if your grip isn’t strong, you can get some feeding issues, but if you hold it like you mean it, this problem disappears.
I ran both of them on a plate rack, and the XP shoots flatter ergo faster, but not by an insane margin. My fastest clean run of a 6”x6” plate rack at 15 yards with the 920X was 3.63 seconds, with the 920XP posting a 3.31-second time. I’m not winning the match with these, but I’m putting accurate fire on multiple targets quickly—a big need with a carry gun.
CR920X Vs CR920XP Accuracy Test
| Ammunition | Pistol | Average Group Size In Inches |
| 147gr Winchester | CR920X | 0.95 |
| 147gr PMC | CR920X | 1.61 |
| 125gr RN Reloads | CR920X | 1.87 |
| 147gr Winchester | CR920XP | 1.09 |
| 147gr PMC | CR920XP | 1.43 |
| 125gr RN Reloads | CR920XP | 1.49 |
Parting Shots On The CR920X Vs CR920XP

Both of these guns are home runs in my book—from a size-to-feature ratio, value for the money ($800-900 MSRP), innovation, and cross-compatibility with Glock holsters. Naysayers will ding them for the proprietary mags, but they’re $30 or less and made of steel with reliability in mind. Furthermore, the ergonomics are amazing, and these guns point naturally where your natural point of aim will indeed be your point of impact: a critical function of a carry gun.
From a holster point of view, that’s one area where I personally need to get a new holster; this gun needs a Glock 48 holster. My T-Rex Arms Sidecar for a 43x MOS that fits all my other CR920s could not accommodate the CR920XP, as the compensator is much blockier than the CR920P.
The pistols are modular and accurate—especially for a 3.4-inch barrel—and Shadow Systems’ customer service is top-notch. What’s more, in the event you use your gun in self-defense, the company replaces it. Oh, and they’re made right here, stateside, in Plano, TX.
Step Into the Shadows: Explore Shadow Systems Insights
- Review of the Shadow Systems XR920 vs MR920L
- A Review of the CR920 Pistol Design and Functionality
- A Tactical Review of the Shadow Systems MR920 Elite
- Precision and Ported Power: Our Shadow Systems DR920P Review
- Shadow Systems MR920L Review – A Tactical Handgun Redefined