
Should you take apart your suppressor to clean it? The answer is yes/always for some and no/never for others. Knowing the answer for your suppressor can save you time, money and aggravation.
What you need to know about cleaning your suppressor:
- Pistol and rimfire suppressors absolutely must be cleaned.
- Those meant for centerfire rifles might or might not require it.
- Centerfire rifles run so hot and burn power so completely they leave little residue.
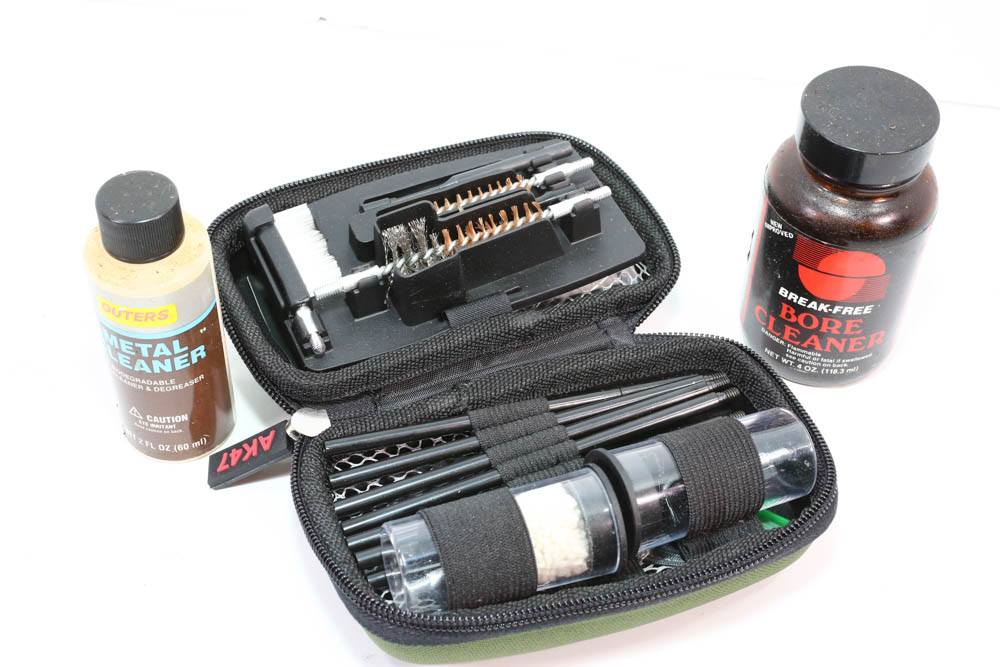
- Suppressor cleaning supplies are minimal; often they’re already part of a cleaning kit.
- Baffles are easily hand cleaned with solvent and a little elbow grease.
- A small diameter dowel is handy in restacking the baffles and sliding them into the tube.
There are two classes of suppressors: “must clean” and “never clean.” You absolutely must clean your rimfire and pistol-caliber suppressors. As a result, suppressors meant for those applications will always be of a design you can take apart. Let’s call them MC (must clean) suppressors. Centerfire rifle suppressors may or may not be of the take-apart design. We can call them NC (never clean) suppressors. Why?
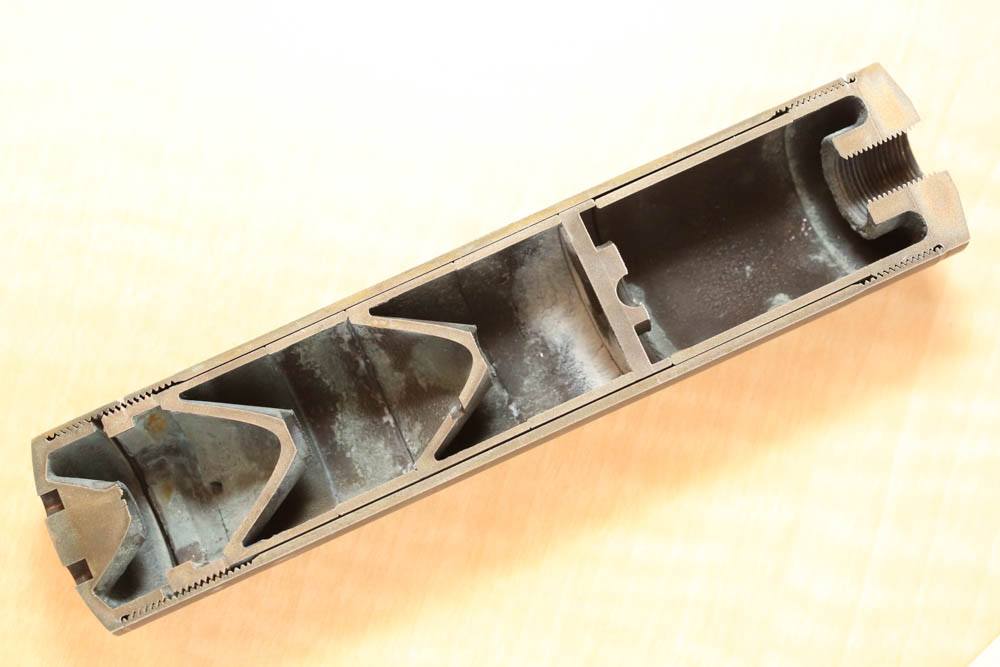
Rifle suppressors (and again, centerfire rifle, not rimfire rifle) run so hot and the powder burns so completely that there is no real residue left behind to clean out. I had a graphic encounter with this while in a suppressor class being taught by Dr. Phil Dater.
There was a rifle-caliber suppressor that had been band-sawed down the center, splitting it into two. Once it had been passed around, Dr. Dater asked us “How many rounds do you think have gone through it?” We hemmed and hawed, and a few numbers were tossed out. In the spirit of full disclosure, there was a hard, thin, coating of powder residue on the inside, but it was about as thick as the brass thickness of the case mouth of an empty piece of brass, not really built-up at all.
I stuck my hand up. “Doc, the way you are suggesting we answer leads me to believe that we’re way under the number. So, how about ten to twenty thousand rounds?” With a smile, he said “Closer than anyone usually guesses. That particular silencer had 108,000 logged rounds of .223 and 5.56 through it before we cut it up.”
So, even if you take care of your rifle barrel, that suppressor had ten barrels worth of ammunition through it and was still working fine when they cut it open to find out what was going on inside.
At current ammunition prices, that suppressor was good for over $22,000 worth of ammo, at vanilla-plain, FMJ, import ammo prices. (108,000 rounds, at $205 per thousand, although I’d bet if you ordered 100,000 in one delivery, they’d give you a discount.) Twenty-two thousand dollars in ammo for the service life on a suppressor, and you’re sweating the cost of an extra QD mount to put on your second rifle? You will literally wear out several barrels each on those rifles before you even have to wonder, “Is my suppressor used up yet?”
So, rimfire and handguns, clean regularly. Centerfire rifles, run them hot at least once in a range session and don’t worry about it. (Unless you are reloading cast bullets for subsonic rounds, and then you treat it like a rimfire or handgun suppressor. And, obviously, do this only with a suppressor you can take apart.)
The Exception
There’s always an exception. What if, since the threads are the same, you used your centerfire rifle suppressor, meant for .223/5.56, on your rimfire rifle? What then? You will have built up residues inside of the suppressor, residues that cannot be easily cleaned out. One option is to use one of the ultrasonic cleaners (which we’ll get to shortly) but then you have liquid left inside. Unless you bake the suppressor to dry it out (and do not, I repeat DO NOT do this in the oven your wife cooks in), the liquid will be adding stress to the suppressor on every shot, until you burn it out. Not good, unless it was designed to be run wet.
The second way is to take it off the rimfire rifle, put it on a centerfire rifle, and shoot it enough to burn out the residues. Let’s take a moment and do the math on that. Let’s say you can (and I’m not saying this is the correct number, I’m just using it as an estimate) heat up the suppressor hot enough to clean it in 100 rapid-fire rounds. That’s one-tenth of a case of ammo, so $20. That’s one percent of the service life of the barrel, so there’s another couple of bucks there. We’ll overlook whether the range, gun club, buddy whose field you are using will be happy at three magazines straight of rapid fire.
How many “cleanings” like that can you do, before you’ve reached the cost of a rimfire-specific suppressor? Ten? Twenty?

Don’t be “that guy” at the range. Restrain yourself, save up the money, get a dedicated rimfire suppressor, one that can be taken apart and cleaned, and then use it on your rimfires.
Cleaning Essentials
At a bare minimum, you will need a plastic bristle brush, cleaning patches, (I’d suggest a roll of paper towels as well), cleaning solvents for powder and lead residues, and gloves. Gloves? Yes, you will be handling the baffles or monocore directly, and in rimfire and handgun calibers the residues will have a good dollop of lead in them. One might even be tempted to use the pun “a healthy dose” of lead. Keeping that stuff off your hands is a good idea, even if you diligently wash up afterwards, because it will take a lot of washing.
Avoid using brass or steel-bristle brushes, as the baffles might not like it. If you have aluminum or titanium baffles, a stainless steel brush will be entirely too harsh. Finding out the hard way will be expensive.
A cleaning apron specifically for this task is another good idea. The brush will splatter solvent, and your hands and arms will quickly be enveloped in a mist of solvent, with lead and powder residues mixed in. The carbon black of that mixture will stain clothes. (You know how we, other suppressor owners and I, know this, right?)
And it would not be a bad idea to invest in lead-specific soap, for cleaning your hands after you have cleaned your suppressor. You can get some basic soap, or abrasive soap meant specifically for cleaning lead off your hands from D-Lead. If the top of your workbench is not sealed, you should seal it before more solvents, lead and other stuff soaks in. Once sealed (any polyurethane will do, if the top surface is wood), you can use the D-Lead wipes to wipe the lead gunk up when you are done cleaning your suppressor.
Takedown
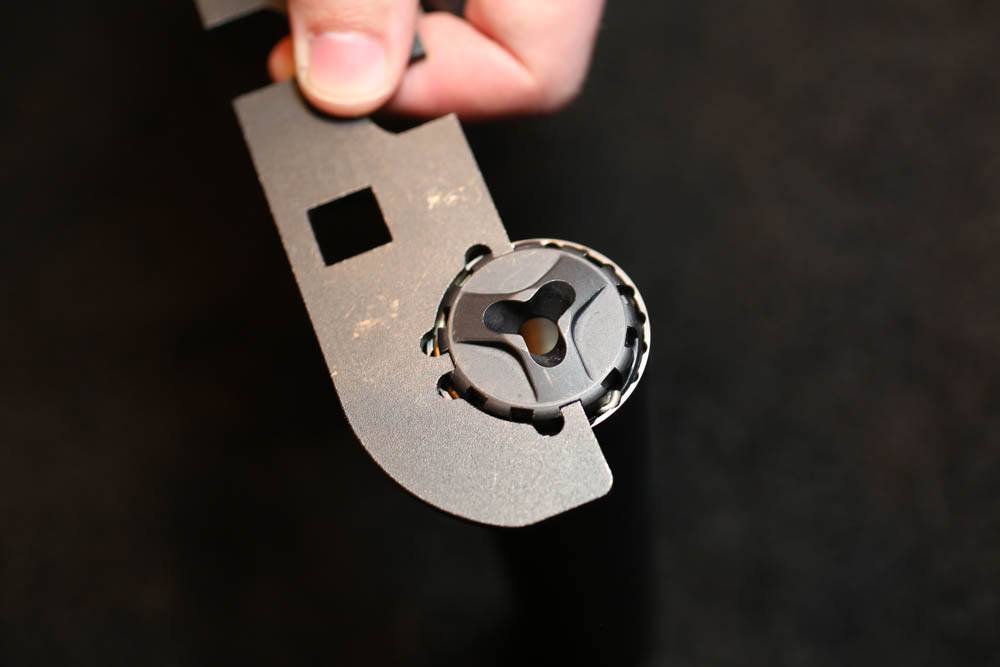
Every design is different. Some are threaded on the front cap, some on the rear, some on both. One thing you can be certain of is this: the manufacturer will have either included a special wrench with the suppressor, or designed one or both of the caps to accept a standard open-end wrench. Before you start, make sure you have all the cleaning equipment on hand – solvents, brushes, patches, gloves, etc. – and proceed.
Apply a few drops of penetrating oil to the joints of the front and or rear caps. These could be Kroil, Liquid Wrench, or whatever your favorite loosening liquid might be. While those drops soak in, assemble the tools you’ll need.

Hand-Cleaning The Suppressor
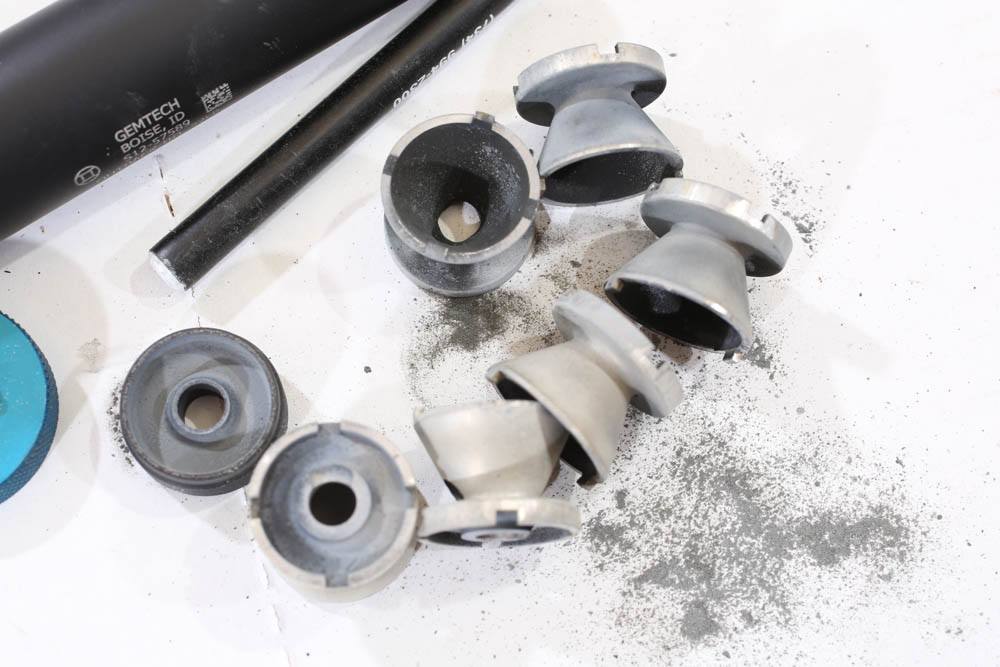
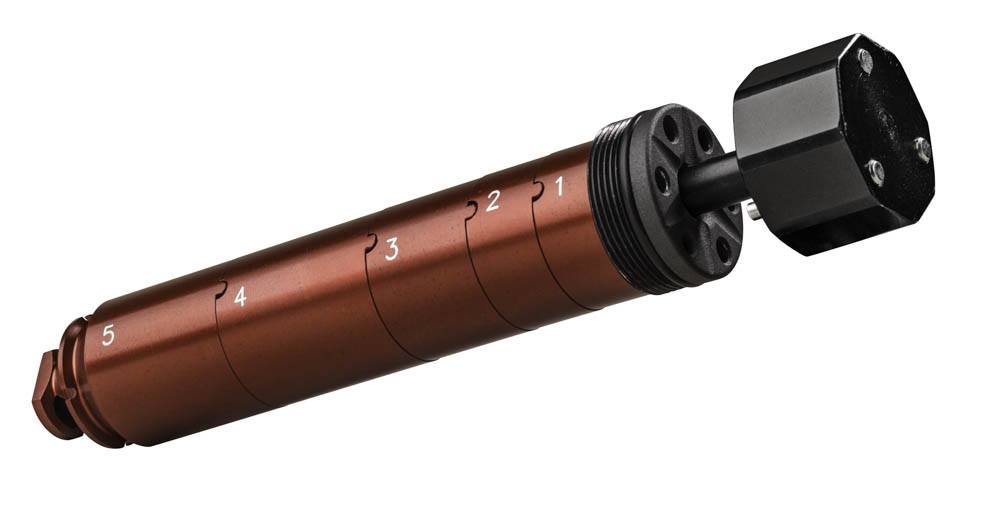
Use the provided wrench, or an open-end wrench if that is the appropriate tool, and remove the cap or caps. In the case of a baffle stack design, you will probably find the baffles wedged in tightly. Use a section of wooden dowel to push them out. You can find this at the local hardware or big-box store, and you’ll probably have to buy a three-foot section of it, for a couple of dollars. Choose one that’s a diameter that will fit inside of the tube, not to tight, but not so small it will flew. A dowel 3/4 inch will do for most sizes, but a quick check on yours will let you know what the maximum size yours can take. You can also use a similarly sized section of PVC pipe.
While you’re there, also pick up a section of doweling, or PVC, that will be a snug but not tight fit down the center hole of the baffles. Don’t take the baffle with you, measure the ID of the hole, write it down, and get a dowel at the store.
The way to remove the baffle is not necessarily straightforward. To remove the baffles, place a shop rag or old towel on your workbench or the floor. Place the rod, standing up, on the towel, put the suppressor minus its caps on top of the rod, and grasp the tube. Push the tube down over the rod, pushing the baffles out of the tube. (Some suppressors might be directional, that is, the baffles go out only one way. Again, read the instructions.)
If you try to hold the tube in one hand and push the rod with the other, you end up not pushing the baffles out. When the alignment goes off-center enough, you can hurt yourself as you push one hand into the end of the suppressor tube.
The correct method will cause the baffles to pop up out of the tube and spill out onto the towel/bench/floor.
Gather them up, count them to make sure you have them all, and begin cleaning. How extravagant you wish to be with the cleaning solvent is between you, your wallet, and the space you clean in. You can simply put the baffles in a stainless steel pan, pour in solvent, let them soak, and then start scrubbing and wiping. Get off as much of the caked-on residue as you can from the baffle surfaces, but pay particular attention to the edges. That’s where they bind in the tube.
After you’ve given the baffles a once-over, use the solvent, brush and a piece of paper towel on the inside of the tube. Also scrub the end caps, especially their threads.
Now, go back and give the baffles another wipe with a paper towel damp with whatever cleaning solution you find works best.
Use a dry shop rag or old towel or paper towels to wipe everything dry.
Re-Stacking
Getting all the baffles to stack correctly, and keep them there while you slide them into the tube, can be a hassle. This is especially true if the baffles have index tabs or interlocking edges. This is where your smaller-diameter dowel comes in handy. Assemble the baffle stack over the dowel, keeping the tabs in their slots. Then, you can hold the assembly all in one stack, and slide the stack, with the dowel, into the tube. Once in place, with everything nestled correctly, you can pull the dowel out and screw on the caps.
On re-assembly, put a drop of oil on the threads of the end caps, before you screw everything back together.
Tighten to the manufactures specs (you did read the manual, right?) but not tighter. The powder residue and gunk will act to tighten the assembly once you do some shooting, and if you over-tighten you’ll simply make it that much harder to take apart when it comes time to clean again.
If you aren’t sure if you have it tight enough, don’t make it tighter. When you next shoot at the range, test the tightness of the caps after a couple of magazines of shooting. If anything is loose, you need to be a bit firmer the next time. If they are all tight, you have done it right.
Editor’s Note: This article is an excerpt from The Suppressor Handbook by Patrick Sweeney.

Next Step: Get your FREE Printable Target Pack
Enhance your shooting precision with our 62 MOA Targets, perfect for rifles and handguns. Crafted in collaboration with Storm Tactical for accuracy and versatility.
Subscribe to the Gun Digest email newsletter and get your downloadable target pack sent straight to your inbox. Stay updated with the latest firearms info in the industry.


