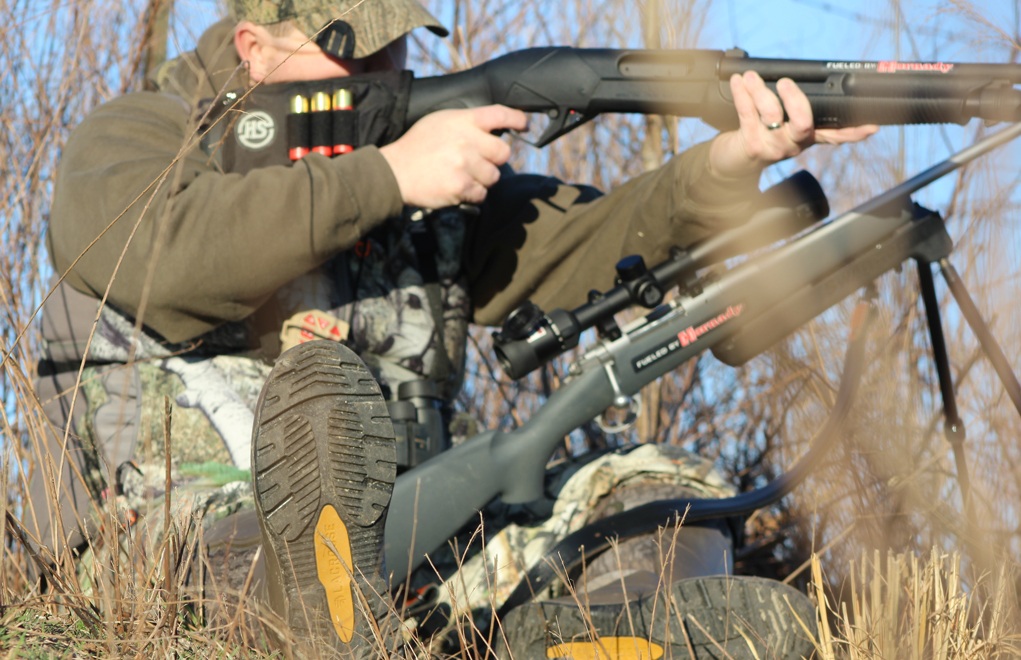
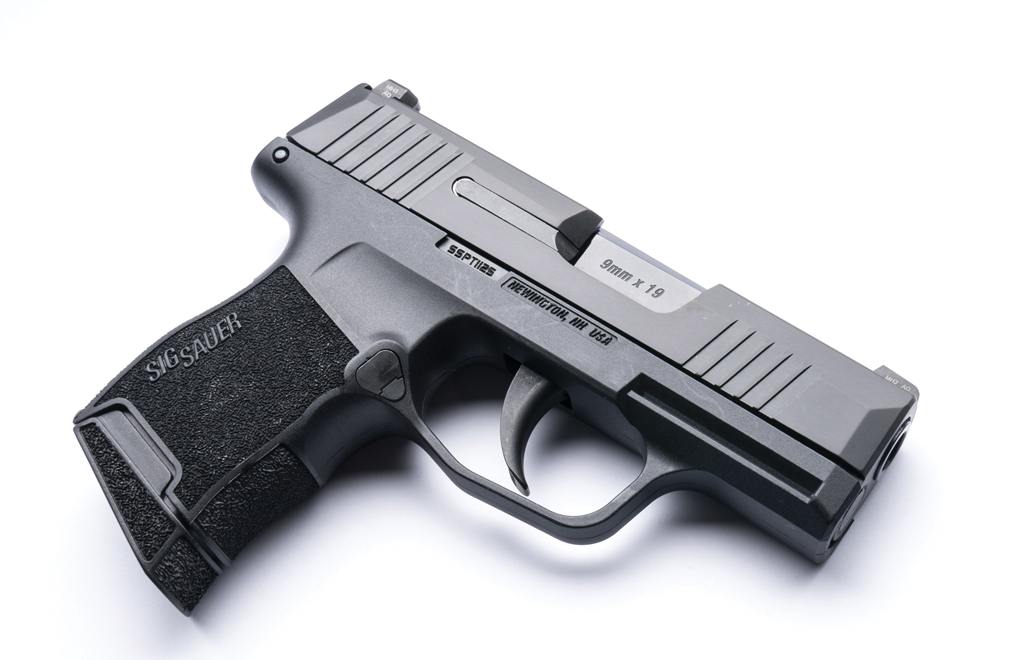
For everyday carry, SIG Sauer’s micro nine P365 is a small miracle.
How compact is the SIG P365:
- 3.1-inch barrel
- 5.8-inch length
- 1-inch width
- 17.4 ounces
- 10+1 capacity
Just to be clear, I believe you are responsible for your own safety. I also believe in an individual’s right to own firearms. It’s damn hard to believe in the first, and not the second. As the famous quote goes, “They say God made man, but Sam Colt made them equal.” If you’re going to be equal, you gotta have a gun and you gotta have it with you. Sig Sauer just made the having it with you part easier with their P365.
Though I suggest you carry with religious-like commitment, I’m not a tactard practitioner who subscribes to the carrying of spare ammo, pepper spray, an impact weapon, a switchblade, and the wearing of body armor every were you go. There’s no denying those things can make you safer, there’s also no denying that if you carry all those things, all the time, you’re probably not going to do much going. You don’t have to be a covert operative to live a safe, normal life.
Raise Your Sig Sauer IQ
I consider a defensive firearm a tool you should always have with you, but I also recognize the real-world reality of carrying that tool. It’s an exercise in finding a comfortable balance between size, capacity and power. As an analogy, you carry a lug wrench and compact jack in your car. You don’t carry an air-driven impact wrench and a hydraulic floor jack.
If you’re going to use a gun to save your life, the first rule is simple: have it with you. The second rule is it must work — every time — all the time. The third rule dictates you must be able to run it proficiently. Spare ammunition, speed reloads, the lethality of your ammunition, ancillary weapons and tactics are way down the list of what matters. Ease of carry, reliability and proficiency are the primary considerations.
Redrawing The Lines
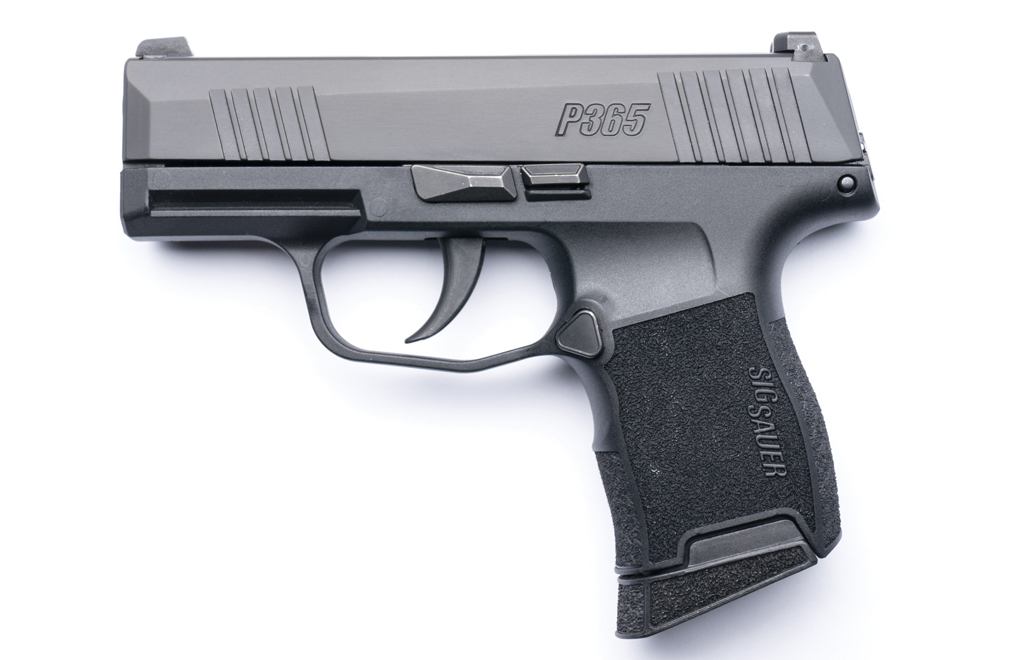
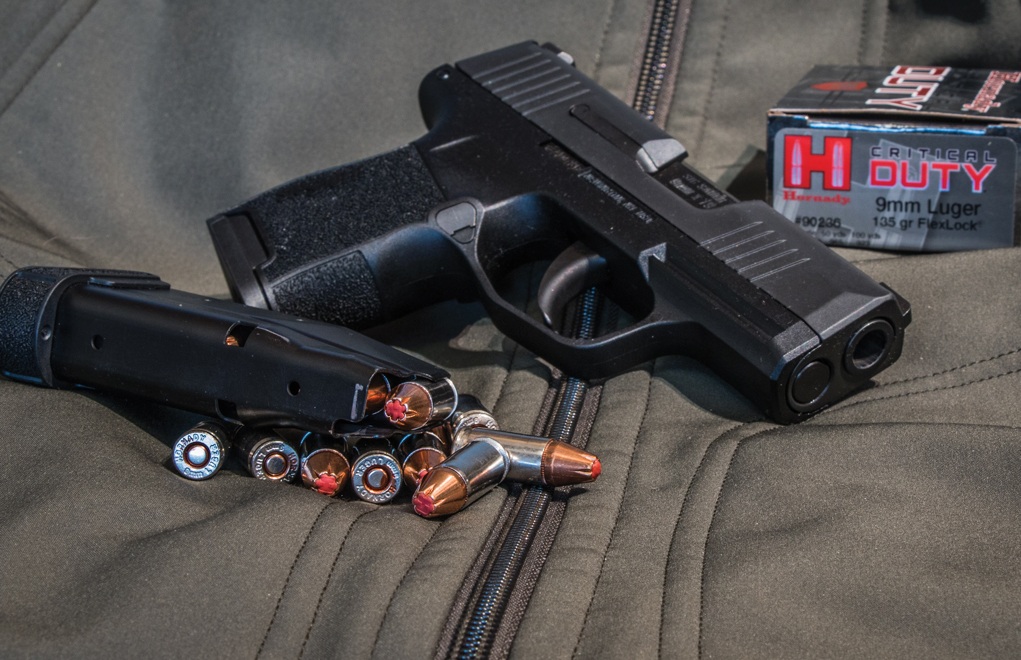
This new P365, ultra-compact, polymer-framed, striker-fired, semi-automatic pistol from Sig Sauer is intended to be a handgun you carry every day, trust all the time and run with ease. The pistol is devoid of complication — it has four controls: trigger, magazine release, slide-lock and takedown lever. It’s only an inch wide, 5.8 inches long and, unloaded, it weighs 17.4 ounces. Add a full 10-round magazine and its ready to go to town at 23.9 ounces.
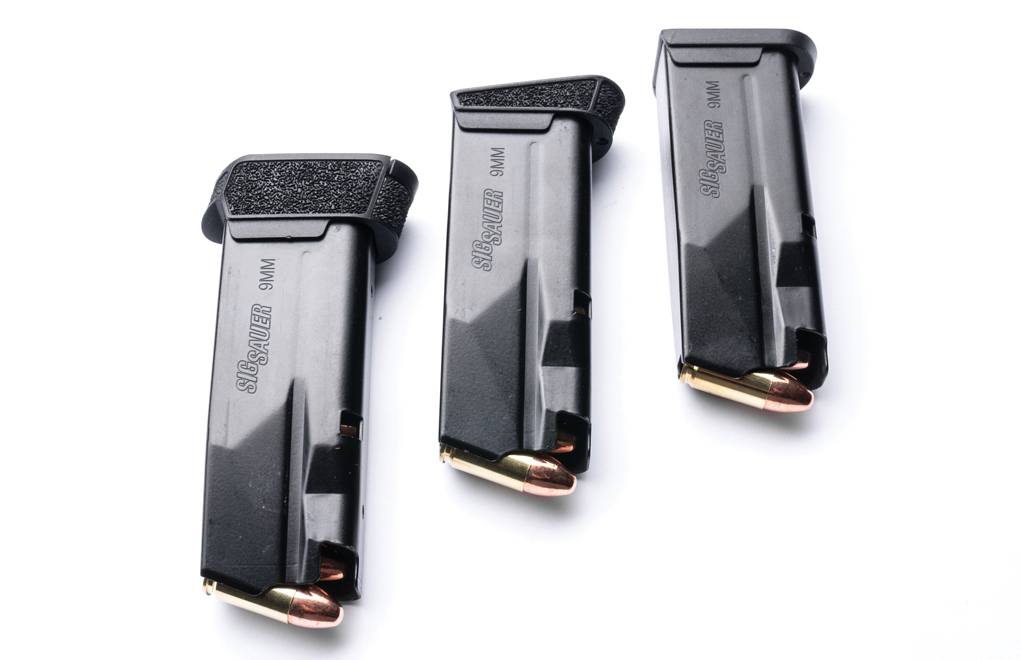
The P365 comes standard with Sig XRAY3 day/night sights and an under-barrel accessory rail. It’s shipped with two 10-round magazines; one has a flat baseplate and the other is fitted with a slight extension to increase grip size. An optional 12-round extended magazine brings the payload to 13. With front and rear serrations on the slide, it’s easy to grasp for manipulation, and the gun was surprisingly easy to cycle — my 10-year old daughter could do it. Don’t overlook the importance of manipulation ease: Many shooters don’t have the hand strength to rack the slides on a lot of micro 9mm pistols.
What I’d call semi-aggressive stippling on the sides, front and rear of the grip help keep the little gun in hand. You should have no trouble maintaining a purchase during athletic activity or while dumping a full magazine in a hurry. Additionally, the magazine release — which can be switched from side to side — can be depressed without altering the grip, and the magazines are drop-free. For those who like to use a slide lock as a slide release, I could easily reach and depress it with the thumb of my shooting hand.
Finally, the P365 has a Nitron finish on the slide to help fight corrosion, and a 3.1-inch barrel to help deliver all the velocity possible from a micro-pistol. The P365 is also rated for +P ammunition. I found the trigger to be very impressive. Its surface is smooth, has a positive tactile and audible reset and it broke slickly at about 5 pounds. Of course the best way to evaluate a handgun designed for constant carry is to look at it from the standpoint of what matters, and that’s carry comfort, reliability and the proficiency with which it can be operated.
Concealability
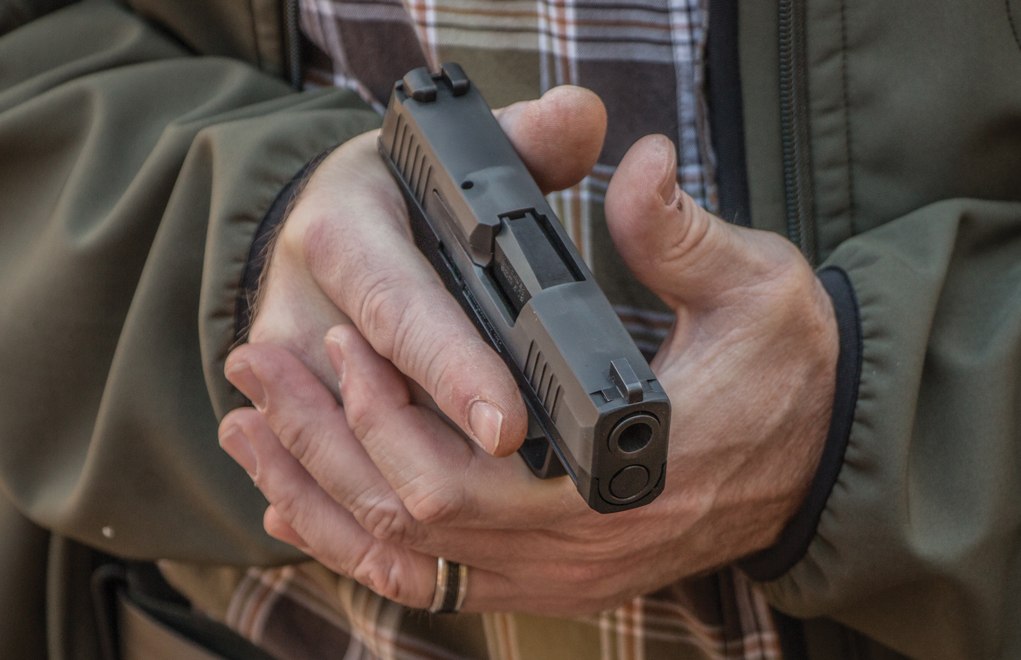
To get an idea of how compatible the P365 was with everyday carry, I carried it every day for 30 days. I carried it in a Galco Stow-N-Go IWB holster, a Versacarry IWB holster, tucked in my back pocket, crammed in a coat pocket and Mexican style — shoved in my waistband. I’ll not say it’s the easiest to carry handgun I’ve ever handled, but I will say it is the easiest to carry 10-shot 9mm I’ve yet to come across.
Reliability
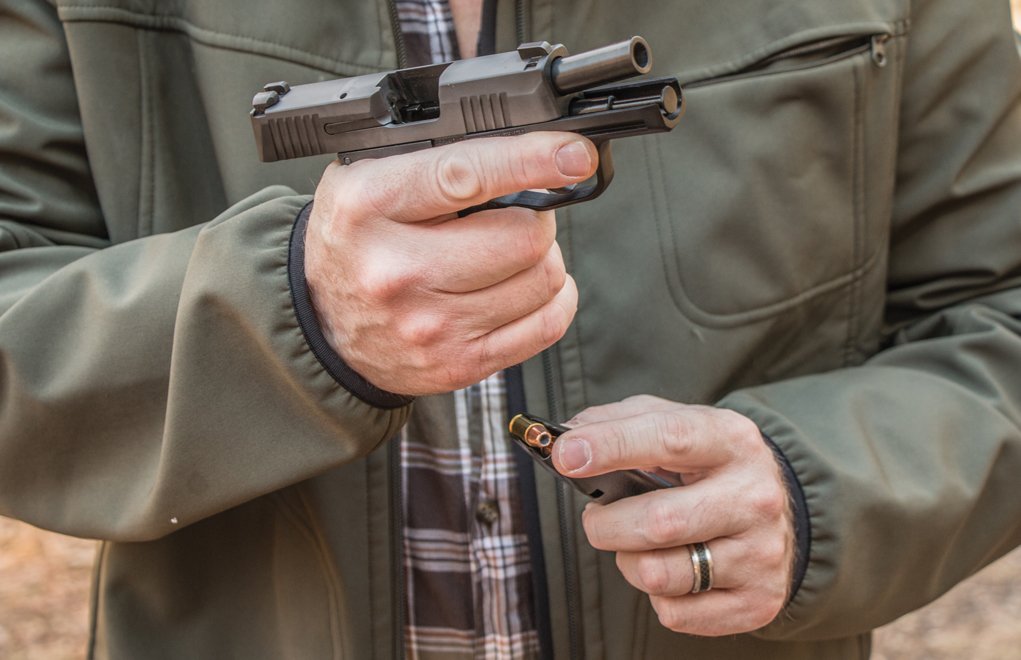
I ran 100 rounds each, of the five chronographed loads, along with some other assorted munitions, through the P365. There was one stoppage during the more than 600 rounds fired. While chronographing the Wilson Combat 147-grain Subsonic load, the last round stove-piped. For what it’s worth, when I chronograph ammo I shoot from a bench and have a sometimes tendency to relax my wrist. I suspect this was the culprit, but I still fired an additional 25 rounds and could not duplicate the problem.
Sig Sauer P365 Velocity Tests
| LOAD | MV (fps) | ENG (fpe) | SD |
| Federal Syntech 115-grain TSJ | 971 | 241 | 17 |
| Wilson Combat 124-grain XTP HP+P | 1056 | 307 | 9 |
| Browning BPT 147-grain FMJ | 925 | 279 | 8 |
| Winchester Defend 147-grain HP | 893 | 260 | 16 |
| Wilson Combat 147-grain XTP HP Sub-Sonic | 971 | 308 | 17 |
Proficiency
My standard defensive handgun proficiency test is the Forty Five Drill. Fired from concealment, the goal is to deliver five shots, inside a 5-inch circle, at 5 yards, in less than 5 seconds. With my Wilson Combat EDC X9 and custom Robar Browning HiPower, I can comfortably run this drill — miss free — in less than 3.5 seconds. With the P365 I had to concentrate a bit more, but I still managed an average of 3.86 seconds. The only shot missed was the very first, of the very first run.
Glock Killer?
All polymer-framed handguns are compared to the Glock. With regard to the P365, the question is: Which Glock should we compare it to? If we go by weight, the obvious choice is the G43; it weighs 17.95 ounces unloaded. That’s 0.15-ounce more than the P365. The G43 is also about a half-inch longer. But most importantly, the G43’s capacity is only 6+1. Smaller, the P365 holds 57 percent more ammo.
If we’re going to talk capacity, the G19X holds 17+1. That’s a 63 percent capacity boost over the P365. But, the G19X costs $150 more, and it’s substantially larger. Measured in square inches, a box to fully contain a G19X would be twice as large as one sized to fit a P365. Fully loaded, the Glock 19X weighs almost 33 ounces, as compared to 24.5 for the P365.
The Glock that best compares is the G26. It, too, retails for $150 more, but it has the same capacity as the P365. It’s also 4 ounces heavier, more than a half-inch longer and slightly wider. If you want to maximize your survivability with a micro-sized 9mm, the P365 seems better than anything Glock has to offer. The comparisons are not offered to bash Glocks, hell; I carried G22 and G23 for almost 13 years as a cop — and I trusted them. The comparison is made to demonstrate that when it comes to compact polymer pistols, Glock no longer rules the roost.
To put it bluntly, the P365 changed my life. When weather, clothing and circumstances permit, I’m carrying my Wilson Combat EDC X9 or my custom Browning HiPower. However, just as often — especially with warmer weather coming on — I’m carrying the Sig Sauer P365. The word from Sig is that they’re working on a compact light/laser unit that’ll attach to the P365’s accessory rail. When that happens, it will only make what might already be the best ultra-compact defensive handgun even better.
SIG Sauer P365
Chambering: 9mm Luger +P
Barrel: 3.1 inches
Length: 5.8 inches
Width: 1.0 inches
Height: 4.35 inches
Weight: 17.4 ounces (without magazine)
Capacity: 10+1
Frame: Polymer over stainless-steel
Slide: Stainless-steel with Nitron finish
Accessories: Extra 10-round magazine, lock, instruction manual, hard-sided case.
MSRP: $599
Editor’s Note: This article originally appeared in the 2018 Shooters Guide issue of Gun Digest the Magazine.