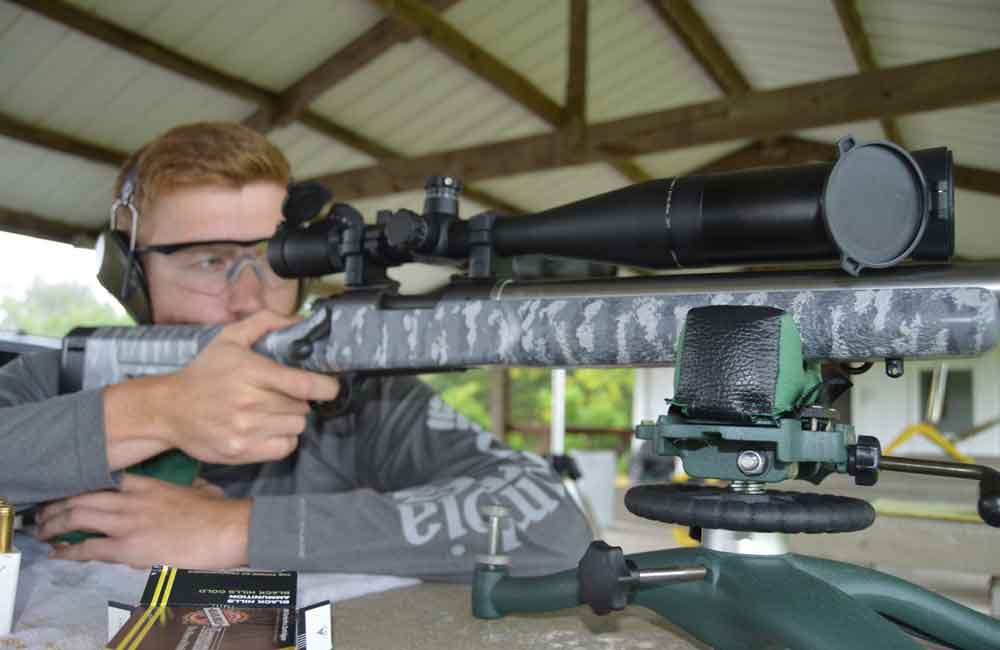
Mounting a scope on a rifle is one of those things that can seem fairly straightforward on the surface, but once you actually start doing it, it can go sideways very quickly.
Steps to a precisely mount a scope:
- Cleaning the threads — so they are free of any oil, grease or residue — is key at the beginning of the process, ensuring the screws fit properly.
- Once the screw lengths are checked in the bases, the rings can be mounted, with a keen eye for alignment; there are nifty tools available that precisely line the rings up.
- Side-to-side or angular misalignment can be corrected with a lapping tool and lapping compound; the bottom ring should be worked until there’s about 90-percent contact.
- Installing Mark 4 rings and bases, the rings should be torqued to 65 in.-lbs. to ensure a tight mount.
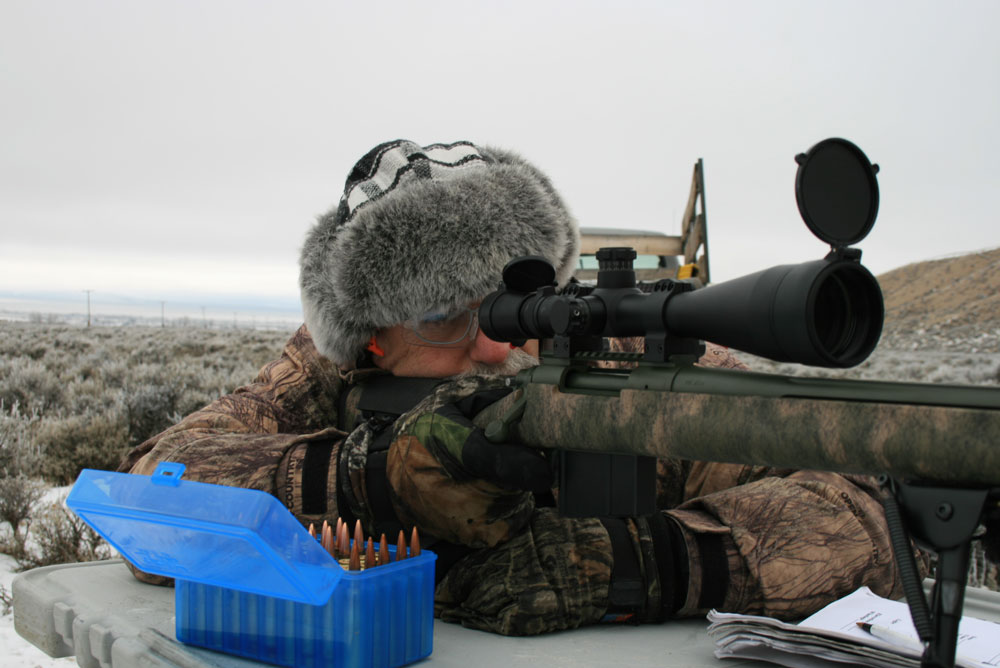
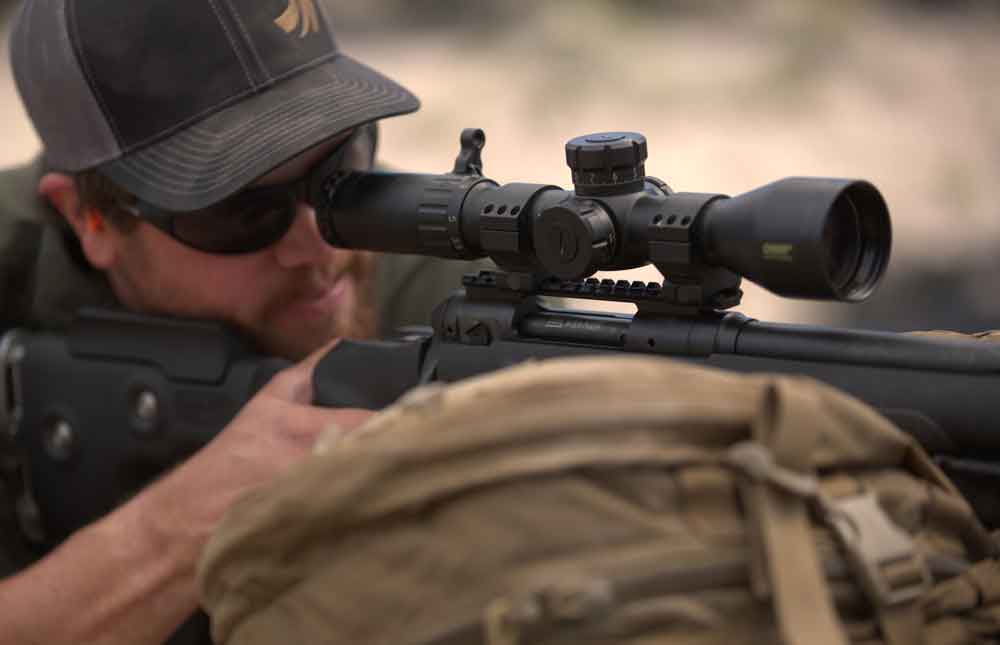
When mounting a scope, you must make sure it’s securely mounted and installed on the rifle straight and level. It needs to be securely mounted because, obviously, you don’t want it coming off the rifle while shooting. Catching a scope in your lap, when it’s supposed to be on the rifle, is not conducive to good accuracy. Also, even slight looseness in the scope can cause huge shifts in the point of impact, especially when shooting past 100 yards.
It may seem like you have the scope on tight, but looks can be deceiving — especially with sharp recoiling firearms. You must follow proper torque settings for each part of the mounting system to ensure rock-solid optics. Straight and level are critical because you want to have available the maximum click adjustments in all directions. If you mount a scope and have to use up almost all of your windage or elevation just to get the rifle zeroed, you’ll have little to no adjustment left to account for point of impact variations in different ammunition. The scope reticle must be as mechanically centered as possible to give you the widest range of adjustment.
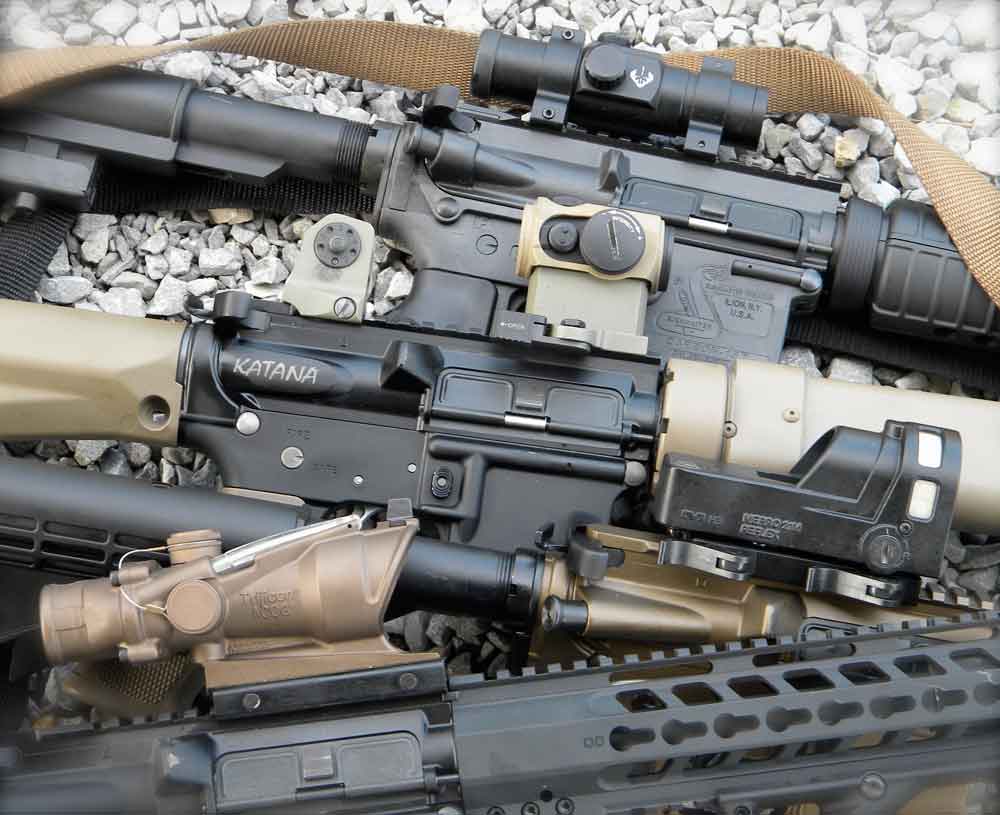
So for this article I’m going to focus on two types of mounting systems for a centerfire rifle, and the correct way to get the scope securely mounted so it can do its job when needed.
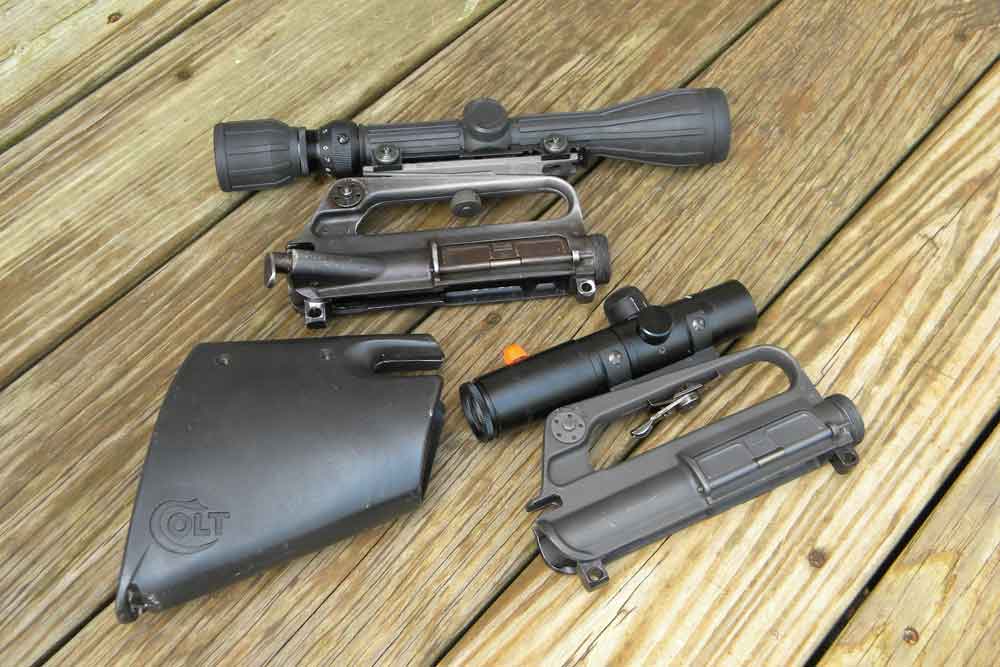
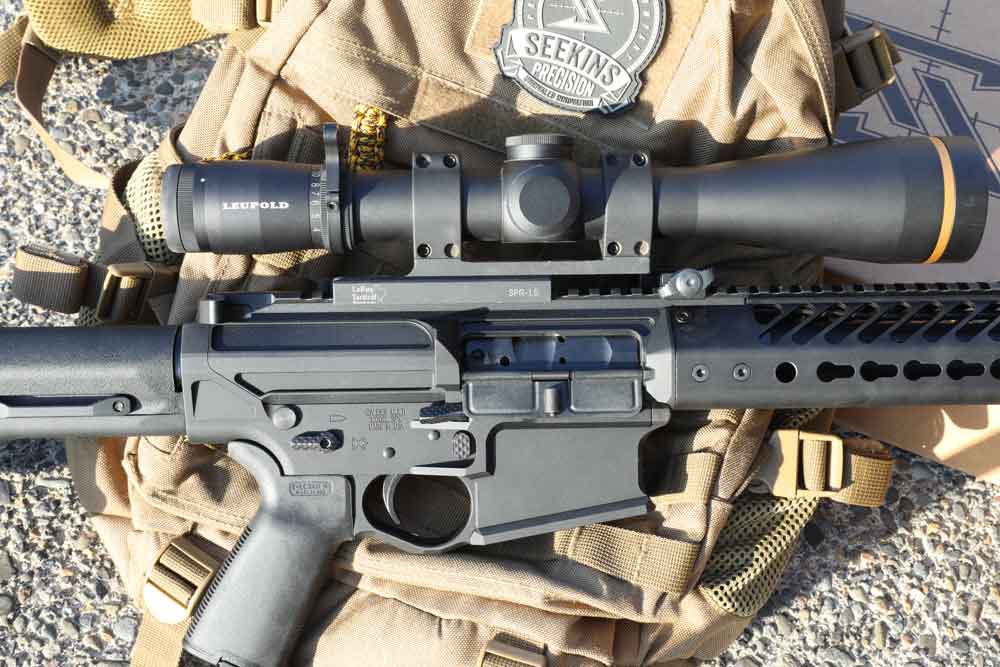
Two-Piece Base and Rings
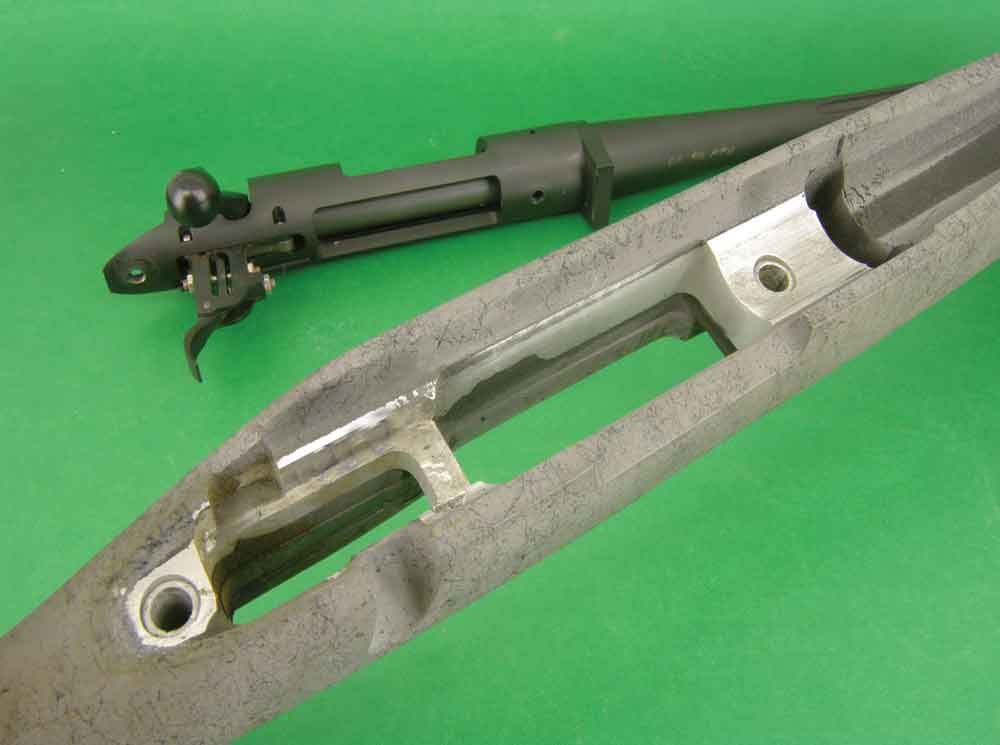
The first application I’ll talk about is the standard, steel two-piece base with scope rings that utilize a dovetail mount. The dovetail ring fits into the base very snugly by rotating 90 degrees. Many manufacturers use this type of system because it’s strong. I prefer two-piece steel bases over one-piece, because with the latter, if the receiver’s mounting holes are not lined up with the screw holes machined into the base, tightening the base screws can induce stress into the scope mounting system. Granted, it won’t be much, but any stress is to be avoided for maximum accuracy. With the two-piece base, if the front set of screw holes are not aligned with the rear, you can correct that offset somewhat.
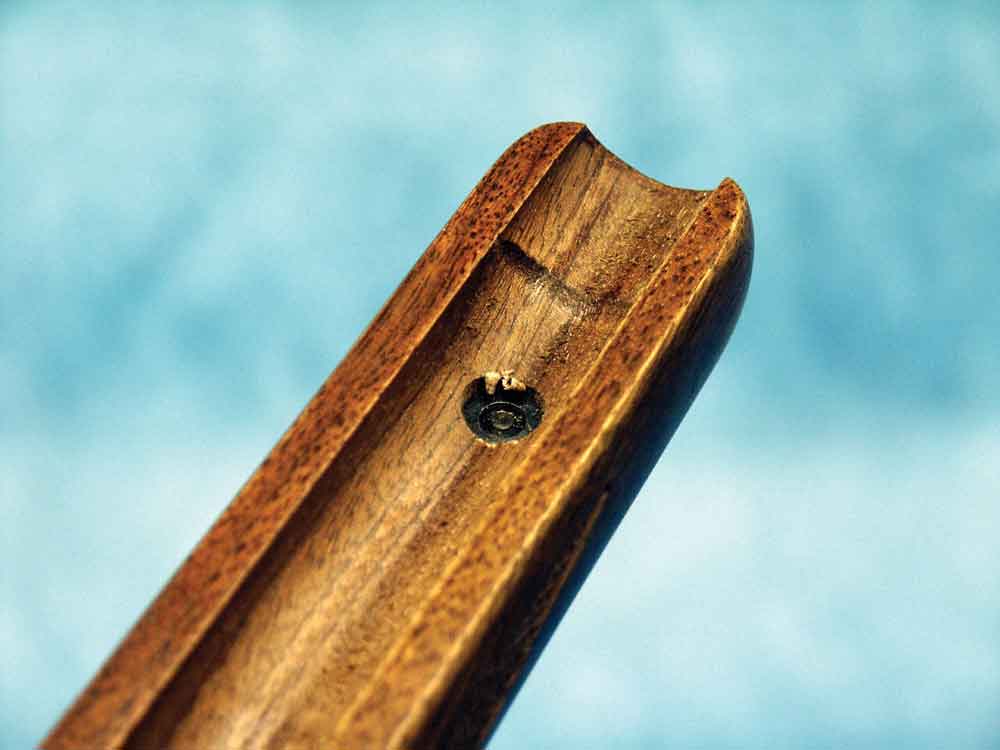
To get started, make sure the receiver threads are cleaned of any oil, grease or residue. If rebarreling the rifle, and you have the barrel off the receiver, go ahead and chase out the scope base mounting threads with a good, sharp thread tap. Often the threads have been damaged by attempts from other people to install a scope. Cross threading is a fairly common occurrence with people who are unfamiliar with firearm tools and techniques.
If you are removing an old scope and can’t get the original screws out, they may have been screwed on too tight, or the wrong thread locking compound was used, probably the latter. Loctite makes various grades of thread adhesive. Blue is for small/fine threads that you want to be removable, red is for threads that you want to be permanent. Green is for larger threads like 1911 compensators that you don’t want to remove later. Always use blue Loctite for base screws, and never use any adhesive on the ring screws. If you can’t get the base screws off and you suspect someone used the wrong adhesive, remove the scope, and take the barreled action out of the stock. Place a wet towel around the receiver and you can carefully apply heat to the screws with a propane torch to break the bond of the adhesive.
The next step is to degrease the screws and the threads in the receiver. One of the best degreasers I’ve found is Acetone, but it is highly flammable. Automotive brake cleaner works well, too, and has an additional benefit of being in aerosol form. Compressed air is very useful when mounting scopes, or anytime working on firearms around the home workshop. I have a small air compressor from Sears that I bought new for about $120.00 that works very well around the shop.
Once the base screws are degreased, mount the front and rear bases without thread locker. Remove the front base screw and look down into the threads of the receiver and the tip of the screws to see if the screw has bottomed out on the barrel threads. If it has, shorten the screw on a bench grinder to make sure there is no contact between the front screws and the barrel extension. Don’t use a file on the screws — they are too hard and you will end up damaging the file. Screw the bases down onto the receiver and attach the rings to the base.
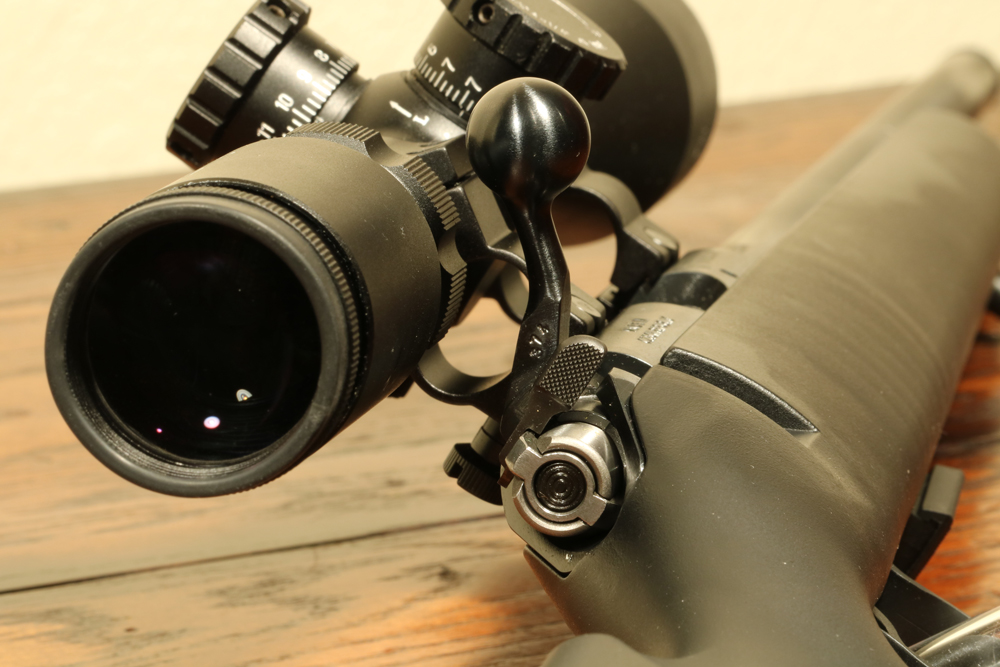
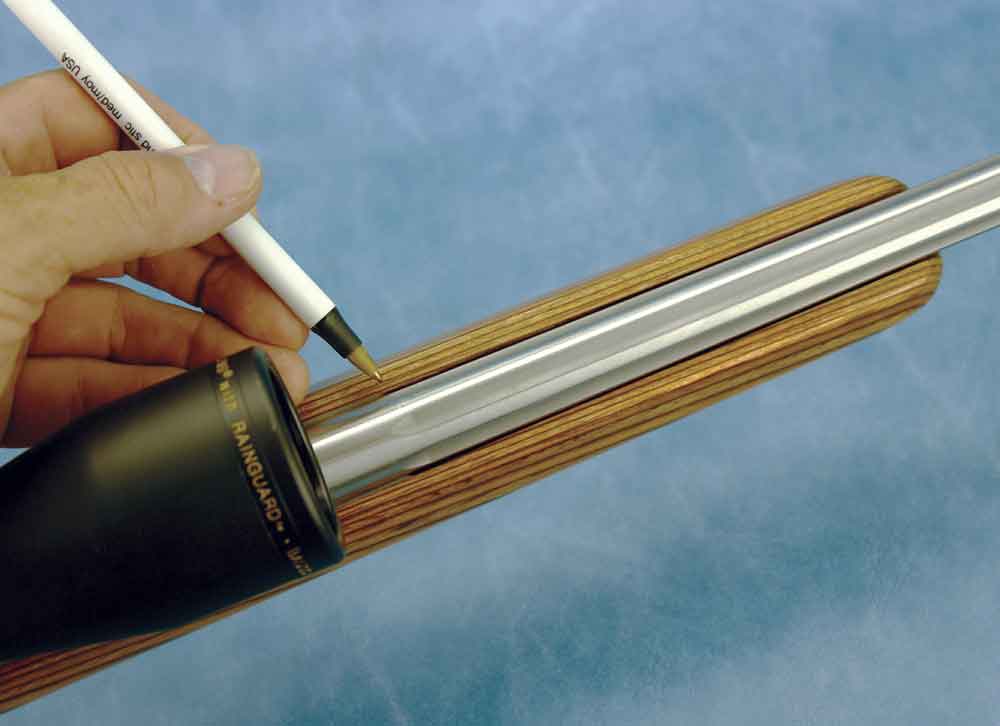
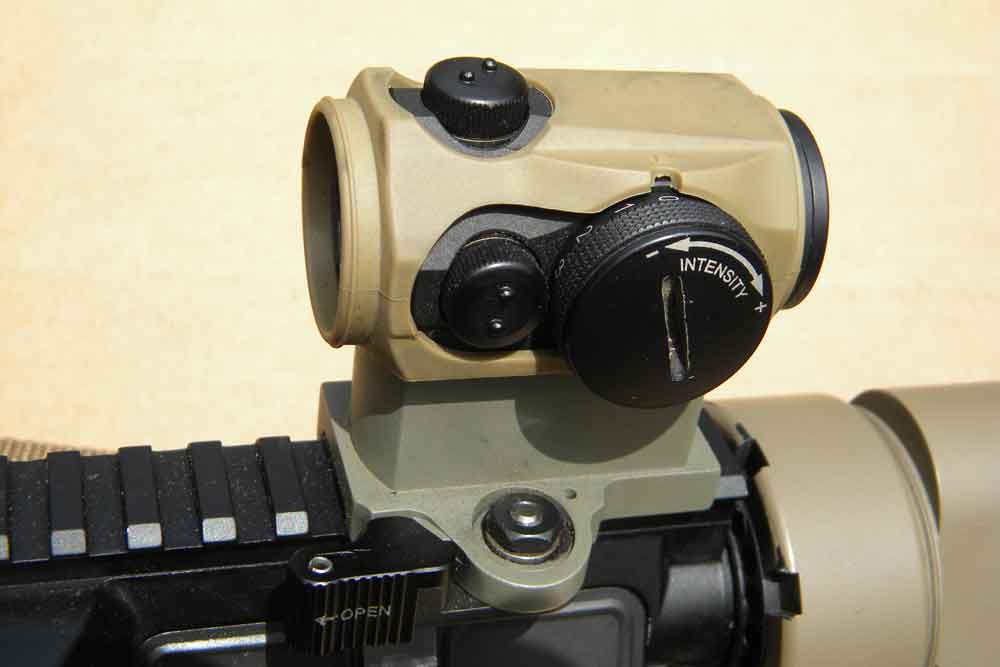
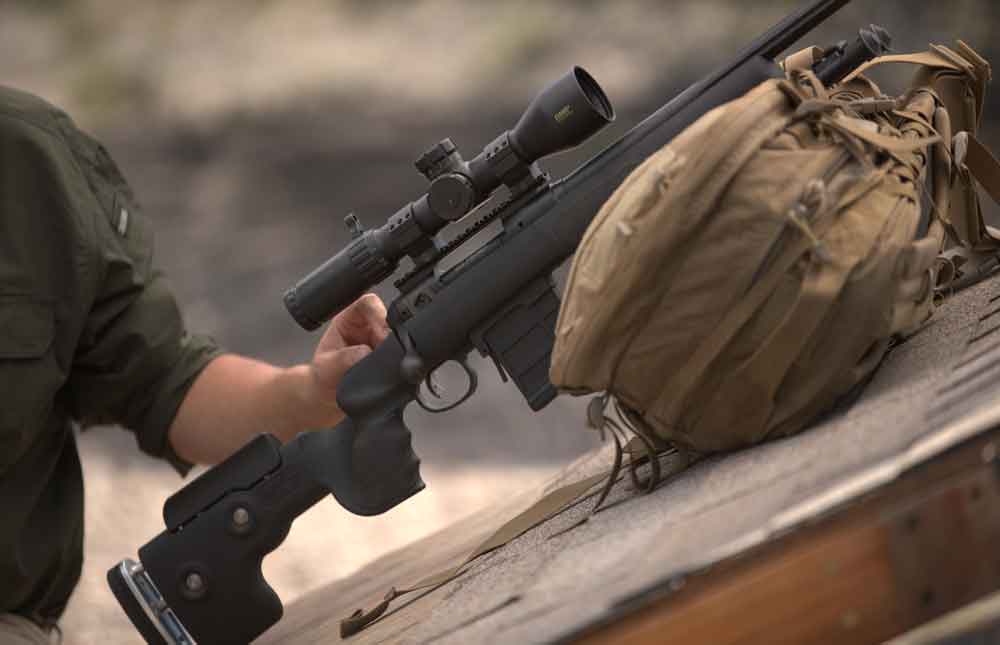
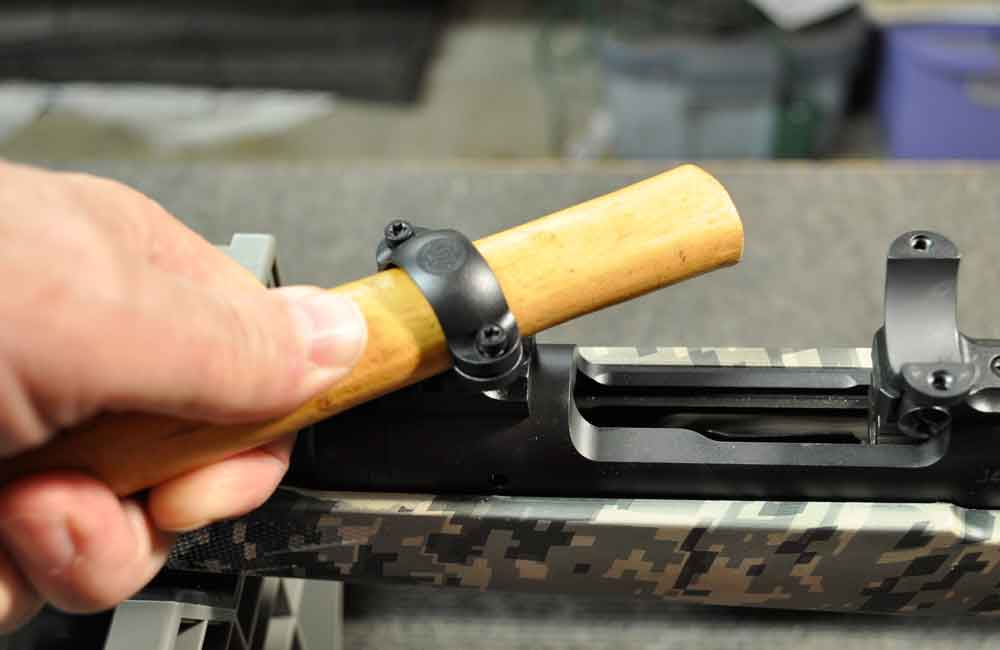
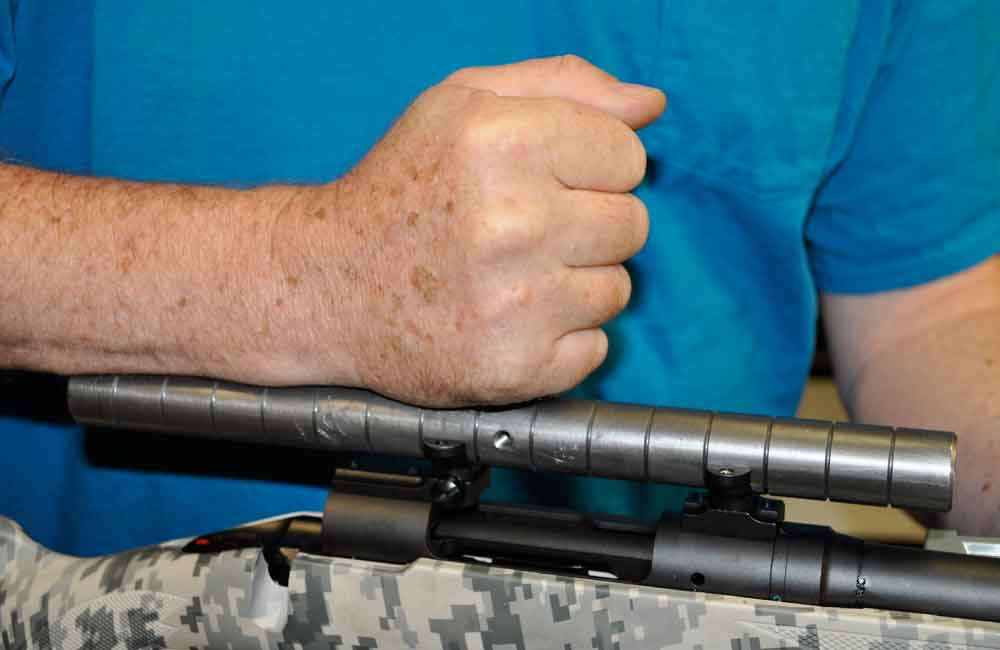
With the Mark 4 mounting system explained later, always attach the rings with the large, keeper nuts to the left of the receiver, rather than on the right, as you don’t want anything interfering with the proper ejection of cases. However, with the dovetail mounting system, attach the top half of the ring of the front set and rotate the ring into the dovetail with a 1-inch piece of wooden dowel rod; a hammer handle works as well. Leupold makes a handy ring wrench for this purpose. The dovetail system causes the most frequent misalignment issues with regards to the front and rear rings, although you also want to check misalignment with the Mark 4 mounting system. The rear ring is adjustable for windage and you want to get that as centered as possible.
When selecting the rings for your particular rifle, always try to get the correct height for your gun. Most scope manufacturers offer low, medium and high rings to accommodate various mounting situations. Choose the combination that mounts the rings at the lowest possible height.
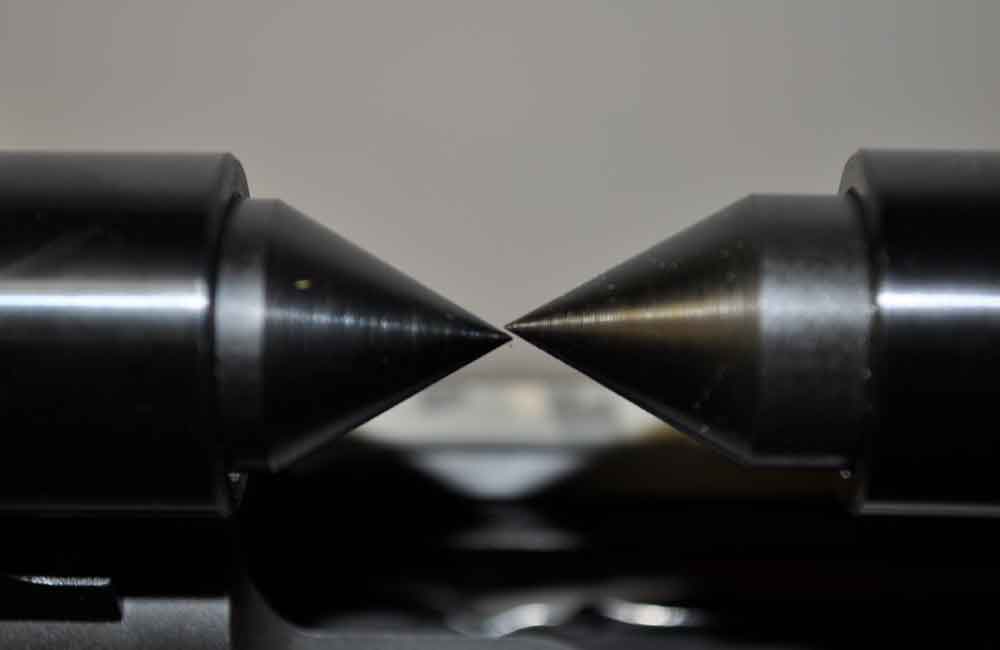
With both rings mounted on the bases, check front to rear ring alignment. Brownells makes a nifty scope ring alignment tool for this task that checks for angular misalignment. With today’s modern mounting systems, you will not likely have to shim the bases to get the rings aligned for elevation, but with side to side or angular misalignment you will need to correct with a lapping tool. Install the scope alignment tool onto the rings and lap them with the lapping compound and plenty of oil until you get about 90 percent contact with the bottom ring. When lapping the rings in, rotate the tool side to side as you run it front to back. Use a figure-eight motion. This will put even pressure all the way around the base of the ring. Check your work as you go, keep good contact. Eventually, you will remove the finish from the bottom of the ring and you will see what kind of contact you are getting.
Once you have the rings lapped in, remove them and the bases and clean all lapping compound and oil before reinstalling the bases. This time, apply blue Loctite on the base screws only. I usually clean everything with a good solvent, then degrease using acetone or brake cleaner.
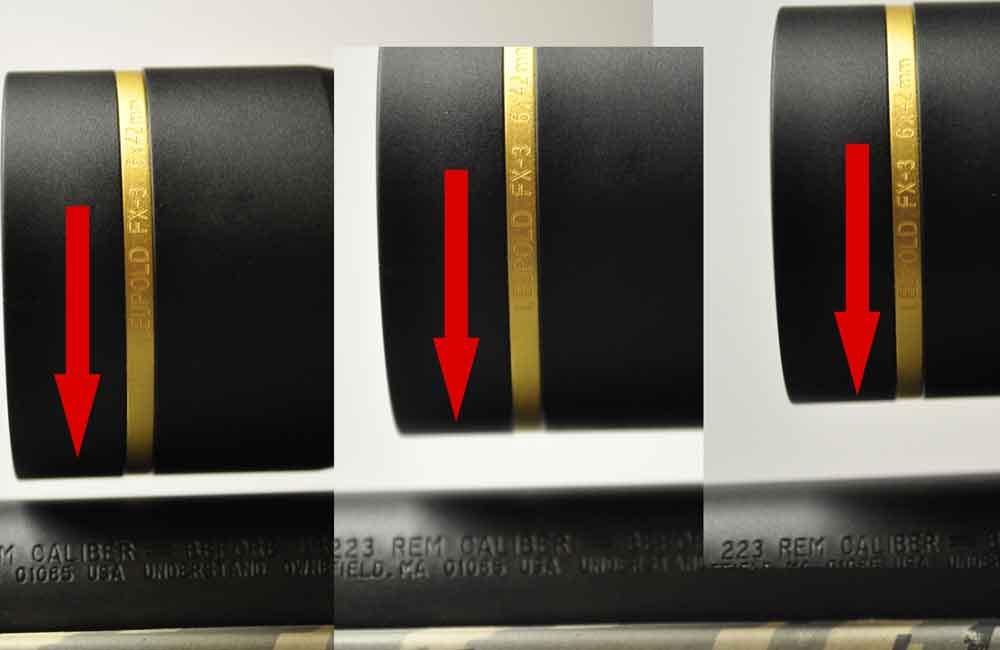
Mark the bottom rings so you don’t get them mixed up. Put the mark on the left side of the rings for orientation — a single stake mark on the rear ring and double stake mark on the front ring. This ensures proper orientation after lapping in the rings. Install the bases. Tighten the base screws down using a torque wrench, the 6-48 screws to about 22 in.-lbs., the larger 8-40 screws torqued to 26 in.-lbs.
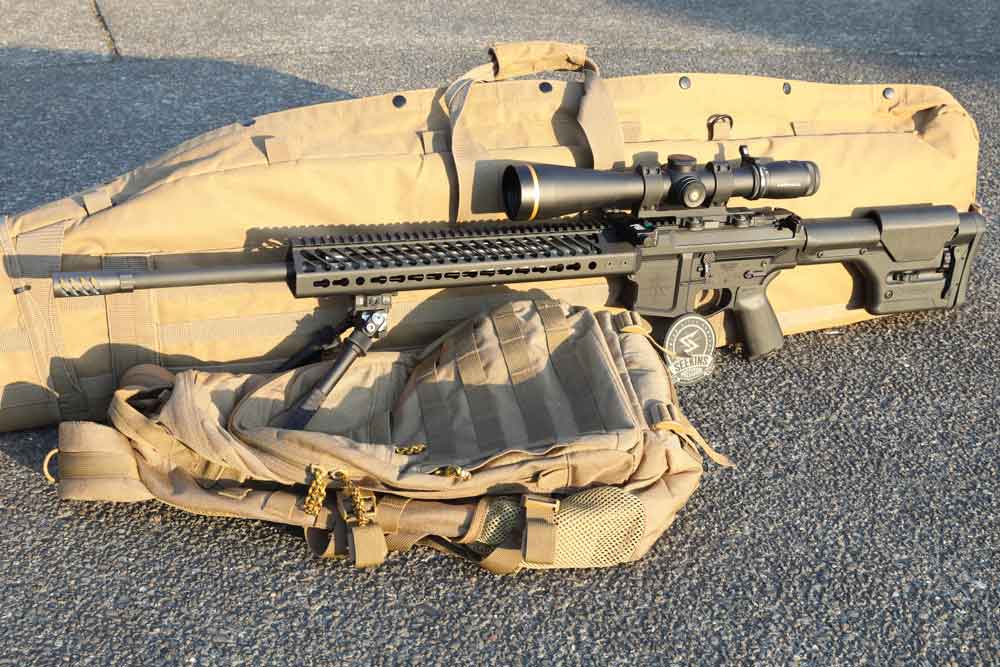
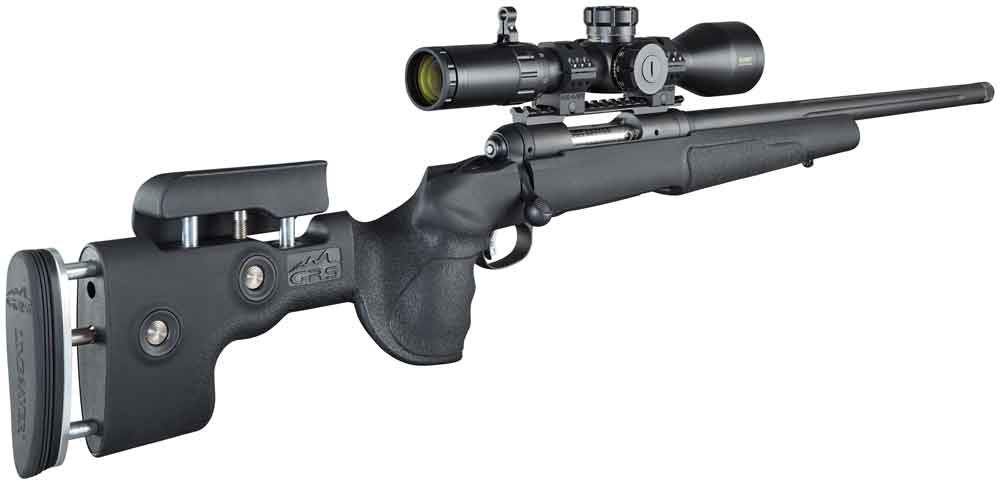
Leupold Mark 4 Mounts and Ring System
The other type of system I’ll cover is the Mark 4 mount and ring system from Leupold, which uses a Picatinny rail for the base. These all-steel ring and base systems are very tough.
When installing the Mark 4 rings and bases, the large ½-inch keeper screws on the rings should be torqued to 65 in.-lbs. Install the rings and use the scope ring alignment tool to line everything up. Make sure you have equal gap between the top and bottom rings, this maintain even pressure when you tighten the top ring screws. And it looks much more professional.
This article is an excerpt from Custom Gunsmithing for Self-Defense Firearms.