CMMG has joined the ranks of gunmakers chambering ARs for the increasingly popular 6.5 Creedmoor, and its new Mk3 DTR2 in that caliber doesn’t disappoint.
What makes the new CMMG Mk3 DTR2 an appealing option?
- CMMG has added the 6.5 Creedmoor to its proven Mk3 AR-10 rifle platform, and the DTR2 variant is loaded with features.
- The Mk3 DTR2 features a 24-inch heavy barrel, CMMG’s RML15 M-LOK handguard and a Geissele SSA two-stage trigger.
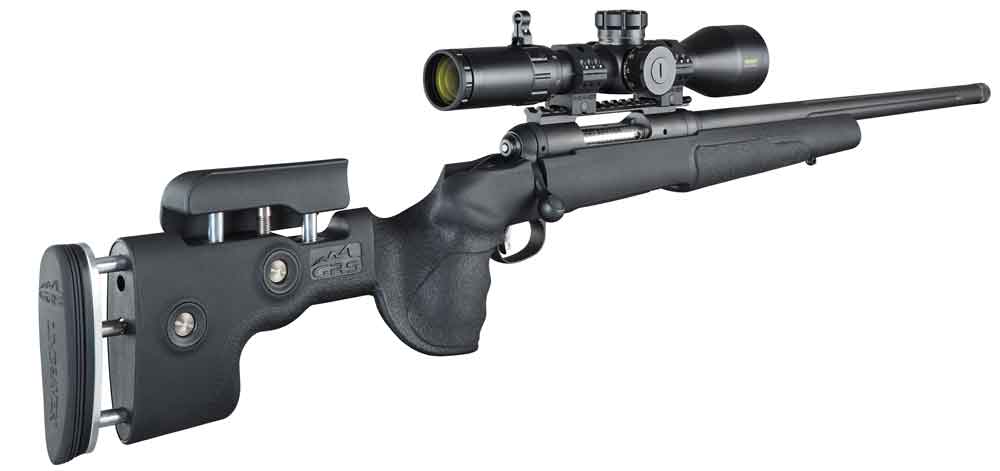
- Furniture on the Mk3 DTR2 includes Magpul’s respected PRS stock and MOE grip.
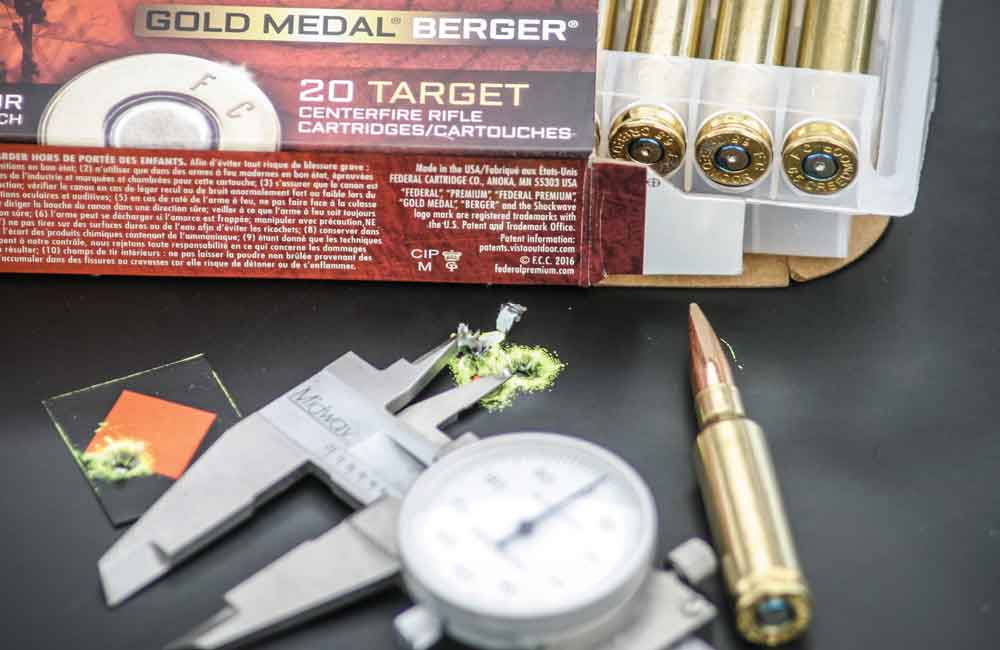
- The author was able to achieve sub-MOA groups with the rifle using Winchester’s Match 140-grain BTHP loads.
New rifle cartridges come along all the time, but relatively few manage to stand the test of time. The 6.5 Creedmoor is a notable exception to this rule.
The brainchild of ever-innovative Hornady engineers, the 6.5 Creedmoor has been with us for about a decade now. The cartridge was intended to be an off-the-shelf competitive match cartridge, and it might have remained in that narrow niche had it not been for the explosive rise in popularity of long-range shooting and hunting in recent years.
Seducing shooters with the virtues of minimal elevation drop and wind drift at long range, the cartridge employs long and relatively heavy, high-ballistic-coefficient bullets. It has proven to be an inherently accurate cartridge, and it produces less recoil than the venerable .308 Win. Loaded with proper bullets, it’s a very effective round for hunting medium-sized game. Judging by the number of ammo makers loading the cartridge and the growing number of manufacturers chambering rifles for it, the 6.5 Creedmoor is here to stay.
 Now CMMG, the Missouri-based maker of high-quality modern sporting rifles, has answered the siren call of the 6.5 Creedmoor with — count ‘em — four new AR-platform rifles chambered for the cartridge.
“We have noticed a growing interest and proficiency in long-range shooting among our customers,” explains Tyson Bradshaw, CMMG’s product development manager. “The 6.5 Creedmoor made sense because it’s ballistically suited for this application and has grown tremendously in popularity over the past 2 years.”
Bradshaw says CMMG designed all four new models to be capable long-range rifles that work great for target shooting or hunting medium-sized game, and the models come in different configurations to allow you to choose your level of customization.
The base model in the new rifle lineup is the Mk3, which has an MSRP of $1,799.95. The gun has a 20-inch barrel with a medium profile and comes with a CMMG single-stage trigger and A2 furniture and compensator. Equipped with a CMMG RKM15 KeyMod hand guard, it weighs 9 pounds.
For $100 more, you can get the Mk3 P model. It’s similarly equipped but has a 24-inch heavy-taper barrel and Magpul MOE pistol grip and MOE stock. It weighs 10.4 pounds.
The next step up is the Mk3 DTR, which also has a 24-inch heavy barrel, CMMG single-stage trigger, Magpul MOE pistol grip and PRS (Precision rifle/Sniper) fully adjustable stock. With CMMG’s new RML15 M-LOK handguard, it weighs 11.3 pounds and has an MSRP of $2,099.95.
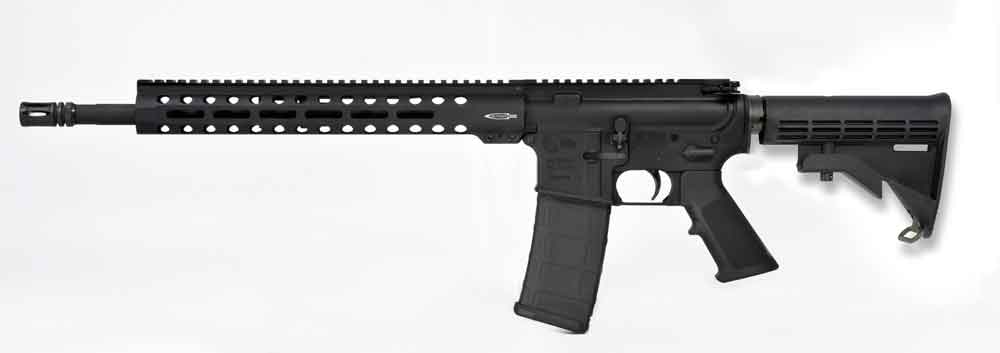
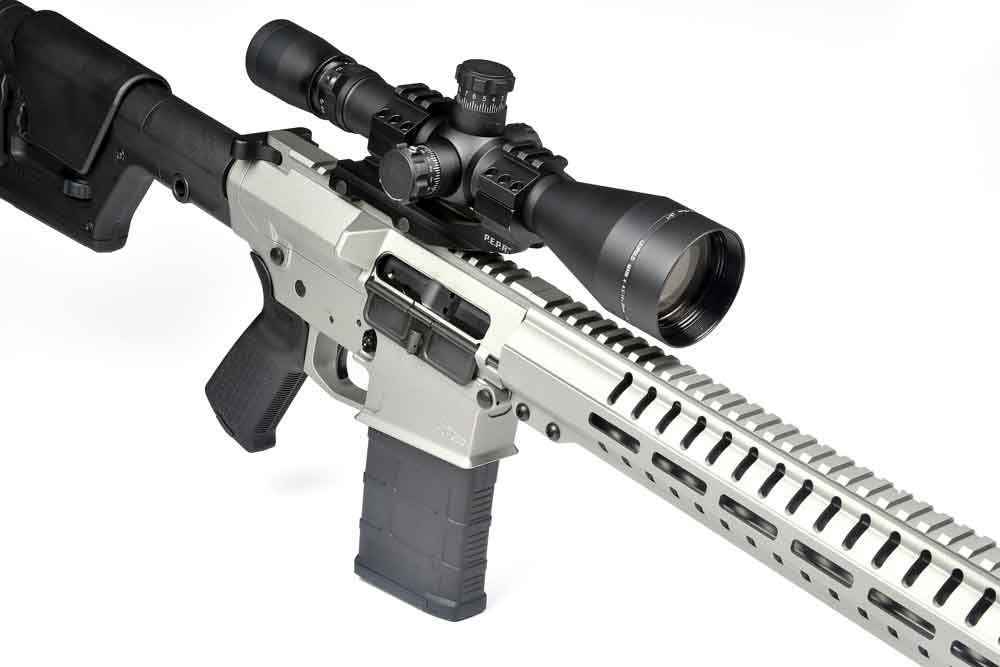
This brings us to the rifle sent for testing, the top-of-the-line Mk3 DTR2, which weighs 11.3 pounds and has an equally hefty price tag of $2,274.95. Here’s a much closer look at what you’ll get for your money.
 Turning Heads At The Range
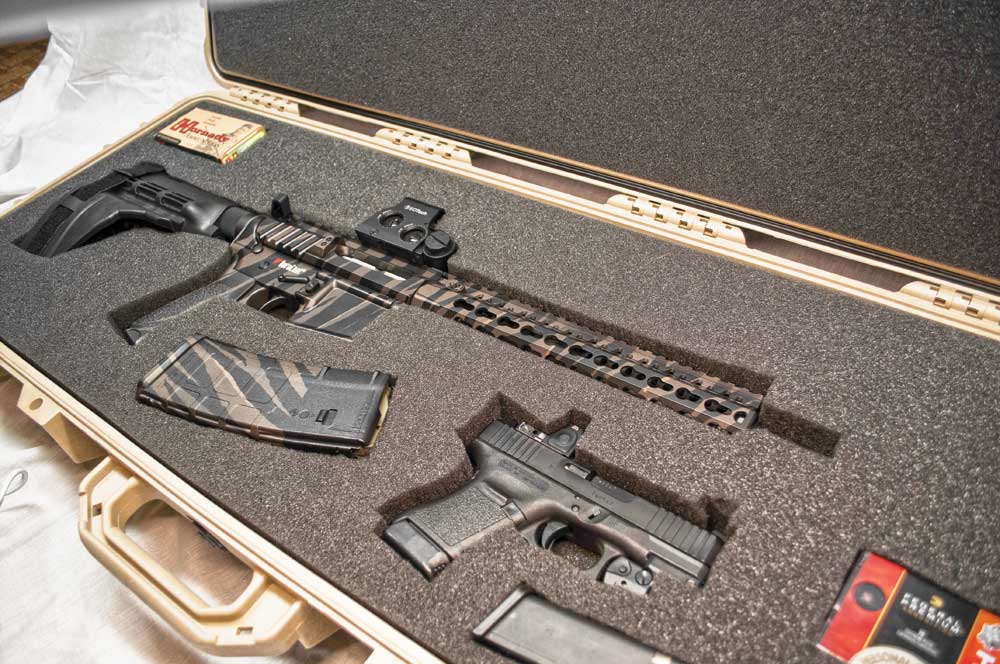
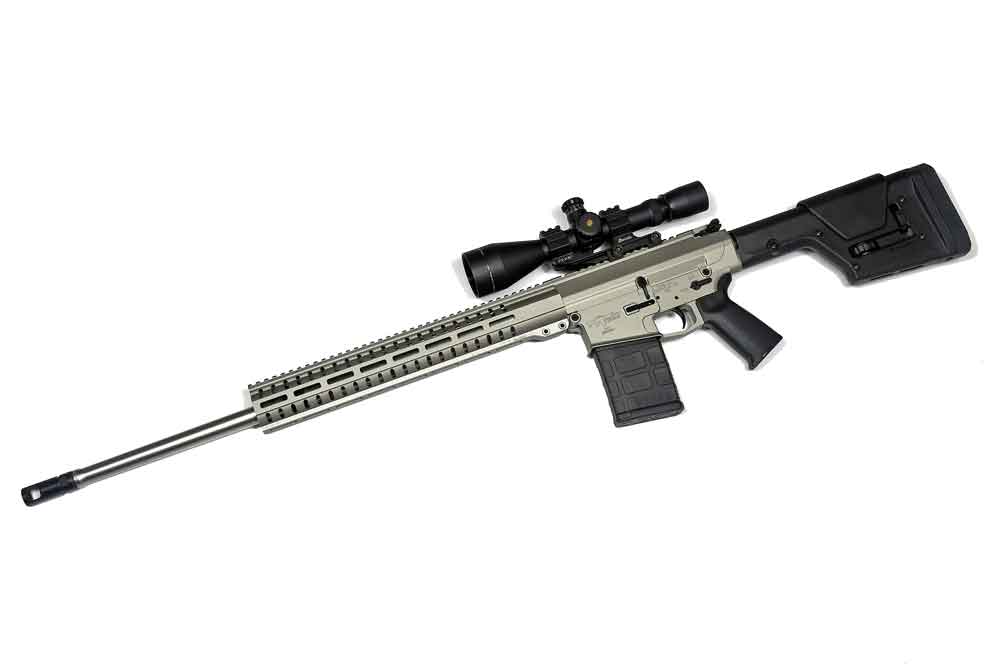
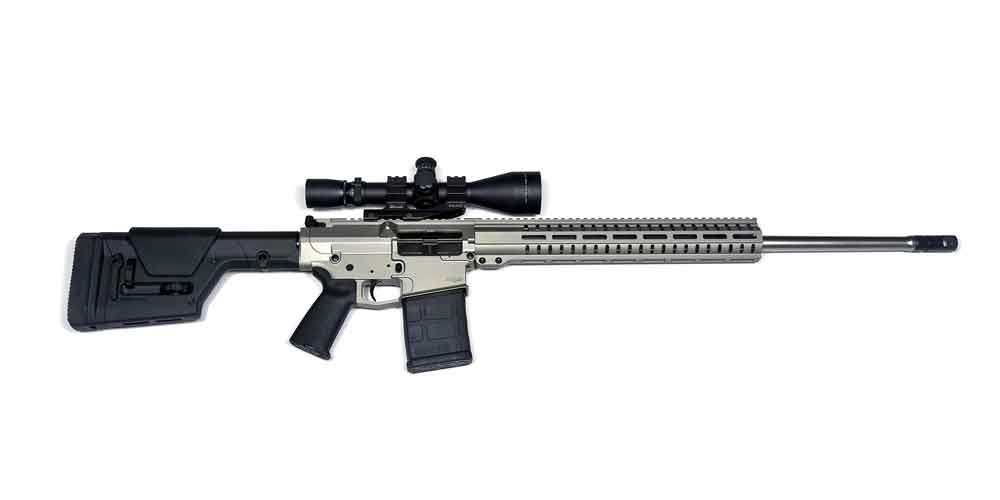
Unboxing the Mk3 DTR2, I was surprised to find there was very little that was actually black on what I expected to be a black rifle. That’s because the gun sent by CMMG had its upper and lower receivers, and the RML15 M-LOK handguard, protected with a Cerakote finish in CMMG’s “titanium” color. Contrasting with the black grip and stock, the effect is rather stunning, and the rifle proved to be a head-turner at the range.
Beneath that weather-resistant finish, all Mk3s are built on 7075-T6 aluminum AR-10-proportioned receiver sets. Each uses a rifle-length gas system. Internal components are mostly Mil-Spec. The bolt is made of 9310 steel, and the bolt carrier is 8620 steel. The firing pin is chrome-plated 8640 steel, and both carrier and carrier key are chrome-lined. CMMG rifles have a lifetime warranty against defects in material or workmanship.
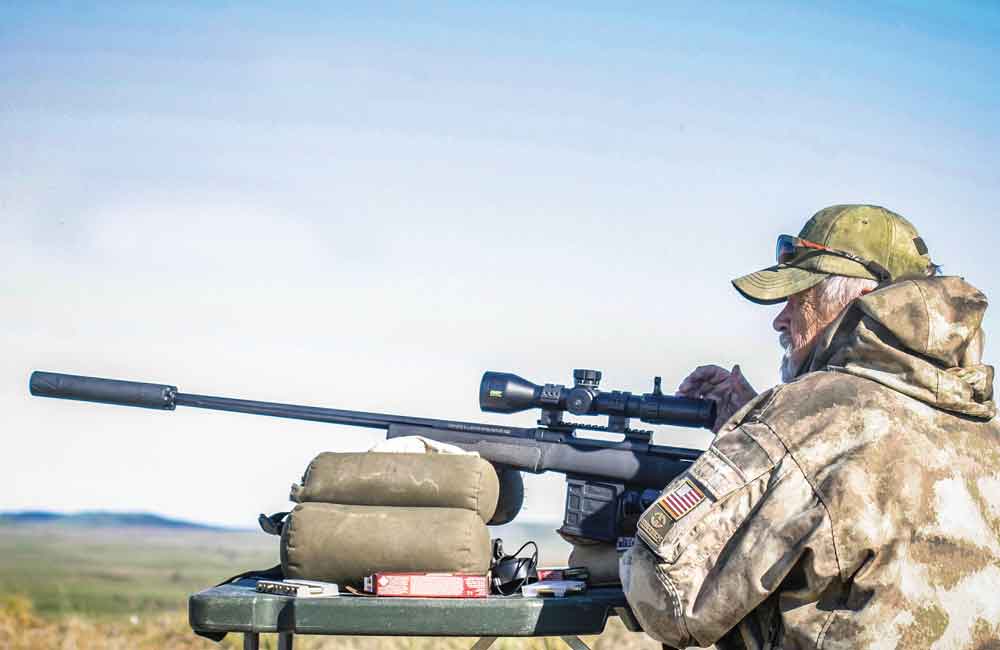
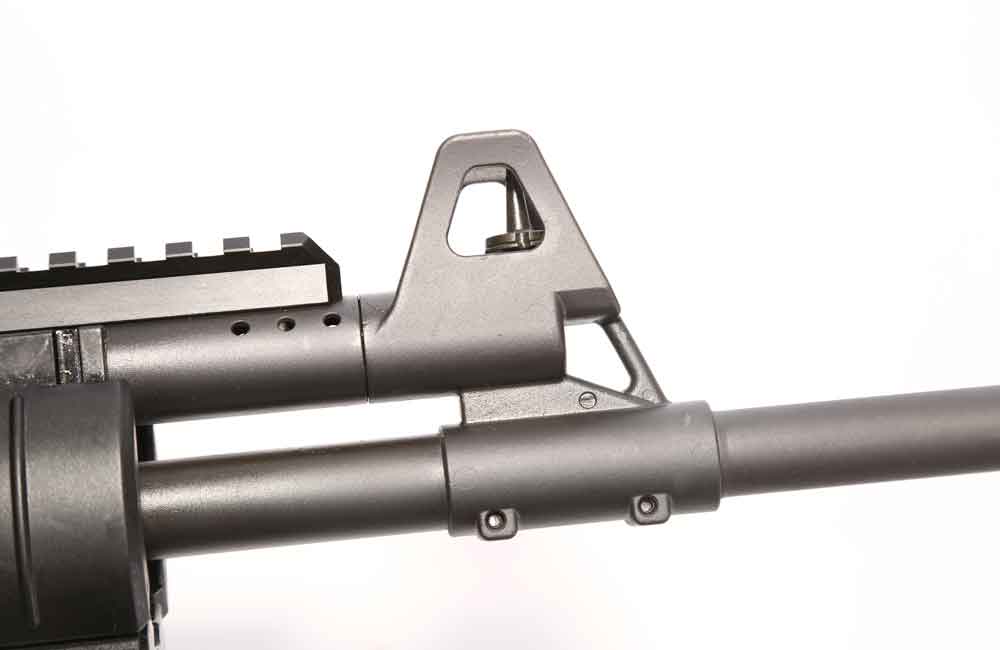
The DTR2 has a heavy profile, 24-inch 416 stainless steel barrel with a 1:8 twist, which favors heavier bullets. The barrel is capped with CMMG’s SV muzzle brake. Combined with the rifle’s weight, it reduces the Creedmoor’s already-mild recoil to a negligible level. The muzzle is threaded 5/8-24, so you can add a muzzle device or suppressor of your choice.
Controls are in the usual place but are not ambidextrous. There is no forward assist, which helps shave off a little weight.
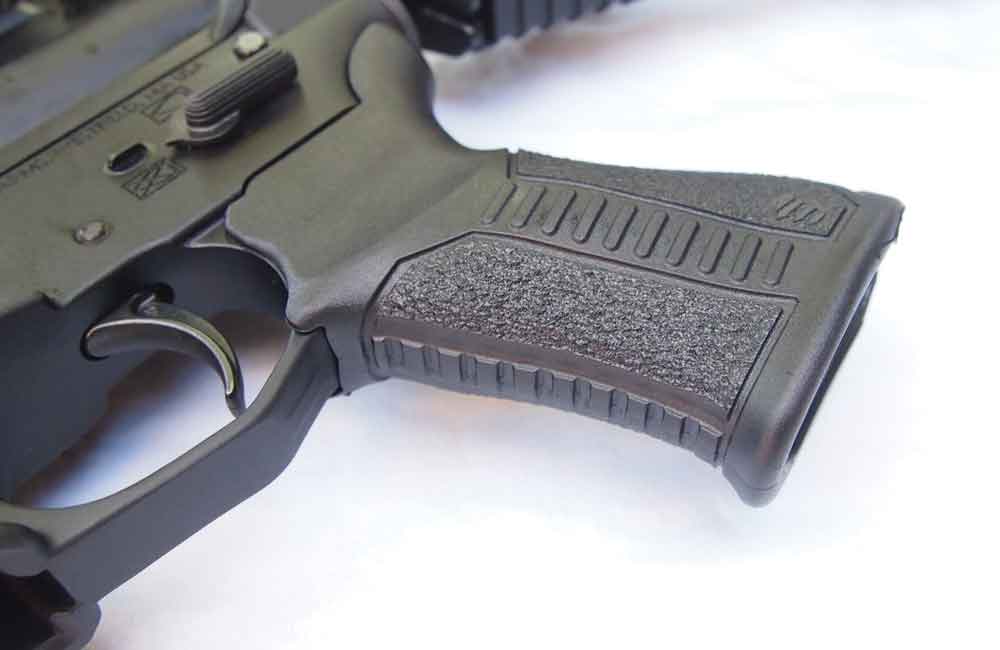
Furniture consists of the Magpul MOE grip and PRS stock. I’ve always liked this fully adjustable stock because of its rigidity and stability and because it doesn’t catch and yank on facial hair as many telescoping stocks can. The rifle comes with a single 20-round AR-10 PMAG magazine.
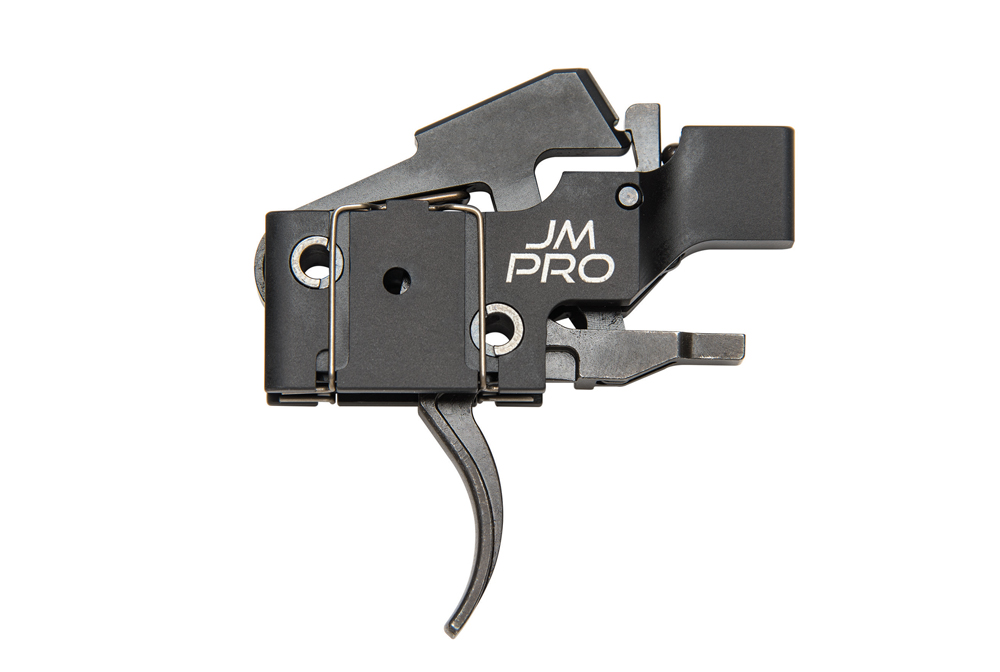
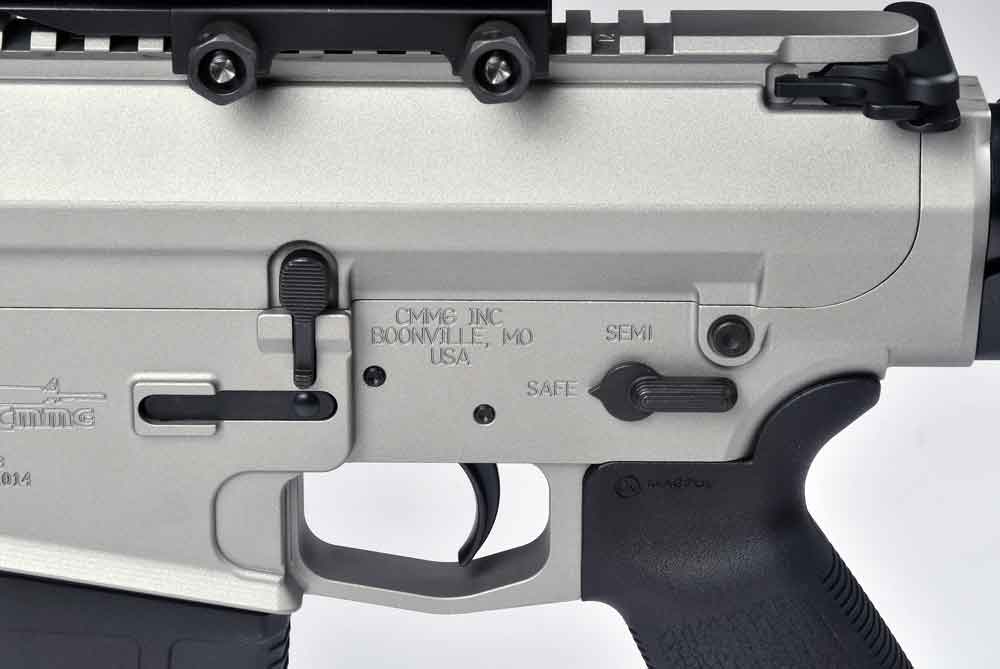 One big difference in this top-end Mk3 is the addition of a Geissele SSA two-stage trigger. This is a huge improvement over the creepy, heavy Mil-Spec triggers on many ARs. It has a light initial take-up before meeting a solid stop. The trigger then breaks crisply with a bit more force.
On my Lyman trigger gauge, it broke cleanly and consistently at an average pull weight of 4 pounds, 5 ounces. As a guy who’s spent a lot of time with bolt-action rifles with fine triggers, I would prefer that the pull be just a bit lighter, but I can also understand why some people aren’t too keen on that concept with AR-platform guns.
With a rifle like the Mk3, which begs to be used in long-range shooting, I would be tempted to swap out the two-stage trigger for something like a single-stage Timney AR trigger with a lighter pull weight. This is not a criticism of the Geissele, which is very good — it’s a matter of personal preference and knowing that a lighter trigger enhances my long-range accuracy with any rifle, regardless of the action type.
 Putting The Mk3 To The Test
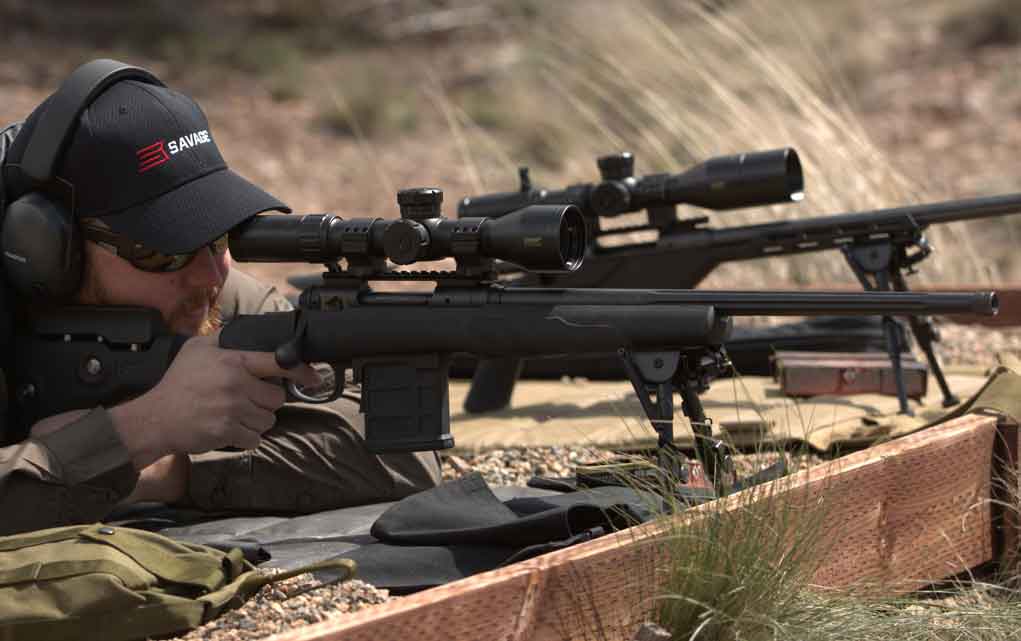
When I first zeroed the rifle at the range, the third round out of the magazine hung up halfway out of the rifle’s ejection port. I cleared the gun and resumed shooting, and it never hiccuped again as I fired more than 100 rounds, pausing only once to swab out the barrel halfway through the session. The rifle fed, fired and extracted without issue, and after that initial failure to eject, spent shell casings ejected positively about 10 yards to the side and slightly forward.
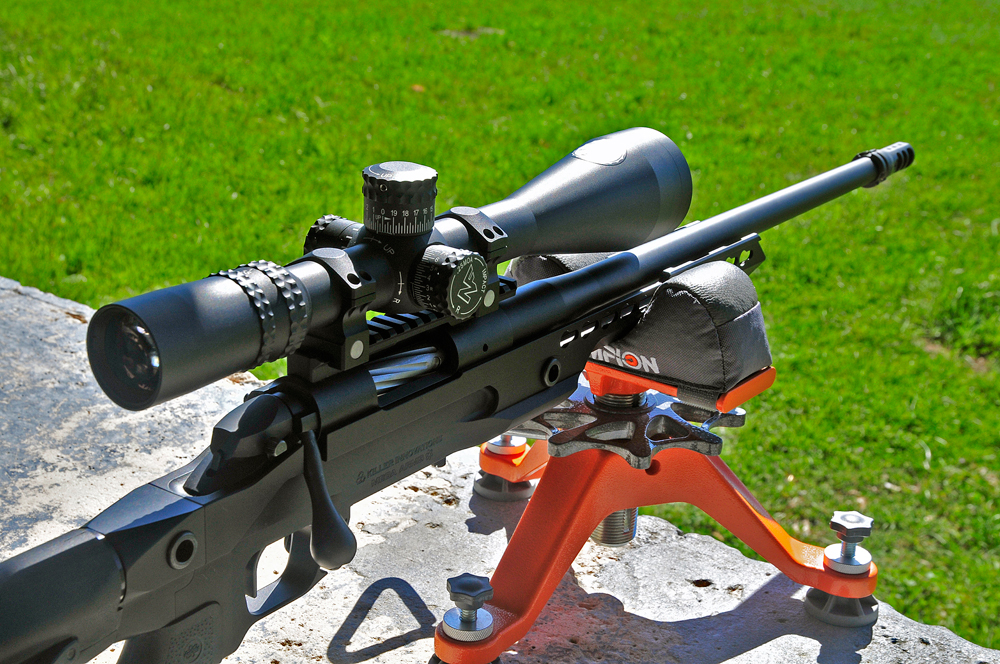
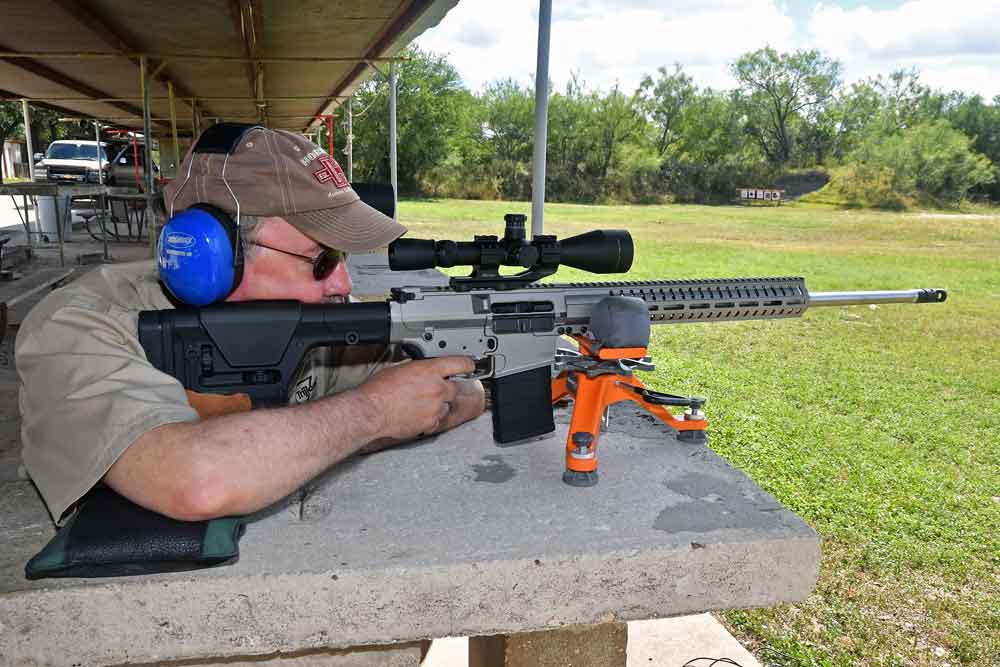
For testing, I mounted a Leupold Mark 4 4.5-14x50mm LR/T (long range/tactical) scope, with M1 knobs and a Tactical Milling Reticle, using a rock-solid, cantilevered Burris PEPR mount. This is a great combo for long-range hunting and target shooting.
Average velocities of the four factory loads I tested over a CED M2 chronograph yielded a pleasant surprise. All zipped along at speeds quite close to factory-stated velocities, ranging from 53 fps faster to 26 fps slower. Interestingly, the slowest, at 2,684 fps, turned in the best performance.
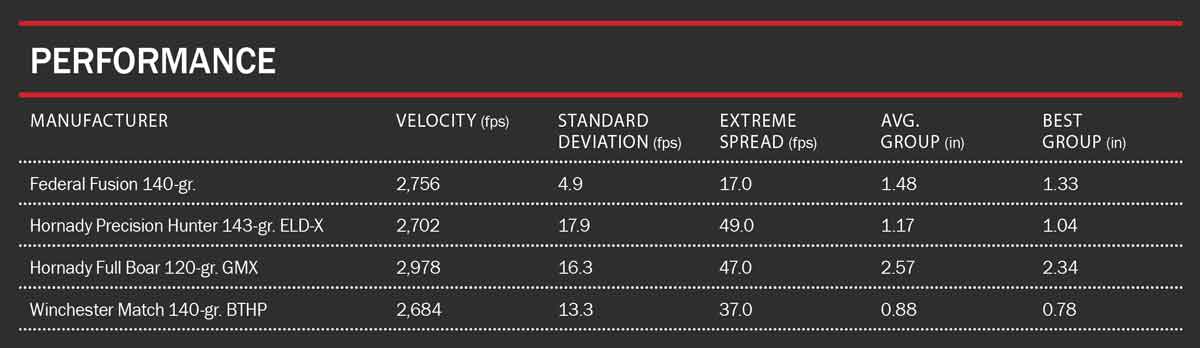 Testing produced mixed results. Although I only had four loads, the rifle showed clear likes and dislikes. The Federal Fusion 140-grain load produced average groups just less than 1.5 inches, with a best group of 1.33 inch. Hornady’s Precision Hunter 143-grain ELD-X load did a bit better, with average groups of 1.17 inches and a best group of just a hair over 1 inch.
The Mk3 didn’t like the one light load tested, grouping 120-grain bullets into an average group of 2.57 inches. That wasn’t a huge surprise, with the barrel’s 1:8 twist, but I wanted to see if it would tolerate lighter bullets. With that load, at least, it did not.
The rifle obviously preferred heavier bullets, and the clear winner was Winchester’s Match 140-grain BTHP, with average groups of 0.88 inch and a best group of 0.78 inch. These were all five-shot groups, and testing was done with the wind gusting to 14 mph.
Even so, the rifle demonstrated that it’s a sub-MOA shooter at 100 yards with ammo it likes — but it’s at longer ranges, where the virtues of the 6.5 Creedmoor become more obvious, that the Mk3 will be most gainfully employed.
Specifications:
 CMMG Mk3 DTR2
Type: Semi-auto, direct-impingement gas
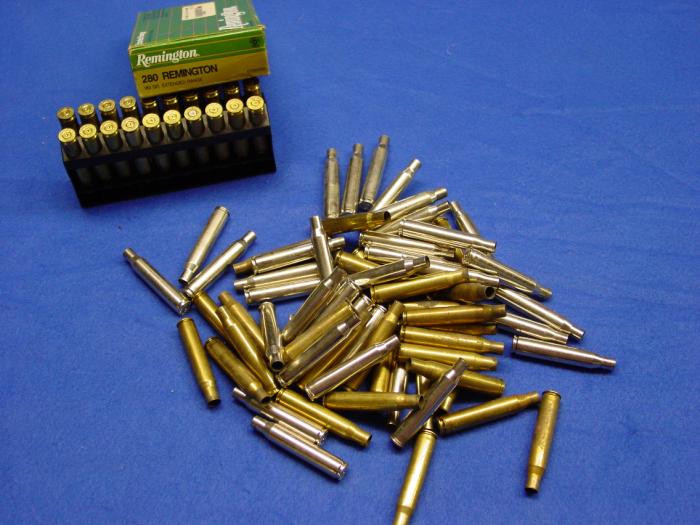
Caliber: 6.5 Creedmoor
Gas System: Rifle Length
Barrel: 24 in., 1:8 twist, heavy taper 416 stainless steel
Overall Length: 46 in.
Weight: 11.3 lbs. (unloaded)
Muzzle Device: CMMG SV brake, threaded 5/8-24 barrel
Handguard: CMMG RML15 M-LOK
Receivers: Billet 7075-T6
Trigger: Geissele Automatics SSA two stage
Grip: Magpul MOE
Stock: Magpul PRS
MSRP: $2,274.95
Manufacturer: CMMG
Editor’s Note: This article is an excerpt from the August 2017 issue of Gun Digest the Magazine.