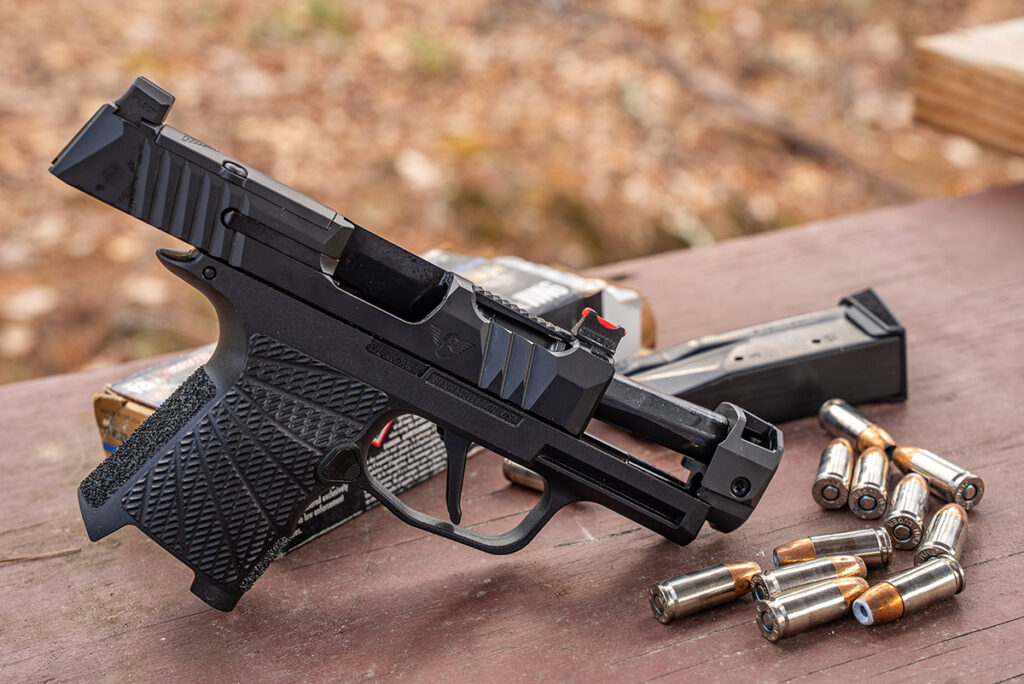
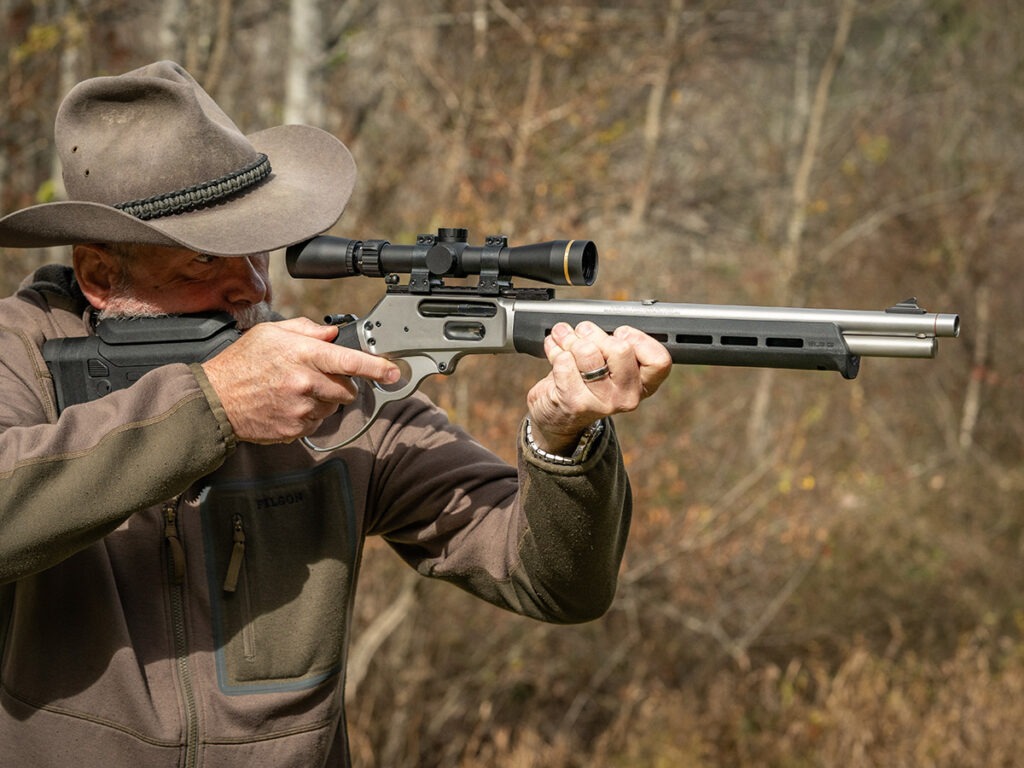
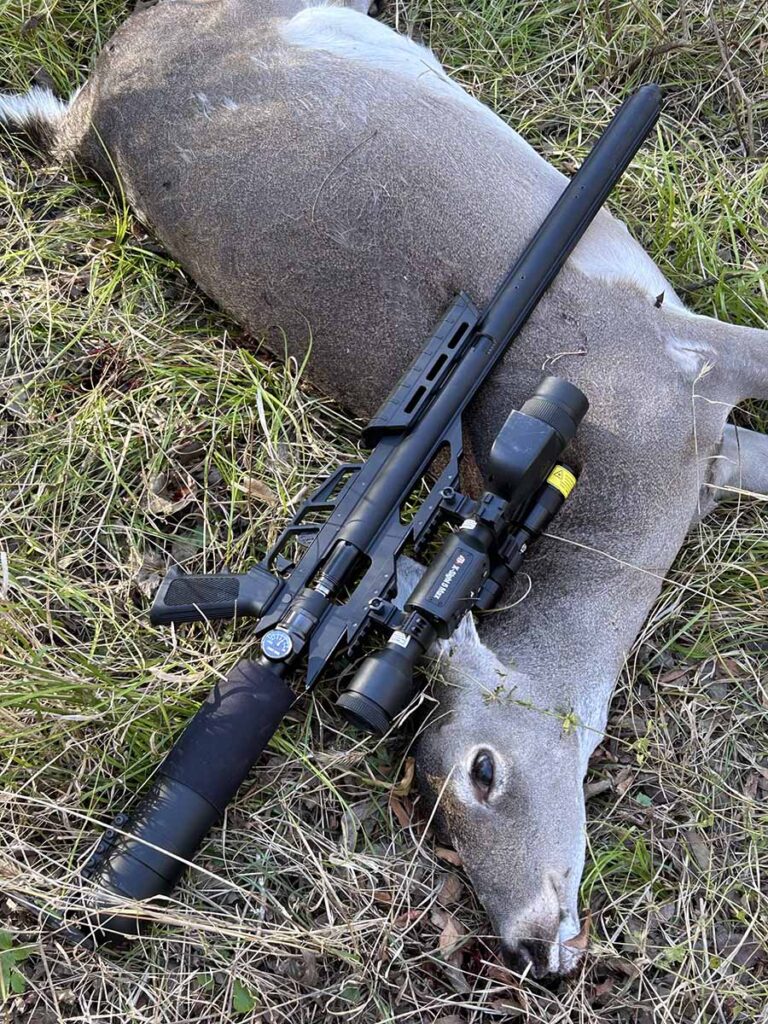
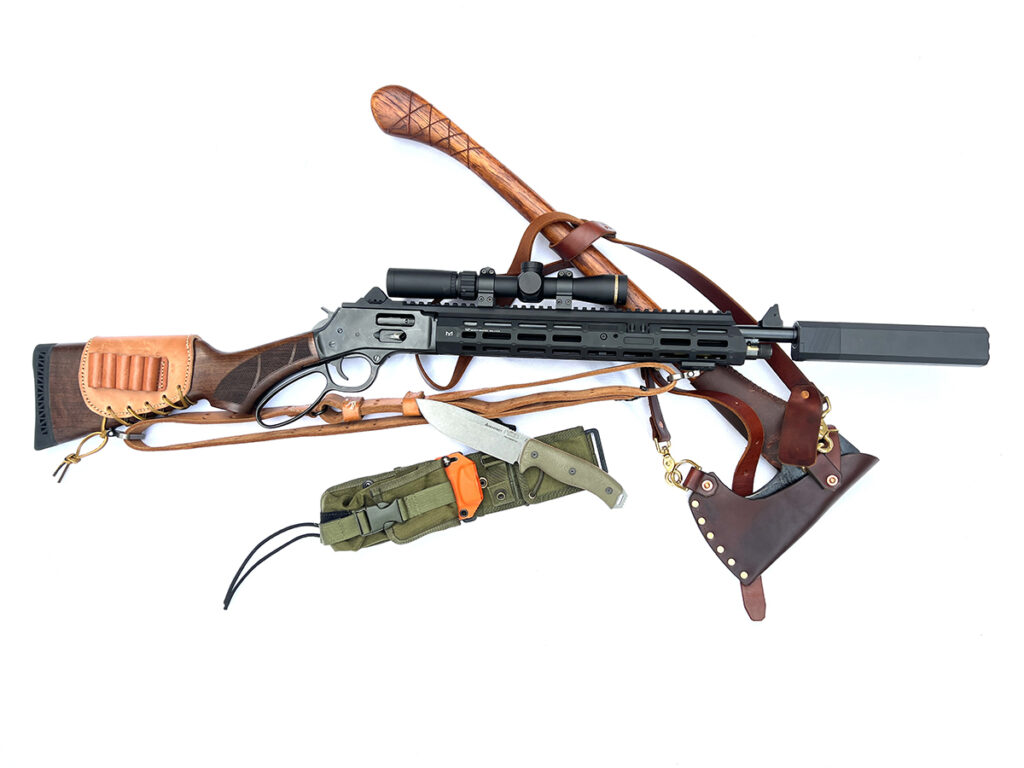
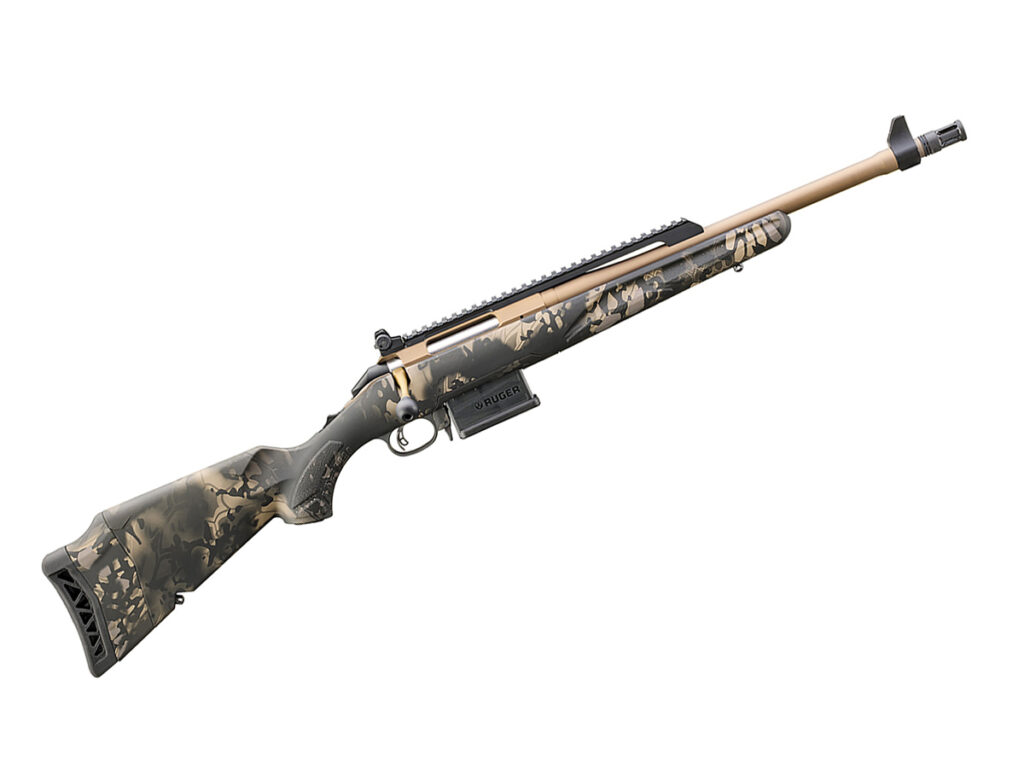
The Angstadt Arms Vanquish 22 X Fletcher Rifle Works OpenTop 11/22 Takedown is one slick integrally suppressed rimfire rifle.
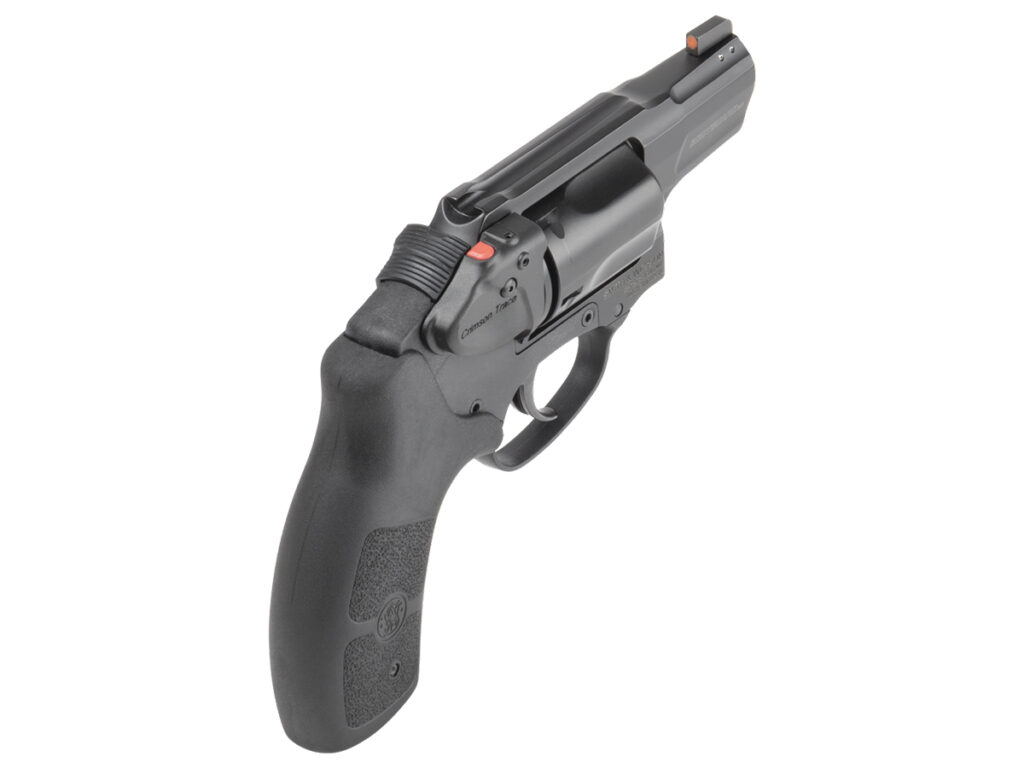
HK MP5SD, Welrod pistol, De Lisle carbine, VSS Vintorez, High Standard HDM. These are some especially iconic firearms from years past. What do they all have in common?
Yep, you got it — they’re all integrally suppressed guns that were designed with built-in suppressors.
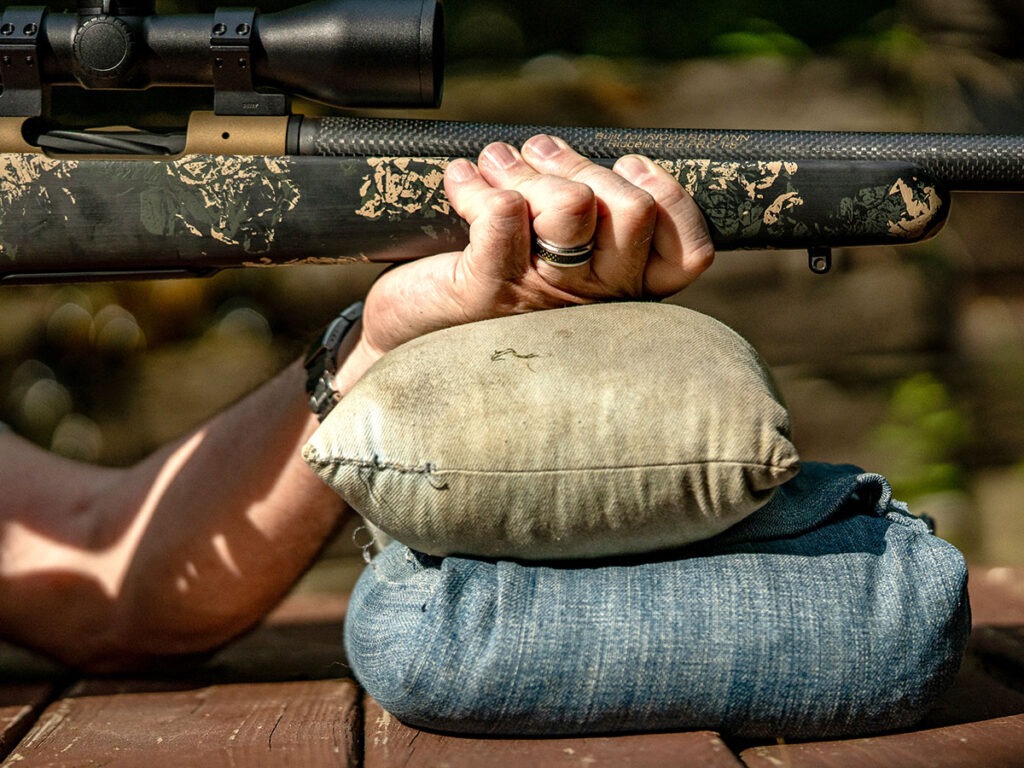
Standalone suppressors are much more common. They’re designed and rated for certain calibers, and you attach them to your firearm by threading them on to the end of your barrel or attaching them to a compatible muzzle device. There are several advantages to a standalone can. You can use it on multiple hosts, and many suppressors can be used with multiple calibers, though they won’t be optimized for all of them. Some are modular, so you can configure the length and level of sound mitigation to suit the task at hand.
With the wide diversity of suppressors available on the market, you can also select one that’s designed to fit your specific needs, whether that’s low back pressure, maximum sound performance, size and weight, budget, and so on.
Since suppressors are regulated under the National Firearms Act, they’ve always come part and parcel with paperwork headaches, long delays, and the cost of the tax stamp. It’s no surprise that most folks would buy a standalone suppressor to use across multiple guns, rather than be locked into a dedicated application.
However, times have changed. With wait times now on the order of days or weeks and the cost of tax stamps down to zero, an integrally suppressed weapon isn’t so far-fetched anymore. In fact, it’s downright appealing.
It reduces the overall length of the weapon and mitigates the weight balance issues with standalone cans — between the suppressor, muzzle device, and adapter, that’s a lot of weight hanging off the very end of your muzzle. As a result, the integrated weapon system is more compact and handles better.
As a dedicated system, integrals are also optimized specifically for that particular firearm. So you’ll trade flexibility for optimized performance.
Some integrals also provided an advantage in that you might avoid the need for another tax stamp for a short barrel in addition to a separate suppressor, but with $0 stamps, that’s less of a concern now.
Angstadt Arms X Fletcher Rifle Works Vanquish 22TD X OpenTop 11/22 Takedown
- Caliber: .22LR
- Capacity: 10, 25
- Weight: 4.1 pounds
- Barrel length: 18 inches
- Overall Length: 35.6 inches
- MSRP: $1,400
Accessories
- 5.11 Tactical LVC12 backpack: $160
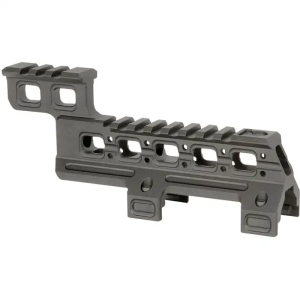
- American Defense Manufacturing AD-RECON-SL scope mount: $227
- Banish Suppressors Banish 22: $629
- Radical Firearms RF22LR: $650
- Vortex Optics Razor HD Gen II-E 1-6x scope: $2,400
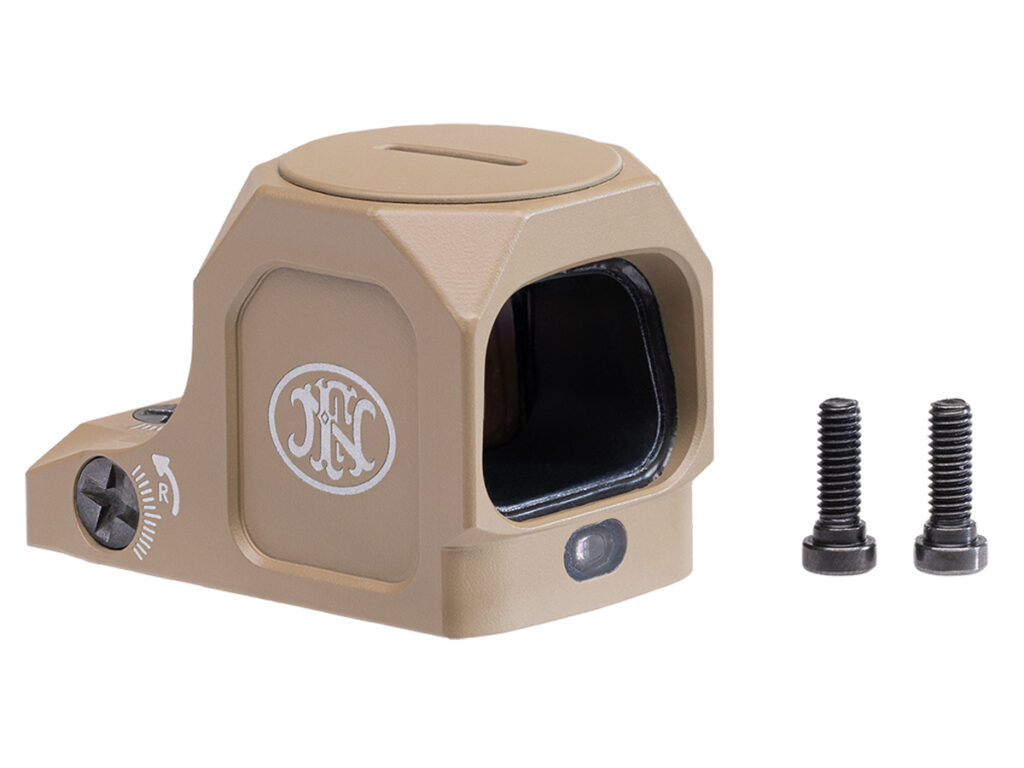
- ZeroTech Optics Trace Red Dot: $349
Modern Muskets
The Angstadt family has a rich and long legacy of building firearms, dating all the way back to the 1700s. Generations of Angstadts were known for their finely crafted muzzle-loaded long rifles, relied upon for hunting, self-defense, and even war.
Today, Angstadt Arms continues in the family footprints, pushing forward with modern weapon systems that are differentiated with unique or innovative features to stand out from the pack.
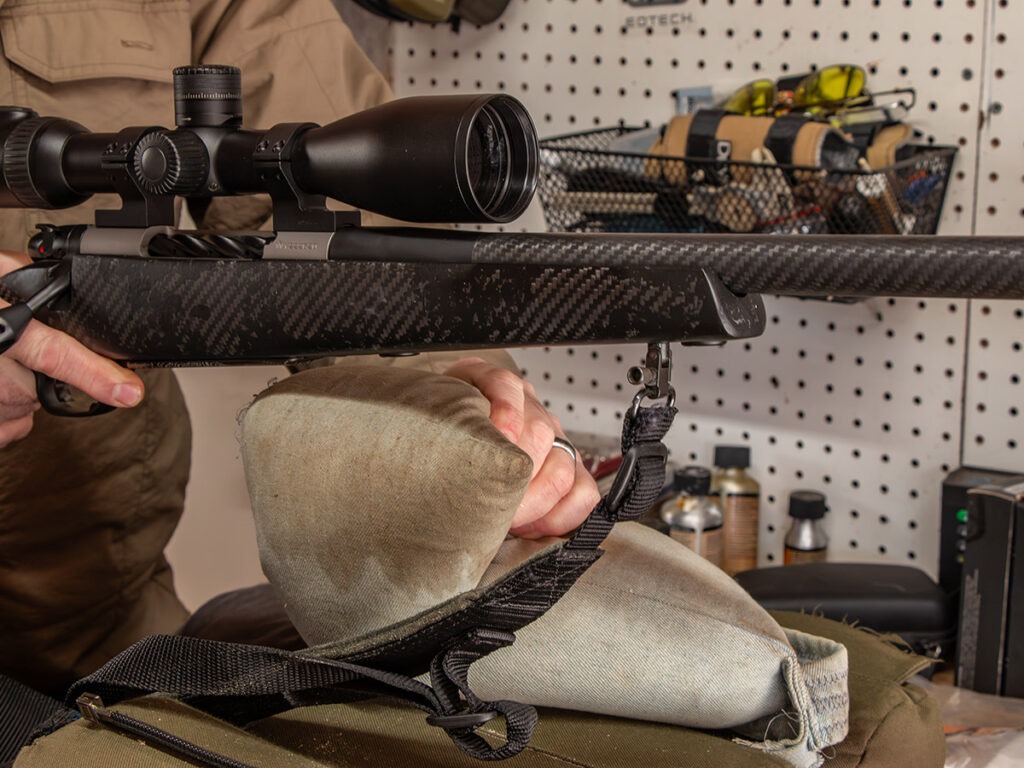
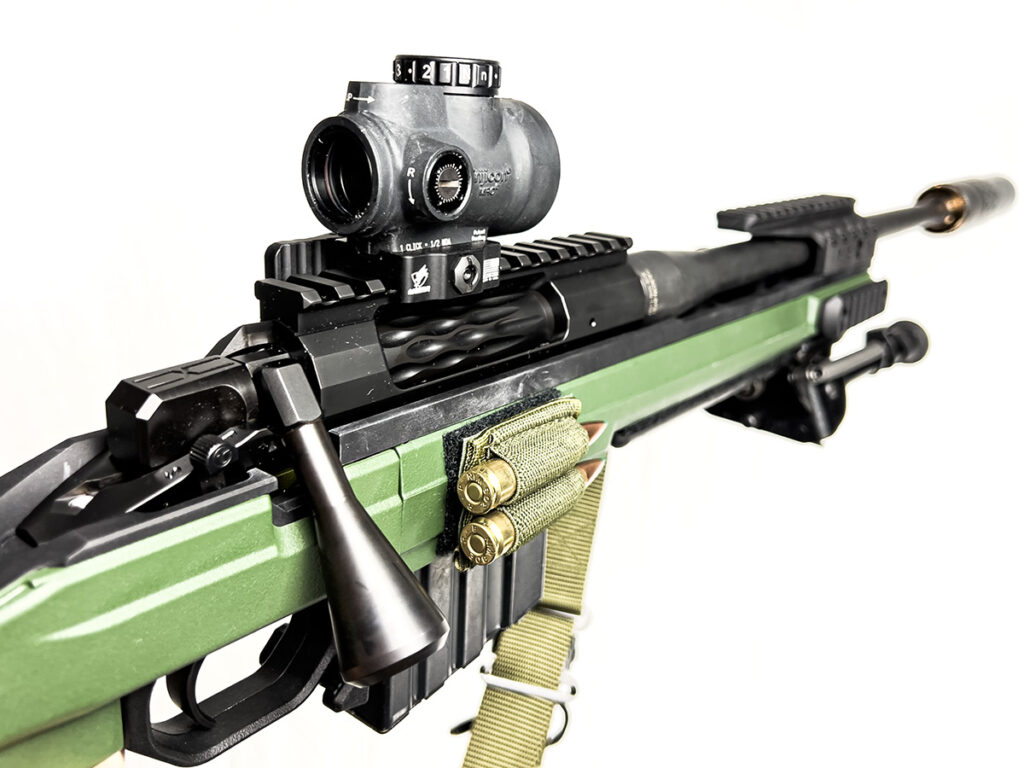
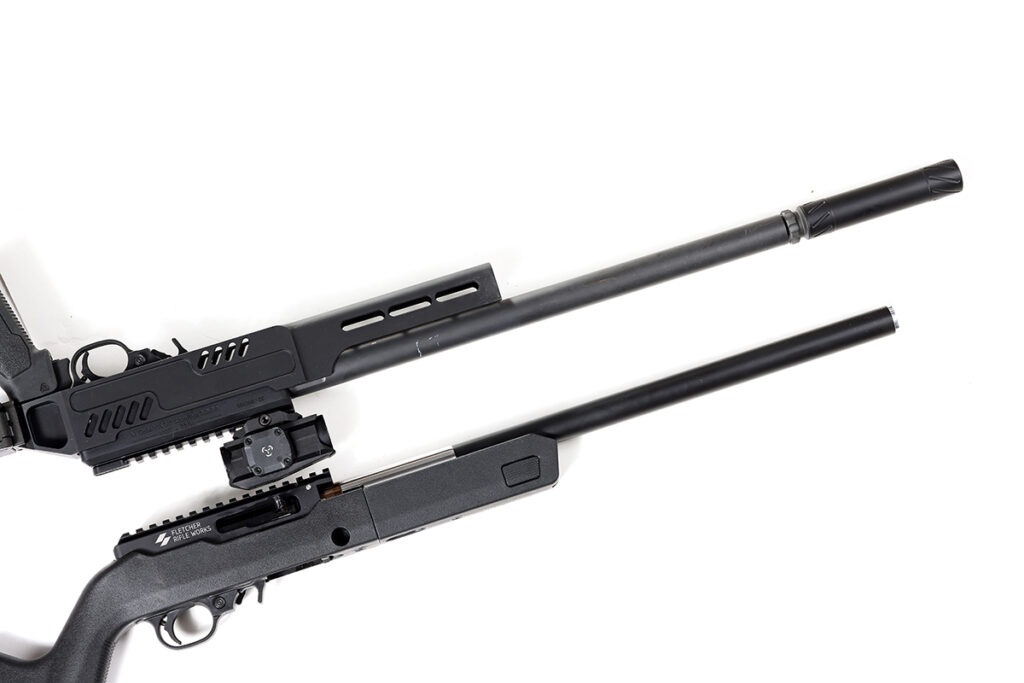
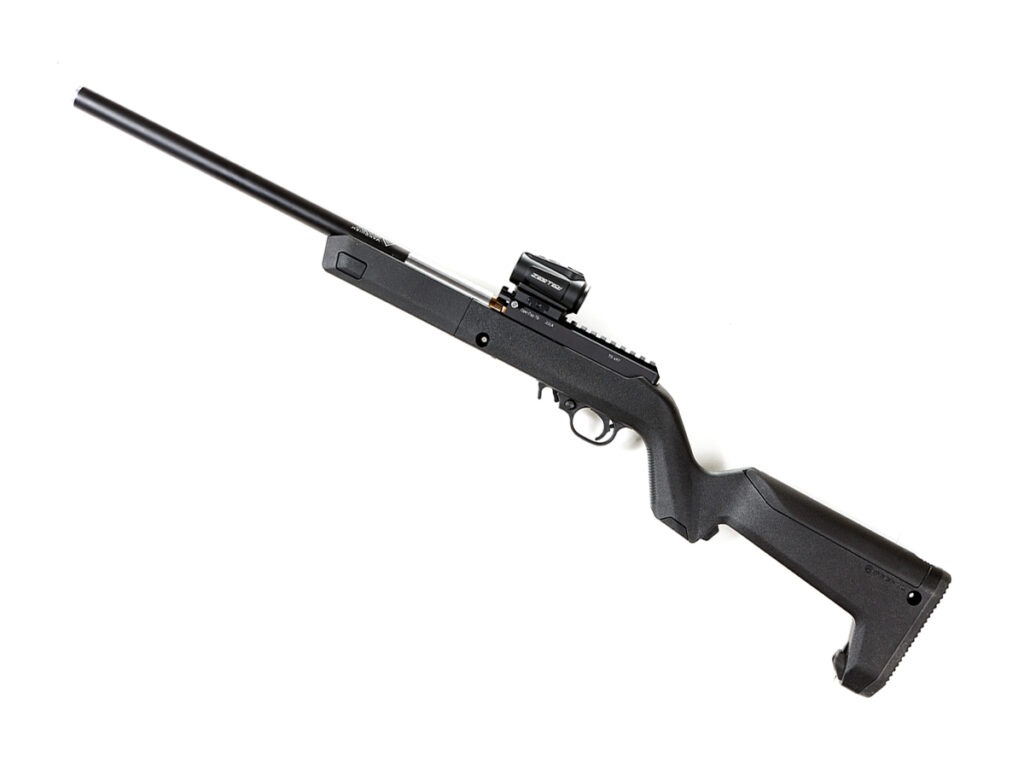
Angstadt’s Vanquish 22 system is one such example. At its core, it’s an integrally suppressed 22LR rimfire barrel. The family of Vanquish 22 products includes Ruger 10/22, Ruger Precision Rimfire, and AR fitments, with 12- and 18-inch variants.
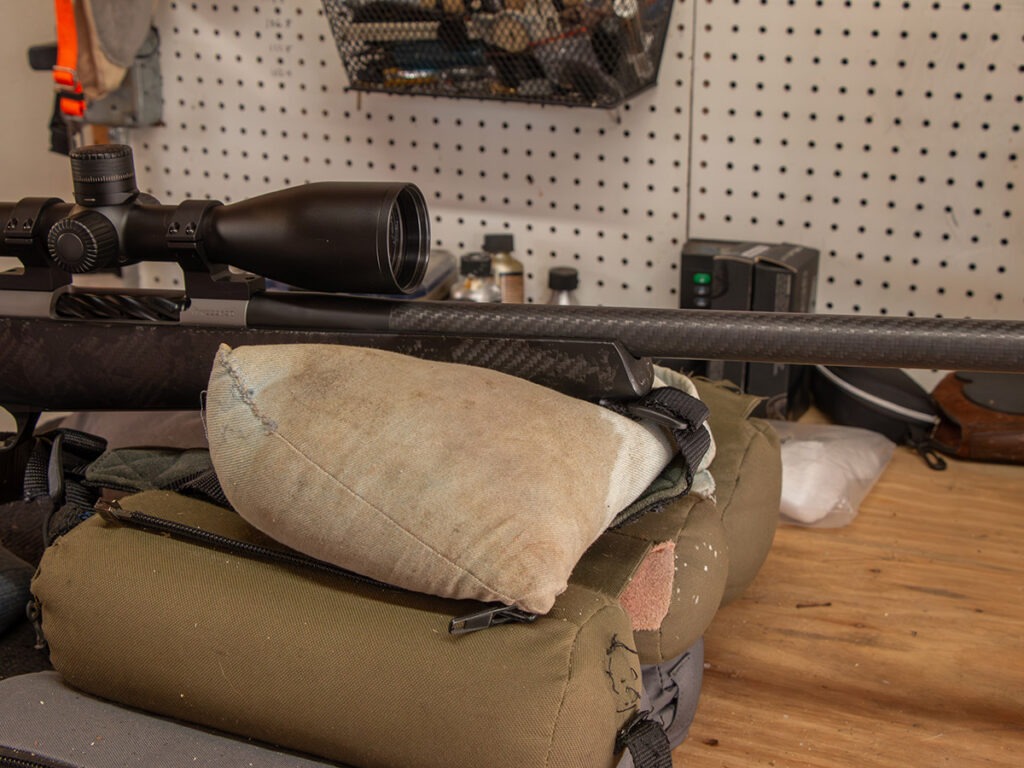
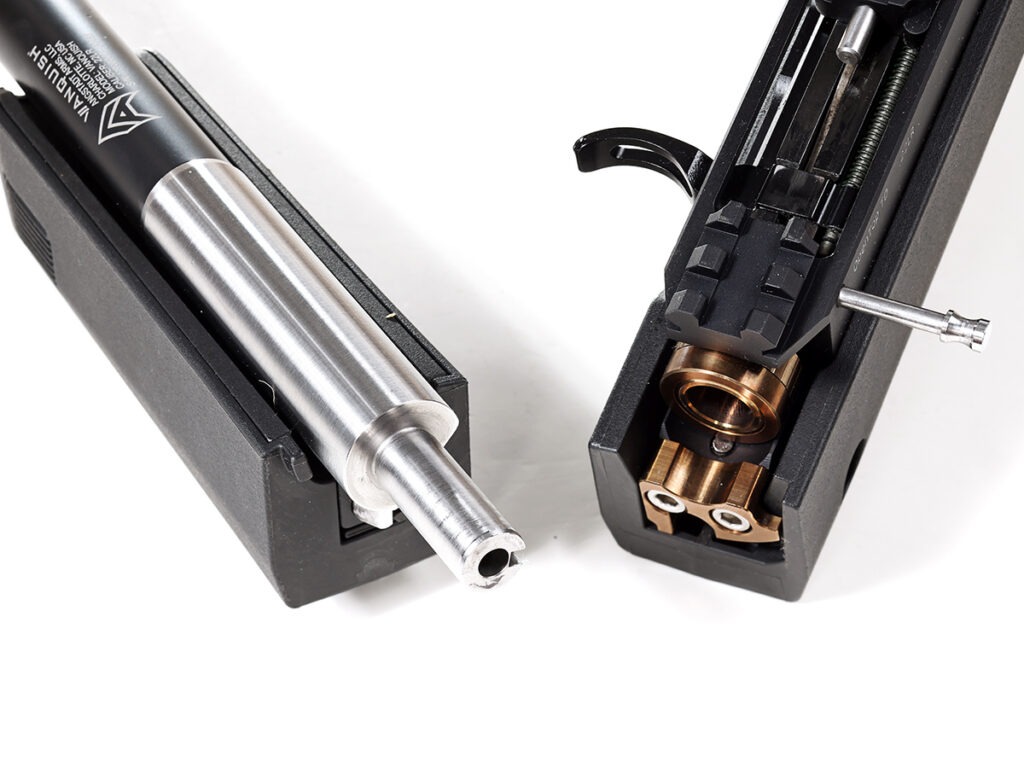
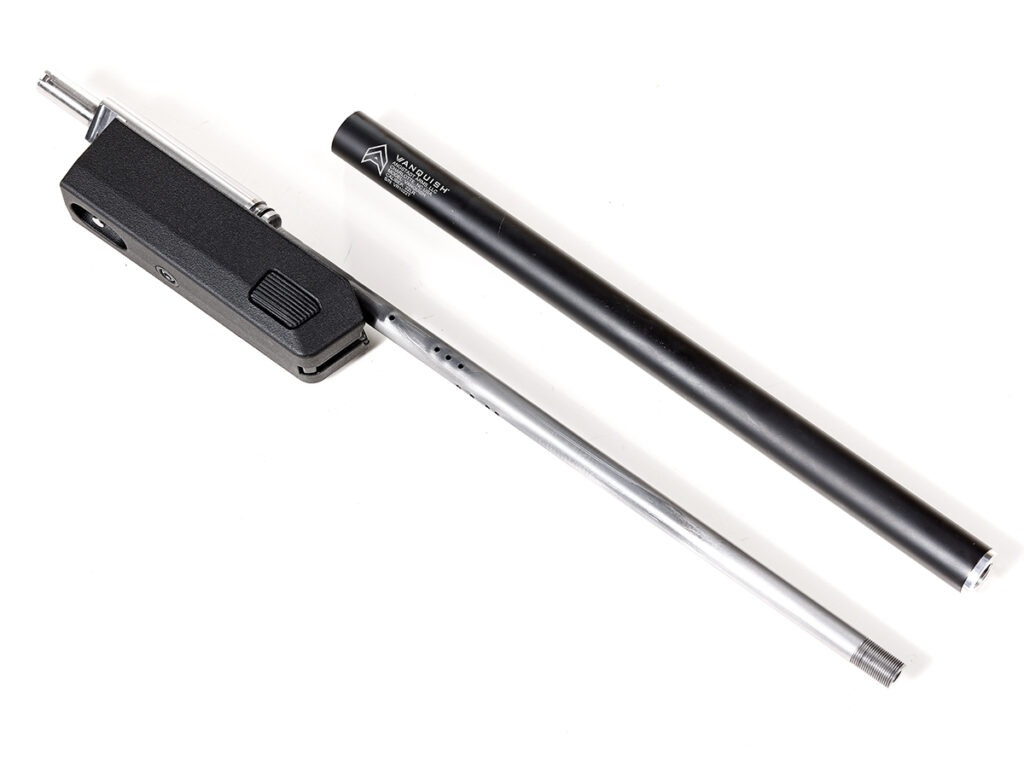
Angstadt starts with a match-grade Shaw barrel made of 416R stainless steel with a Bentz match chamber. It’s a full-length barrel, button rifled all the way to the muzzle, unlike many integrals whose overall length is part barrel and part silencer. The Vanquish is all barrel, with no baffles at all. With its match specs, this makes for precision accuracy.
A series of ports bleed gas into a large expansion chamber formed by the outer shroud that surrounds and threads onto the barrel. This serves to both reduce sound signature and reduce muzzle velocity, which can bring standard supersonic ammo down to subsonic levels (excluding higher-velocity loads). No baffles mean no baffle strikes or lead-caked baffles. And the Vanquish is much easier to maintain and clean.
The shroud is Cerakoted aluminum with a 0.92-inch outer diameter, the same as typical 10/22 bull barrels so it can be used with bull-compatible stocks.
You don’t even need a tool to service the Vanquish. Just grab the outer shroud firmly and unscrew it. This gives you unfettered access to clean underneath. Reinstallation is just as simple.
Angstadt now supports not just regular 10/22s but 10/22 Takedowns as well.
Say what? Integrally suppressed takedown 10/22? Sign us up!
Fletcher Rifle Works OpenTop
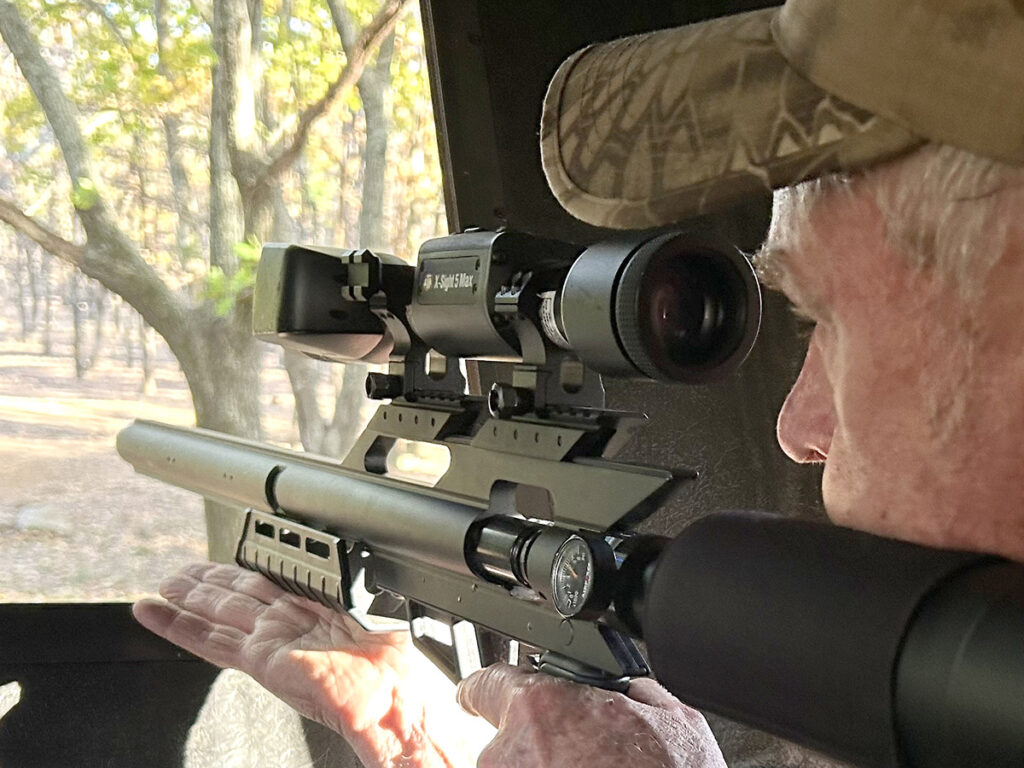
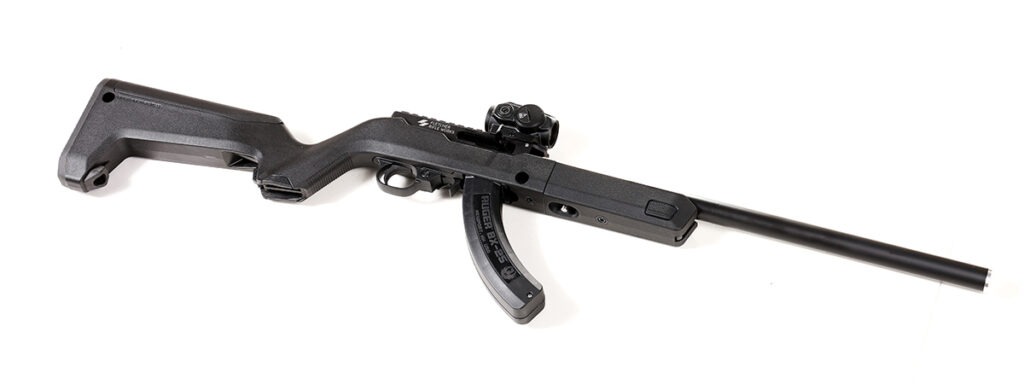
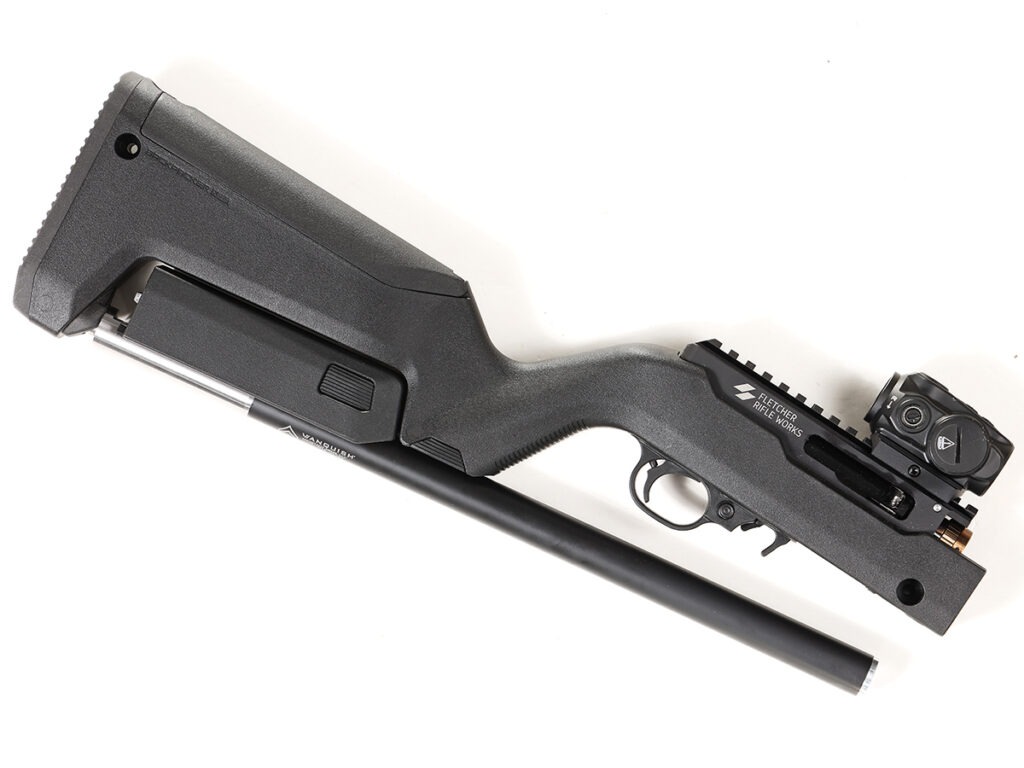
Naturally, we couldn’t just go with a garden-variety rifle. So, what we have here is the Vanquish 22TD fitted to a Fletcher Rifle Works OpenTop 11/22 Takedown receiver, housed in Magpul’s X-22 Backpacker stock.
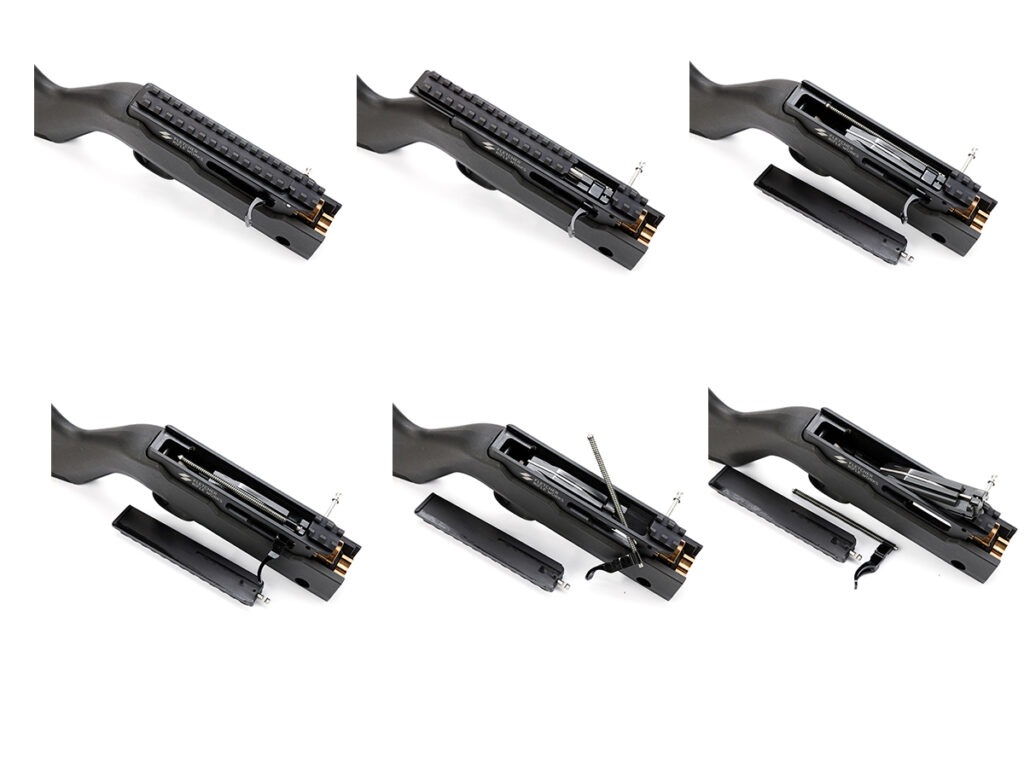
We initially covered the OpenTop in RECOIL Issue 54, when it was still a prototype out of Europe. The basic concept is that 10/22s are a pain to fieldstrip, so why not add a removable top cover?
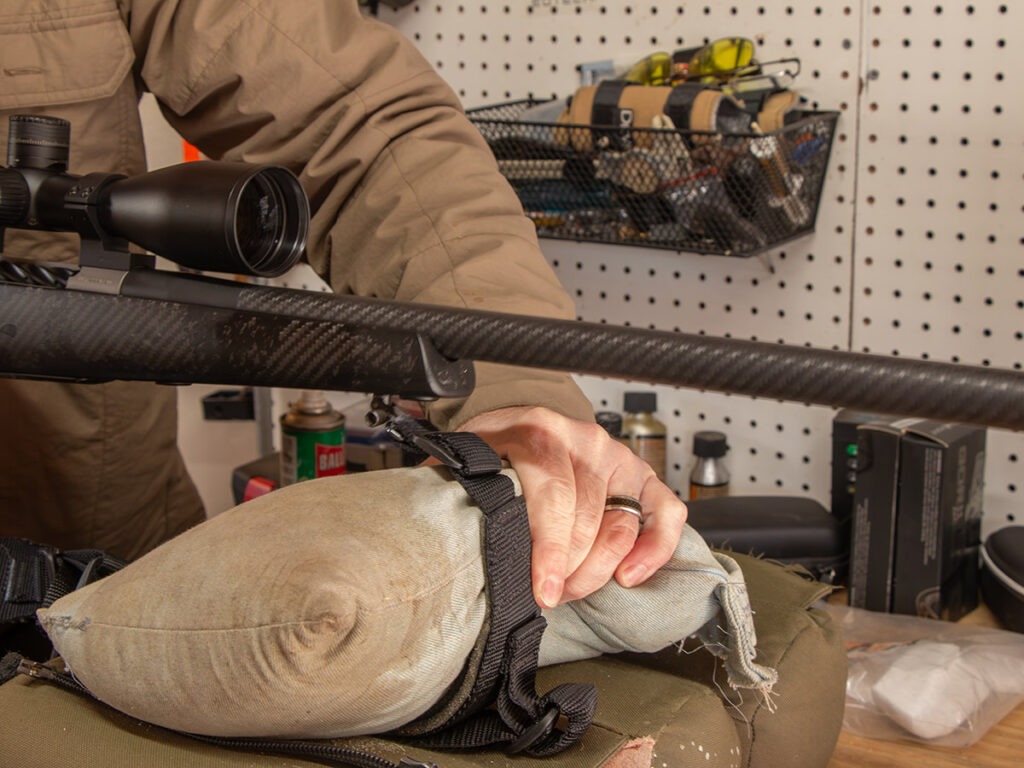
A single captive pin at the front of the receiver holds the top cover in place. Pull it out to release the cover. It slides directly to the rear and comes right off, exposing the innards below. At this point, it’s easy to fish out the charging handle. Then, the bolt simply falls right out of the top. You can wipe and lube the trigger below, in situ.
If you want to run a cleaning rod from the breech, remove the buttstock and buffer pin; this exposes a hole in the rear of the receiver that you can run your rod through. This is a thoughtful touch that isn’t even possible on a regular 10/22.
Ours is the takedown version of the OpenTop. It has a stub of a Picatinny rail on the receiver itself with the remainder of the top rail on the removable cover. The rest of the OpenTop is pure Ruger spec, so you can install your 10/22 trigger and takedown barrel of choice.
Our OpenTop came with a Ruger BX trigger that breaks cleanly at 2.75 pounds. It also sports an extended magazine release and charging handle.
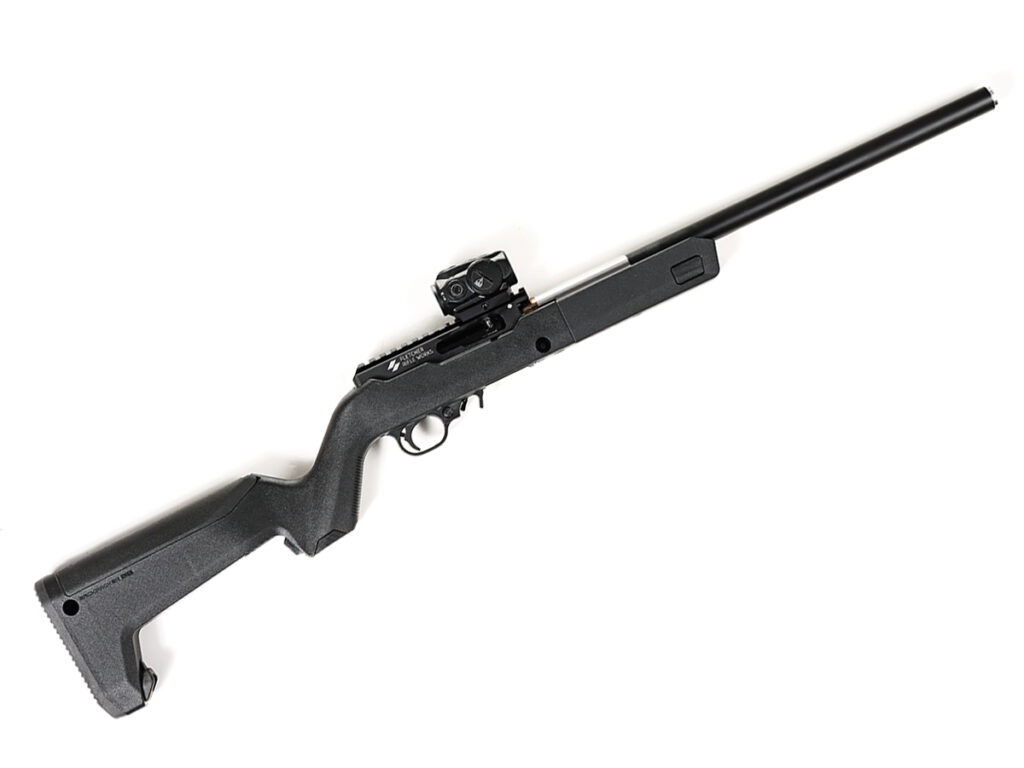
The Magpul stock is excellent. The buttstock has built-in storage for three spare 10-round magazines under the hinged cheek rest and spare parts in the grip. Once broken down, the barrel and handguard assembly clip into the stock to make a secure and compact package for transport.
SSHHHH
Rimfire guns are notoriously picky when it comes to ammunition selection, not just for reliable functioning but accuracy as well. Anyone who loves 22s has a bin full of different ammo to test in new guns to find the sweet spot.
In our case, we tested various loads in the Vanquish for function, velocity, and accuracy. We also shot them back-to-back with a Radical Firearms RF22LR rifle sporting a conventional Banish 22 suppressor to compare velocities and sound.
Note that the Radical has a 16-inch barrel, but the Vanquish’s muzzle velocities were still 5 to 6 percent lower. When shooting standard ammo, sound was similar between the two with a slight edge to the Vanquish. As ammo got hotter the difference increased and the Vanquish was noticeably quieter. When running subsonic loads, this was reversed. Even the hotter ammo was entirely comfortable to shoot without hearing protection, and the quieter loads reminded us of how incredibly fun it is to shoot suppressed rimfire. It just puts a smile on your face, especially with a semi-auto. Note that Franklin Armory just announced the F22-V with a Vanquish barrel and binary trigger for yet more giggles.
Not surprisingly, match ammo did the best, with Norma Match-22 40-grain holding the golden ticket of smallest groups and perfect reliability — 0.5 MOA and no malfunctions. Federal Gold Medal 40-grain’s best group was 1.5 MOA, but we experienced a few stovepipes. CCI Clean-22 subsonic 40-grain and Federal Champion 36-grain value pack both grouped around 2 MOA. While the Federal ran perfectly, the CCI subs had a number of stovepipes. Norma Subsonic-22 40-grain as well as CCI Clean-22 High Velocity 40-grain and Hyper Velocity 31-grain all grouped around 2.5 MOA and functioned reliably.
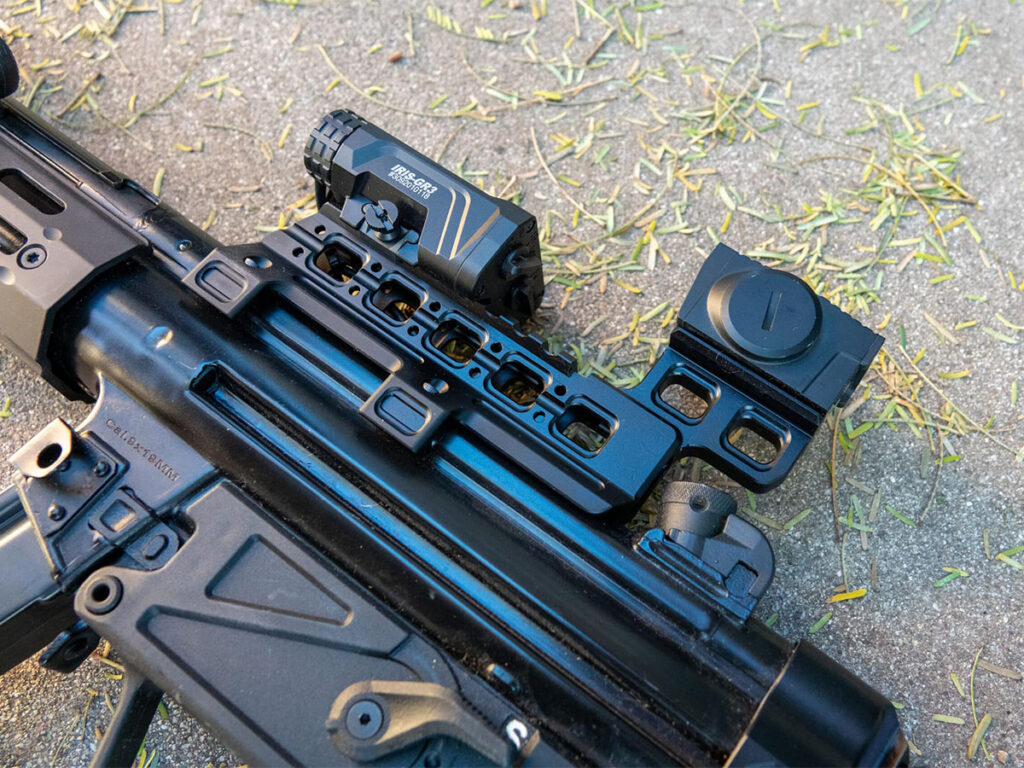
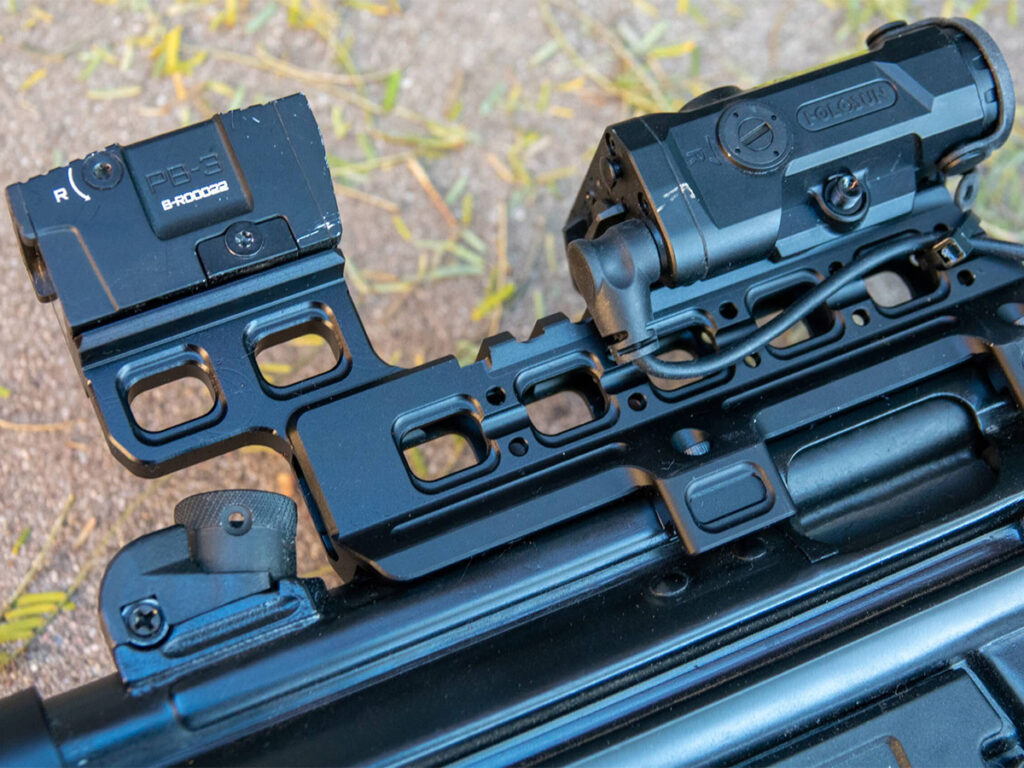
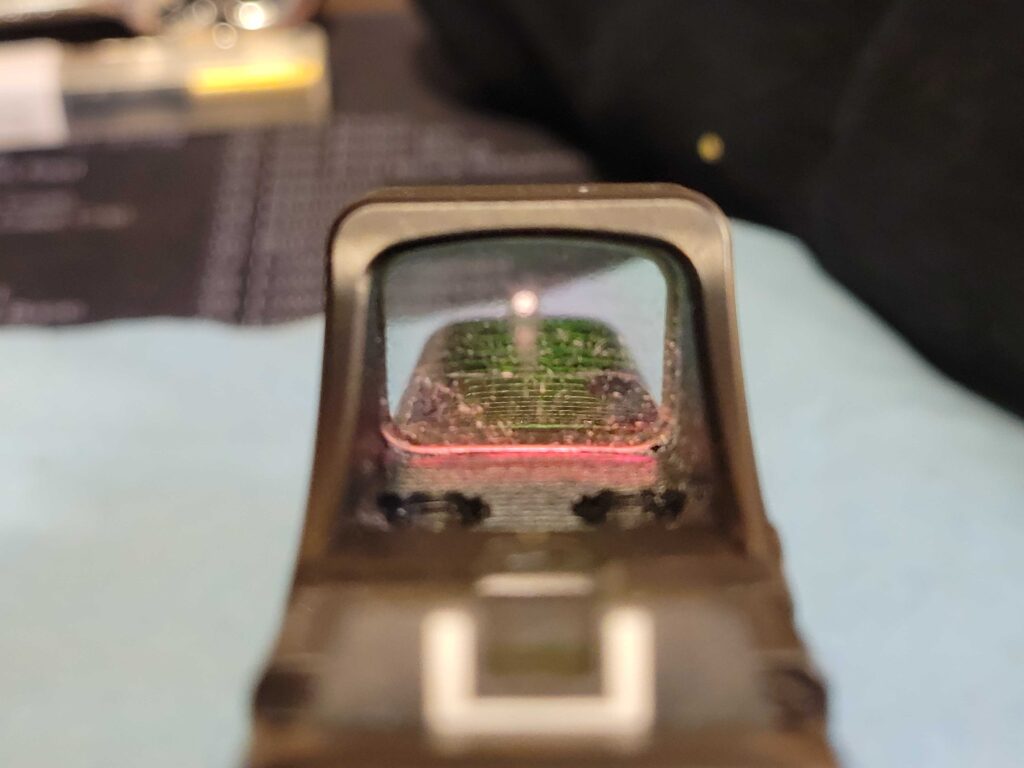
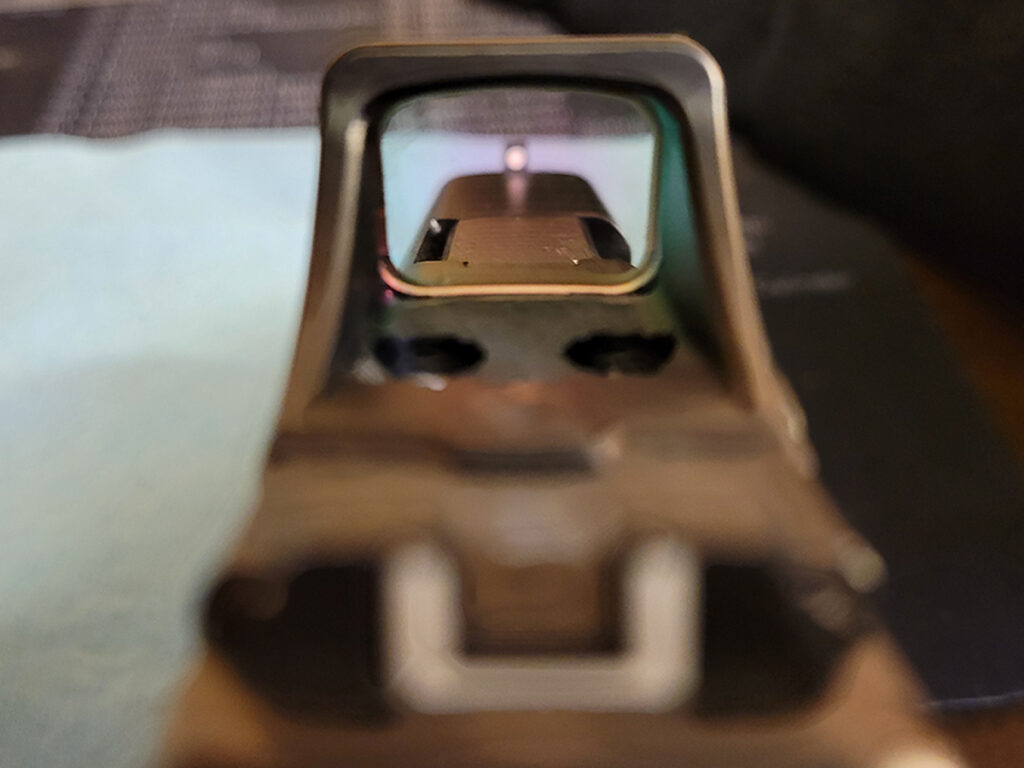
With optics mounted to a Picatinny rail on a removable top cover, we felt it prudent to also test return to zero. After several iterations of removing and reinstalling the top cover, we saw zero shifts of up to one MOA. For the intended purpose of a takedown rifle, we consider this acceptable. That said, if you’re running a small red dot on a mount with a small footprint, attach it to the short piece of rail that’s fixed on the receiver to avoid this altogether. If your priority is precision, you could skip the takedown format and stick to a standard 10/22-style build for your Vanquish.
Loose Rounds
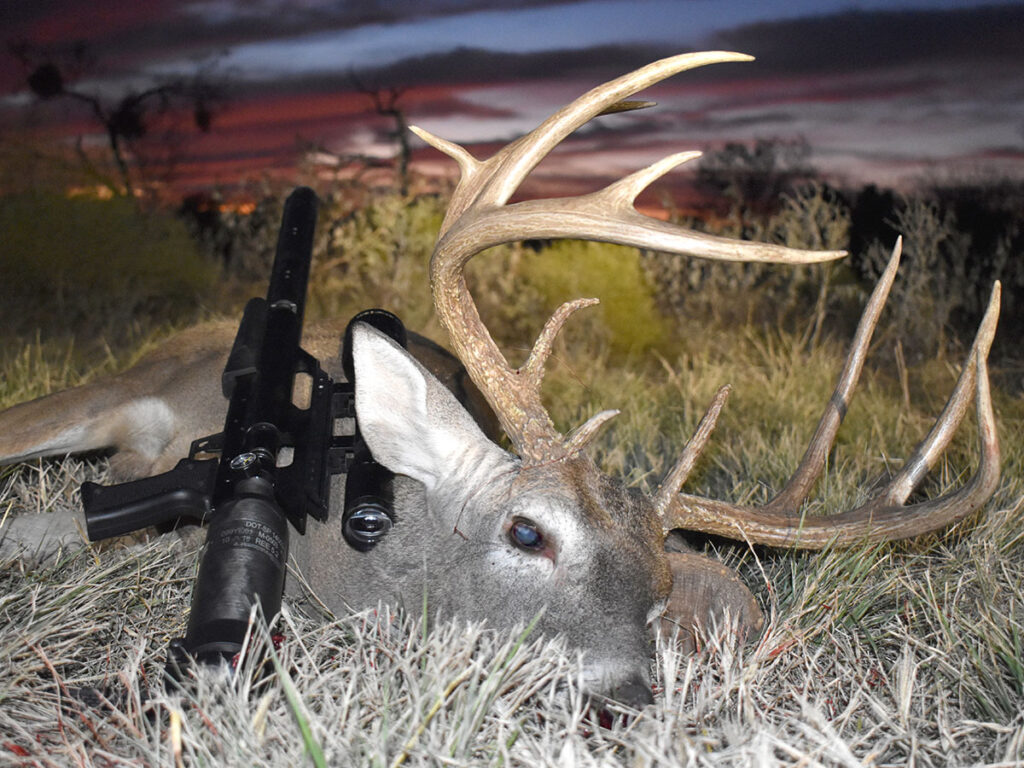
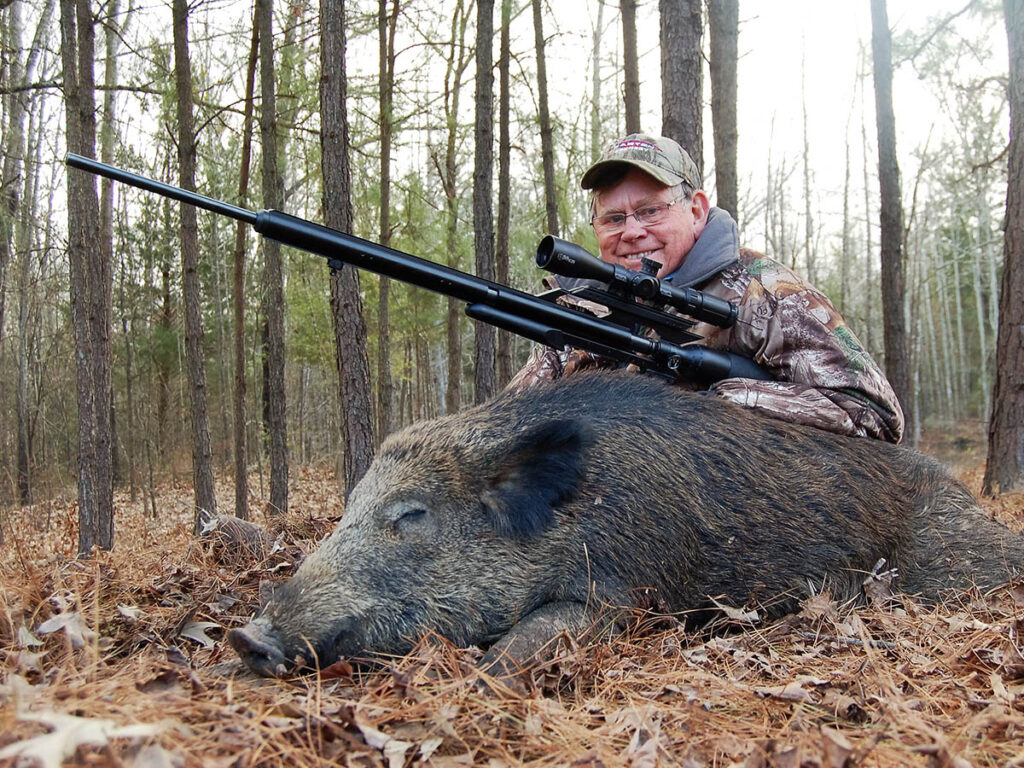
The Angstadt Vanquish 22 and Fletcher Rifle Works OpenTop takedown rifle is undeniably cool. It attracted a lot of attention at the shop and on the range; everyone loved it. While we had to sort through various ammo options, we found one that was impressively accurate with half-MOA groups, not to mention reliable and quiet. If you want to sway new shooters into the fold and get them addicted to shooting, hand them one of these rifles to plink with.
This rifle would also be a great survival rifle. It’s light and the takedown feature makes it very portable. You can run either subs or supers quietly, so whatever ammo you might be able to scavenge would be quiet, though group sizes might spread out a bit. The Vanquish is capable of extremely good accuracy, and you could hunt with it or defend yourself against two-legged adversaries. You can maintain and clean the system easily in austere conditions — the Vanquish won’t get nasty like conventional rimfire suppressors, making you wish for an ultrasonic cleaner. And the OpenTop makes the bolt and receiver a cinch to maintain.
The Vanquish is also very discreet; it just looks like a regular 10/22 with a bull barrel. Nothing to see here … that is, until you hear (or don’t) those sweet “thwap thwap” sounds that it makes.
Yes, this build isn’t cheap, but you’ll appreciate all the premium aspects of it. If you already have a Ruger 10/22 Takedown, you can just get the Vanquish 22TD barrel for it, which retails at $599.
Come on in, the water’s fine.
Editor’s Note: This article originally appeared in the June 2026 issue of Gun Digest the Magazine.
More On Rimfires
- How To Choose The Best Rimfire Riflescope
- Legal Thoughts On Rimfires For Self-Defense
- Rimfire Ammo: Evaluating Terminal Performance
- Video: Rimfire Rifle Cleaning– How And How Often?
- Shaping Your Future: Top 9 Youth Rimfire Rifles
- ELR Rimfire: Everyman’s Precision Shooting