FNH USA introduces a new, improved .45-caliber handgun for the civilian market. Gun Digest got the scoop on the new FNX-45.
If you were in the market for a new semi-auto pistol, what features would be the most important to you? Would reliability top your list? How about a high magazine capacity? Perhaps you like guns that are easy to maintain; or maybe accuracy is the most important factor when purchasing a new gun.
 FNH-USA’s line of semi-auto handguns meet all of the criteria listed above, and if you don’t believe me, just ask one of the hundred-plus militaries and police agencies around the world currently carrying FNH-USA guns. FNH-USA’s products have earned a reputation among those who stake their life and liberty on the guns they carry, which is as solid a recommendation as there is as far as I’m concerned. The FN semi-auto consumer line consists of both striker-fired models (which wear the FNS label) and traditional double-actions (those with an FNX designation). The striker-fired semis are available in 9mm and .40 S&W, while the double-action FNX line is available in 9 and .40, and now the .45 auto.
Military-Grade Performance for Civilians
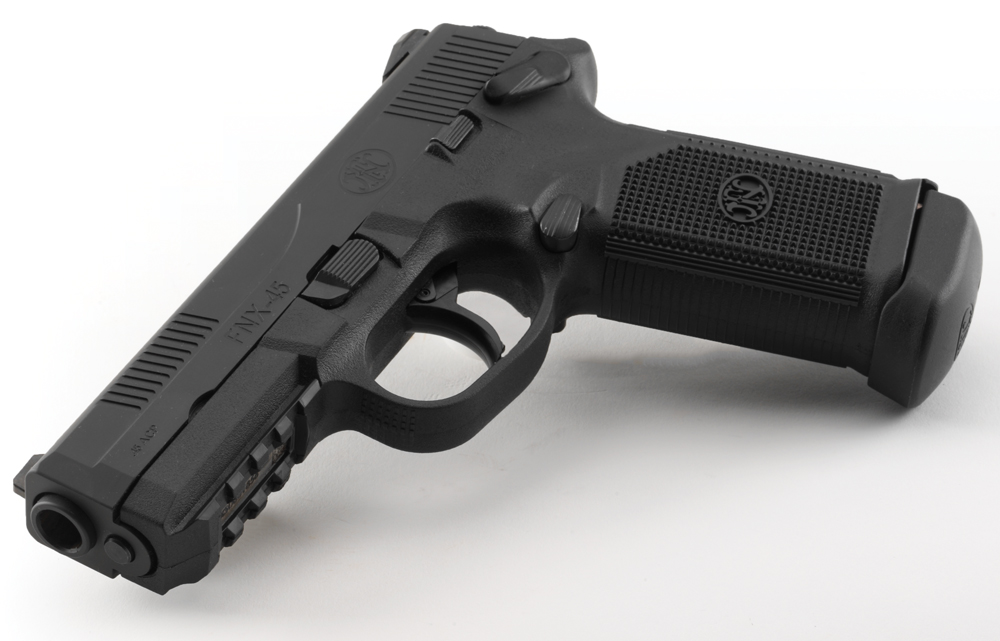
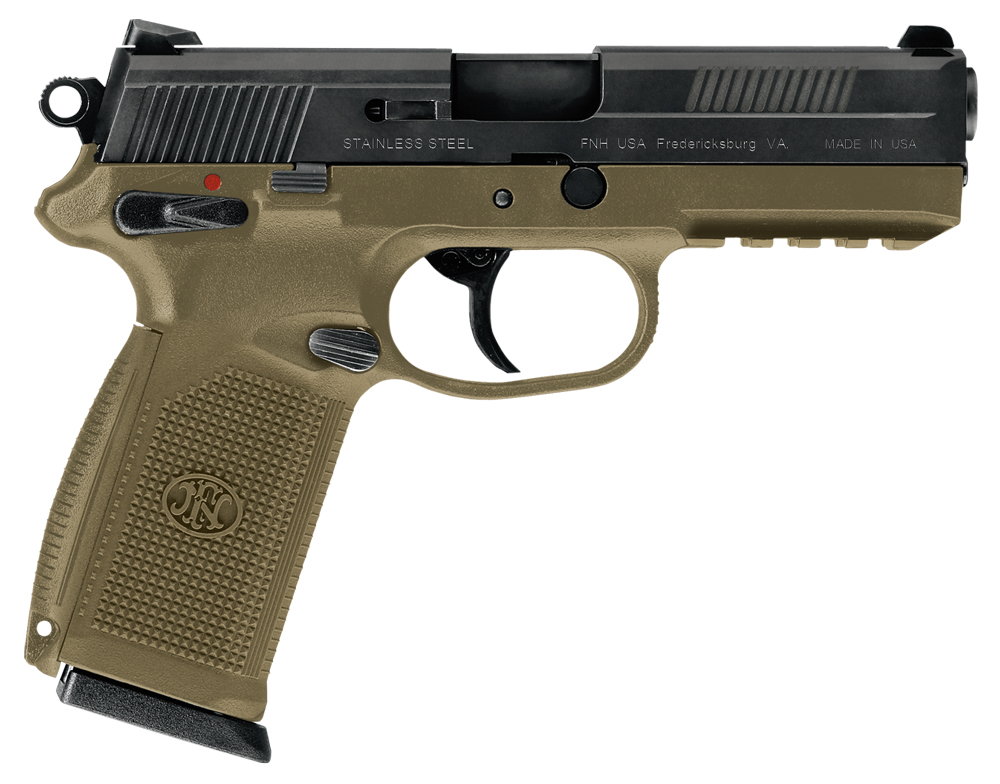
The company’s latest offering, officially debuting at the 2013 SHOT Show, is the FNX-45, a .45-caliber FNX offering modeled after the FNP-45 service pistol, which was introduced in 2007 under the U.S. Joint Combat Pistol Program (JCP). Like the FNP, the FNX-45 is a double-action/single-action hammer-driven semi-auto with a manual safety and decocker.
Both the safety and the decocker as well as the magazine release are ambidextrous on the FNX and FNP, meaning southpaw shooters will have no problem handling the pistol.
Other key features include a stainless steel slide and barrel, checkered polymer frame, multiple interchangeable backstraps with lanyard eyelets and a MIL-STD 1913 mounting rail on the underside that accepts tactical lights and lasers. Atop the FNX-45 are low profile fixed combat sights. In fact, with regard to function and styling, the FNP-45 and the FNX-45 are identical; the only difference is that the FNP models were built to NATO specifications and the new FNX model has slightly different interior dimensions to reliably feed a wider variety of commercial ammunition.
Built for Reliability
While the FNX-45 wasn’t yet available for testing at the time of this writing, I have enjoyed range time with the FNP-45, the FNX’s predecessor. The FNP-45 I tested was factory stock with no special modifications, and shooting it, I got a glimpse at how the FNX will be received. First, the manual safety and decocker are easy to use and well positioned. You can carry the gun cocked and on safe, then release the safety by pressing the lever down one notch and decock with another, farther push. The whole process is simple and straightforward. I also liked the availability of the interchangeable backstraps, which allow the shooter to choose between a deeper grip and a thinner one.
FNH-USA’s impressive client list, which includes our own Department of Defense, is a clear indication that the company builds guns that keep on shooting no matter what. The FNP-45 I tested ate every type of ammo and continued to cycle smoothly throughout the test. With the FNX designed to be even more accommodating, reliability should be superb.
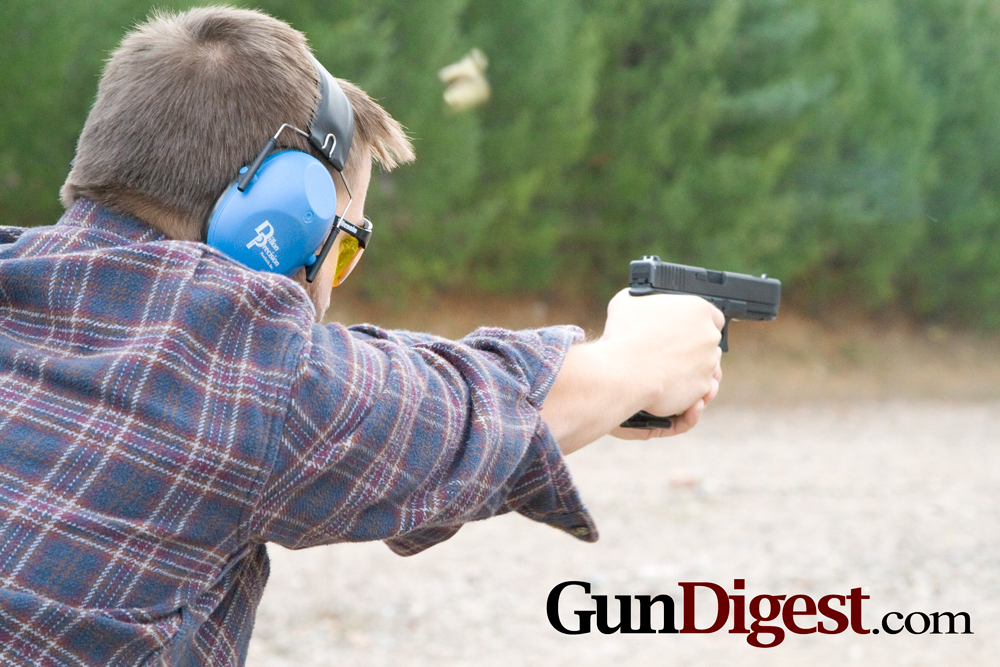
Throughout the duration of the test, the pistol was fired without cleaning and cycled without a single jam. Of special note was how well the semi-auto handled.
In a tense situation how well a gun handles means more than accuracy, fit and finish or, for that matter, cost. The handgun handled particularly great when fully loaded, balanced nicely in the hand and came to point naturally. It doesn’t take long for one of these guns to become an extension of your arm, which is probably part of the reason other FNH USA models are, and no doubt soon this one will be, popular among the three-gun crowd.
The FNX-45 is also designed to be quick and easy to disassemble and reassemble, which I believe is one of the most important qualities in a semi-auto. Pull the slide back, lock it, rotate the release button in a clockwise direction and slowly release the slide. It slips forward and falls apart in the hand, simple as that.
For the shooter concerned about shot capacity, the FNX-45 is a good gun to have along since it has a double stack magazine capable of holding up to 15 .45 cartridges. The engineers at FNH-USA certainly took into account the weight of the loaded magazine when designing this gun because when unloaded, the FNP I tested seemed a bit front-heavy, but with a loaded magazine in place it really shined.
The FNX-45 promises to be a workhorse made to keep shooting, again and again, over and over. They’ll be on store shelves soon, but it’s a good bet, with the interest sure to follow from avid shooters, they won’t stay there long.
FNH-USA FNX-45
Caliber: .45 ACP
Operation: Double-Action/Single-Action (DA/SA)
Frame Color: Flat Dark Earth (FDE) or Black
Slide Finish: Matte Black or Matte Silver
Sights: Fixed 3-Dot
Magazines: 10 or 15 rounds
Weight: 33.2 oz.
O/A Length: 7.9”
Barrel Length: 4.5”
MSRP: $809
Contact: fnhusa.com
This article appeared in the January 28, 2013 issue of Gun Digest the Magazine.