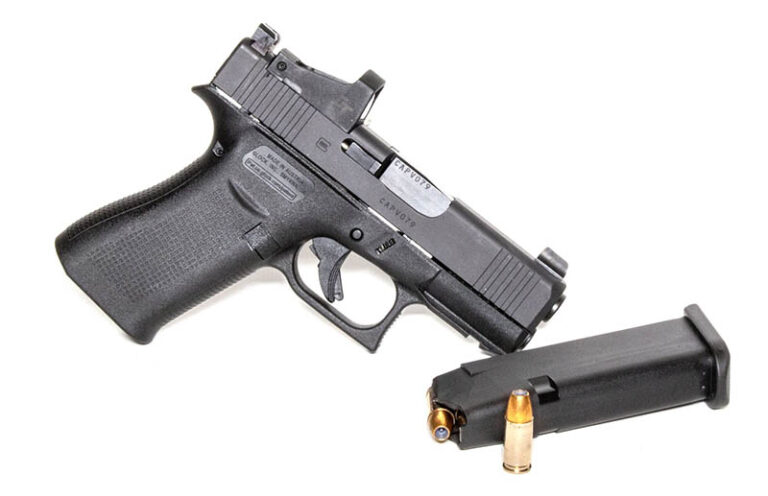
The author goes over a Glock G43X MOS that’s been setup for concealed carry as well as the Step Back Drill.
My primary carry gun is an old, lightweight Browning Hi Power that was worked by Novak’s and given to me by a good friend. It’s comfortable to carry, and I shoot it very well. However, though the pistol is somewhat rare and moderately valuable in terms of dollars, it’s a gun that cannot be replaced.
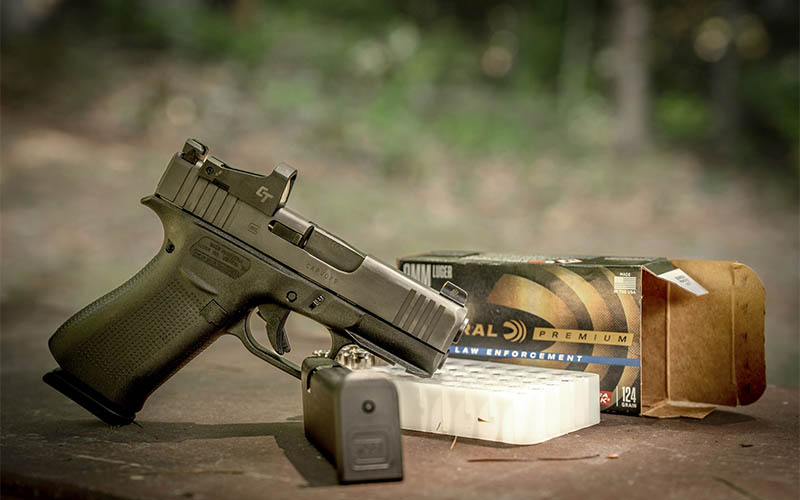
I travel by air a good bit, and I never go anywhere unarmed, unless my host at my destination provides me with something to carry. I have no intention of giving a baggage handler at the airport an opportunity to make off with my Hi Power. I needed a moderately affordable, and most importantly—replaceable—carry gun that was dependable. That’s how I ended up with a Glock G43X MOS.
I’m very familiar with Glock pistols. When I was a police officer, and later a special agent, a Glock of some sort was my issue duty handgun. I also often carried another Glock that would share magazines with my duty gun in an ankle holster. I’m a trained Glock armorer and even won a GSSF—Glock sponsored—shooting match.
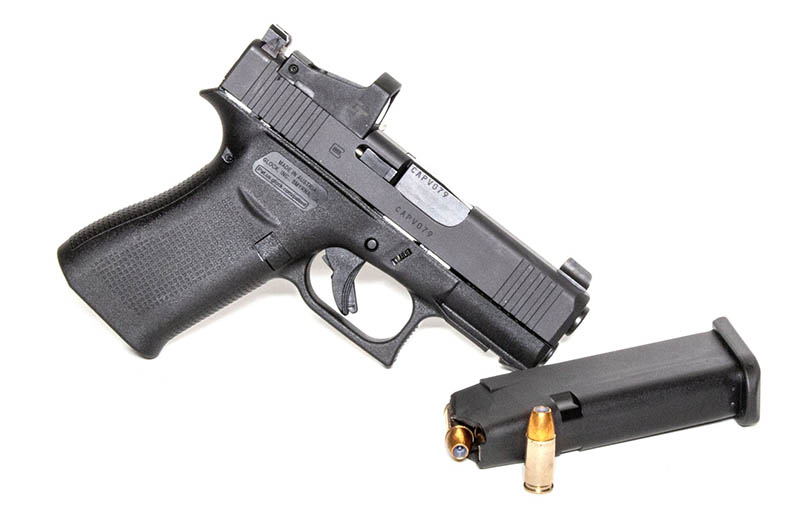
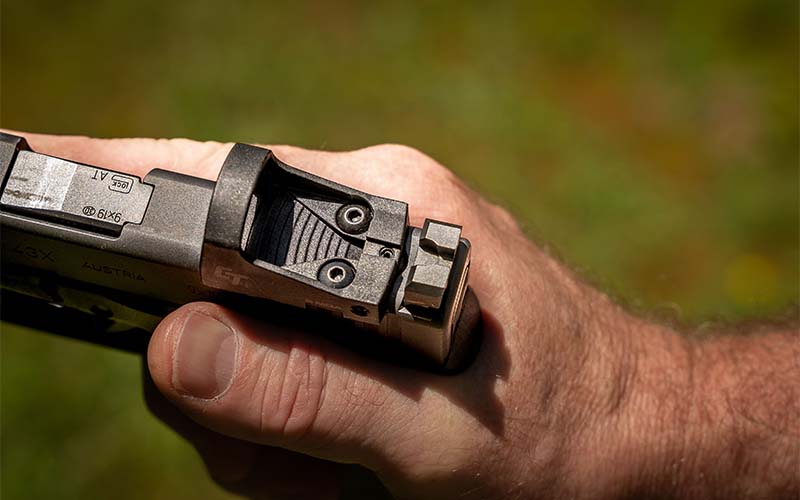
But the truth is that I was never enamored with duty-size Glocks or the smaller G26 or G27 pistols I often carried on my ankle when working. Recently, I had the opportunity to handle a G43X MOS and was impressed with its compact size, its 10+1 capacity and the fact that it was optics ready. So, I ordered one with the intention of giving it a chance to become my travel gun.
Glock Talk: Discover More Tips & Reviews
- Why is the Glock 19 Popular
- Glock Upgrades – Customizing for Performance
- Glock 19 Review: Glock 9mm Double Stack
- Test Driving the Glock 43 Single-Stack
- Glock 26 for Concealed Carry – The Best Double-Stack 9mm?
- Glock 34 for Concealed Carry – What Makes The Glock 34 A Top Competitor?
- What is the Best Glock for Concealed Carry?
- CCW Glock 30S – Is the G30S Good for Concealed Carry
- 10mm Glock Models – What Are The Best Options?
- Glock 43X vs Glock 48
Personalized Protection
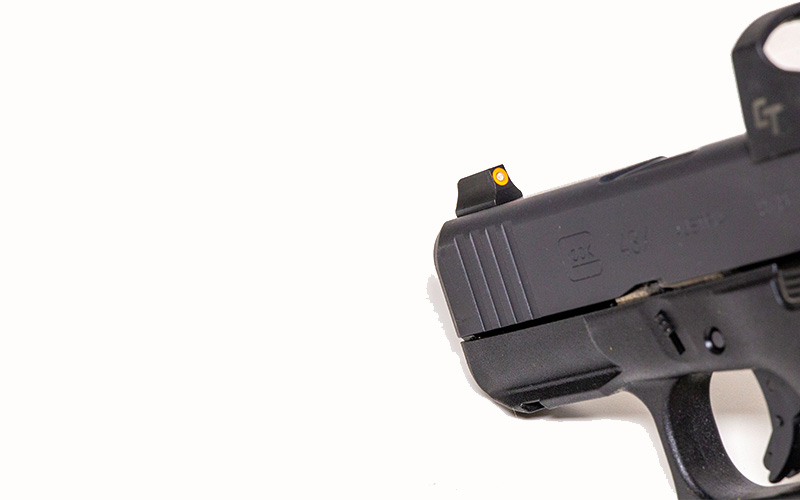
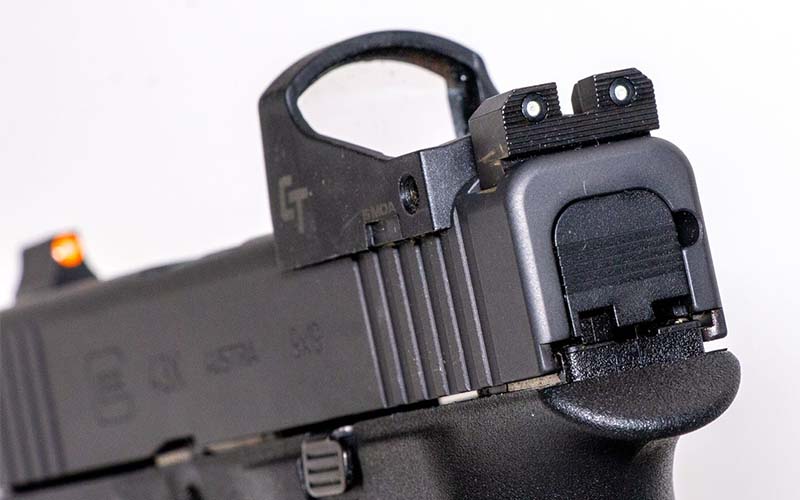
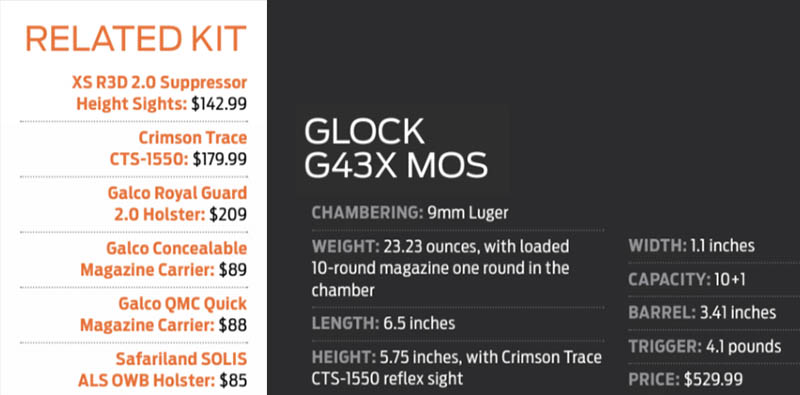
One thing I’ve never liked about Glock pistols are the standard factory sights. I believe the front sight on a fighting pistol should be a sight that stands out like a pimple on the nose of a porn star—you should see it clearly and not have to look for it. So, I ordered a set of new suppressor height, R3D 2.0 sights from XS Sights.
The next thing I needed was a miniature reflex sight that fit the slide cut on the Glock G43X MOS, because I didn’t want to use an adapter plate, and I wanted to have the XS R3D sights as a redundant/backup sight system. I just happened to have a Crimson Trace CTS-1550 that was compatible with the RMSc footprint on the G43X MOS’s slide, so that’s what I went with.
The next thing I needed was holsters, two of them: an IWB holster for concealed carry and a OWB holster for range work. The IWB holster was a no brainer, I went with the Galco Royal Guard holster that I’ve used and trusted for years and a Galco Concealable Magazine Carrier. I tried something new for OWB—the Safariland Solis ALS holster, which is a polymer paddle holster that’s easy on and easy off, and convertible for belt-slot carry. I liked it because of the thumb release retention device and the fact that it could accommodate a miniature rail light. Both features would make the holster also suitable for carry in cooler weather when wearing a coat.
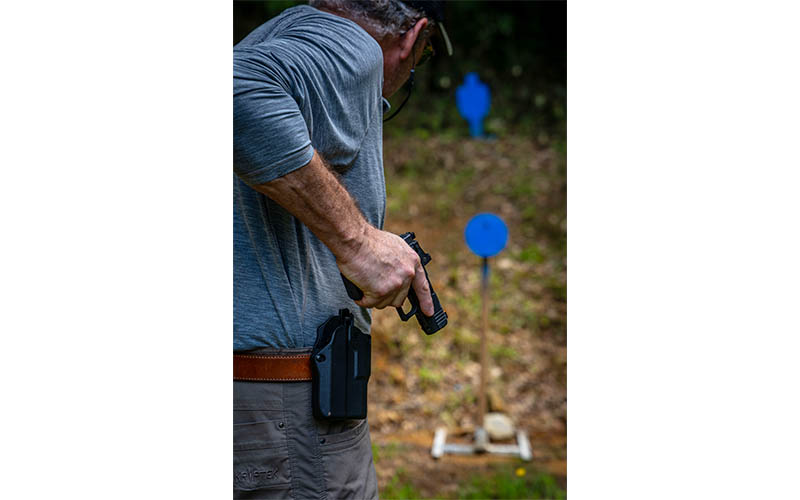
The next step was to see how well I could shoot the pistol and to test out all the accessories. In two days, I fired 500 rounds of ammunition that was a mix of practice ammo and Federal’s Law Enforcement 124-grain Tactical Hydra-Shok load, which is a load I trust for carry. I shot the pistol well, the gun ran fine, and the holsters and mag pouches performed. However, I decided I wanted to switch from the Concealable Magazine carrier to the clip-on Galco QMC mag pouch so I could put it on and take it off—just as I could with the Royal Guard holster—without undoing my belt.
Pointed Practice: The Step Back Drill
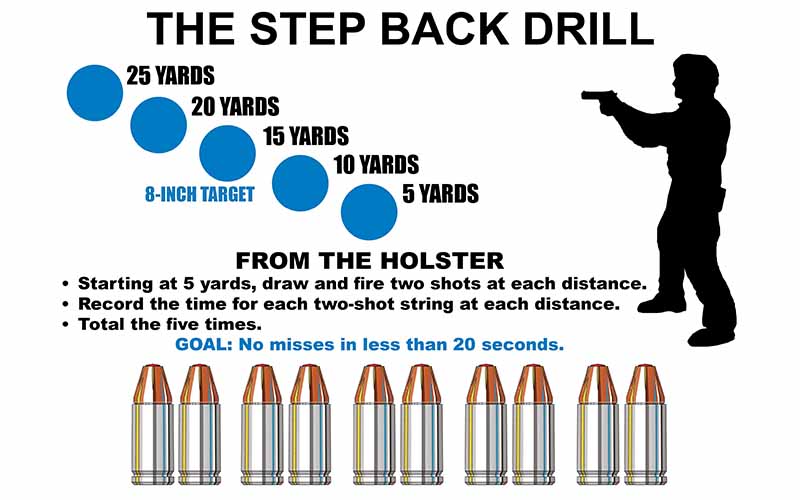
At about this same time, I began working with a new defensive handgun drill I’d devised to test the shootability of similar handguns with different barrel lengths. I’d worked with this drill a lot and had decided it was also great to help establish your shot cadence at various distances, to further develop basic marksmanship skills and as a practical exercise with a defensive handgun. It’s a 10-round drill that starts at 5 yards and ends at 25 yards. It’s easy to set up, and you can run it on just about any range. I call it the “Step Back Drill,” and I’ve been running it almost every day with my G43X MOS for almost a month.
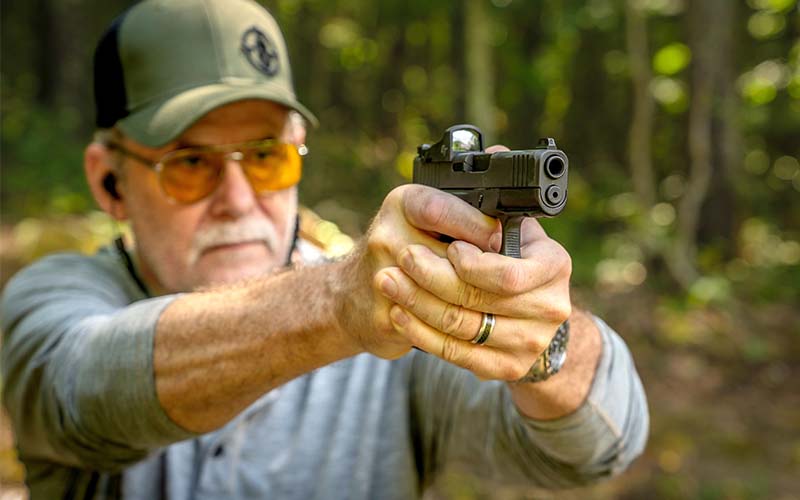
To conduct the drill, you need an 8-inch target such as the Thompson Target 8-inch Halo target. Alternatively, a standard cardboard IDPA target with its 8-inch center circle or an 8-inch steel plate set at an angle to deflect bullet splatter toward the ground will work too. You also need a shot timer, and of course, your holster, handgun, and eye and ear protection. The drill should be run from an open holster or from concealment, but if you’re on a range where you cannot draw from the holster, just run it from the low ready.
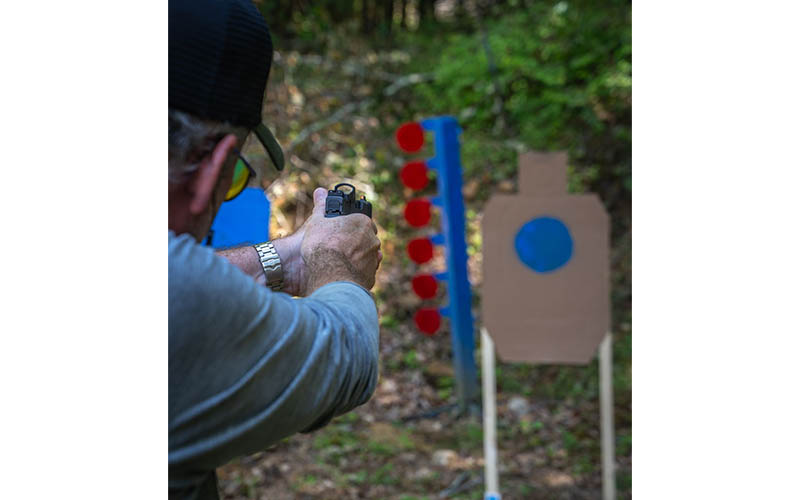
You start at 5 yards, and on signal, draw and fire two shots at the target. Then, step back to 10 yards and repeat. You’ll do the same from 15, 20 and 25 yards. But here’s the important part: You’ll need to write down the time it took you to get your two hits at each distance. If you want to get technical, you can also record the time it took to get the first hit at each distance. This will give your draw speed and how long it took you to get the sights aligned and make the first shot at each distance.
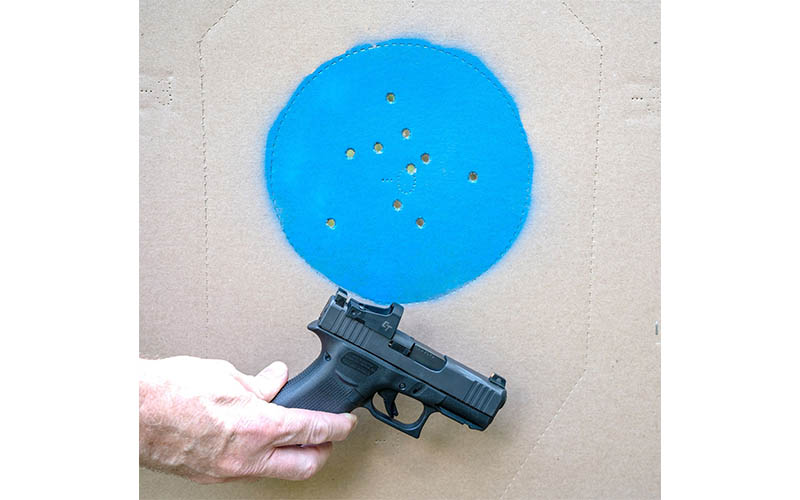
If you want a par time for each distance, 2 seconds at 5 yards, 3 seconds at 10 yards, 4 seconds at 15 yards, 5 seconds at 20 yards and 6 seconds at 25 yards is a good rule of thumb. When you add all your times together from each distance, a reasonable par time is 20 seconds.
To start my day, most every morning I ride the side-by-side over to my pistol range and run this drill twice. The first time I run the drill, I do it with the focus on getting my hits. In other words, I see how long it takes me to run the drill without misses. Then, I run the drill a second time as fast as I think I can get my hits.
The distinction here is important. On the first run, my goal is accuracy, and on the second run, my goal is speed. Right now, my average time for the first run is about 16 seconds for all 10 shots. My current best time for the second run—without a miss—is right at 14 seconds. The goal is to get my first run times much closer to my best time and to continually improve both.
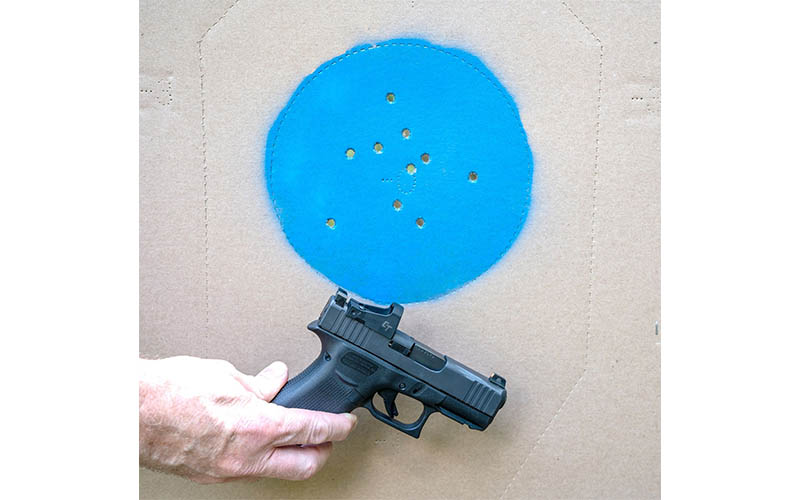
One of the things I really like about the Step Back Drill as opposed to higher round count drills is that you’re drawing your handgun for half the shots you take. The Step Back Drill requires 10 shots. During the drill, you must conduct five handgun presentations—draws. When it comes to a defensive handgun, developing your ability to get your pistol out of the holster and on target is one of the primary and most critical aspects of its employment.
The other thing I like about the Step Back Drill is that, by taking the time to write down your times after every two-shot engagement, you’re letting your body and mind sort of reset. This makes each two-shot string seem like a separate drill as opposed to just small parts of a larger one.
Important Lessons Learned
I’ve learned some things by running this drill with my G43X MOS configured for carry. Initially, I was a bit disappointed in my times at 5 and 10 yards, they seemed slower than what they should be. So, I removed the reflex sight and ran the drill for several days with only the XS Sights. My times at 5 and 10 yards were faster with the sights. This dovetailed with my previous experiences with miniature reflex sights on handguns.
When running at top speed, it’s easier for me to find the sights than it is the dot. At 15 yards, my times with the sights and the red dot were almost identical, but beyond 15 yards the red dot was not only faster to use, with it I had fewer misses. I need to work more with the red dot up close so that I can acquire it faster, and this is a trend I’ve seen with many shooters.
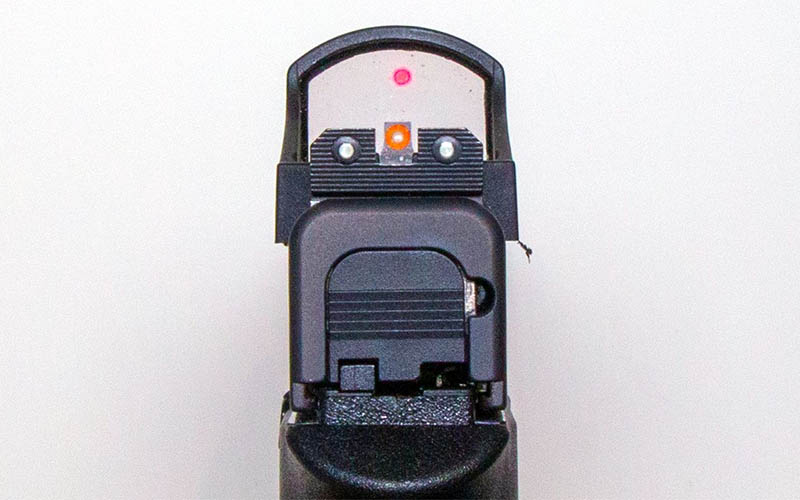
The other and more critical discovery was that the CTS-1550 reflex sight has a serious flaw. One morning I was a bit late to the range, and the sun was higher than normal. I shoot into the sun on my range, but the trees behind the targets block the sun until about 10:30 a.m. On this morning, the sun was just above the treetops, and it was at an angle where it beamed over the top of the hood of the reflex sight. This resulted in the light reflecting off the base of the sight and back against the rear of the sight’s window. The reflection was so bad that I couldn’t see the dot. I could also not see through the window to identify the target or see the front sight. Clearly, this is bad thing, and it highlights the necessity to test your carry gear in a variety of situations.
A Collection Of Kit
I’m very happy with the G43X MOS, the XS R3D sights and with all my carry gear, and I think I’ve found a collection of kit I can rely on for protection when I travel. The G43X MOS isn’t that expensive, and everything about it is easily replaceable. As for the reflex sight, I need to find another option that deals with the reflection of light better. As comforting as the reflex sight is when it comes to getting hits at distance, if there are common and practical situations where it becomes unusable, it’s as worthless as pierced nipples on a coon dog. The experiment continues—I’ll keep you posted.
Editor's Note: This article originally appeared in the October 2023 issue of Gun Digest the Magazine.
More Handgun Drills:
- Video: Target Transition Training With The Dot Drill
- The Shot Timer And Defensive Handgun Training
- Gun Digest’s 10 Best Shooting Drills And Firearms Training Posts
- MantisX: Simple And Effective Training
- Video: Is A Full-Sized Pistol The Best Training Option?
Next Step: Get your FREE Printable Target Pack
Enhance your shooting precision with our 62 MOA Targets, perfect for rifles and handguns. Crafted in collaboration with Storm Tactical for accuracy and versatility.
Subscribe to the Gun Digest email newsletter and get your downloadable target pack sent straight to your inbox. Stay updated with the latest firearms info in the industry.

![Best Concealed Carry Guns In 2025 [Field Tested] Wilson Combat EDC X9S 1](https://gundigest.com/wp-content/uploads/Wilson-Combat-EDC-X9S-1-324x160.jpg)


![Best 9mm Carbine: Affordable PCCs [Tested] Ruger Carbine Shooting](https://gundigest.com/wp-content/uploads/Ruger-Carbine-Shooting-100x70.jpg)
![Best AR-15: Top Options Available Today [Field Tested] Harrington and Richardson PSA XM177E2 feature](https://gundigest.com/wp-content/uploads/Harrington-and-Richardson-PSA-XM177E2-feature-100x70.jpg)
