
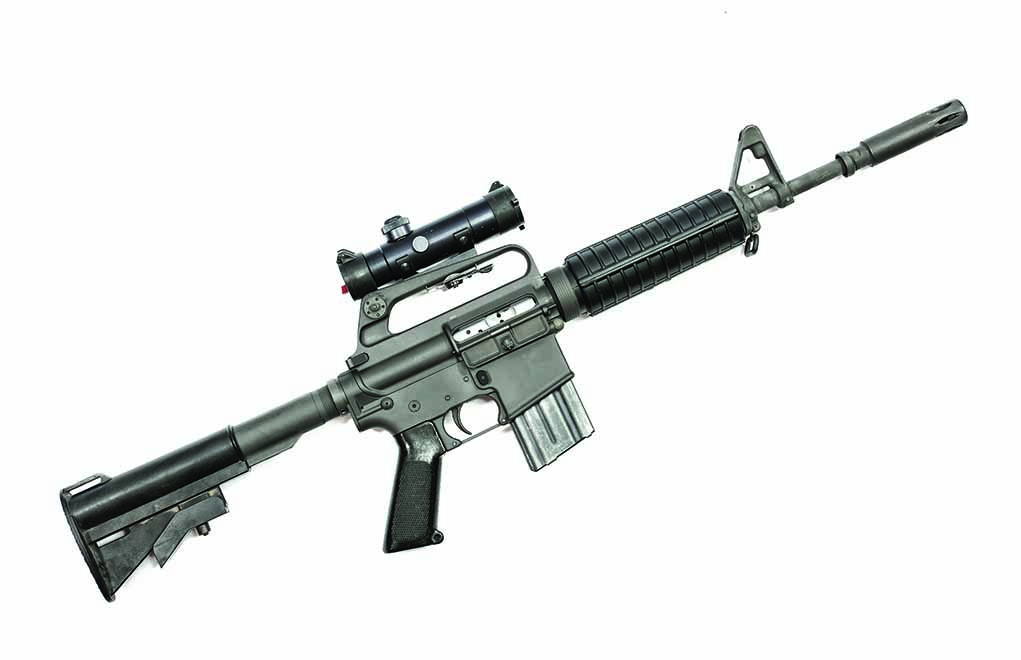
Constructing your dream rifle from scratch isn’t knockout difficult, but there are some processes of the AR-15 build that get folks tied in knots.
What Are The Most Common Areas Folks Get Hung Up On Building An AR:
- Proper Barrel Nut Torque
- Anti-Seize Compound
- Staked Gas Key
- Staked Castle Nut
- .223 Vs. 5.56
Yes, yes, yes; we all know that building an AR-15 is easy enough so that with a little bit of persistence and a big enough bag of treats, you could teach your Labrador retriever to build one. OK; maybe your Australian cattle dog or a poodle. But there are things that shooters, builders and AR-15 owners get themselves tied up in knots over; things that do or don’t matter.
Let’s start at the top—almost literally.
Barrel Nut Torque
The barrel nut torque limits and the precision of alignment are areas I’ve seen shooters obsess over—to the point of spending an entire afternoon doing nothing but this. The “book” torque limits are 35 ft-lbs—not to exceed 80 ft-lbs. (Technically, it’s “pounds-inch,” but we won’t go down that particular rabbit hole right now.)
First, 35 ft-lbs is a force so minimal that you could almost wring the barrel nut on by hand and make 35. If you’re using a torque wrench, I would consider this the absolutely lowest level I’d be cool with, and even then, I wouldn’t be cool with it. My target figure, if I’m ever using a torque wrench, is in the 40 to 50 ft-lbs region.
My process is simple: Tighten with a wrench twice and eyeball the alignment. If I can get a tab on the barrel nut to almost-alignment, the third time, I tighten it up until it lines up and then call it done. My standard is that the clearance tab (the one going past the gas tube hole) is almost there. If it stops in the middle or short, I don’t try to force it. I either get out the barrel nut shims, a different upper or my upper facing reamer.
Read Also: Custom AR-15 SBR Truck Gun Build
I’ve had to deal with over-torqued barrel nuts on some AR-15 builds and even used an end mill to shave the nut down until I could break it and free the barrel from the upper. Too much is too much, and 80 in-lbs is close to too much.
As far as alignment is concerned, as long as I can weasel the gas tube past the barrel nut tabs, I’m fine with it. I know: I’m a heretic. We’re supposed to fuss over the fit until the nut tabs are so precisely aligned that the tabs don’t touch the tub and the tube is centered. As long as the gas key slides smoothly onto the end of the gas tube, the rifle doesn’t care.
Oh, there’s an accuracy cost, for sure. But the “cost” we’re discussing is at the X-ring or smaller level, at 600 yards and in the hands of an NRA High Master High Power shooter. Is that you? No? Will you be shooting to 600 yards? No? Then why are you spending time in the shop, fussing and refitting the barrel nut?
Not a Myth
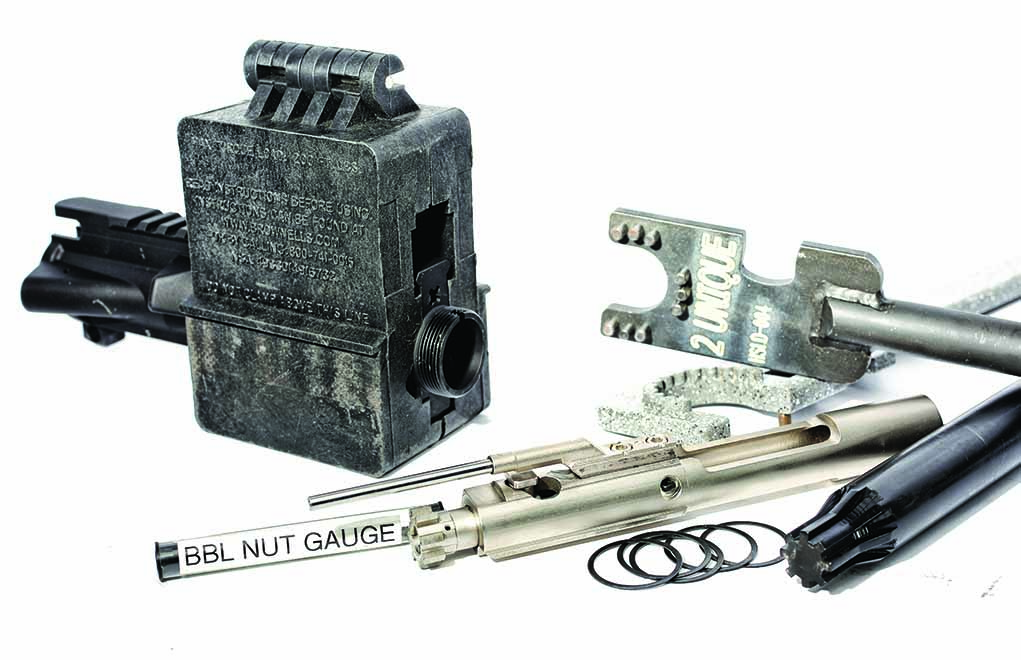
The USGI barrel wrenches suck. The flat plate with three nubs in it can be counted on to slip out of the barrel nut tabs, mar the barrel nut or make you bash your hand. There’s a plethora of much better wrenches to be had, and none of them are expensive. Do yourself, your barrel nut and your rifle a favor: Use one of the good ones when you’re building your AR.
Barrel Nut Juice
OK: anti-seize compound or not? I vote not. Why? Because I’ve never seen it matter. Oh, I’m not a barbarian—I do use a bit of oil or other lubricant on the receiver threads, so I’m not spinning on a dry barrel nut. But proper torque (or lack of excessive torque) means I’ll be able to remove that nut 10,000 rounds later.
Read Also: 8 Budget AR-15 Options
“But, but, anti-seize compound keeps the parts from galling,” you say. If steel barrel nuts were shredding aluminum receiver threads, wholesale, across America, we’d be hearing about it. If you want to be OCD and use anti-seize compound on your AR build, go ahead. Be sure and use the correct formula for steel-on-aluminum. But please, don’t lecture the rest of us about not using it or eating with our hands.
Not a Myth
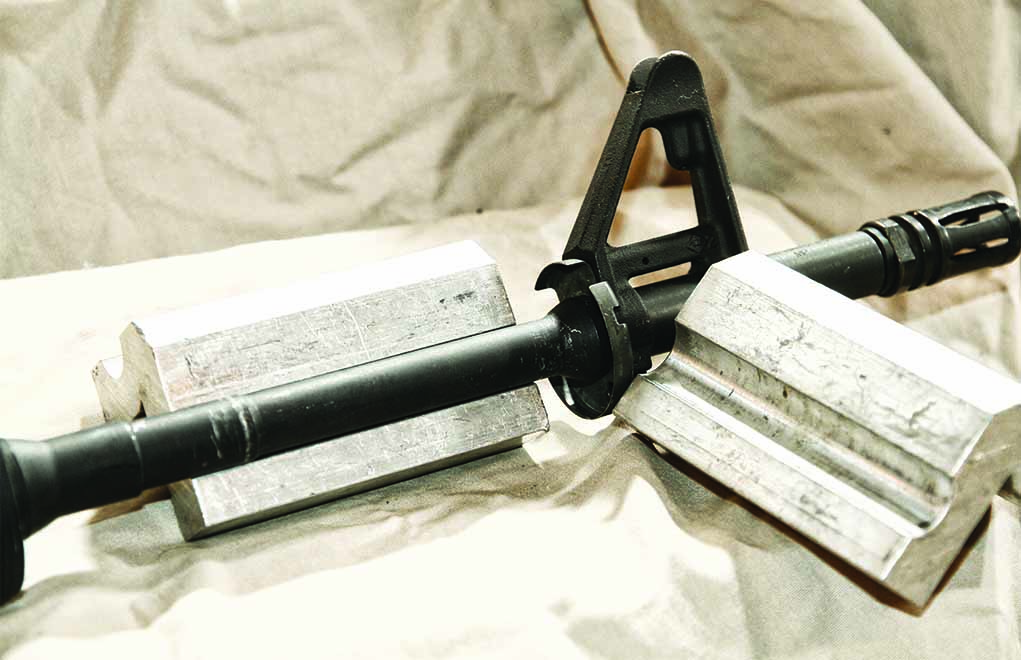
Yes, the reaction rod is a good thing. Use either that or a clamshell receiver holder such as the one Brownells makes to hold things in place. Do not—unless it’s an emergency—use the aluminum barrel blocks. Their “one size fits all” means they hold most barrels … poorly. And the barrel will slip in the blocks past a minimal torque level, leaving smudged aluminum on the barrel.
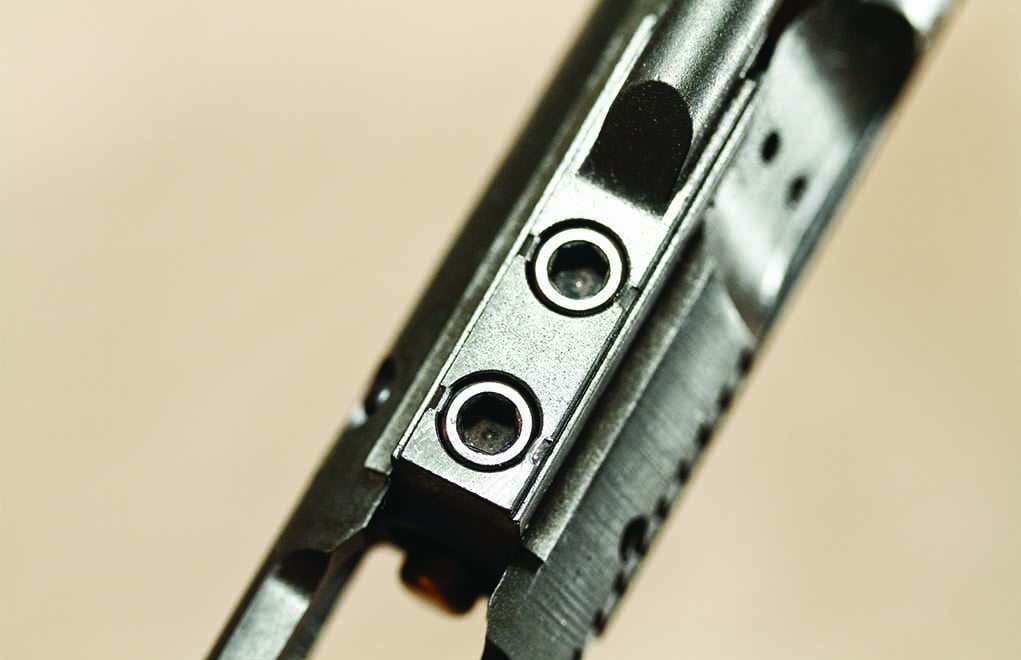
Gas Key Staking
I think the word has been well and properly spread on this particular subject, and that’s this: Gas key screws need to be staked; well and truly staked. If you don’t have an M-Guns MOACKs or a buddy at the gun club with one, then get one.
Make sure the key is snug, and stake the key screws. If you don’t, sooner or later, it’ll come loose.
You can’t depend on the key screws by themselves to hold things in place. The torque setting for the screws is 55 in-lbs, and the breaking force for those same screws (unless you‘ve managed to score some really high-grade screws) isn’t much more—in the 60s. If you over-torque them, you increase the chances of failure. I’ve seen rifles with gas key screws that broke the head off because they were tightened too much.
Not a Myth
Screws are not all the same. The top edge, or corner, running around the rim of the screw head might be a square-ish edge; or, it might be rounded. It might be knurled … or not. The amount of staking you’ll have to when you’re building your AR does depend on the shape of the screw head. One thing the MOACKs does is stake in the edge hard enough to engage even the dodgiest screw head.
Castle Nut
And while we’re at it, stake that castle nut as well. I still see AR-15 builds—and even the occasional factory gun—on which the castle nut hasn’t been staked.
The castle nut isn’t an easy part to tighten. Lacking a suitable fixture to hold it in place, the receiver wants to rotate on the bench top. Alternatively, the buffer tube wants to turn just a bit. When I tend to these things in classes, it’s easy enough to have someone hold the receiver in place by placing their hands on it while it rests flat on the bench and then leaning in with all their weight.
Some say Loctite is a better solution to the problem than staking. Perhaps. I’ve been known to use a bit of the old blue goo when assembling a buffer tube/stock on a carbine. But I still stake. Why? Because staking is more solid than torque and goo, and it offers an additional protection— visibility.
Read Also: 8 Economical AR Pistol Options
If you’ve staked your castle nut, even in a perfunctory manner, you’ll have visible proof of its location. If it moves, you’ll be able to tell, because the staking will act as a witness mark. If all you depend on is Loctite, how do you know if the castle nut has shirted a bit? And if you really degrease the threads and hose the Loctite in there, how will you get things apart when you need to? And you know that once you’ve cemented them together for all time, you will have to take them apart sometime in the future. After all, it’s Murphy’s Law, not Murphy’s “Suggestion.”
Now, there is one time you’ll have to depend on torque and Loctite. Some makers of the receiver plate (especially those meant for single-point slings) will make them too hard to stake. Staking depends on bending metal, and if the metal is too hard, it won’t bend. My first thought is to convince you that a single-point sling is a bad choice and that you should use some other method. Failing that, I’ll break out the degreaser and Loctite and make sure the castle nut won’t move until you, we, I or someone else needs it to in the future.
Not a Myth
If you think the current castle nut is a hassle to work with, you haven’t struggled with the original. The first nut that held on the carbine buffer tube was simply a threaded ring with a circular hole through it. The wrench you tightened it with has a single nub on it. Yes, that’s the one—the end of your second-generation barrel nut wrench.
You shouldn’t use these parts unless you’re building a detailed retro carbine; they’re period-correct for the earliest carbines. However, they’re a pain in the neck and are one of the few parts on an AR-15 I consider outside my “no Loctite” rule.
I’ve seen photos of them staked, but the ones I’ve seen in person didn’t have the clearance notch for staking.
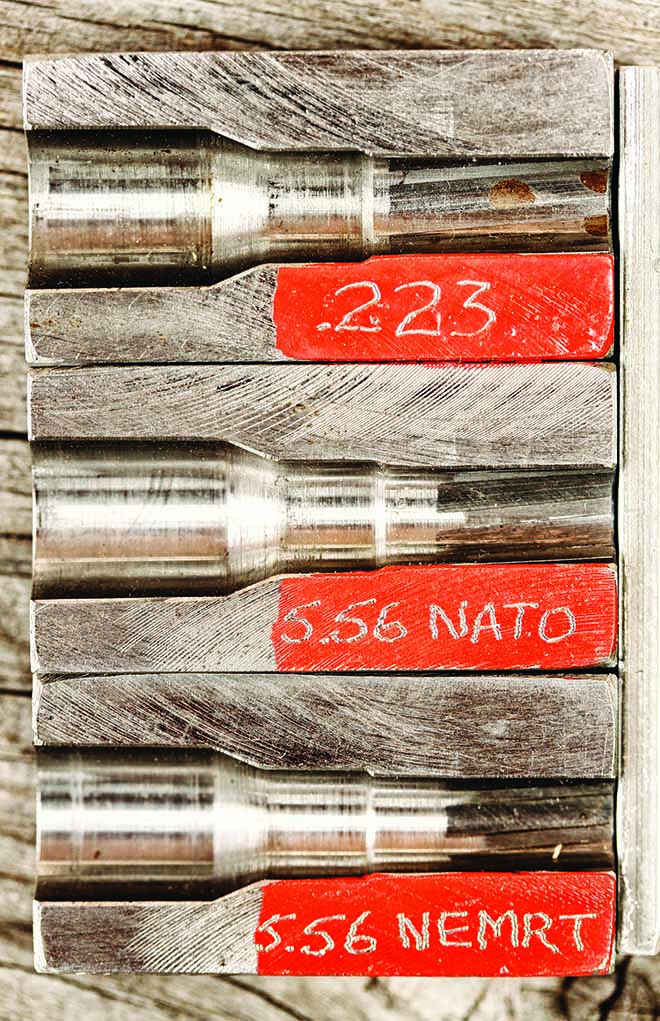
.223 vs. 5.56
Your barrel says quite clearly, “5.56 NATO.” Is it? Maybe it is, maybe it isn’t. Does it matter? Yes. The difference between .223 and 5.56 is not the headspace (they’re essentially the same) but the “leade” (the distance the bullet travels out of the case before it strikes the rifling). The 5.56 has more leade and, therefore, a lower peak chamber pressure. The former (5.56) ammunition is formulated to run in 5.56 chambers and the latter (.223) in .223 chambers. Using the “hotter” 5.56 in the shorter leade of a .223 chamber causes the peak pressure to increase. This puts more stress on the rifle and can cause cases to lose their primers upon firing. A loose primer rattling around the inside of your receiver is a bad thing.
Some manufacturers can be counted on to deliver a 5.56 barrel, if it’s so marked. Colt, Daniel Defense and LMT would comprise good starts. For many others, the only way to be sure is to gauge.
Read Also: .223 vs. 5.56
M-Guns has the solution: its .223/.556 gauge. It’s made to be a normal 5.56 leade size, and if you poke it into the chamber and it sticks, that means you have a .223 leade. You then use an M-Guns 5.56 reamer to cut the leade—and only the leade.
Now, if you never use anything but .223 ammunition, there’s no problem. Nevertheless, if you have a .223 leade and you luck into a smoking-hot deal on 5.56 ammo, your rifle will get worked harder. How much harder? Pressure-testing 5.56 ammo in .223 pressure barrels, I’ve had reports back of peak pressures up to, and more than, 70,000 psi.
Not a Myth
Twist in barrels does matter … except when it doesn’t. If you have an old barrel with a 12-inch twist, you’re pretty much stuck with bullets of 55 grains or lighter. However, if you have a 1:9-twist barrel, you’re not necessarily out of luck when it comes to heavy bullets between 69 and 77 grains. The “mil spec or bust” crowd will disparage your use of precious 77-grain Mk 262 ammo in a 1:9 barrel, but by the Greenhill formula for barrel twist, your bullets will be stable. That they don’t shoot with bench rest accuracy is probably a matter of technique, optics, trigger or barrel quality rather than twist rate.
The important thing to keep in mind is this: We’re at the range to have fun and build skills, not brag about equipment we don’t use or can’t use well. Build your AR-15, use it, learn it, and be good with it.
From Customization to Performance: Our Best AR-15 Insights
- Top AR-15 Rifles – Options For Any Budget
- AR-10 vs AR-15 Comparison – How Stoner’s Rifles Stack Up
- Top AR-15 Upgrades – The Best Parts & Accessories
- How To Install AR-15 Lower Parts
- How an AR-15 Upper Works
- Buyer’s Guide: Best AR Pistol Brace
- AR Pistol Buyers Guide – Best Options for Any Budget
- What Caliber is Best for AR-15
Editor’s Note: This article originally appeared in the November 2019 issue of Gun Digest the Magazine.

Next Step: Get your FREE Printable Target Pack
Enhance your shooting precision with our 62 MOA Targets, perfect for rifles and handguns. Crafted in collaboration with Storm Tactical for accuracy and versatility.
Subscribe to the Gun Digest email newsletter and get your downloadable target pack sent straight to your inbox. Stay updated with the latest firearms info in the industry.


