
Rifle bedding, while not the simplest project, is worth the effort when you see the results downrange.
I recently ran a test regarding Boyds Gunstocks’ new Spike Camp riflestock, which featured three stocks built for one barreled action. Those stocks performed very well and very consistently, which was the reason for the test.
However, after conducting that test, I didn’t bed the stocks. There were several reasons for this. It was partly because I wanted to test the stocks in an “apple-to-apple” comparison—and, because no two bedding jobs can be exactly the same, this would’ve prevented that. It was also partly because I’ll bet most of the customers purchasing one of these stocks will not bed them.
But, the most important reason I didn’t bed those stocks was because I don’t consider bedding a barreled action to a stock a task that the average gun owner is capable of doing correctly. Yes, I know: Gun writers have been forever writing about how you should do a little home gunsmithing and bed your own rifles.
While it might seem like a very simple process, it’s actually a quite complex and time-consuming procedure that’s best left to someone who does that kind of thing for a living. In fact, I’ve bedded two rifles. Both jobs turned out OK, but it was just enough exposure to the practice for me to realize it should be left to professionals.
Talk to any gunsmith, and you’ll hear horror stories of customers coming in with barreled actions permanently fused to riflestocks; about actions frozen shut because bedding compound leaked in; and, you’ll hear about rifles that wouldn’t go back together correctly—or, if they did, the bedding job was so jacked that the rifle wouldn’t work.
A good rifle bedding kit will cost between $40 and $70, depending on whether you want pillars or not. If you know what you’re doing, it’ll take about four hours to properly bed a riflestock with pillars already installed. If the pillars need to be installed, add two hours.
You’ll also need some resources and tools that don’t come with the kit—most importantly, a mill or at least a Dremel tool. An inexpensive mill will cost you about $700, and a good Dremel kit about $100. Considering most gunsmiths will only charge between $150 and $250 to bed your rifle, you’re better off seeking their services—at the very least, to save a bunch of money.
In case you’re unfamiliar with pillars, they’re the aluminum tubes that go inside the stock and fit between the action and floor plate of the rifle. The front and rear action screws pass through these tubes/pillars. Pillars help solidify the “marriage” of the action to the stock and provide more strength. And, for lack of a better word to describe it, they’re a major pain to install correctly. Fortunately, Boyds allows you to order the Spike Camp stock with pillars already installed.
As sort of a follow-up, I wanted to let readers know how a properly executed bedding job might improve the performance of one of these stocks. I also wanted to illustrate how involved the proper process of bedding a rifle really is. After all, the acquisition of a new rifle stock might not just be due to the desire for improved ergonomics and looks; it might be part of an effort to make the rifle shoot with better precision.
So, to help with this, I asked a professional, Jerry Dove of Dove Custom Guns, to help out. He does most of my personal gunsmithing work.
Rifle Bedding Process: 12 Essential Steps
Step 1
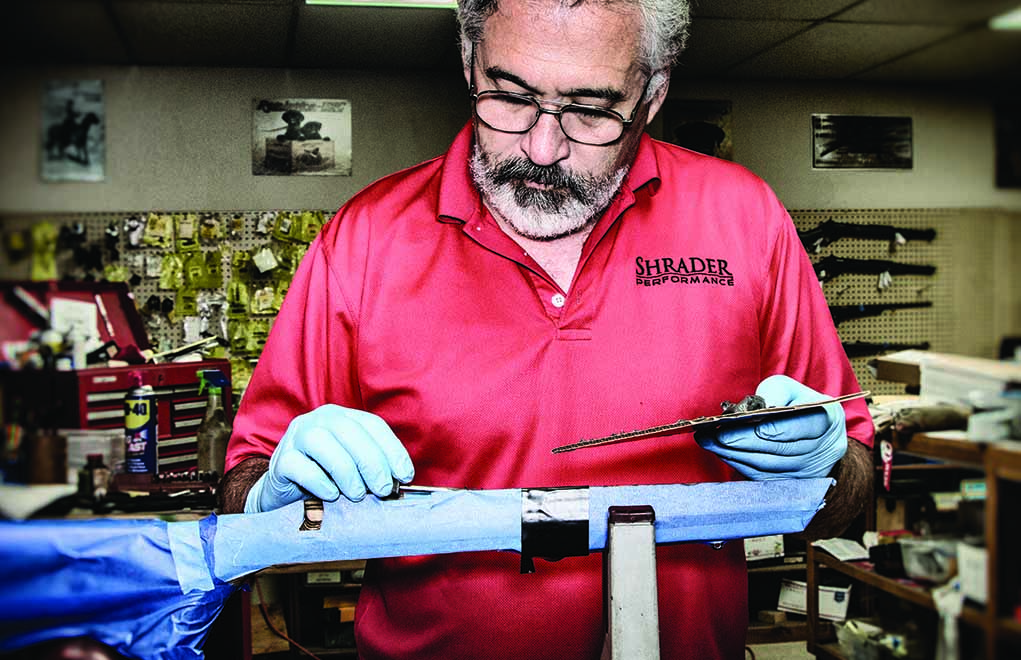
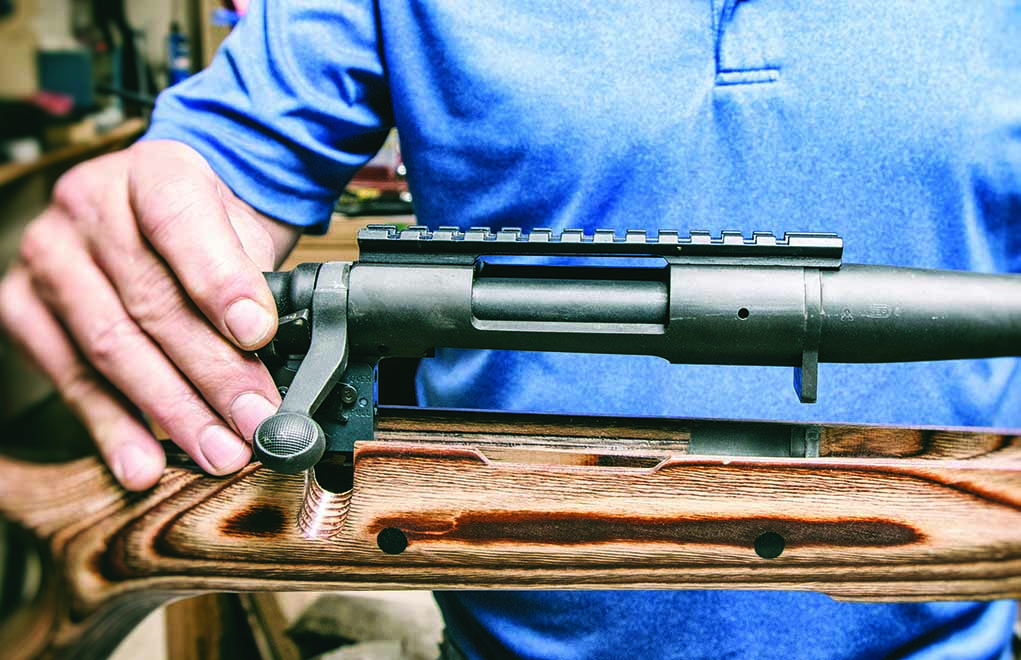
Before the rifle bedding process proper, Jerry first installed the stock on the barreled action to see if it fit properly. He checked for binding, made sure the barrel was free-floated and ensured there was enough relief around the Timney trigger that I’d installed.
Step 2
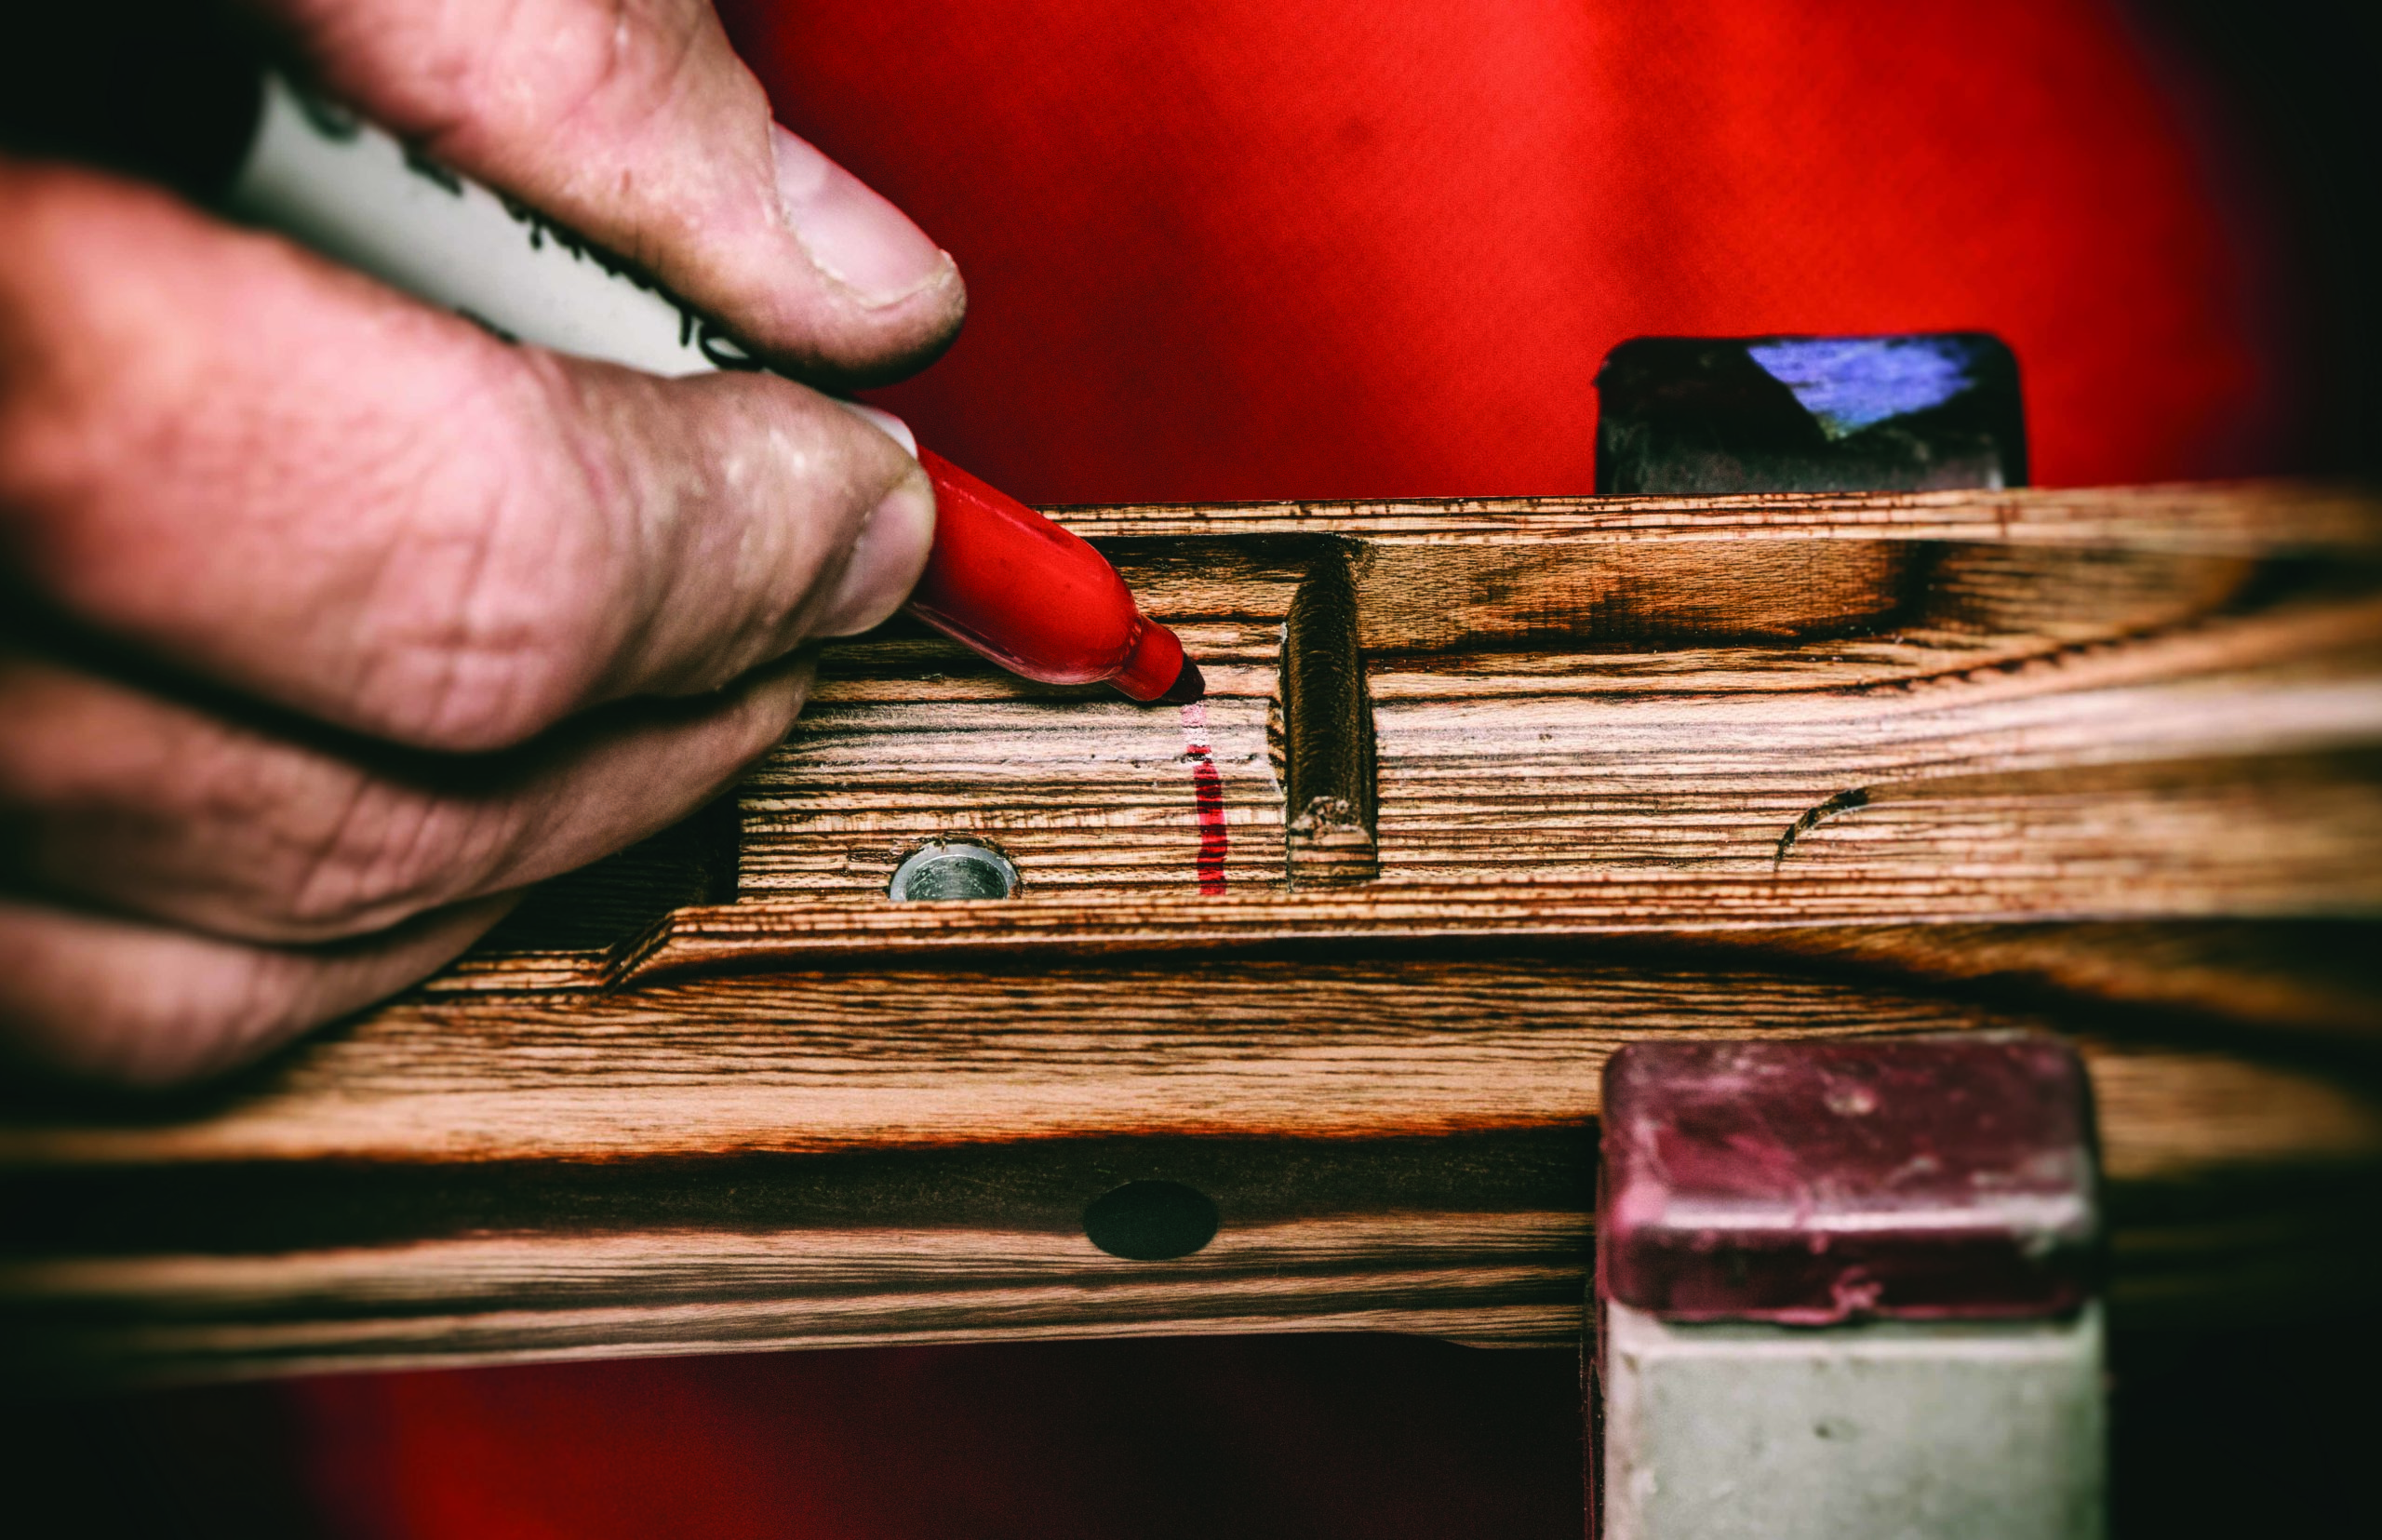
Jerry then removed the barreled action from the stock and began marking the stock for material to be milled away. He does this because when you bed a riflestock, you’re adding material to it. In order for there to be enough bedding material added so that it’ll do its job correctly, some material (wood, in the case of the Boyds Spike Camp stock) must be removed. Knowing where to mark is critical and comes with experience.
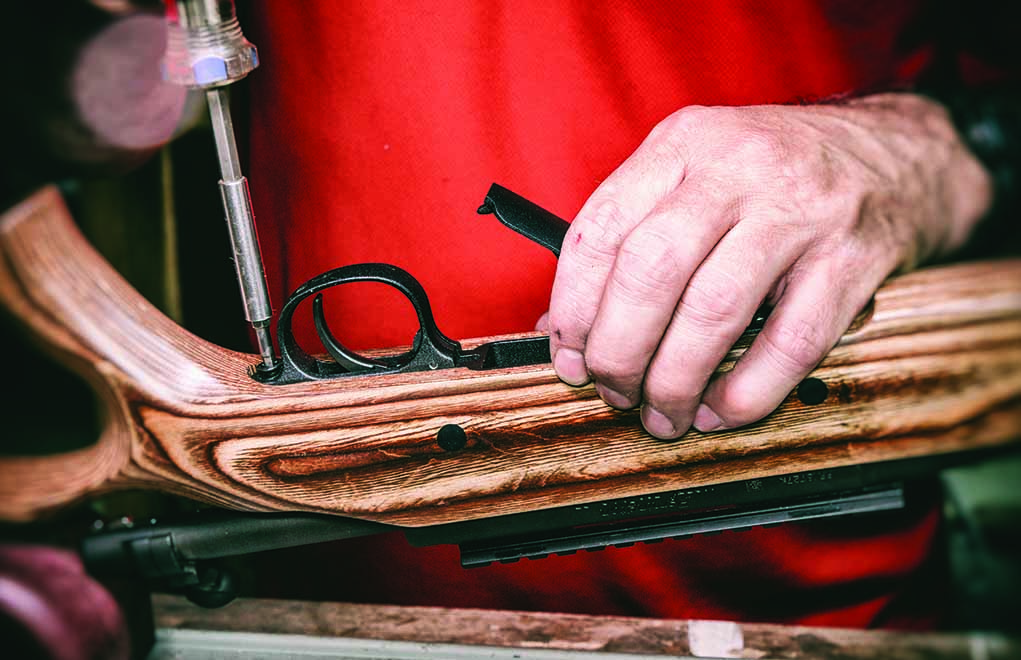
Step 3
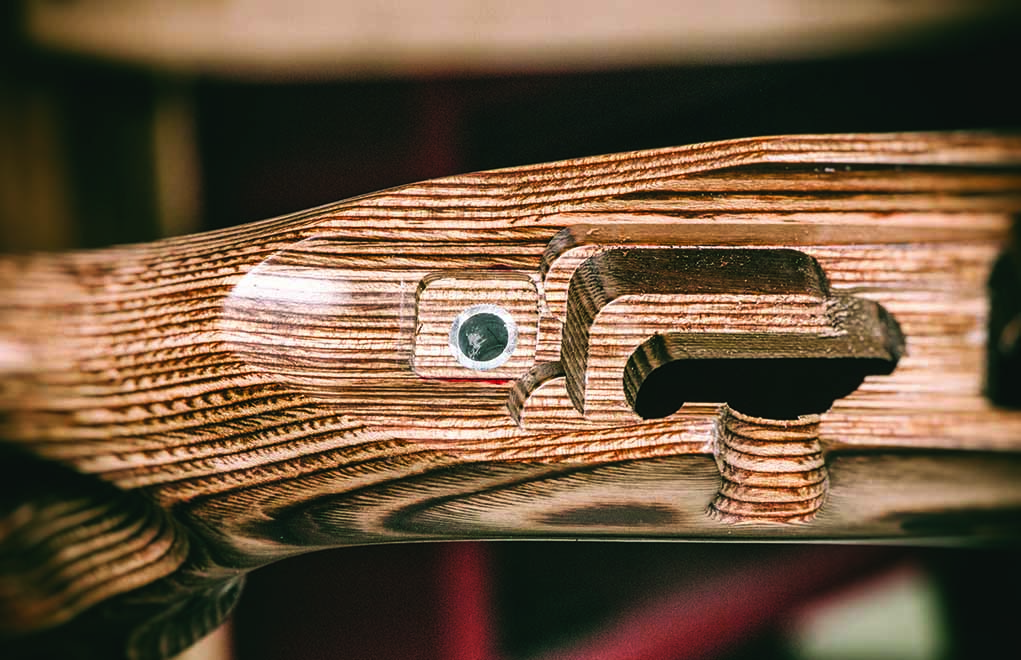
Jerry then took the stock to his milling machine to remove the identified material around where the front and rear action screws—and pillars—come through the stock. This is what the home gunsmith would use a Dremel tool for. The difference is that when done on a milling machine, the cuts are consistent and square with the inletting in the stock.
Step 4
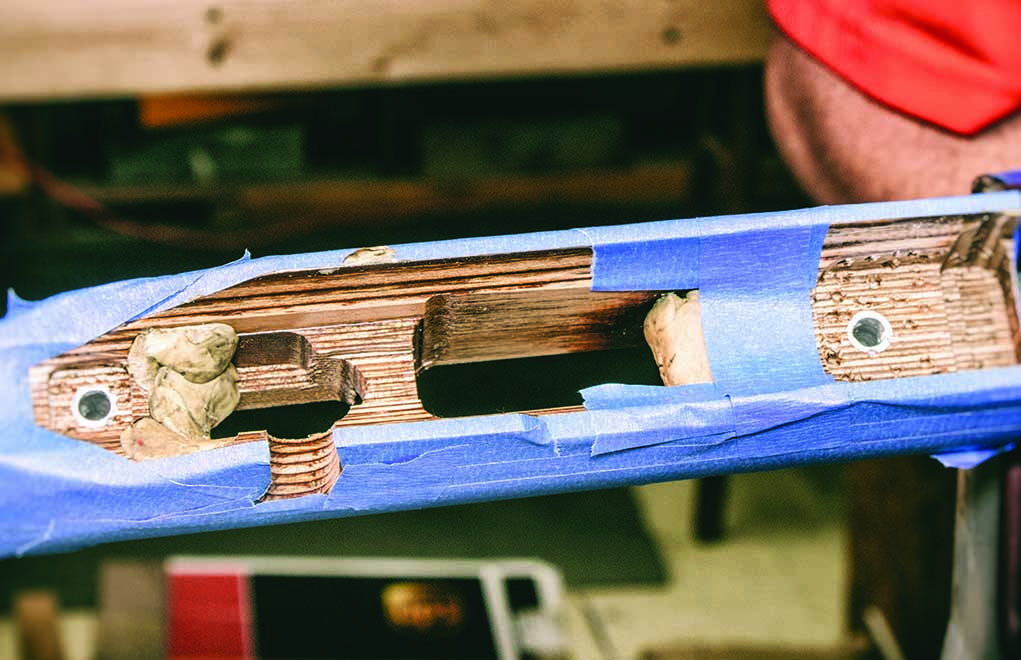
The next step was to mask the stock. Jerry used masking tape and covered the entire stock. Why? You don’t want bedding compound leaching out or dripping on your stock and ruining it. In addition to masking the exterior of the stock, he also used some electrical tape just forward of the recoil lug to help the barreled action release from the stock after bedding.
Get More Gunsmithing Projects:
- 5 Tips To Make Your Bolt-Action Rifle More Accurate
- Ruger 10/22: Customizing For Accuracy
- 5 Areas Of Concern In The AR-15 Build
- Gunsmithing: 5 Ways To Remove Frozen Screws
- Heavy Metal: AR-10 Build
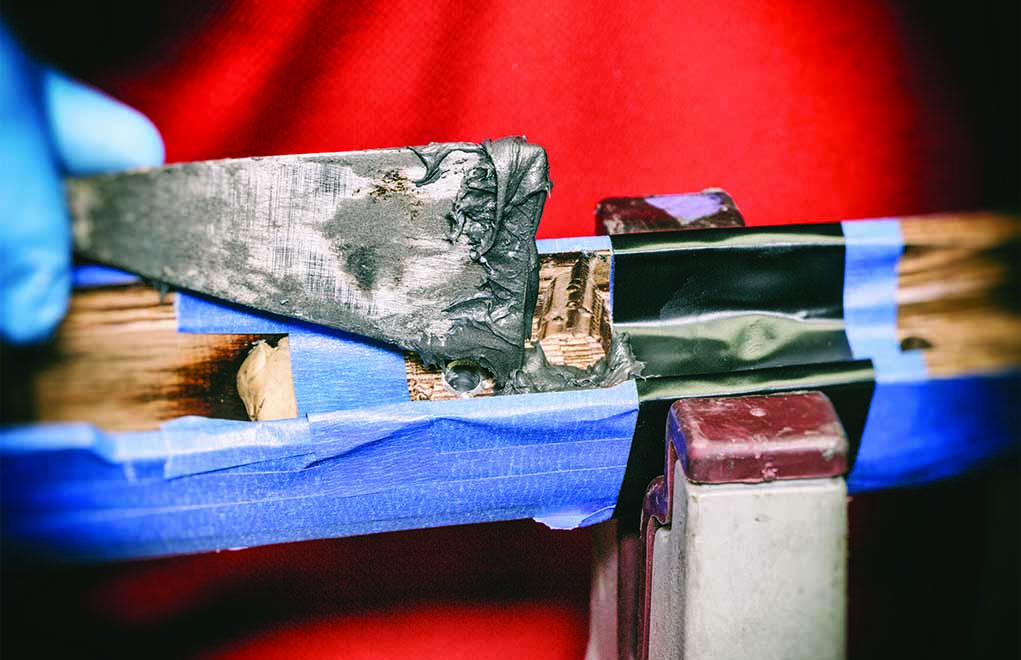
Step 5
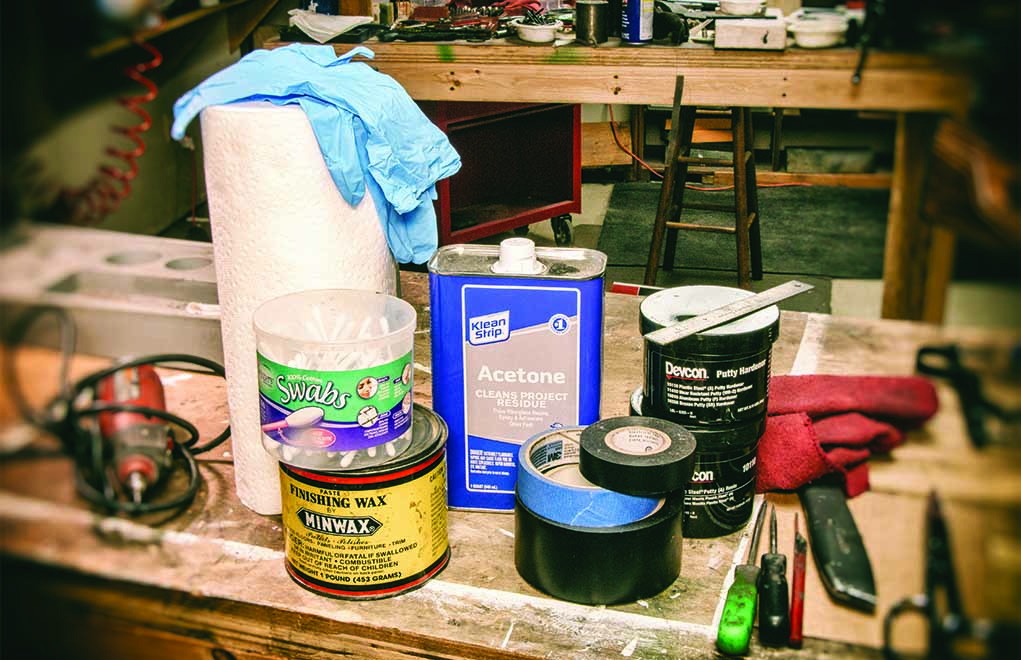
The next step in the guaranteed release rifle bedding process is to fill all the cutouts and holes in the action with plumber’s putty. This keeps the bedding material from creeping into the action and freezing it up.
Step 6
The action also needs to be coated with something to keep it from being glued to the stock; a release agent, if you will. Jerry has found that wax works best, and he simply coats the entire exterior of the barreled action with it.
Step 7
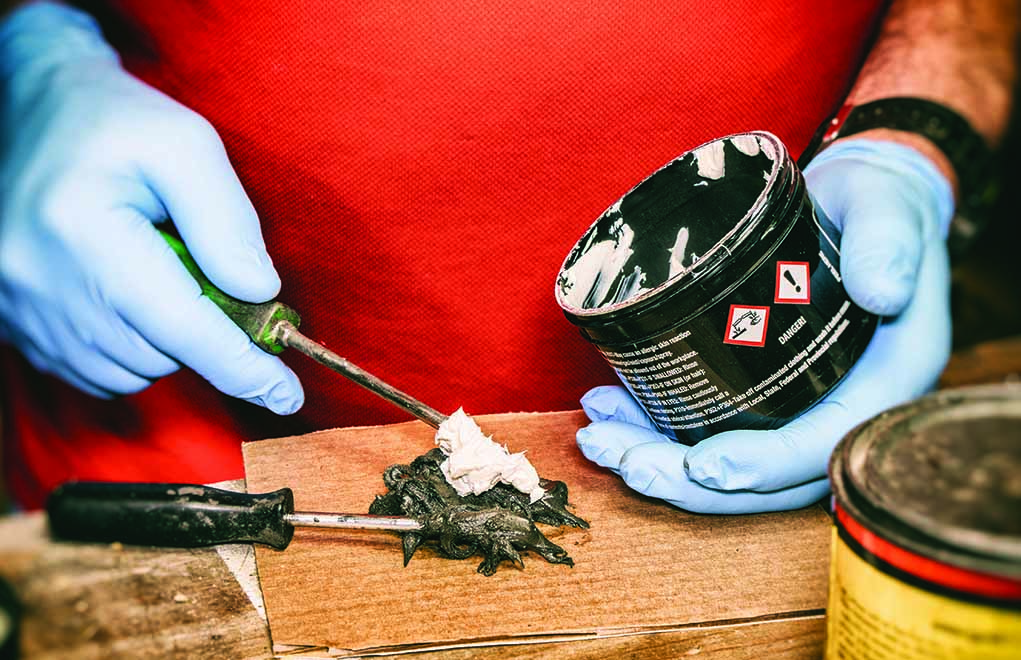
Bedding compounds have to be mixed. This is accomplished by following the ratio instructions provided by the manufacturer.
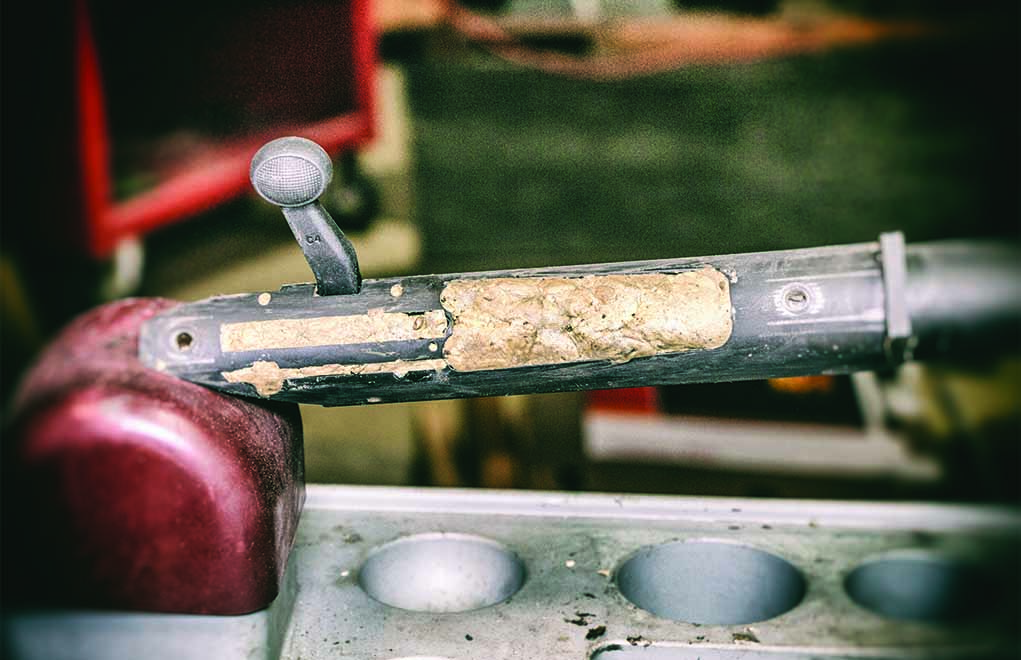
Step 8
The bedding compound is then applied to the interior of the riflestock in the areas that have been relieved with the mill. How much do you apply? Well, again, this is where experience comes in. If you don’t apply enough, the rifle will receive no benefit from the process, and you’ll have to go back to step 1 and start over. If you apply too much, you’ll have what could best be described as a “frigging mess.”
Step 9
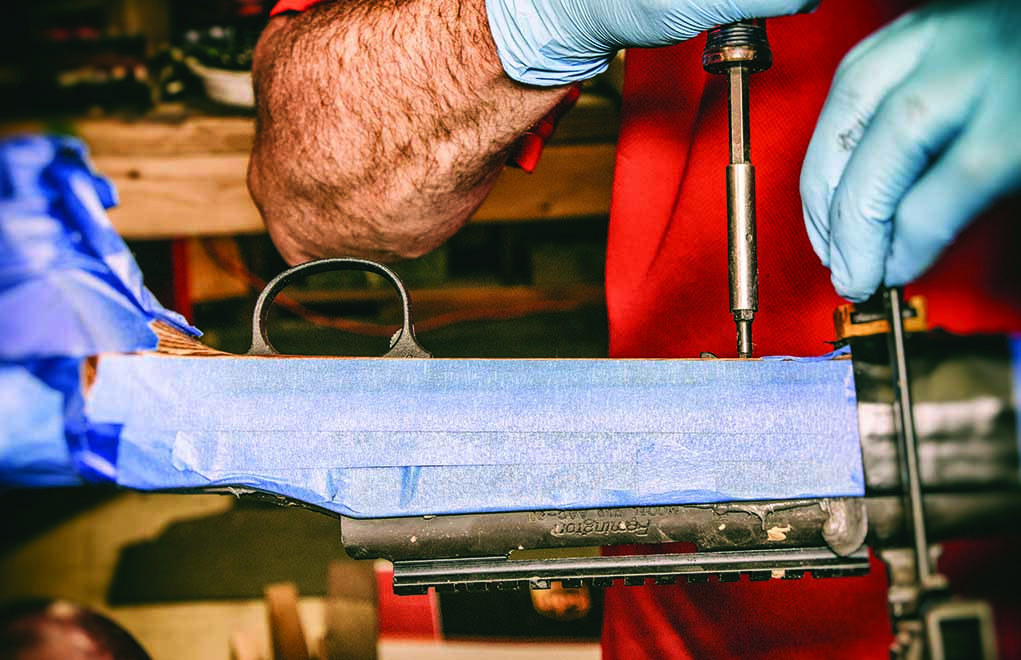
The barreled action is then installed, and the floor plate is attached with the front and rear action screws. This is a critical process. To make sure it’s executed properly, Jerry uses fake action screws to start, removing them and replacing them with the original screws once everything’s been properly aligned. The screws, both the fake and the real, will need a liberal coating of wax to keep the bedding material from sticking to them. It’s also a good idea to wrap some tape around the barrel near the forend of the stock before installation. This ensures the barrel remains free-floated and centers the barreled action in the stock. How much tape? Again, experience is the best teacher.
Step 10
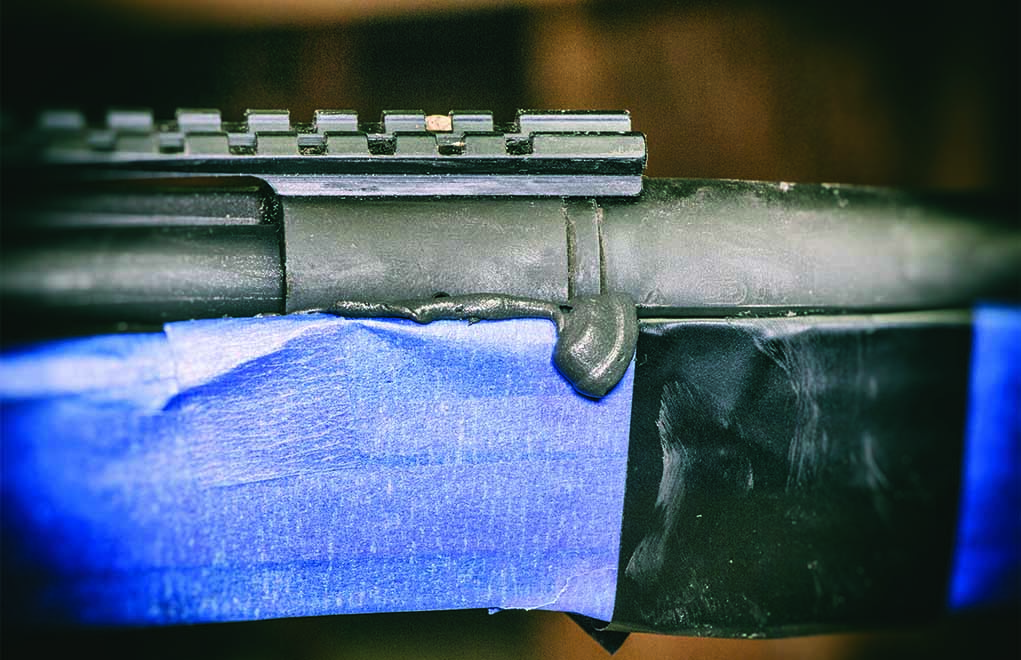
Once the barreled action is installed, excess bedding material will leach out around the junction of the action and stock. This should be cleaned off immediately.
Step 11
Wait. How long? At least 24 hours. Forty-eight hours is better.
Step 12
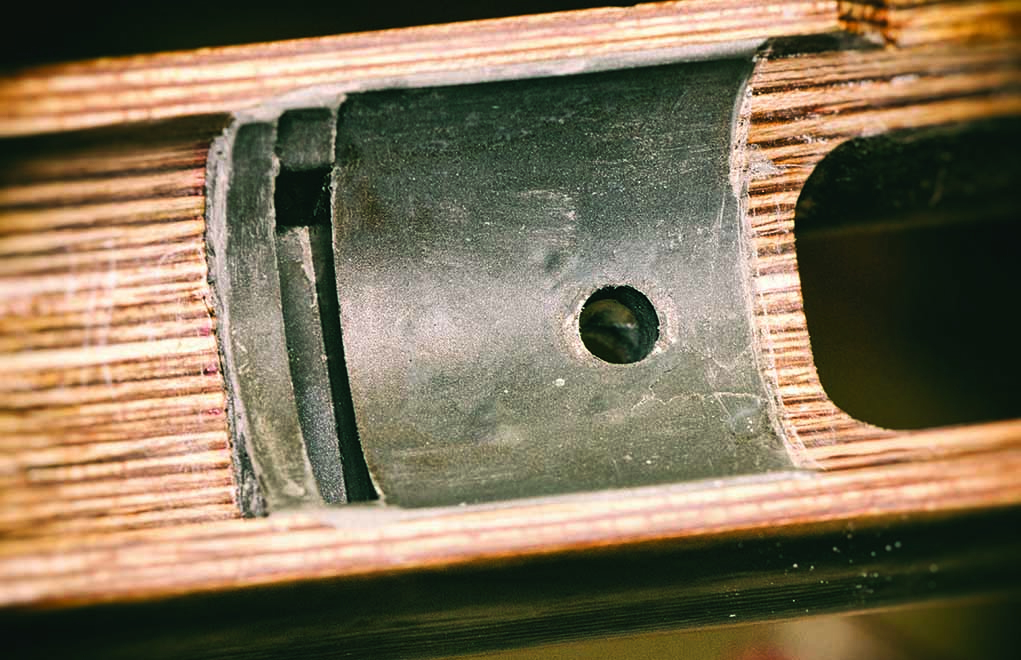
Remove the barreled action from the stock and clean up any excess bedding material that happened to get into and onto places it wasn’t supposed to be. If all this is done correctly, the barreled action should come out of the stock … with a lot of
wiggling and a little bit of cussing.
Is It Worth It?
A properly executed rifle bedding job should almost guarantee your rifle will show improved precision. Obviously, you reach a point at which your shooting skill and the intrinsic accuracy of the barreled action reach their limits. With the Boyds Spike Camp Stock used for this test, I saw a 16 percent improvement in precision: The average for five five-shot groups, with the Federal Premium 168-grain MatchKing load, shrank from 0.81 inch to 0.68 inch.
Was that level of improvement worth the time, effort and money? Maybe, maybe not. That would depend on what you plan to use your rifle for—as well as if a 1/10-inch decrease in group size is worth about $200. Of course, in some cases, you might see much more improvement. And, you also might find that after bedding a rifle, its former favorite load is not its favorite anymore.
Regardless, when done correctly, bedding often has a way of eliminating those weird flyers you get when shooting groups. Also, a properly bedded riflestock gives you the confidence to identify a flyer as your fault, as opposed to the rifle’s.
I’d recommend bedding all bolt-action riflestocks. Nevertheless, I’d also strongly suggest you let a professional do it. Considering the potential for mistakes and the possible improvement in performance, it’ll most likely be money well spent.

Next Step: Get your FREE Printable Target Pack
Enhance your shooting precision with our 62 MOA Targets, perfect for rifles and handguns. Crafted in collaboration with Storm Tactical for accuracy and versatility.
Subscribe to the Gun Digest email newsletter and get your downloadable target pack sent straight to your inbox. Stay updated with the latest firearms info in the industry.


