
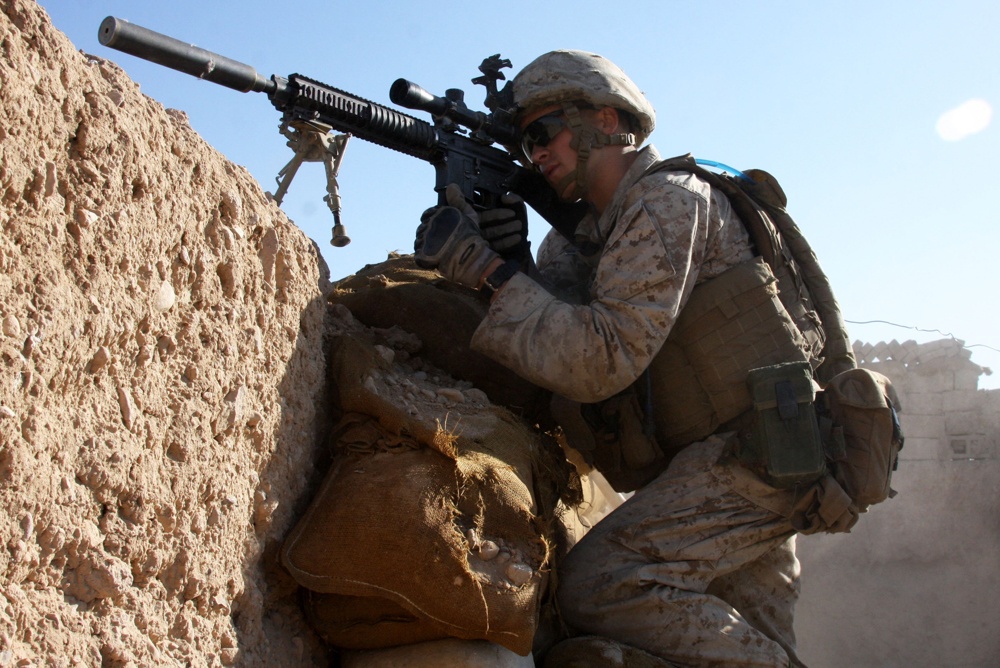
The Mk12 Mod 0 is a heavily customized AR-15 for mid-range sniper use. Here’s how to build your own.
What you need to build a Mk12 Mod 0:
- With parts from PRI, A.R.M.S., Knight’s Armament and Leupold you can build a Mk12 Mod 0.
- The Mk12 is a heavy AR-15, super-accurate and ideal for long-range shooting.
- If building isn’t your thing, complete Mk12 uppers can be had from PRI, Bravo Company and Brownell’s.
The genesis of the Mk 12 was the desire in some quarters for an accurate but not heavy (these things are relative) sniper rifle. The Navy had just adopted the Mk 11, which was the Knight’s M110, a rifle chambered in .308, aka 7.62 NATO.
But, not every job calls for a .308, and not every mission can take the weight. A loaded M110 has a “book” weight of 15.3 pounds. As if.
In addition to the optics and the loaded magazine, the already-bipodded rifle gets more gear. Add a sling. Add a laser targeting designator. Add a suppressor. The rifle is soon up to or even over 20 pounds, and that is before the end-user starts stuffing loaded magazines into his tac vest.
All that gear will add to the full-up weight of a 5.56 rifle, but it will at least start at a lighter weight, and offer more shots per added pound of payload to the tac vest.
It would seem obvious that rifles are tools used to shoot one’s enemies. And in order to do that, they must be accurate.
Building a Mk12 Mod 0
This is involved, partly because so much of it is not like your normal AR-15 assembly, and partly because the desired end result is an accurate, reliable rifle, and if you cut corners you won’t get that.
Start with a ready-to go lower, because that is not unusual. Ideally, you’d use a retro-style A1 lower, but since the Mk 12 was meant to go on whatever was available, you can get away with using an A2 and few will complain. (Oh, someone will, but ignore him.)
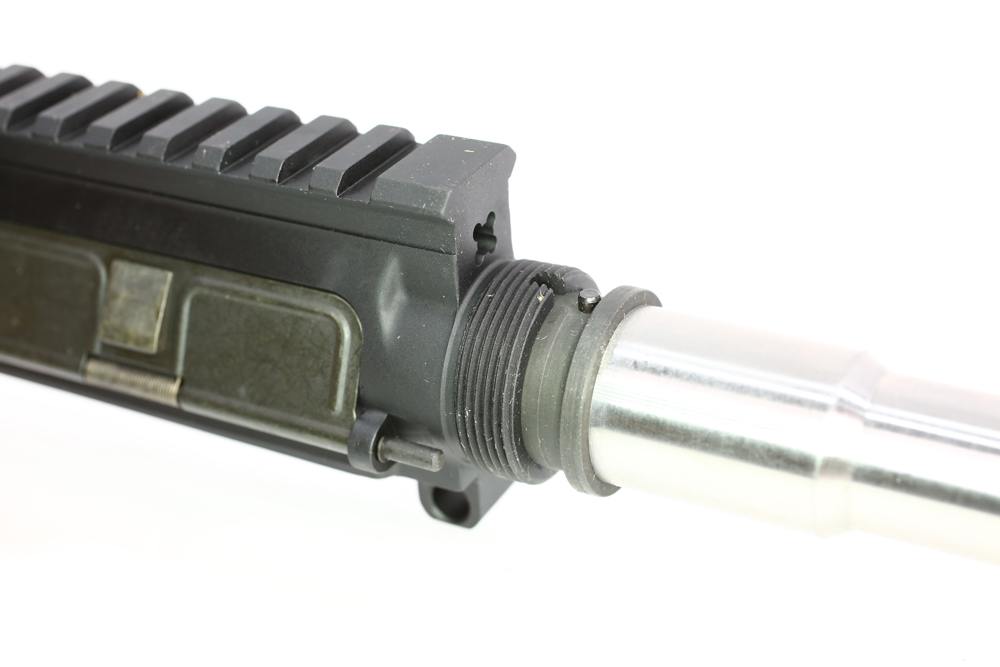
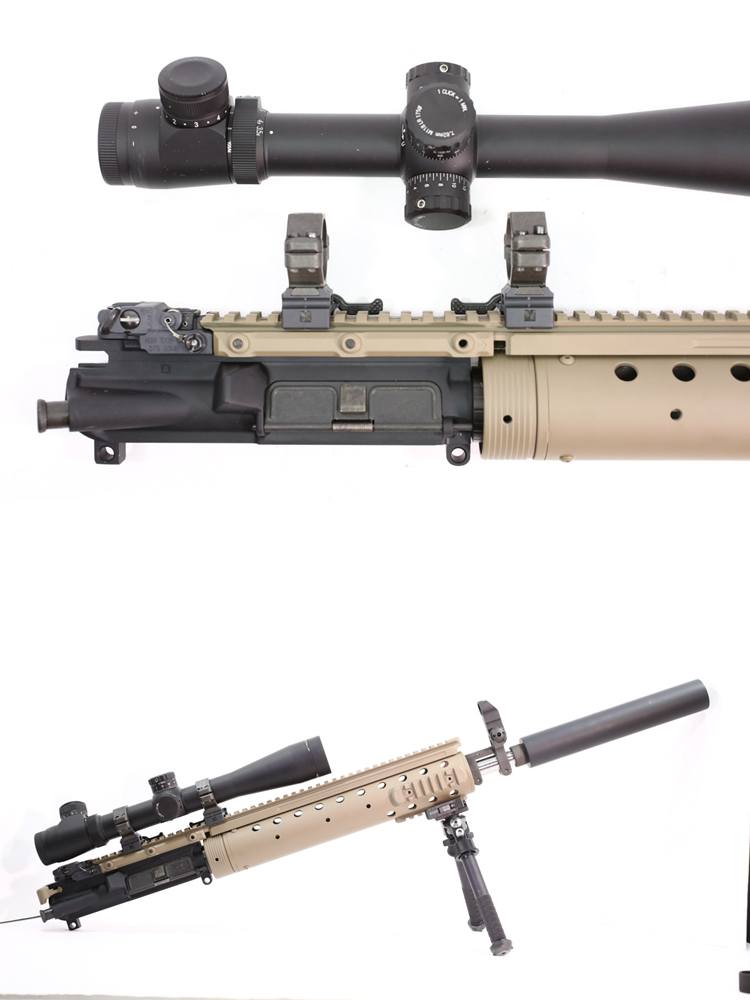
The first thing you have to do is source a barrel. After all, the Mk12 is meant to be a really accurate rifle, so building one that won’t shoot well is kind of pointless. I opted to go with a BCM Mk12 barrel, because I have had good luck with BCM gear and in fitting and using their parts.

The barrel is a bull barrel, stainless steel, and with a 1/8 twist. To gain the most accuracy from it, it should be properly bedded into the upper receiver. You can do fine just bolting it in, but to wring the last few bits of accuracy out of it, go with the full-on barrel installation as described in the barrel chapter.
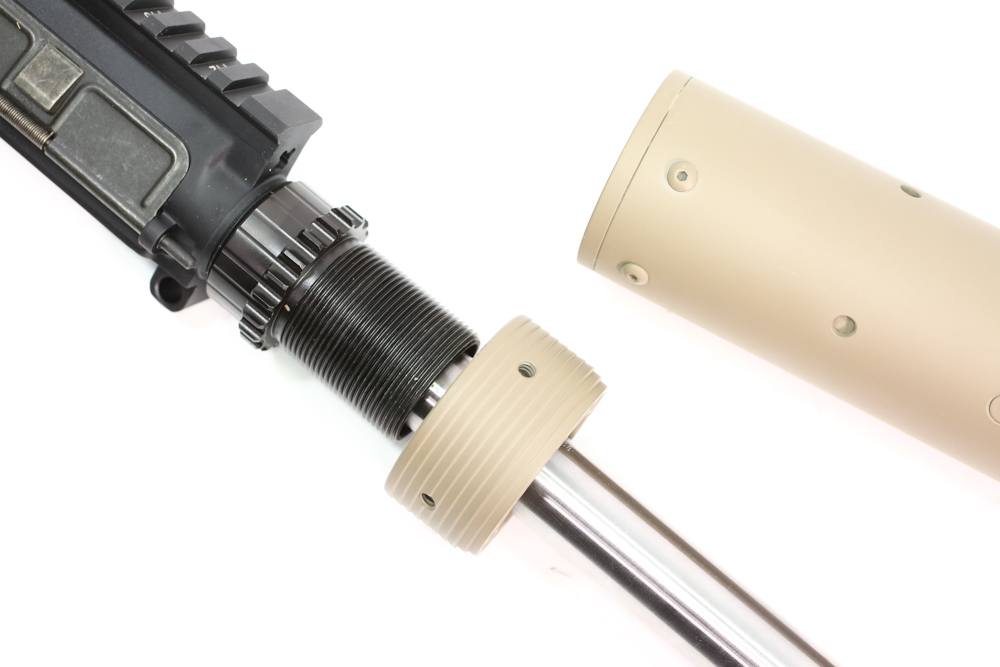
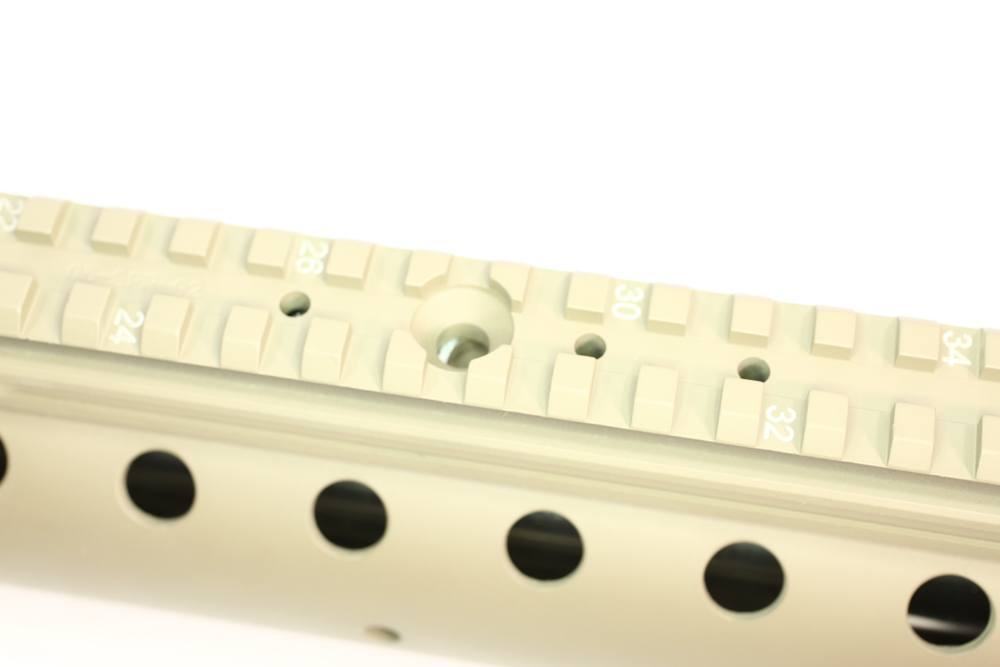
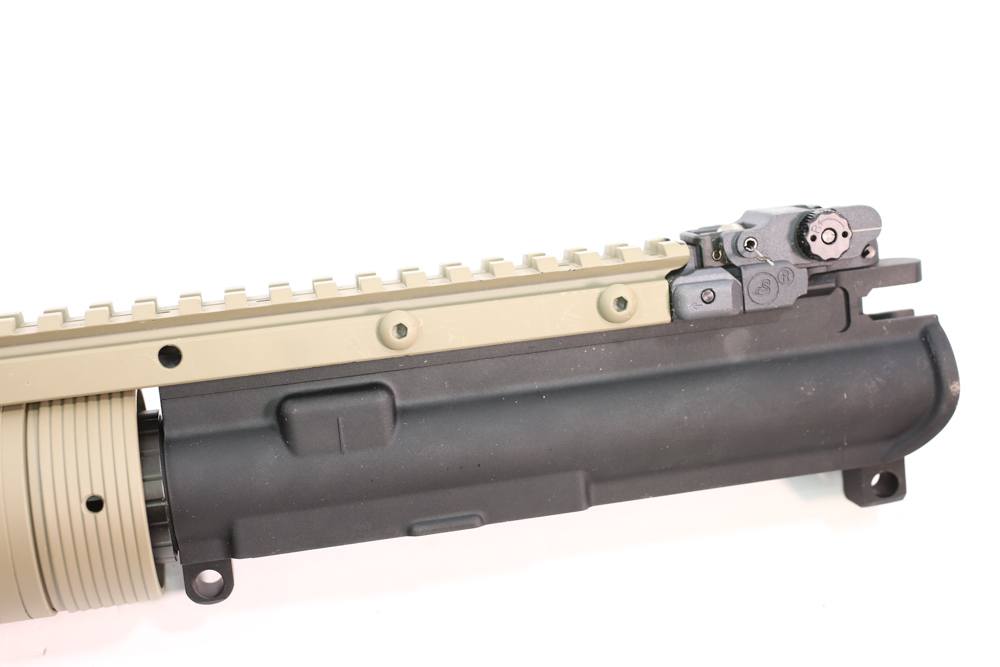
Next up, the PRI handguard.
The PRI handguard uses a proprietary barrel nut, so you’ll have to plan ahead and do a bit of juggling.
The nut also includes a rear locking cap. Put the cap on, then the barrel nut, and tighten the barrel nut. You‘ll have to align the barrel nut for a perfect gas tube clearance, and then use the alignment studs on the rear of the handguard tube, inserting them into the front of the barrel nut.
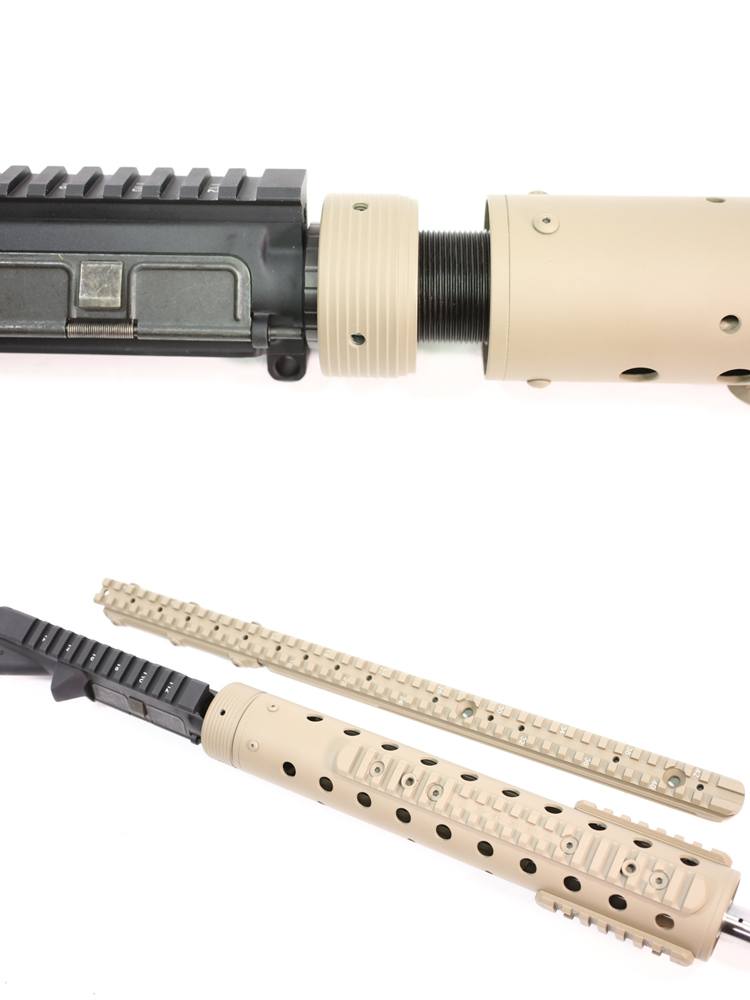
Now, Gen I of the PRI handguard uses a larger-diameter nut than the handguard tube. The Gen II has a locking nut that is the same size as the tube, but the process is the same. You have to get the nuts precisely aligned, for gas tube clearance and to align the top rail and receiver with the handguard rail.
This is where you want to be careful and precise. The handguard aligns on the barrel nut. The handguard also has to allow for the top rail to be bolted across he handguard rail and the upper receiver rail.
If the handguard tube is the least bit mis-aligned, you will find the two rails and the top connector won’t play well with each other. If you try to get it “close enough,” you’ll have a situation where the tightened-down top rail is stressing the handguard, receiver or both.
Keep adjusting and checking until there is no disagreement and the two rails (handguard and receiver) are in agreement that they are straight and will smoothly be clamped by the top rail. Use a strap wrench to tighten the barrel nut cap. Then install the top rail and clamp it down securely. If you want, you can use blue Loctite or paint-in the nuts once tightened.
The top rail uses five screws. Three of them go across the top, through the slots of the receiver rail. Two others go down from the top of the top rail and screw into the rail of the handguard.
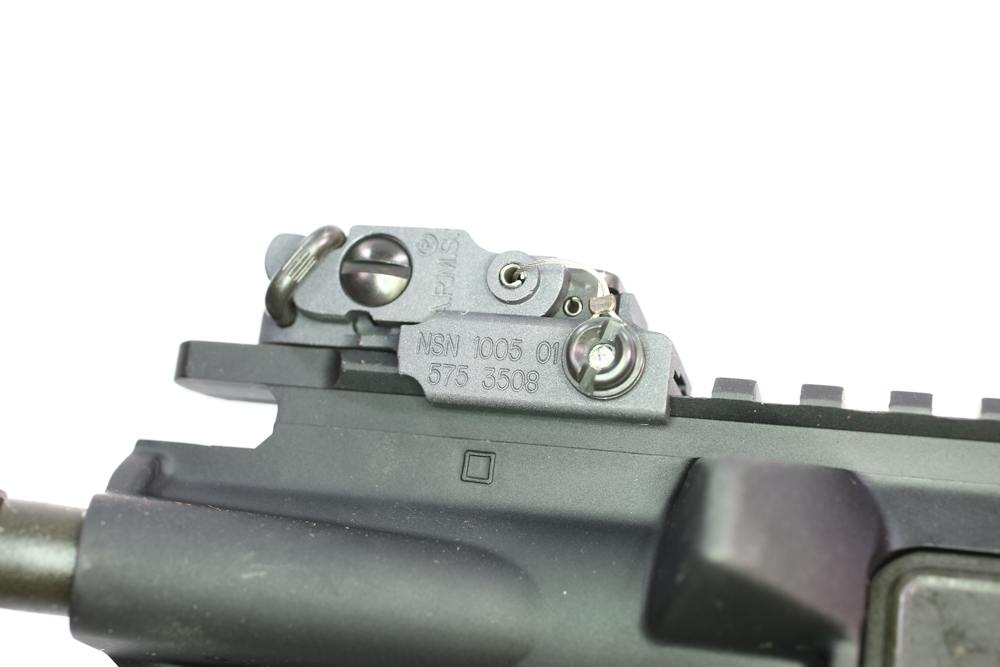
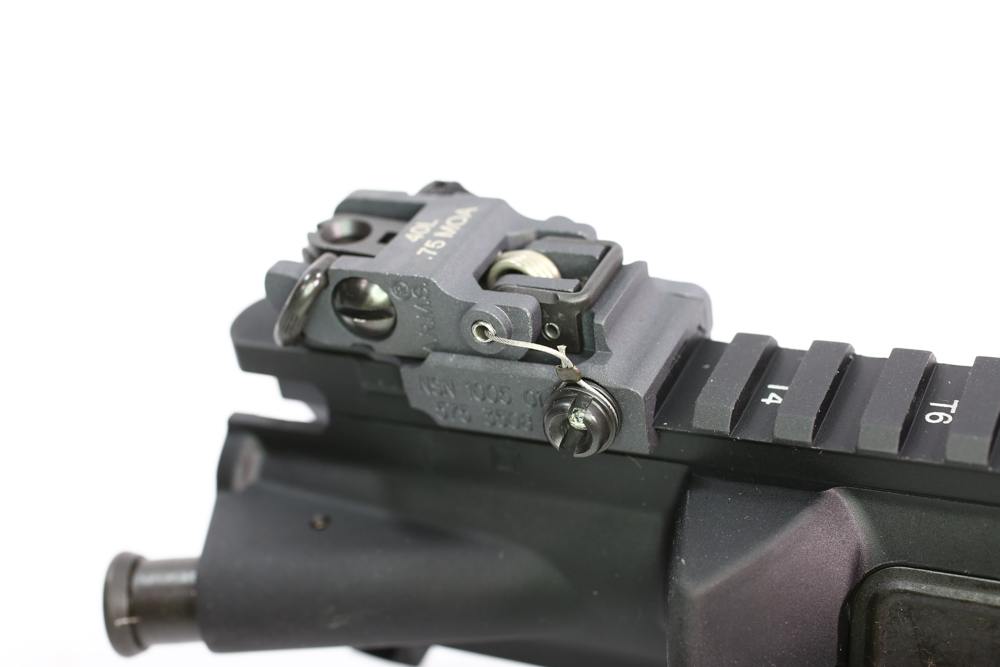
Install the rear sight and paint it in as well. Now we’re ready to get to the test-fire stage, once we get the gas block/front sight on.
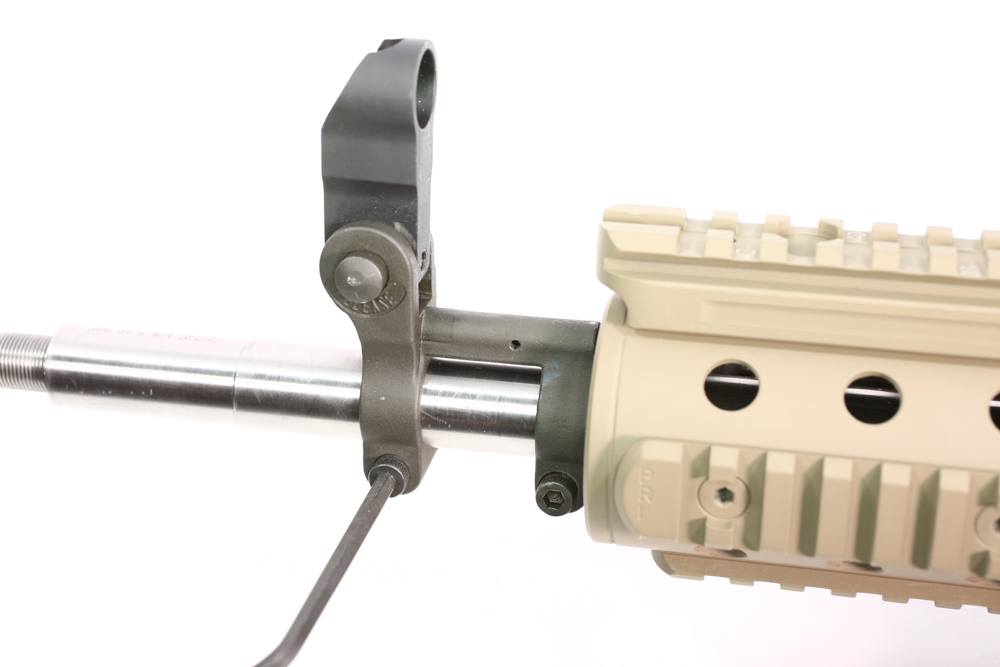
Once you have the barrel nut in the right place, slide on the gas block/front sight assembly, align the gas tube and tighten the clamping screws. Don’t Loctite them yet. Next up, range trip. Use common, inexpensive ammo, and if you are in favor of this process, use the opportunity to break in the barrel. Me, I don’t care.
Ideally, you do this at the gun club, with the range to yourself, and on a nice, sunny, dry day. Make sure your rear sight is at the exact center of its adjustment range. Load one round, use the iron sights, an aim at an obvious mark on the hill. Fire. Where did it hit? It most likely was not on-center.
If it hit left, your front sight is too-far right. And vice-versa. Loosen the screws, tip the sight a small amount in the correct direction and tighten the screws. Now take a moment to make sure your gas tube is still properly aligned. Fire again. Repeat this boring, detail-oriented process until your iron sights are hitting dead-center. Your front sight is now aligned and centered, and life is good.
Back to the shop, to finish the rest of the build. Once there, loosen one of the two front sight screws, but do not remove it. Hose it and its recess in the sight assembly with wicking Loctite. Tighten and leave it alone. The next day, do the same to the other screw.
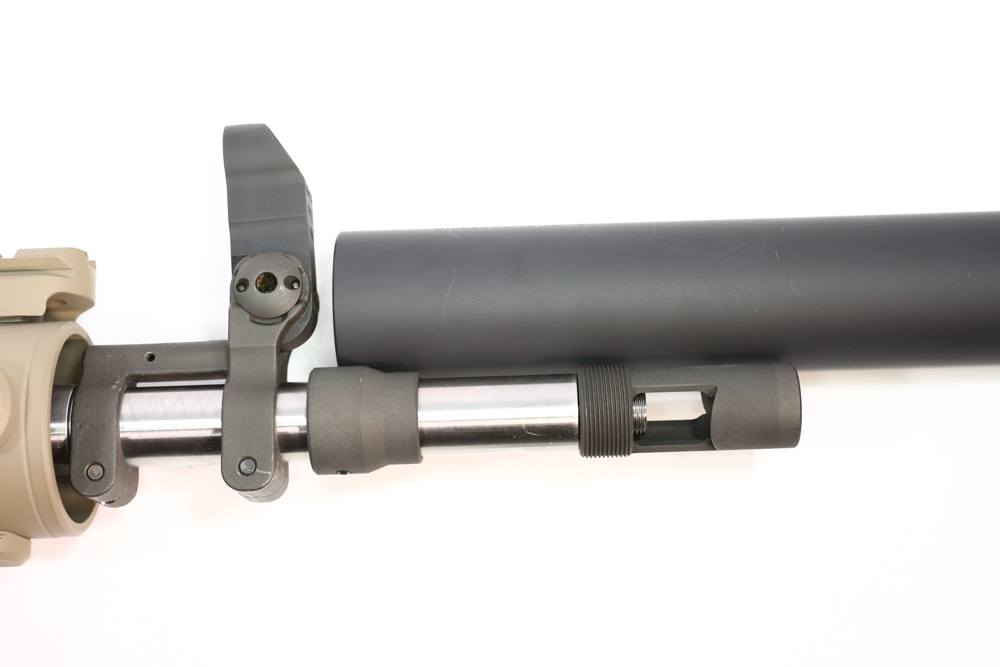
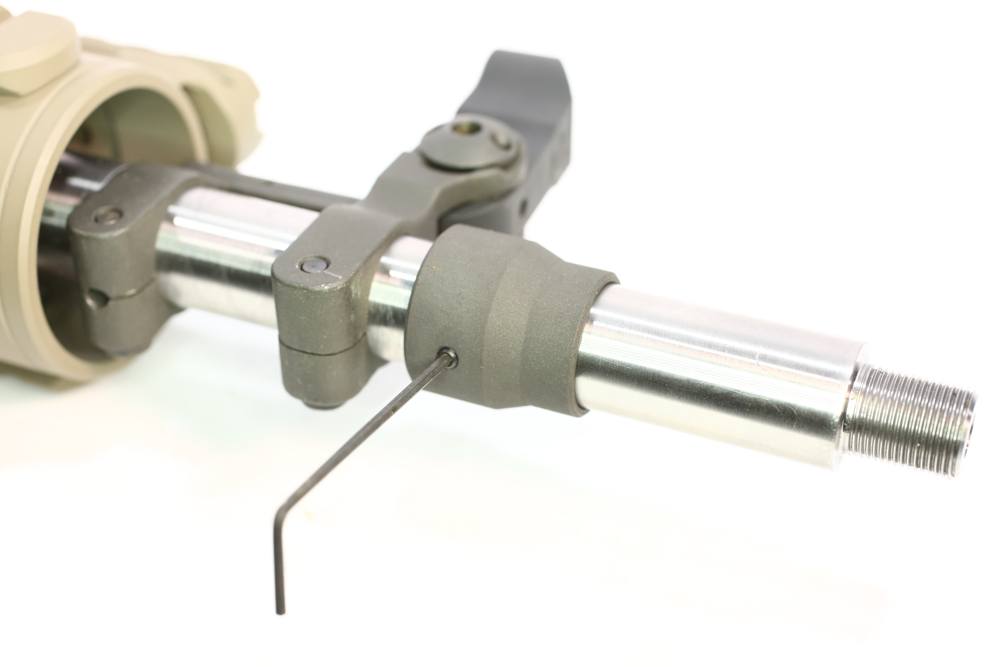
Next up, fitting the muzzle brake and suppressor mount. The suppressor alignment collar slides over the barrel, down to the step in front of the gas block/front sight assembly.
There is a small setscrew to hold it in place. In talking about this with my contact, I asked if they did anything more than tighten it. “We used a bit of Loctite to hold the setscrew in place. It held, even without the barrel being dimpled, as you suggested.”
I don’t want to argue with real-world success, but I’d feel a lot better if the collar was more secure than that. But that’s for the end of this process.
With the collar in place, use the setscrew to keep it there and not rattle around or spin. Screw the muzzle brake on, and get it more than hand-tight. Don’t worry if it isn’t timed properly, not yet.
Now, spin off the knurled collar you see on the muzzle brake. That covers the threads for the suppressor.
Spin the suppressor on, bring it down to seat on the collar, and then use your Geissele alignment rod to check alignment. It should be just fine, everyone involved in this has worked hard to keep things correct. If not, you will have to adjust the fit until your suppressor is aligned and central on the bore axis.
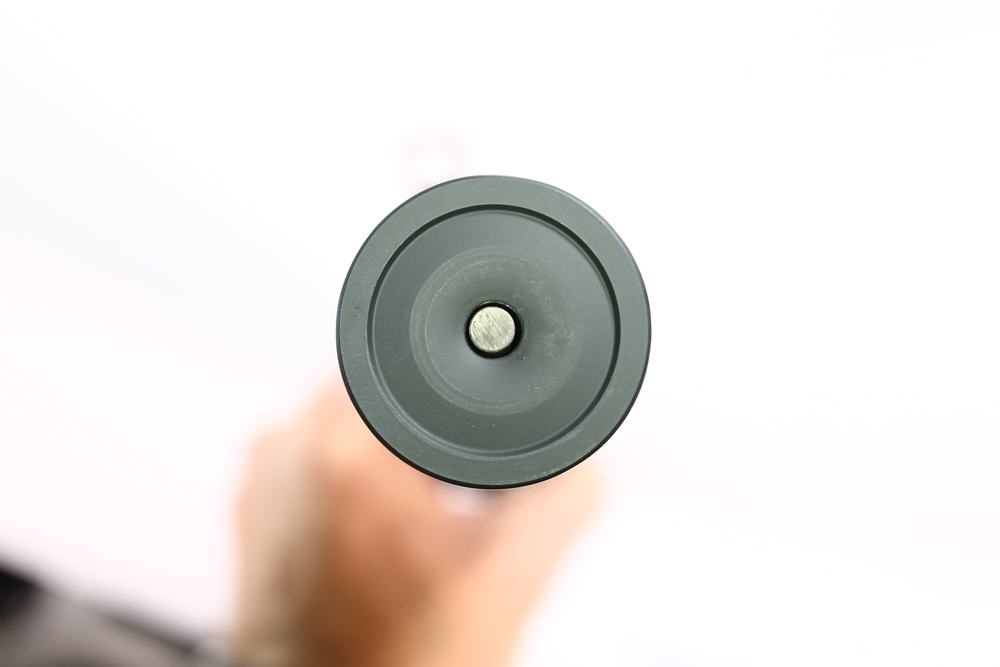
The suppressor, if a proper Mk 12 one, is now being made by Allen Engineering, and Ron Allen, the owner, was the guy who made them for the company who was making them for the government. The model is now called the AEM5, and it is a reflex suppressor.
Instead of all of it being forward of the muzzle except for the mounting hardware, a reflex suppressor fits over the barrel. This provides a greater volume for the same overall length, and the first chamber, the expansion chamber, is also much greater in volume. The design also offers greater support for alignment. The two bearing areas, the threads up front and the collar in the rear, keep the suppressor aligned even when banged around.
Reflex suppressors have the disadvantage of being limited to barrels no larger in diameter than the inside of the suppressor overlap tube. But, you get more volume and more quiet without an extra foot of tube on the end of the barrel.
Once you know the suppressor is aligned, you’re ready to wrap this part up. Tighten the setscrew enough to mark the barrel. Take it off, dimple the barrel, re-install, and check suppressor fit again. Still good? Pull it off, degrease everything, hose in the Loctite, slide the collar back on and tighten the setscrew.
Now loosen the muzzle brake and hand-turn it until it is as close to the stop shoulder as possible and correctly aligned. This is with the venting directly to each side.
Use a feeler gauge to measure the gap. Assemble a stack of flat washers of that thickness to fill the gap. Hand-screw the muzzle brake on and check. If it stops at about 10 o’clock short, good. If it hand-tightens all the way up to twelve, re-do your washer stack a bit thicker. This is one of those cut-and-try processes; it can’t be reduced to a chart of “if this much, use that washer.”
Once you have the washer stack the proper thickness, remove all of the brake and washers, degrease the threads, brake, and washer, and re-assemble (once dry) with Rocksett.
Torque up to top dead center. Leave the upper alone for a day. You have Loctite and Rocksett curing, leave them be. Check the assembly in an hour or less, and if you see any of the goo leaking out, wipe up the excess.
Optics for Your Mk12
Once the locking stuff has cured, you are ready to install the optics.
The scope for the Mk 12 is/was the Leupold Mk4, either the 3.5-10×40 M3 or the Mark 4 2.5-8×36. The Mk4 is no longer being commercially made, but you can, if you must have the absolute correct optics, have one made by the custom shop for you. Rather than do that, I opted for a more modern Leupold, the 3.5×10.
When the Mk 12 was being developed there were choices for scope mounts. However, since the top rail, rear sight and other gear came from A.R.M.S., then the scope rings did as well. These are 30mm, throw-lever, individual rings and bases, mounted where the operator finds most comfortable and useful, and allows for the use of other gear.
Put your scope where it works for you, and do not get too wrapped up in poring over photos trying to find the exact set of slots in the top rail “used by SEALs.”
The big advantage of the Mod 0 over the Mod 1 is the continuous top rail. You can mount the scope or other optics anywhere along the rail, and not have to deal with the gap between receiver and handguard that the Mod 1 presents.
Zeroing the Mk12
Where you zero it to depends on where you will be using it. If you are going to run through a 3-gun or multi-gun match with your Mk 12, well, good for you.
Zero for the distances that will work best in the match, and remember, most match organizers will put you in Open or Tactical Division if you run it with the suppressor on it. You’ll be running and gunning against the guys and gals with super-tuned competition rifles. Have fun.
If you will use your Mk 12 as a varmint rifle and hose prairie dogs, then again, zero at the distance most effective for your uses.
If you want to zero it “at the distance operators used,” well, I’ve got some news for you: there‘s the “book solution” and then there is the real-world solution.
Once an operator got to where he was going to be using his rifle, he figured out what worked best, adjusted, kept notes, and worked with it.
It’s your rifle, not the government’s, do what works for you.
Mk12 Use & Abuse
The Mk 12 got used a lot in Iraq and Afghanistan. As a precise bullet-delivery tool out to moderate ranges it was just the ticket. One example would be a team going into a village, not a large one, and putting a fire team with Mk 12 gunner on overwatch, on a hill on the outside. (Better yet, two of them, at a ninety-degree angle to each other, so you get as much coverage as possible.)
Having used magnified optics on the computer pop-up course out to 300 meters, a 10X scope makes a shot like that pretty much like plinking. Stretching it to 400 or 500 meters is a matter of knowing the drop and calling the wind, something in which a Mk 12 operator would have been well-schooled.
Beyond 500 meters, you really need a bigger caliber than the 5.56, as loss in velocity starts to become a real problem. The best ammo for use in this would be the M262 Mod 0 or Mod 1. That 77-grain bullet, by 500 yards, is going less than 1,700 fps and takes three-quarters of a second to get there.
But you can easily hit a 5” circle at that distance, once you know the drop, which can be pretty steep by then and still, a hit is a hit. With a 300-yard zero, your drop at 500 is 26.5 inches, and that’s a bunch to keep track of.
If you are a movie buff and a gun buff, then the movie Lone Survivor has Mk 12s used in it. It could also give you ideas about how to paint your Mk 12 once it is done, and what other added accessories might be correct.
A Last Note
If you really want a Mk 12 but find that building one is going beyond your abilities (heresy, in a book like this, but what are you gonna do?) you can always buy one. Yes, PRI and Bravo Company offer complete uppers. Well, complete except for the optics and mounts. And you can hit up Brownells for uppers or complete rifles. The price will be steep, but it saves time, and you have a ready-to-go, guaranteed rifle.
Editor’s Note: This excerpt is from Gunsmithing the AR-15: Building the Performance AR, available now at GunDigestStore.com.

Next Step: Get your FREE Printable Target Pack
Enhance your shooting precision with our 62 MOA Targets, perfect for rifles and handguns. Crafted in collaboration with Storm Tactical for accuracy and versatility.
Subscribe to the Gun Digest email newsletter and get your downloadable target pack sent straight to your inbox. Stay updated with the latest firearms info in the industry.


I just finished my version of the Mk12, I used a 15″ mlok handguard. I have built mine from scratch using a 80% lower and hand fitting my trigger group. I also hand fitted my upper to the lower giving me a very tight fit. The barrel that I used was a 223 wylde heavy profile with 1:8 twist. I used a A2 flash hider to finish the barrel. I am still trying to decide what sights to use.