
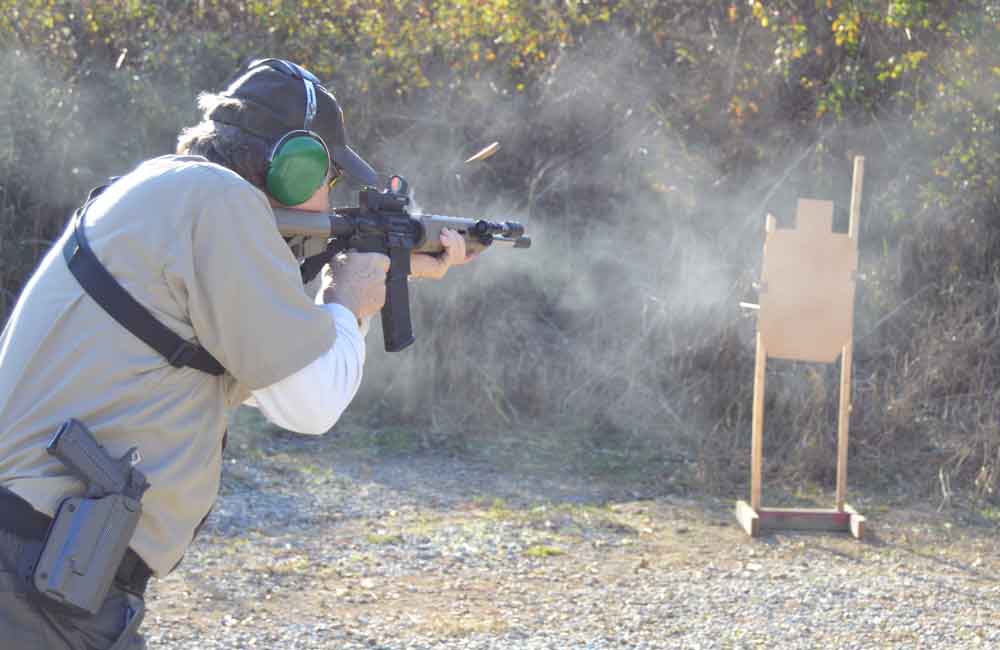
Given the ease of modification, there's no reason you should be satisfied with a stock AR. Here’s a quick look at how to make your rifle race ready.
How to doll up your AR for the 3-Gun game:
The AR platform has proved to be one of the most successful ever designed. Within the last 10 to 15 years or so, the growth of the black rifle has exploded as more and more shooters have discovered how versatile it can be.
Since there have been many words written on customizing the AR-15 for a variety of uses, I’ll demonstrate a few simple custom modifications that are easily performed to make the AR shoot more accurately and to improve the ergonomics. Make no mistake, there are literally thousands of potential combinations of ways to set up an AR-15, and the following is but a small sample.
Basically, modifying an AR platform really comes down to improving the accuracy, trigger pull quality, and ergonomics, or the way the rifle interfaces with the shooter. For this project, DPMS was kind enough to supply me with a basic flat top. The DPMS has a Picatinny rail on top of the upper receiver for mounting a variety of optics, and is a good base gun with which to start. There are many manufacturers of AR platforms, including Colt, Bravo Company, Daniel Defense, Noveske Arms, and many, many others.
Since our project gun is to be used for 3-Gun competition and not tactical use, per se, we want the most accuracy we can get — to handle the tough shots out to 500 yards or so. A quick call to Brownells and I was able to secure a match-grade stainless barrel chambered in .223 Wylde, which allows you to fire both .223 and 5.56 ammunition in the same gun. I also received a muzzle brake, Magpul forend, pistol grip and buttstock, JP Enterprises adjustable trigger, and two sights — a C-More red dot and the Ultra Dot. Both optics are extremely popular in competitive shooting circles. I also acquired a Blackhawk! single-point sling and Magpul mounting hardware. Finally, a Surefire tactical light rounded out the mods for this gun.
Getting Started
First, the handguard is removed by pulling back on the retaining ring and lifting up and out. Sometimes, especially with a new rifle, the retaining spring under the retaining ring is quite stiff and may require brute force to remove. A helper tool like a tape-covered flat screwdriver blade can help. (When I was a Small Arms Tech in the 82nd Airborne Division, we would work on dozens and dozens of M16s each week and many handguards could be a real bear to remove if the rifles were new. Older ones did not have this issue as the spring had much less tension.)
Next, the pistol grip is removed using the screw inside the grip, but be careful: the pistol grip houses the spring and detent that provide tension to the safety selector. Always have a drawer full of various small parts for the AR-15 rifle, since it’s easy to lose them, and they wear out as well. Springs and detents are cheap, and replacement ensures the gun works as it’s supposed to without delay. On the same note, the AR, as well as other firearms, uses roll pins. These are OK for one-time use, but once removed they should be tossed and replaced. When driven into a hole, the cold-rolled steel pin fits via spring tension. Once removed, however, it will never have the same gripping power as when new. So, always toss roll pins and replace them with a new one every time you drive one out of a firearm.
To remove the buttstock, loosen the latch and pull down to slide the buttstock off the buttstock extension. Remove the bolt and bolt carrier by pushing the rear receiver hinge pin from left to right, unlatch the carrier handle and pull the bolt carrier and bolt handle out. Set them off to the side. You’ll take the bolt out later. The test rifle didn’t have a front sight, so, with the handguard off, remove the gas tube and gas block by driving out the retaining roll pin with a 1/16th-inch punch. Always start driving out pins with a short stubby starter punch, then use the longer pin punch to drive out completely. This keeps the punch from needing when encountering a stubborn pin, which will happen at some point. Clamp the gas tube in the padded vise and slide it forward and off the rifle.
AR-15 Barrel Removal
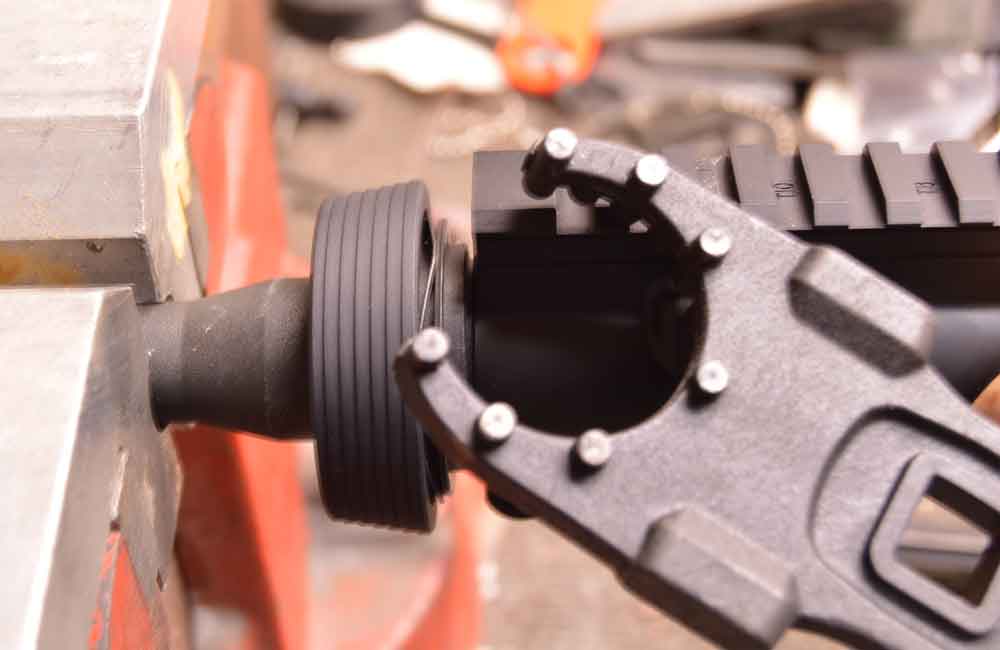
To remove the barrel, you’ll need a couple of special tools. The barrel block will hold the barrel securely, and the barrel nut tool will allow you to unscrew the barrel nut holding the barrel on. You may have to use a little bit of rosin on the vise blocks to keep the barrel from turning. Once the barrel nut starts to turn, unscrew it all the way off and remove the upper receiver. Since for this project we are using the same handguard mounting system as the original, and not installing a free floating barrel, keep the nut, spring and retainer and place them off to the side. Slide the upper receiver off of the barrel and set it off to the side as well.
Trigger Work
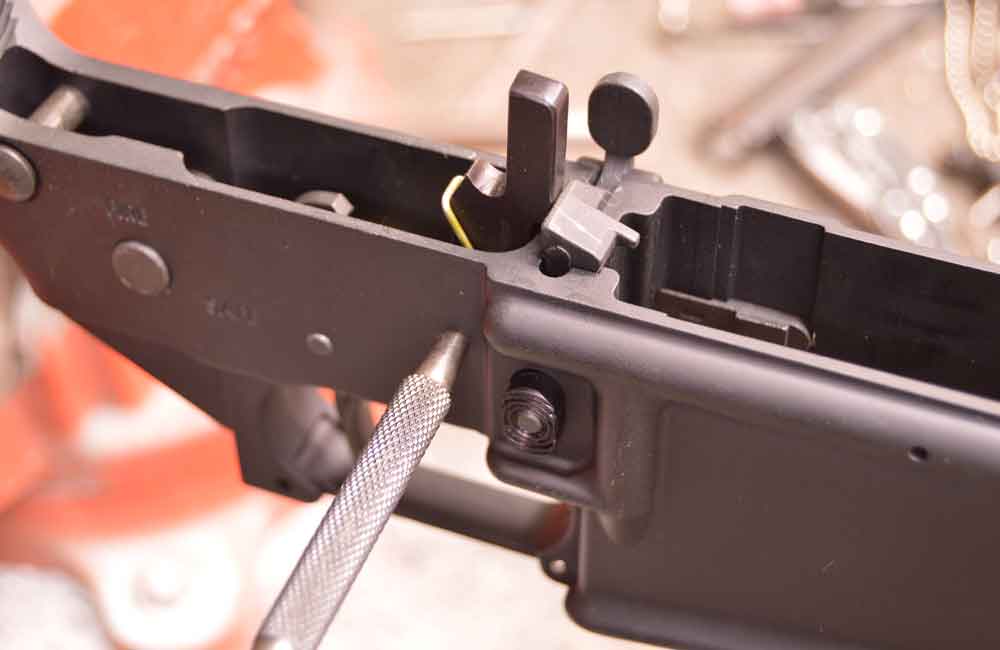
For the hammer and trigger, drive out the retaining pins for these two parts from either direction. Make sure you capture the disconnector that sits on the trigger as well. It’s spring loaded, although the spring should be captured by the trigger. The JP Enterprises trigger is fully adjustable for engagement and overtravel, and is an easy drop-in fit. It comes with an extended Allen wrench to make the adjustments, and will yield a clean, crisp trigger pull of about 3.5 lbs. Install the trigger with the disconnector by placing it under the safety selector, and driving the pin in from either direction. Replace the hammer with the hammer spring oriented correctly. The top loop goes behind the hammer, not in front. Push it down into the receiver and drive the retaining pin into place.
Always adjust the engagement first to make sure the rifle is safe, and then tweak the overtravel screw. JP Enterprises provides excellent instructions for installation. Once the trigger parts have been installed and adjusted, put a tiny amount of blue Loctite on the threads to keep the adjustments from moving during firing.
Once you have the trigger installed, check the engagement by holding the hammer back past the point where it engages the trigger; squeeze the trigger and release it, it should be captured by the disconnector. If not, you don’t have sufficient engagement. Once the engagement is set, adjust the overtravel screw to provide a firm stop just past the point at which the hammer is released by the trigger. For a competition or tactical rifle (or any firearms for that matter with an overtravel stop) do not set the stop too close, as dirt can get into the mechanism, preventing the firearm from firing. The trend now is to install modular trigger systems that have the hammer and trigger integrated into a single, drop-in unit, and there are several on the market from which to choose.
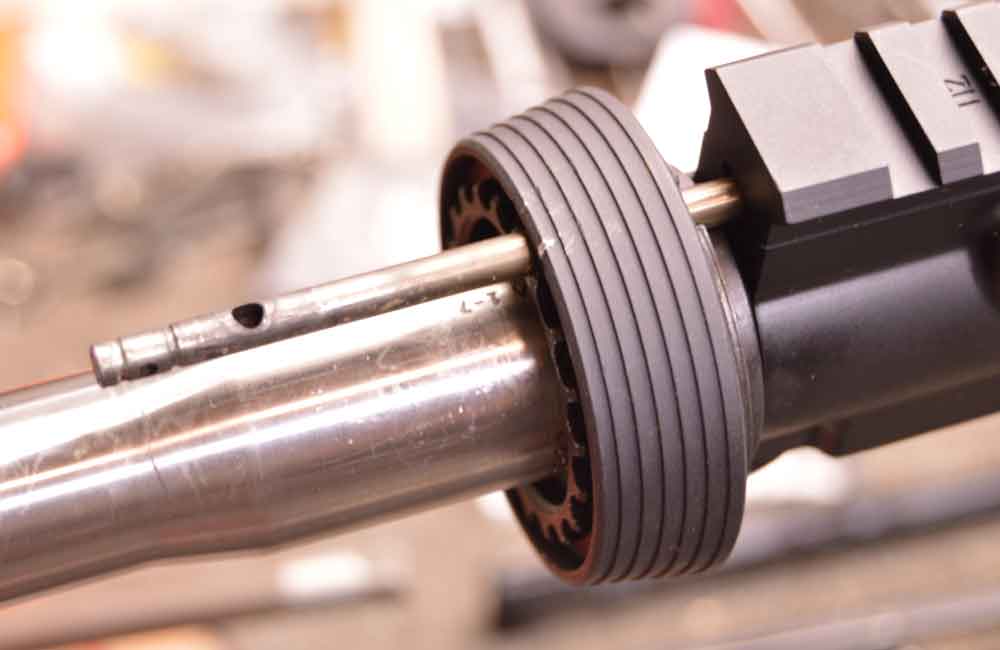
Installing the Match Barrel
The next step is to install the match barrel. Since we are keeping the original barrel nut and handguard retainer, simply install the barrel nut assembly onto the barrel, and slide the upper receiver on using the barrel nut wrench to tighten the barrel nut until the teeth line up so the gas tube will slip through the upper receiver and barrel nut assembly. Install the forend retainer cap and the gas block. This rifle is using a barrel that requires a mid-length gas tube and handguard assembly, so make sure you order the correct parts when building your rifle. There are three lengths; short, mid-length and extended. The barrel we used has fixed headspace, but you should always check for proper headspace in any new barrel with a correct GO gauge and the rifle bolt, with the ejector removed.
Once the barrel is installed, secure the gas tube with the set screws using blue Loctite to ensure the gas block stays secure. Now, install the muzzle brake, again with blue Loctite. The pistol grip is installed, along with the safety spring and plunger. The Magpul buttstock has a latch and a lock installed on it. The latch is pulled down, allowing the buttstock to slide onto the buttstock extension. When the buttstock is at the length you desire, the locking latch is squeezed, which locks it in place.
Optics


As mentioned at the outset, I opted for the C-More tactical railway model with an aluminum body and a click switch. I took the rifle to the range and put the rifle through its paces. Then, I brought the rifle home and switched to the Ultradot Match Dot. There are other sights out there that would be appropriate for 3-Gun from Leupold and Nightforce. Dot sights are superior for shorter range, while the Leupold rifle-type scopes work well at extended distances. I took the rifle back to the range and put about 300 rounds through it without issues. The AR platform is a great system because you can configure it in many different ways.
This article is an excerpt form Custom Gunsmithing for Self-Defense Firearms.

Next Step: Get your FREE Printable Target Pack
Enhance your shooting precision with our 62 MOA Targets, perfect for rifles and handguns. Crafted in collaboration with Storm Tactical for accuracy and versatility.
Subscribe to the Gun Digest email newsletter and get your downloadable target pack sent straight to your inbox. Stay updated with the latest firearms info in the industry.


")
")

")