This is the last of our three-part series covering shooting fundamentals for the CCW holder. These elements come directly from Tactical Pistol Shooting, by Erik Lawrence. The book is available at the Gun Digest Store and offers incredible insight and tips for better shooting.
Drawing a pistol is a four-part operation, but keep in mind that if you need to can start firing from Position Two. The proper draw is broken down into these four steps. Take a look.
Position One
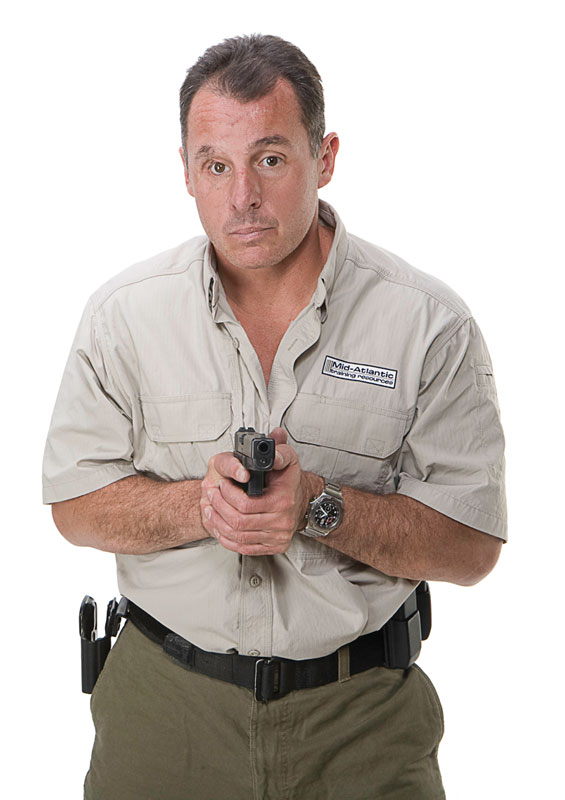
A threat is perceived and you decide you are going to draw and shoot, so you orient your stance towards the threat and begin your draw sequence. Quickly, your firing hand moves to form its grip on the pistol grip; this is the only chance to get a proper grip. Index with the web of the firing hand high on the backstrap (set your firing hand as high as you can on the backstrap), extend the trigger finger straight and then grip the pistol with the three lower fingers. Refer to Figure 6-1.

The thumb disengages the thumb break on the holster and then finishes forming the grip as you begin to pull the pistol from the holster. The non-firing hand is drawn to the body’s centerline and is open to receive the pistol with fingers extended and joined, oriented 45 degrees down. Move only what you must to accomplish these steps of the draw. Economy of effort and economy of motion allow you to do this quickly. Once you are comfortable with the correct step one, this step can be done as fast as possible as it is not a fine-motor function. This step is conducted at the fastest speed you can correctly do it.
Position Two
Your firing hand has its proper grip on the pistol and you draw the pistol from the holster. As soon as the pistol is clear from the holster, it is immediately pointed in the direction of the threat while moving to the centerline of the body to meet the non-firing hand. Refer to Figures 6-2.
The trigger finger can begin to take up slack in the trigger if you need to fire from the position of retention or an advancing
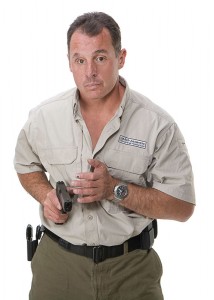
threat at close ranges. As soon as you are pointing the muzzle at the threat, you can take the pistol off safe. As you move to position three you may orient the pistol under your dominant eye to assist in picking up the front sight faster. Refer to Figure 6-3A. The speed of this step is also as fast as possible once properly learned.
Position Three
Your non-firing hand begins to complete the two-handed grip and the muzzle is directed toward your threat. In this position, the finger is still off the trigger unless you intend to begin shooting. If the threat is closing or taking offensive actions and is within in your ability range, you may begin to engage from this position as you complete your presentation. This is the preferred ready position, with your finger off the trigger. The upper body must be semi-relaxed; watch tensing your trapezoids. Refer to Figure 6-3. Also, do not hunch your head forward; keep it naturally erect to a slight bit forward (keep it comfortable).
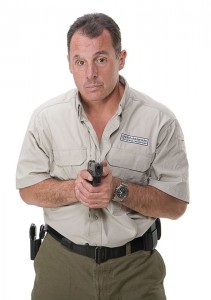
NOTE: From position three to four, the slack and tension are taken out of the double-action pistols. At full presentation is the point when the shot should break and fire to attain great accuracy and speed.
NOTE: The pressing of the hands and pistol forward from position three to position four is at a medium speed (allowing you time to press your trigger and acquire the sight picture desired). Smoothness must be emphasized to time the shot correctly at full extension—the trigger press, movement, sight alignment and sight picture all come together at full extension with a properly placed shot.
Position Four
This position is considered full presentation, and your most accurate shooting will be done from this position. Refer to Figures 6-4. If you have time, review your shooting fundamentals before the shot. Do not maintain this position for long unless the situation requires it. Optimum time is no more than six to eight seconds after your engagement. Once the engagement is complete, remove your finger from the trigger (only if the problem has been dealt with; remember to reset the trigger in your
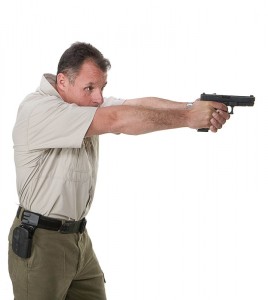
follow-through if the engagement is not complete) and take a breath in and exhale. Then scan and assess the situation; you should lower your muzzle one to two inches and look with three eyes (your two and your muzzle) by turning your head left and then right and then back to center. Actually see and analyze what is happening—you must turn your head (to the left, to the right, or wherever you need to look) as you look so you break the tunnel vision that is common in high-stress situations. When you bring the weapon back to position three, check the condition of your weapon (ensure it is in battery), decock and/engage the safety on your pistol, and then look over your shoulders to check behind you; this puts you in a good position if you must turn and engage or fight. To rest, go to the low-ready position or back to position three of the draw. Tactical Pistol Shooting provides real-world insight for anyone who carries a concealed pistol for self-defense. Build your foundation on solid fundamentals and follow the tips in the book to improve your training.
Don’t Conceal Your Curiosity: Dive Into CCW Insights
- Best Concealed Carry Gun [Field Tested]
- Best Concealed Carry Gun for Women
- Must-Have Concealed Carry Upgrades
- Best Concealed Carry Insurance – CCW Insurance Options
- Concealed Carry Optics – Red Dot, Green Dot, or Iron Sights?

Next Step: Get your FREE Printable Target Pack
Enhance your shooting precision with our 62 MOA Targets, perfect for rifles and handguns. Crafted in collaboration with Storm Tactical for accuracy and versatility.
Subscribe to the Gun Digest email newsletter and get your downloadable target pack sent straight to your inbox. Stay updated with the latest firearms info in the industry.

![Best Concealed Carry Guns In 2025 [Field Tested] Wilson Combat EDC X9S 1](https://gundigest.com/wp-content/uploads/Wilson-Combat-EDC-X9S-1-324x160.jpg)


![Best 9mm Carbine: Affordable PCCs [Tested] Ruger Carbine Shooting](https://gundigest.com/wp-content/uploads/Ruger-Carbine-Shooting-100x70.jpg)
![Best AR-15: Top Options Available Today [Field Tested] Harrington and Richardson PSA XM177E2 feature](https://gundigest.com/wp-content/uploads/Harrington-and-Richardson-PSA-XM177E2-feature-100x70.jpg)

That’s really informative advice however for someone that is carrying CCW, in position three, you have to use your non-firing hand to slightly lift up your shirt in order to properly grasp your firearm with your firing hand.