
Screwing parts on guns requires finesse and attention to detail, and that means you need to understand torque.
Assembling guns and optics is one of those things that seems to generate a lot of controversy. There are some right ways and some wrong ways to do things—and this, of course, has led to people performing some rituals bordering on voodoo. Everyone seems to have their own way of doing things.
Assembling bolt guns, AR rifles and optics isn’t magic—though there are some considerations that you’ll want to make as you go about the process. The main factor to consider is proper torque on your parts and screws, something that has eluded many people over the years.
The Mystics
Gun culture has bred some very interesting subcultures over the years, and many of these subcultures have become much more intense than just circles of hobbyists. You end up seeing this much more commonly in the old-world way of doing things, where we were working with a limited amount of knowledge and a limited number of available guns. This isn’t to say that the old timers had it wrong; they just didn’t have standardized parts and a massive aftermarket that peer-reviews itself against consumer demand to deliver more and more cutting-edge products.
Yet, the lingering effects of these old days remains.
If you wanted a custom hunting rifle, the fashion of the day was to modify military rifles, mainly Mauser, Enfield and Springfield variants. These guns were cheap, ammo was plentiful, and above all they were reliable. The military features were honestly never a problem for accuracy. I personally own and fire many guns over a century old and in full military stocks and had shot in the CMP National Matches at Camp Perry for over 20 years. The limiting factors are scope mounting and iron sights, not necessarily the potential mechanical accuracy of the rifle.
Nevertheless, the gunsmithing boom of the post-World War II era saw most of what we today call “Fudd Lore” propagate.
Our modern day has seen the end of many so-called necessary processes for both guns and optics: bedding actions and lapping scope rings are functionally unnecessary. Because most of our barrels for pistols, bolt guns and AR platforms come pre-headspaced and ready to use out of the box, we have the luxury of needing a few tools to accomplish our own “custom” builds to suit our needs right on a bench top.
However, there are still tools that the tasks at-hand today demand, namely applying consistency in force and torque for assembly. In this modular era, you still need to have skill to pull off some of these things, and doing it wrong can cause a fair bit of damage to your gear.
Don’t Get Screwed (Literally)
Most rifles today are assembled with several threaded parts that require a knowledge of torque to install correctly. The AR rifle, for instance, has screws all over it, from grip screws to the buffer tube, muzzle and upper receiver. Because the AR is largely aluminum or some blend of metal incorporating it, we need to be really careful to not cause damage to it, as this is not exactly hard metal and is quite easily damaged. Yes, it is fully possible to assemble an AR too loosely, but you’ll notice the wiggle right away.
The only part that I’ve seen come loose more than a handful of times is the buffer tube castle nut. The part that I’ve seen installed far too tight is the barrel nut. People get really upset with this part and sometimes try to force it to index. Don’t do this. There are companies that make shims, and it is very possible to shear the front off of your upper.
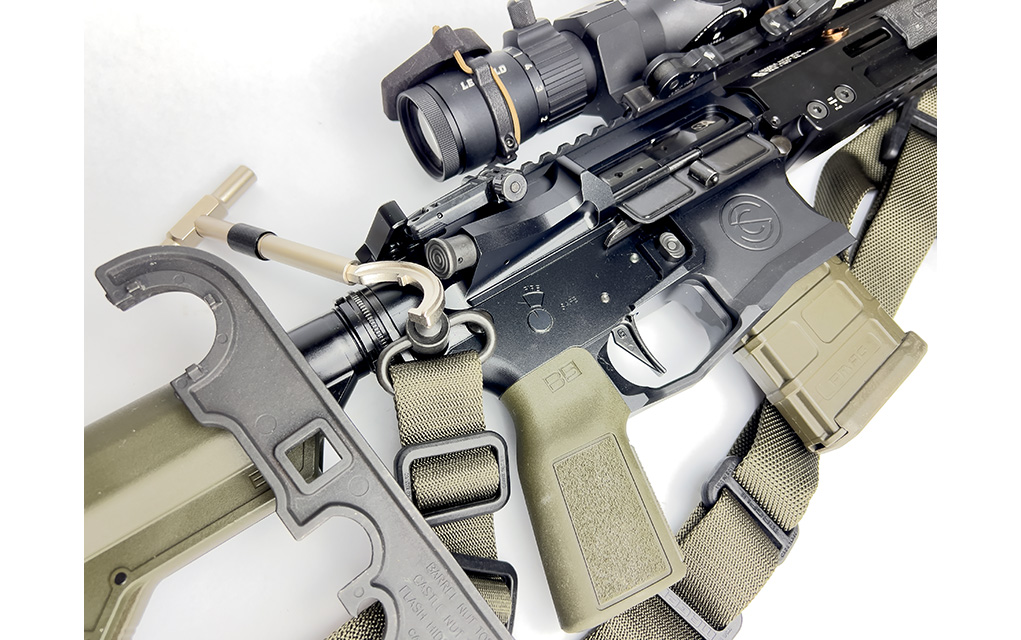
In my many years of building AR platform rifles, this is an area in which I have made mistakes. Making the barrel nut tighter doesn’t mean you’re going to make your upper more secure; in fact, you’re putting a lot of stress on a relatively thin piece of metal by cranking too aggressively. The AR barrel is already headspaced to the barrel extension, not the upper receiver. The barrel nut simply holds it in place.
Likewise, the other parts on the AR don’t need to be adjusted with a cheater bar: You don’t need to get most of the threaded parts over hand-tight. For instance, there is no reason to apply 100 ft-lb to the grip screw. When I build an AR, I never apply more than 65 ft-lb to anything. You can break or damage parts very easily, and to make it worse, the harder you go the more deformed the threads can get, making a rebuild or parts swap difficult.
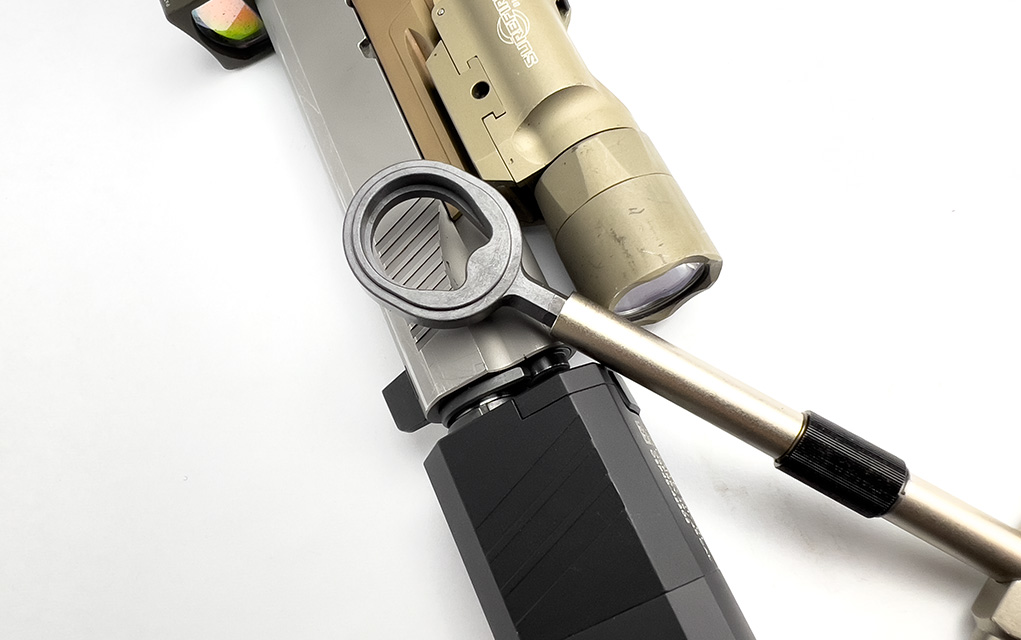
Many people don’t realize you can very easily apply, potentially, hundreds of pounds of force on a screw with just your hands. Crushing things together deforms them, and this will come into play far more as you keep reading.
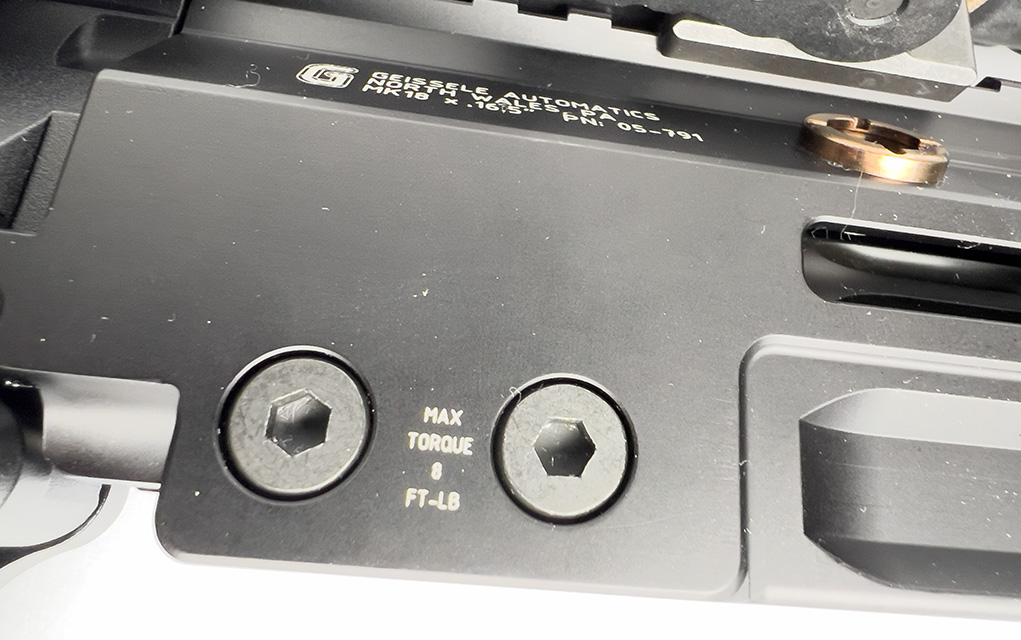
People who are unfamiliar with guns think they are indestructible, but in reality many guns and optical assemblies are quite delicate. You can damage a $2,000 rifle by over tightening the action screws. If they are specced out for 65 pounds, don’t make it 200 just to make it stronger—that doesn’t work that way.
In this article, we see an MDT chassis, and it comes with explicit instructions to tighten action screws to 65 pounds. When you tighten to this amount, you can make note that you can obviously go a little more, but don’t. These are hardened steel screws going into a hardened steel action, sandwiching an aluminum chassis. You can, in fact, create crushing damage to all parts involved by going too hard. If things are too loose, you’ll induce damage by simply beating the parts to death under recoil. Scopes are a big one here; a loose scope is typically going to be a broken scope. Withstanding recoil is what they are designed for and should have no movement front-to-back.
Bolt It On
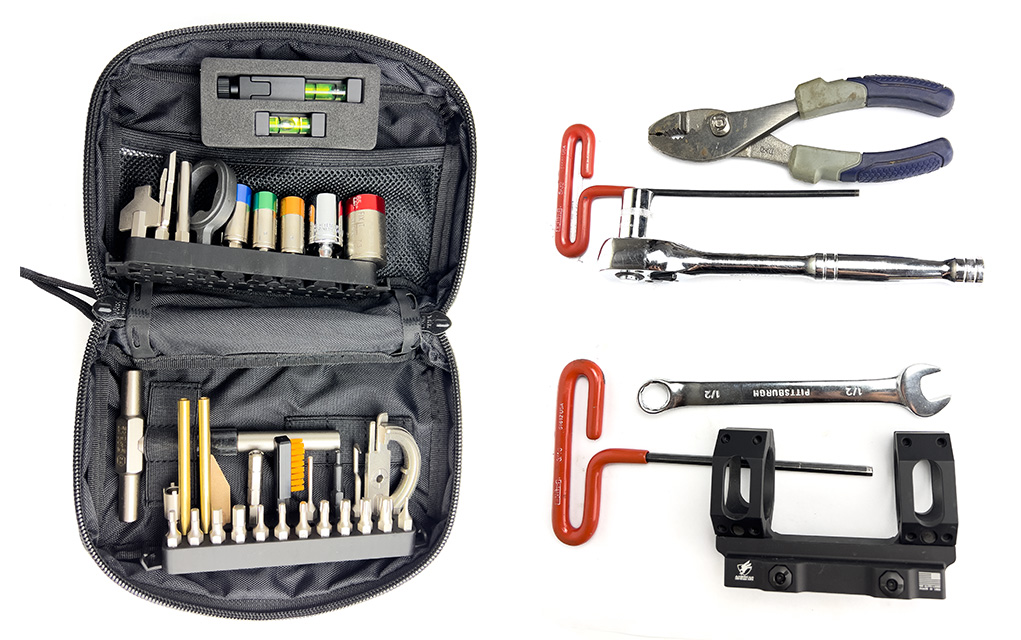
Bolt-action customization is a growing trend for home builders. Where this used to be the territory of the AR, many bench tops are now equipped with barrel vices for installing barrels onto receivers. Several companies offer pre-fit barrels that work with their own receivers and some aftermarket as well. The three main brands I use are Faxon, Aero and Zermatt.
It’s much easier to get involved in the bolt gun trend than ever before. The main accessory you’ll need is a barrel vice, which will bolt to your bench and then clamp around the barrel. I use an off-the-shelf model from Brownells with wooden inserts.
The next things you’ll need are action-specific wrenches. Usually, the company that makes the action has their own wrenches. For instance, I have one each for Faxon and Aero that insert into the receiver, allowing the use of a ratchet to turn the action at its lugs. Do not ever attempt to put a screwdriver or file to pry into the ejection port and tighten it down—this is dangerous. You’d be surprised at how easy it is to bend or break a receiver.
Most barrels aren’t held on with a million pounds of force either, usually just around 65 to 70 pounds. This might seem light, but we’re dispelling the old knowledge at the same time as we’re making progress. The old-world guns were sometimes cryogenically bonded with their barrels, meaning the barrels were installed on the receivers after being essentially shrunken in a deep freeze and then timed to the action. As it heated up, it swelled into the receiver … thus bonding them. Getting these barrels off an action was usually destructive to the barrel and not great for the actions either.
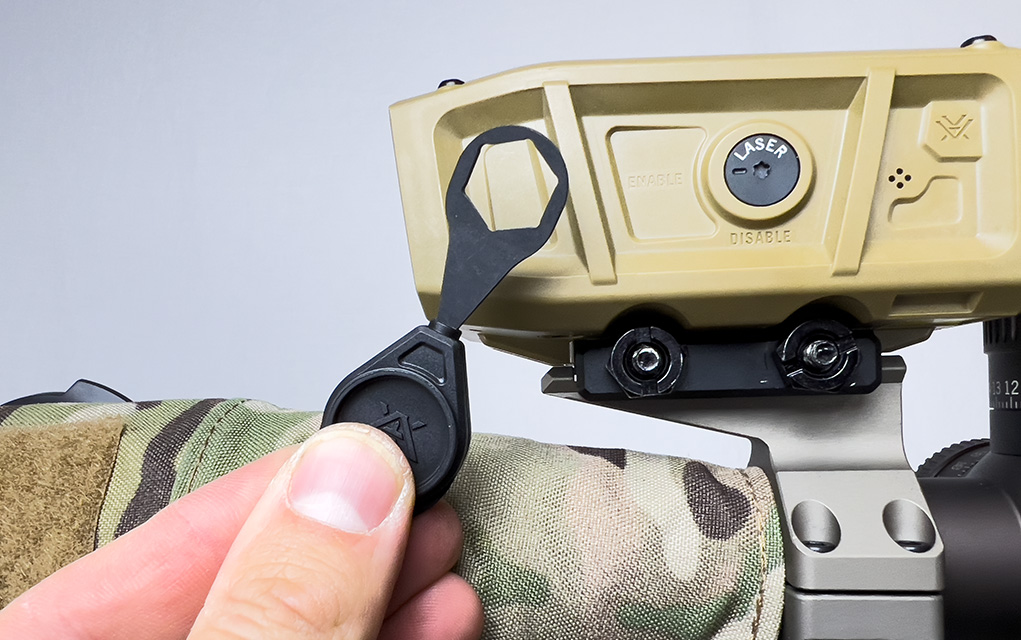
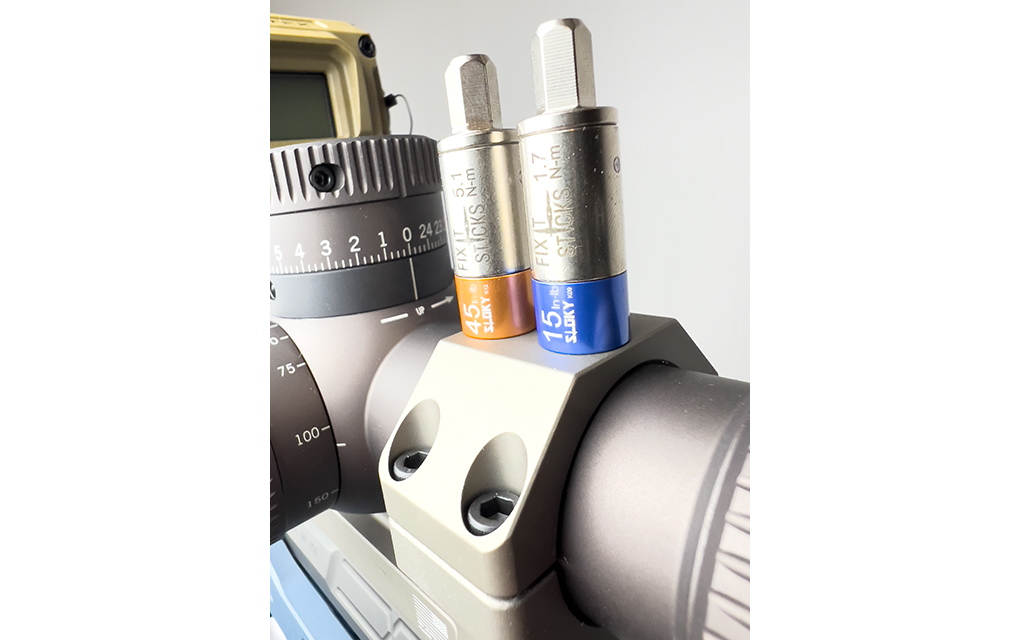
About half of my actions have integral optic rails machined directly in. Others like legacy Rem 700 and even new Zermatt actions have a separate scope rail. This isn’t a big deal, but it does also come with some interesting problems. These screws are often very delicate and easily damaged. The very small size and fine thread makes for a bad day if you strip them out. Being careful and closely following recommended torque settings is critical here. This is the one area on a bolt gun that I do use strong Loctite, but that is a personal choice, and I tend to leave my optic bases in place once they are installed. I treat this as a permanent situation. You will absolutely want to use a torque limiter even if you are working with Loctite.
Scope Mounting Problems
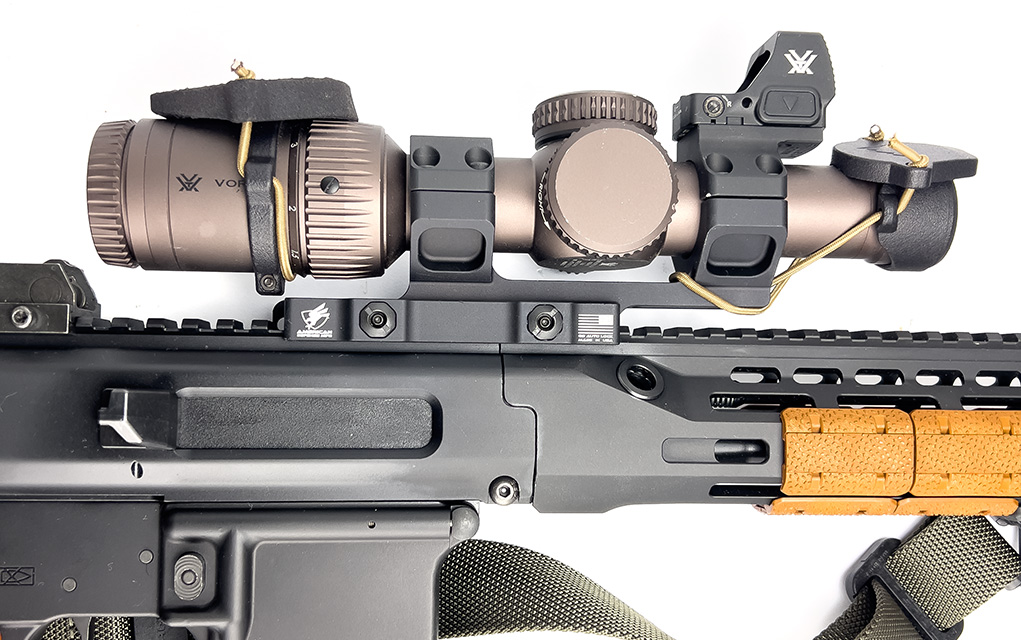
Scope mounting should be done from the ground up. There are schools of thought that say otherwise, but I treat it as radiating from the receiver. Once your base is installed, you need to install the rings to the base—but only loosely. I typically set my scopes where I want on the rail and move the rings to where they look and function best. The ring nuts should be on the same side. Then, I put the ring caps on and again only loosely tighten them to where I can still move the scope to level it. Next, I push each ring forward in its rail slot and tighten them down to recommend poundage. After, I level and finalize placement of the scope and again follow recommended poundage to slowly tighten each screw down. I only do one ring at a time to prevent excess movement. Do not try to “crush” the rings down.
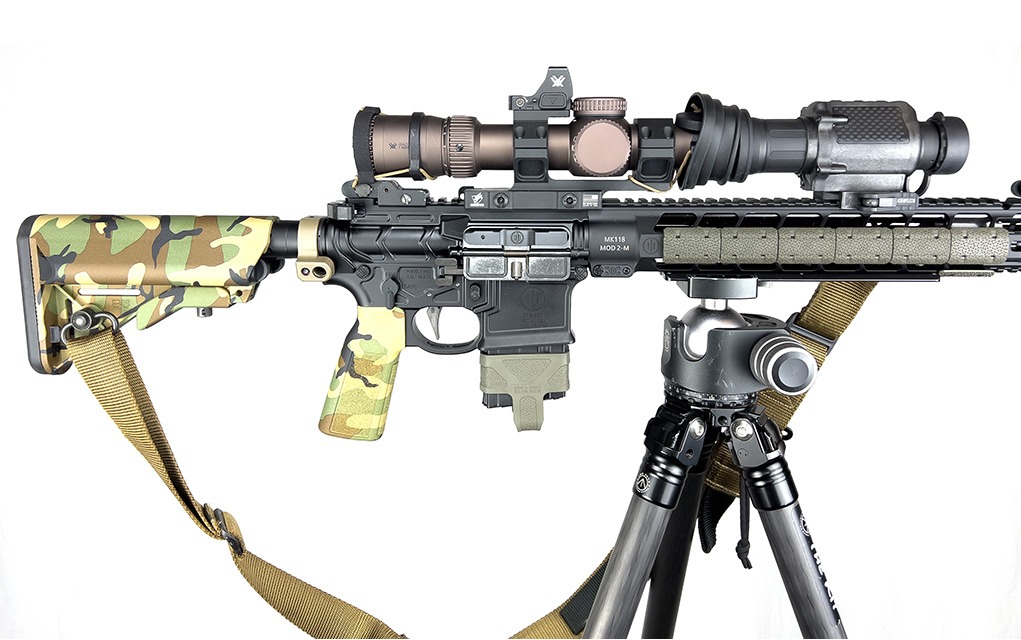
If you’re using a mount, the same thought processes apply, but you’ll want to install and tighten it to the receiver first, be it with QD levers like on my ADM mounts here or classic nuts like on the Badger Ordnance. I again repeat my ring cap steps after leveling it out. To make things faster for myself, I use an old forend on a tripod to create a perfectly flat, uniform plane for all my QD and one-piece mounts. This has bubble levels all over it and allows me to quickly get a reticle leveled without having to try to put levels on my guns. This is a uniforming method that works really well. All you need is a tripod, little ARCA plate and an AR forend with some rail-mounted bubble levels.
Play It Safe
The main takeaway you should get from this rambling prose is to take it easy with your gear and follow recommendations. Under-tight screws create unsafe situations, loss of accuracy and damage to parts. Over-tight parts are prone to breakage, inconsistent accuracy and damage during both assembly and disassembly.
The middle road here of getting it right is still an art. Sure, some barreled actions may shoot better at a higher level of torque, but don’t assume that you need to go from 65 pounds to 130 just to make it “better.”
When it comes to torque, more is rarely better. Follow the recommended specs on your parts and enjoy the pleasures of building.
An Aside On Loctite
I get asked a lot about Loctite. A number of thread lockers are out there, but Loctite is the most well-known brand, and I think the best. That said, if you want to seriously damage your guns, start a Loctite crusade. Not every part needs thread locker, and in many cases, people seriously overestimate how few times a properly fitted screw will start to loosen.
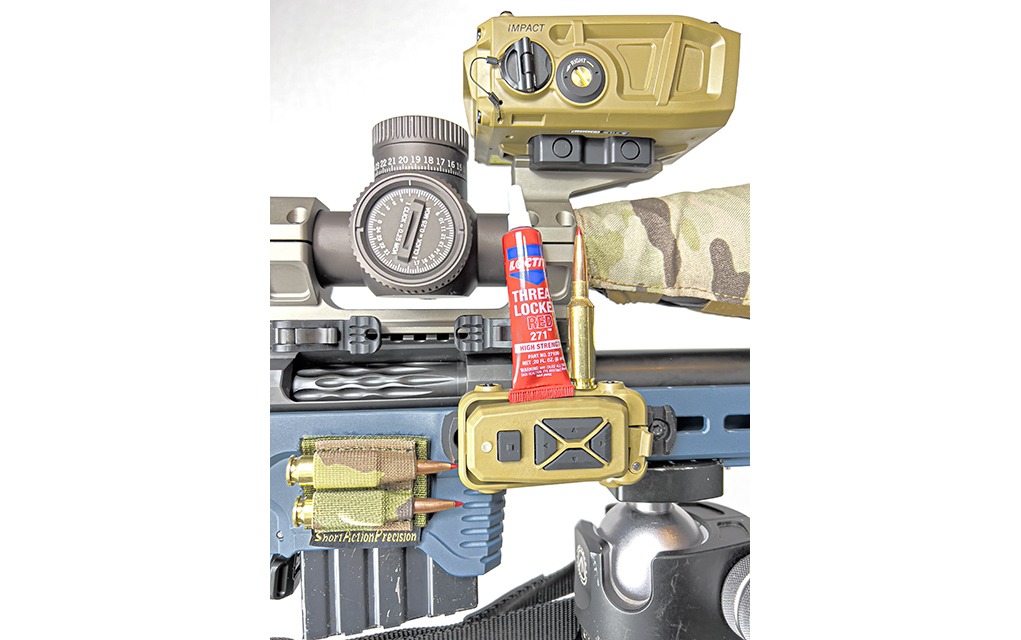
I use Loctite Blue on many parts that are not under heat stress, such as action screws on bolt guns and on occasion a minor dab on ring cap screws, but this is rare. Loctite Red is one that I use only on suppressor mounts and receiver screws for scope mounts I absolutely don’t want moving or being removed. I use Loctite Red on my suppressor mounts because I don’t want to have my mounts come off with my cans, simple as that.
I never use Loctite of any kind on suppressors or anywhere on an AR except installing a muzzle device that will be interacting with a suppressor. Never use it on a bolt-action barrel or on an AR barrel nut. You need heat to get the threadlocker to soften, and the metals used in these places shouldn’t get exposed to a torch.
Play it safe and, if you have a doubt about threadlocker, don’t use it.
Editor’s Note: This article originally appeared in the July 2025 issue of Gun Digest the Magazine.
More On Tools & Gunsmithing:
- Tales Of Woe: Are You Making These Gunsmithing Mistakes?
- Gunsmithing Tool: Real Avid Smart Drive 90
- 11 Essential Gunsmithing Tools To Have
- Avoiding Common Gunsmithing Mishaps

Next Step: Get your FREE Printable Target Pack
Enhance your shooting precision with our 62 MOA Targets, perfect for rifles and handguns. Crafted in collaboration with Storm Tactical for accuracy and versatility.
Subscribe to the Gun Digest email newsletter and get your downloadable target pack sent straight to your inbox. Stay updated with the latest firearms info in the industry.


All the emprical references to torque in this article seemed tp be in terms of ft-lbs. Were at least some of these values supposed to be inch-lbs.? Foot-pounds are something like 12 times more torque. I can’t imagine 65 ft-lbs being applied to a screw…but maybe I’m missing something here (?).