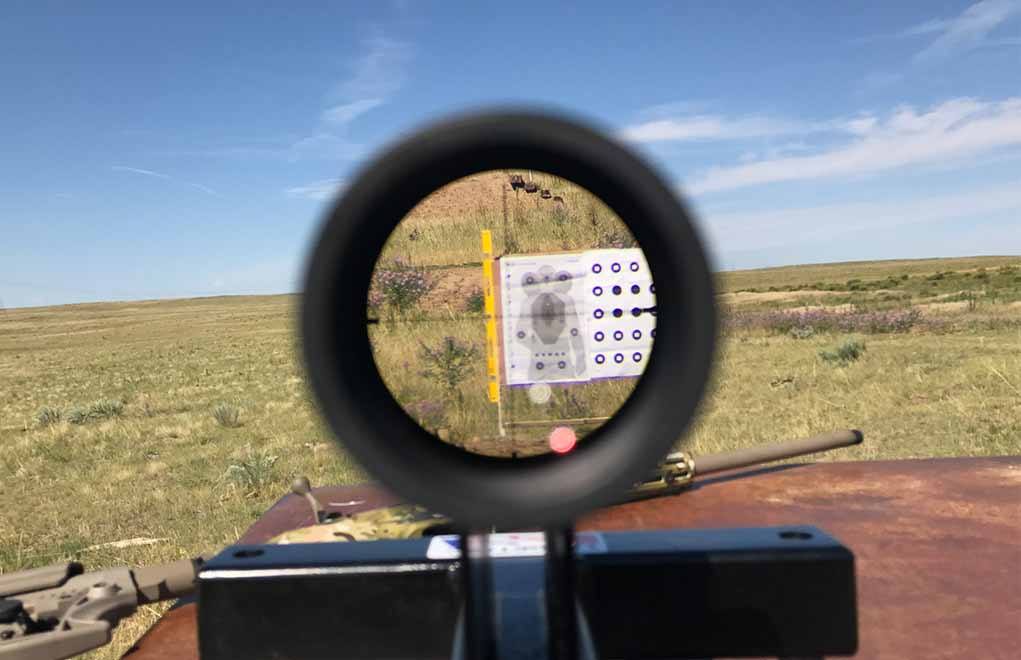
Have you tested your riflescope for tracking accuracy lately? You should.
Riflescope Tracking Test Checklist:
- Tall-target test your scope, regardless of its cost.
- Use a 24-inch-tall target, and 36 inches is better.
- The non-firing method is preferred.
- Secure the scope to minimize any movement.
- Record the values in your databook.
- Fix the errors in your software.
Riflescopes, regardless of how much money you spend, are the weakest link in the shooting system. Why? Well, it’s mechanical and often only tested in small batches back at the factory. Errors in scope adjustment are far more common than people realize.
In today’s “precision shooting economy,” less than $1,500 spent on a scope is considered the low end. Thanks to a steady training schedule, we see a lot of different setups across a wide variety of optics. In other words, we have experience. It’s typical to see a 2 percent error factor in scopes at or below this price point, and that has a cascading effect on accuracy results. If you’re using any ballistic software, this is your most significant point of failure when the ballistic curve does not line up with your rig.
Testing your scope is just as crucial as zeroing your rifle, and you need distance for the errors to appear because we’re dealing with angles. The more you adjust your scope, the farther the point-of-impact will move from the starting point. Because of this angle, we need for the errors to grow enough to be noticed and assessed.
The Tall Target Test
I highly recommend box testing your optics across 100 percent of the usable travel, and to perform the box test with a minimum of 24 inches of adjustment: That’s as small as you want to build your tall target.
There are two common methods of box testing: the live-fire method, and the non-live fire method. They do the same thing, but one is subject to the system’s ability to accurately group the rifle. If you’re typically shooting a 5/8-inch group at 100 yards, then that means you need the errors to be larger than your group size, which is one of the reasons why I use the non-live fire method to test our scopes.
You need a tall target — again, something more than 24 inches. You’ll also want to use a level (I recommend at least a 4-footer) and a Sharpie. I highly recommend you build this target at home and then bring it to the range.
Using the level and Sharpie, draw a straight line the maximum distance possible, from top to bottom, directly down the middle of the target. Thirty-six inches is a great value to use because that measures 10 mils with mil-based scopes and 36 inches with an MOA scope. You also need a starting point at the top of the target and a defined ending point at the bottom.
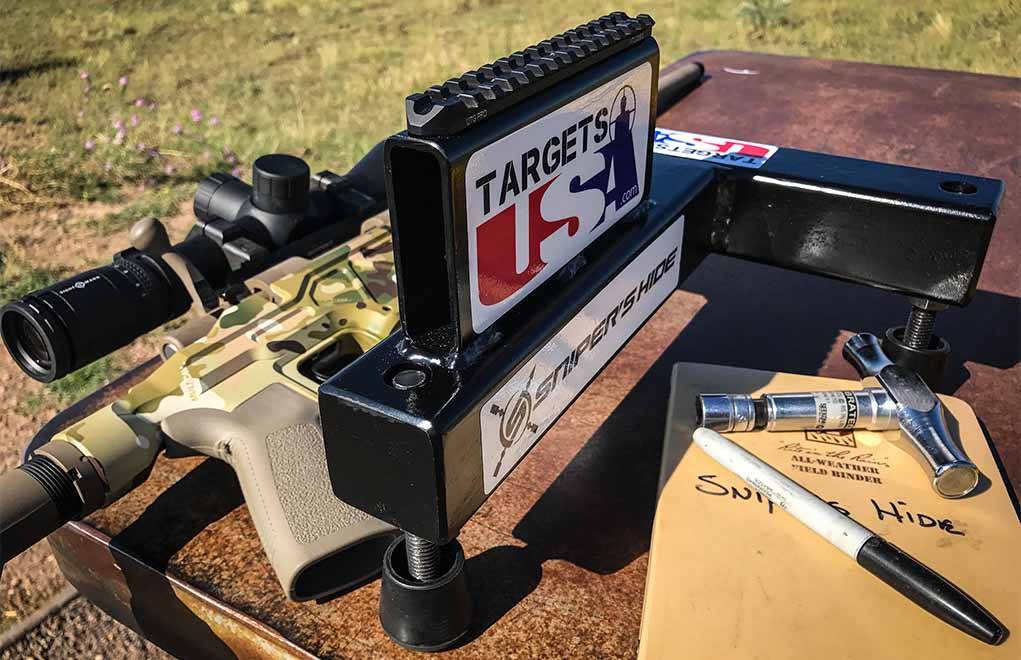
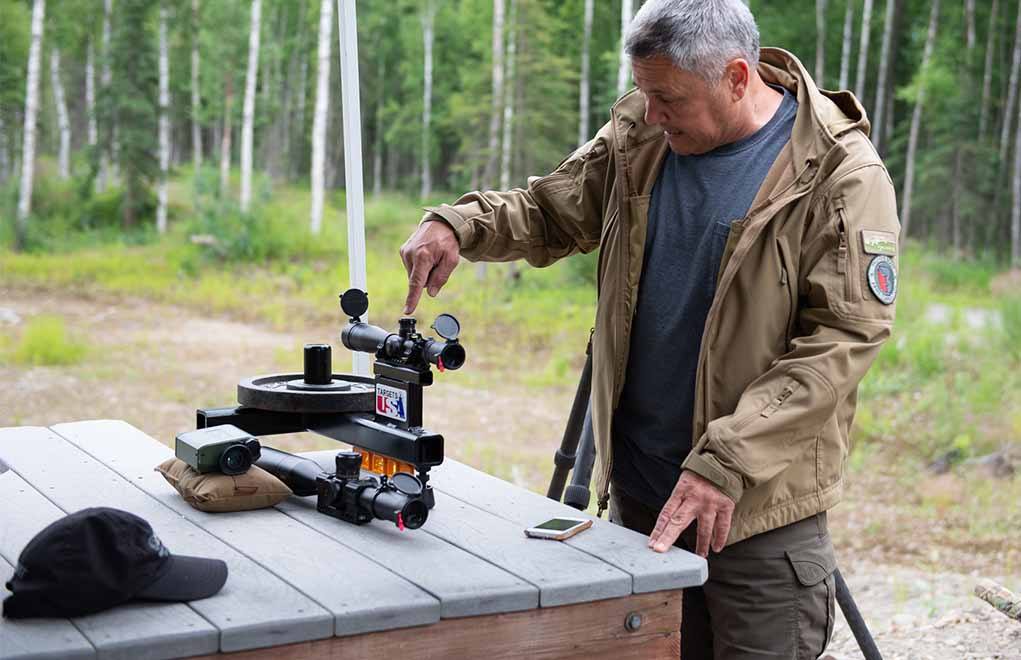
I highly recommend the optic being taken off the rifle and mounted as securely as possible. I designed and use a custom scope-tracking tool that weighs 30 pounds, so the riflescope doesn’t move when being adjusted. Many shooters have a spare mount that’s been attached to a platform or and I-beam to stabilize the optic.
With the scope’s reticle placed at the top of the tall target for testing, the shooter will move the elevation up a set value, which will bring the reticle down. With the scope securely locked in place, you can also monitor the travel of the reticle to make sure it’s not curving off the vertical line. You then compare the travel of the optic to the travel observed on paper. Did the scope track accurately across the entire adjustment range? Do this more than once to make sure you’re not missing anything.
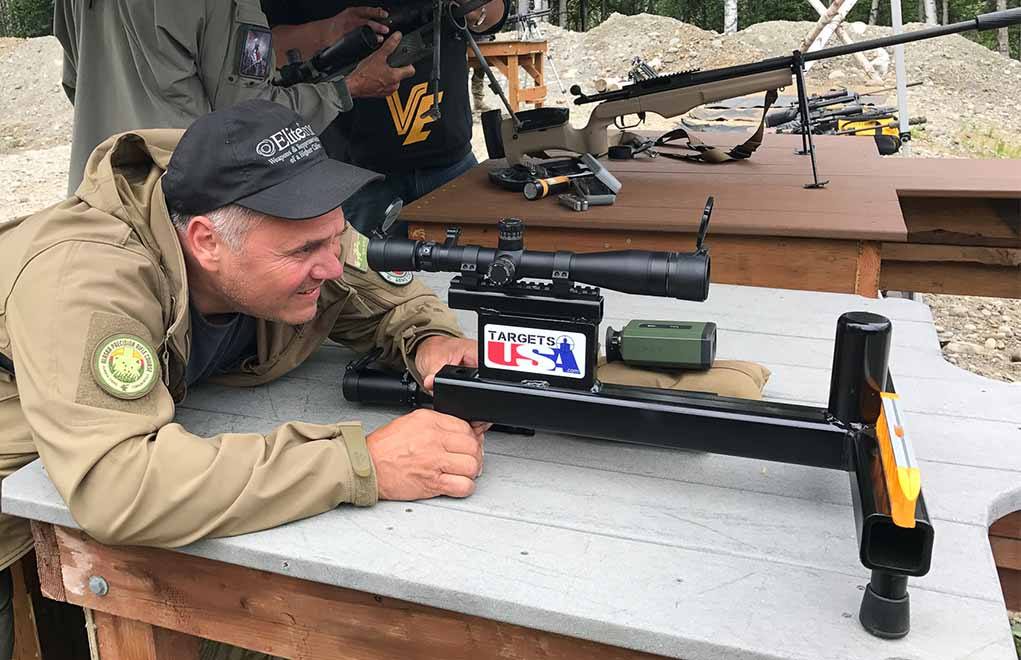
And be sure to adjust your parallax properly. A parallax error is a place where the offset can and will bite you. With the scope off the rifle, you will have a floating cheek weld. Keeping the reticle properly on target will require a perfectly adjusted parallax knob. Don’t overlook this step.
Testing With Live Fire
The firing method works, too. You hold a central aiming point and adjust the scope up. By using the same aiming point and adjusting the scope turrets, the bullet impacts should track along with the line drawn on the target. It’s easier, but it’s not as accurate because of system errors: shooter error, movement, etc. You can also pick random points on the paper with the reticle, dial to them and make sure you impact where you dialed via the central aiming point. It’s a fun little drill to place random dots on the paper, read the reticle and then shoot for impact.
![]()
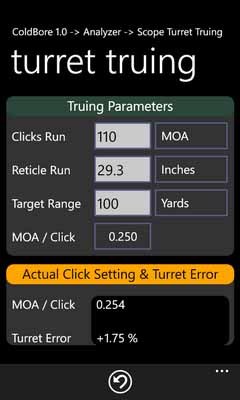
For any drill, the distance from the target to the turrets should be a perfect 100 yards. You can also work in meters, but make sure the distance is correct. Public ranges are not always accurate, so trust but verify when checking the range value. If you’re off a little bit due to the range, you can fix it in the formulas. In fact, I use software to check my tracking: Both ColdBore and Field Firing Solutions have utilities to do the work for you.
More Long-Range Shooting Info:
- Buying the Perfect Precision Scope
- Ballistics Basics: Initial Bullet Speed
- The Effects Of Air Temperature On Bullet Flight
- Mils vs. MOA: Which Is The Best Long-Range Language?
If you do discover an issue — and as I said, 2 percent is pretty standard — you can easily account for this in your software. A 2 percent error will be considered spec by the manufacturing company, so don’t waste your time with customer service. However, if you find errors that measure 5 percent or higher, send it in for a fix.
Setting A Standard
When I review any new scope, I test tracking each trip to the range. It’s important to see if any changes appear. I can also follow along with my dope because the rifle and ammo combination should not change. If my data has consistently shown that I need 7.2 mils to reach at 1,000 yards, and suddenly with the same rifle and ammo combination I need 7.4 mils, the scope would be my first check.
And remember: We want data. The better the records we keep, the more accurate we will be downrange.
Editor's Note: This article originally appeared in the February 2019 issue of Gun Digest the Magazine.
Next Step: Get your FREE Printable Target Pack
Enhance your shooting precision with our 62 MOA Targets, perfect for rifles and handguns. Crafted in collaboration with Storm Tactical for accuracy and versatility.
Subscribe to the Gun Digest email newsletter and get your downloadable target pack sent straight to your inbox. Stay updated with the latest firearms info in the industry.

![Best Concealed Carry Guns In 2025 [Field Tested] Wilson Combat EDC X9S 1](https://gundigest.com/wp-content/uploads/Wilson-Combat-EDC-X9S-1-324x160.jpg)


![Best 9mm Carbine: Affordable PCCs [Tested] Ruger Carbine Shooting](https://gundigest.com/wp-content/uploads/Ruger-Carbine-Shooting-100x70.jpg)
![Best AR-15: Top Options Available Today [Field Tested] Harrington and Richardson PSA XM177E2 feature](https://gundigest.com/wp-content/uploads/Harrington-and-Richardson-PSA-XM177E2-feature-100x70.jpg)
