Tired of venison jerky that's a chore to make and tastes like cardboard? Here's the absolute best venison jerky recipe. It's simple and is made in the oven.
 The world has you convinced that venison jerky needs to be a gristly jawbreaker of edible cardboard. That the best venison jerky recipes must involve a smoker you'll use once a year, a dehydrator in pieces somewhere in the basement or an impossible-to-clean oven rack. That unless you nick your thumb with a knife while filleting venison down to the width of a toothpick, you're doing it wrong.
No, friends, the world is wrong.
The Best Venison Jerky Recipe
The following is what I believe to be the absolute best venison jerky recipe. You might call it “nugget-style venison jerky” or “steak-style venison jerky.” I'm calling it “Living Ready style venison jerky.”
Step 1: Prep the Cuts
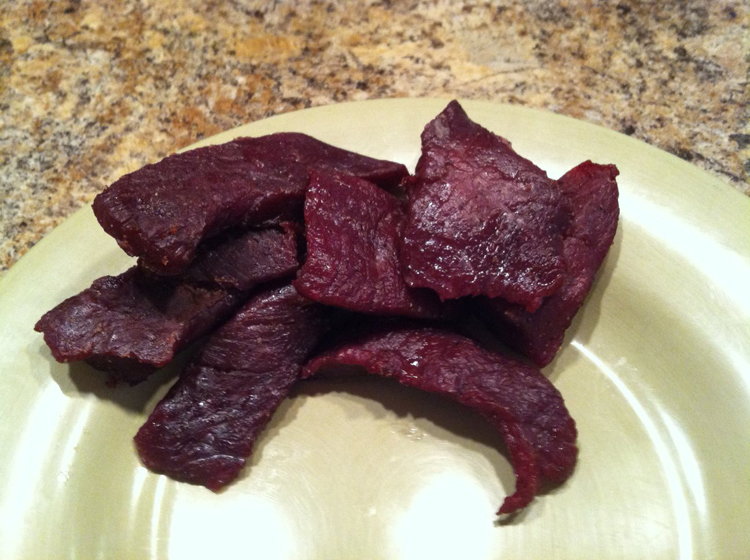
Use a sharp knife to cut chunks of venison about the size of your index finger. There isn't an exact science, but do keep the cuts under a half-inch thick. The cuts don't need to be uniform, but it helps.
Step 2: Salt Soak
Place the venison cuts in salted water for 24 hours to draw out the blood. This step is easy to overlook, but it keeps the jerky tender.
Step 3: Find the Cure
Buy a bag of commercial curing mix, available at sporting goods stores (it looks like regular salt). It's important the mix contains either sodium nitrite or sodium nitrate. It can be pre-seasoned or unseasoned. If it's unseasoned, buy a dry rub to combine with the cure.
Don't like sodium nitrite/nitrate? You're not going to have much luck with this venison jerky recipe. These agents of preservation mean the difference between tender, flavorful jerky and dry steak chunks as appetizing as poker chips.
Step 4: Making Magic
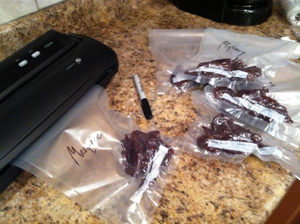
Remove the venison cuts from the salt soak. Place them in a sealable, plastic freezer bag and mix in the cure (including dry seasonings). Coat the cuts, seal the bags and let it all sit in the fridge for 24 hours. Behold the power of chemistry in action as the venison transforms from mere meat to pre-dried jerky.
 Step 5: Head to the Oven
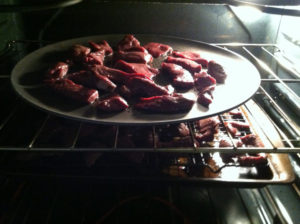
Preheat the oven to 200 degrees. Place the venison cuts on a pizza pan with holes in the bottom or on a wire rack over a cookie sheet. The idea is to allow airflow underneath the pieces.
Step 6: Wait 5 Hours
Cook the venison cuts in the oven at 200 for five hours. Flip each piece at the 2.5-hour mark.
Final Step: Eat Up
Have a bite after the jerky completely cools. You'll understand why this is the best venison jerky recipe of all time.
 Because this jerky is larger and softer, it's much more versatile than the standard strips. Here are some possible uses:
- Sandwich meat (especially Reubens)
- Filling in wraps
- Chopped into stews
- And, of course, eating as-is

Next Step: Get your FREE Printable Target Pack
Enhance your shooting precision with our 62 MOA Targets, perfect for rifles and handguns. Crafted in collaboration with Storm Tactical for accuracy and versatility.
Subscribe to the Gun Digest email newsletter and get your downloadable target pack sent straight to your inbox. Stay updated with the latest firearms info in the industry.


![Best Concealed Carry Guns In 2025 [Field Tested] Wilson Combat EDC X9S 1](https://gundigest.com/wp-content/uploads/Wilson-Combat-EDC-X9S-1-324x160.jpg)


![Best 9mm Carbine: Affordable PCCs [Tested] Ruger Carbine Shooting](https://gundigest.com/wp-content/uploads/Ruger-Carbine-Shooting-100x70.jpg)
![Best AR-15: Top Options Available Today [Field Tested] Harrington and Richardson PSA XM177E2 feature](https://gundigest.com/wp-content/uploads/Harrington-and-Richardson-PSA-XM177E2-feature-100x70.jpg)

Why that long in oven i do it from start to finish in one hour. Lowest temperature set on broil oven door proped open about 2inches.. turn after 30.. minutes
If you spend your time harvesting venison as a healthy meat why add nitrates as they have been associated with certain types of cancers. To each his own though. My belief is keep it natural, watch your dehydration Temps, consistent thicknesses and jerkey will turn out great.
I get everything in the recipie but could you elaborate on the salt soak part of it?