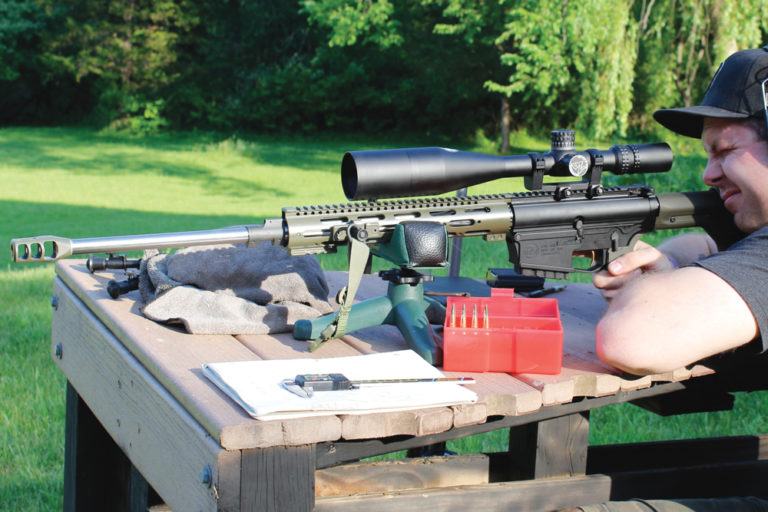
- You can get tack-driving accuracy from match-grade AR rifles, but attention to detail in reloading is still necessary.
- Some bullet crimp may be necessary; test your first rounds by hand-cycling a few rounds through the action to see if bullets are getting pushed in.
- With careful reloading, one-hole sub-MOA accuracy is achievable in the AR-15 and AR-10 platforms.
Can handloading for AR-15 — and AR-10 — rifles achieve accuracy that matches modern bolt-actions?
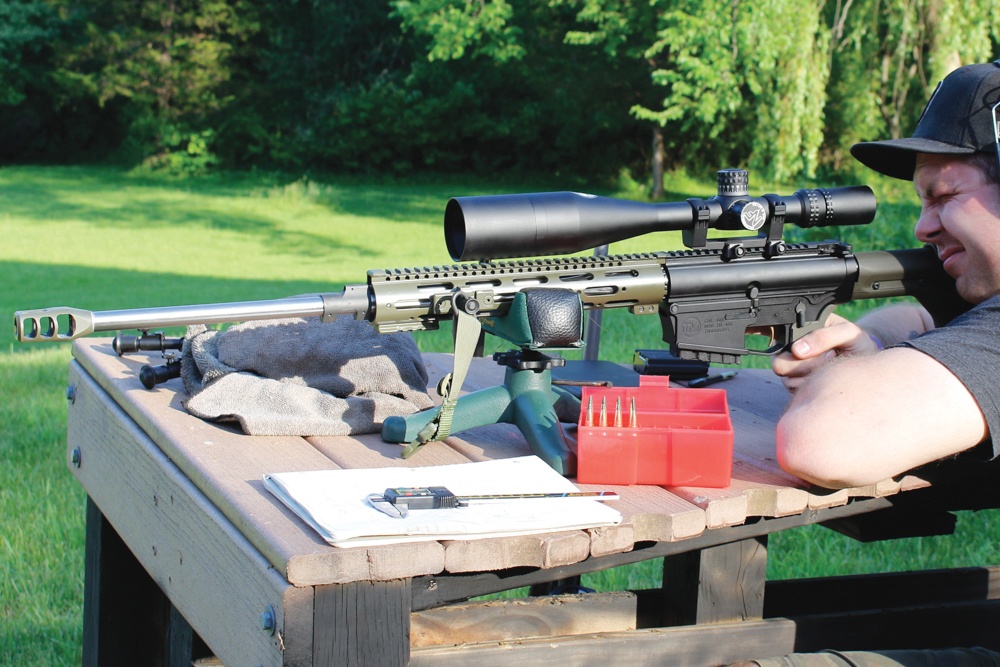
The AR is a platform that I have had a love/hate relationship with ever since I picked up my first one, many moons ago. Most of my reloading experience with the AR platform has been trying to find a load that’s accurate, uses components that are generally easy to obtain, cycles without fail, and uses bullets that I can seat deep enough so there is no fighting between the tip of the round and the wall of the magazine.
So, when Phil Massaro tasked me with the project of using .308 and .223-powered ARs to disprove the popular notion that AR-platform rifles aren’t as accurate as conventional rifles, I was extremely excited for the chance to develop a new load beyond my normal 3-Gun/plinking load that I’ve used for many years.
When it came time to pick my hardware for this project I knew I had the .223 end covered. With one phone call and a three-minute drive, I had my hands on a beautiful Rock River Arms rifle that had been outfitted with a full Krieger match-grade pipe, countless hours of stone work, and a trigger that breaks like an icicle.

Now all I needed was a .308. A quick call to a friend over at June Bug Customs and I had everything needed for the .308, including a beautiful, semi-heavy, 1:10 twist, 24-inch stainless steel barrel.
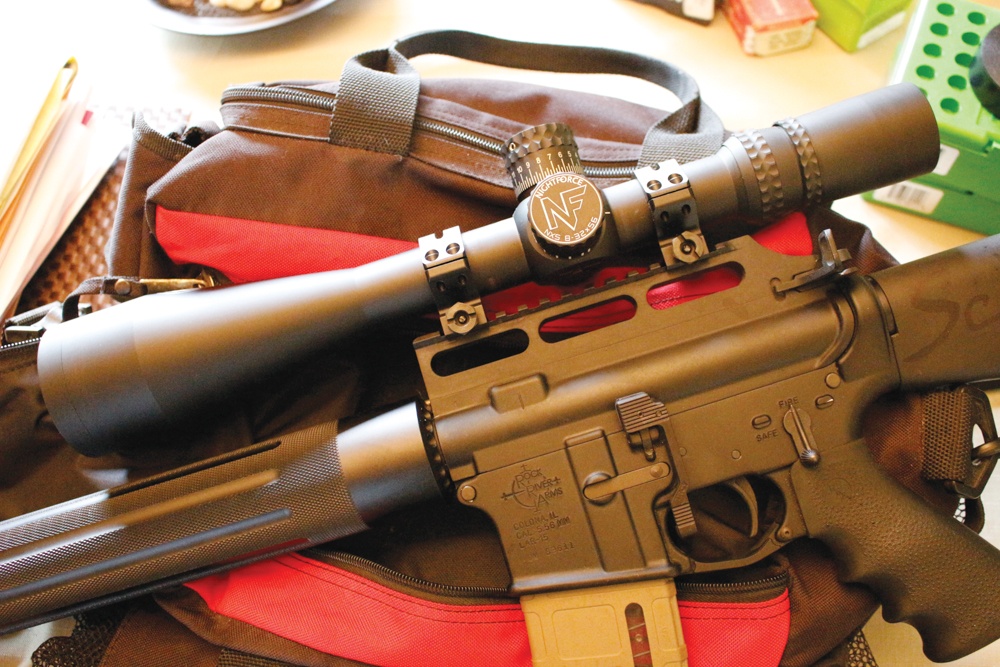
I decided to top these beautiful rifles with what I personally consider to be the top-of-the-line in rifle optics — Nightforce. The company provided a jaw-dropping NXS 5.5-22 X 50 for the .223 and a monstrous NXS 8-32 X 56 for the .308, both equipped with the MOART reticles.
When these scopes arrived, I bolted them up using the Nightforce 20 MOA one-piece ring and base. Having mounted countless scopes from every manufacture known to man, I must say that the Nightforce rings and bases are of the most unbelievable quality. Normally I acquire my scope and mounting solution and then the lapping begins, but with these Nightforce products lapping the rings would be an insult.
After getting the scopes mounted and adjusted to my eye it was time to take them outside and get a look at the MOART reticle. The clarity of this glass is not something I can describe accurately in words. It is stunning.
When I gathered my components, I kept reminding myself that I was going for accuracy while being able to retain reliability. In terms of the handloading process, I knew this was going to be a single-stage operation; that is, using a single-stage reloading press. When going for accuracy I personally prefer the single-stage method, as it allows me to walk my brass through each stage, keep a close eye on every process, and hand-check every step.
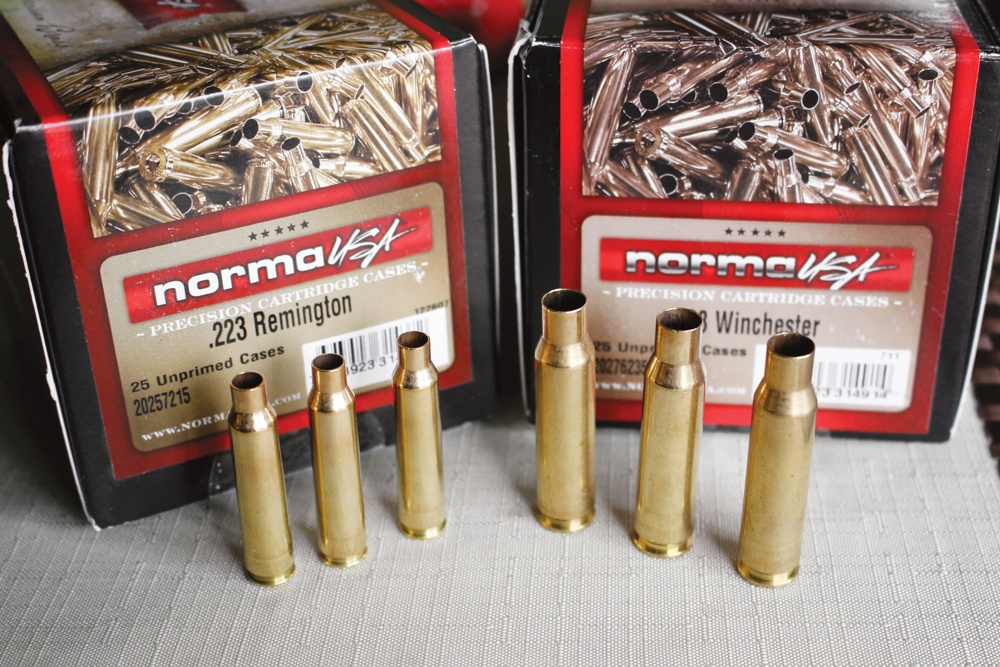
I chose a Forsters Co-Ax B3 single-stage press. After the press had been decided, it was time to choose my options for everything else. First off, was brass. I wanted something to hold everything together in a nice package, so I went with brand-new Norma .308 Winchester and .223 Winchester brass.
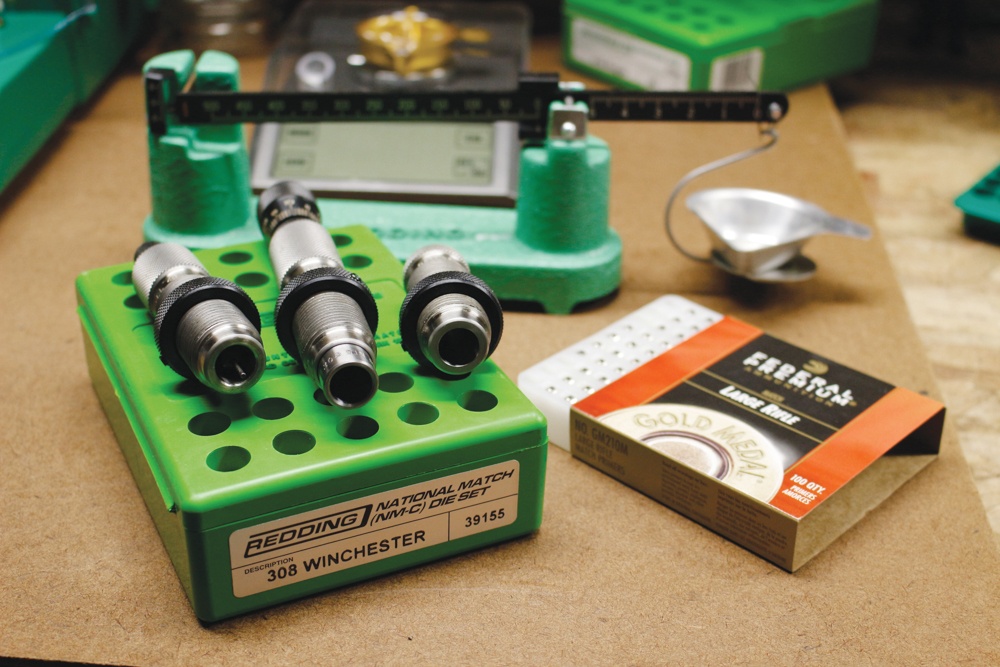
I figured that for what I was doing, 100 pieces of each would suffice. Next, I needed an ignition source. I’ve been a long-time fan of the Federal Gold Medal Match primers. Over the many years I’ve been using them, they have never given me anything but perfect performance.
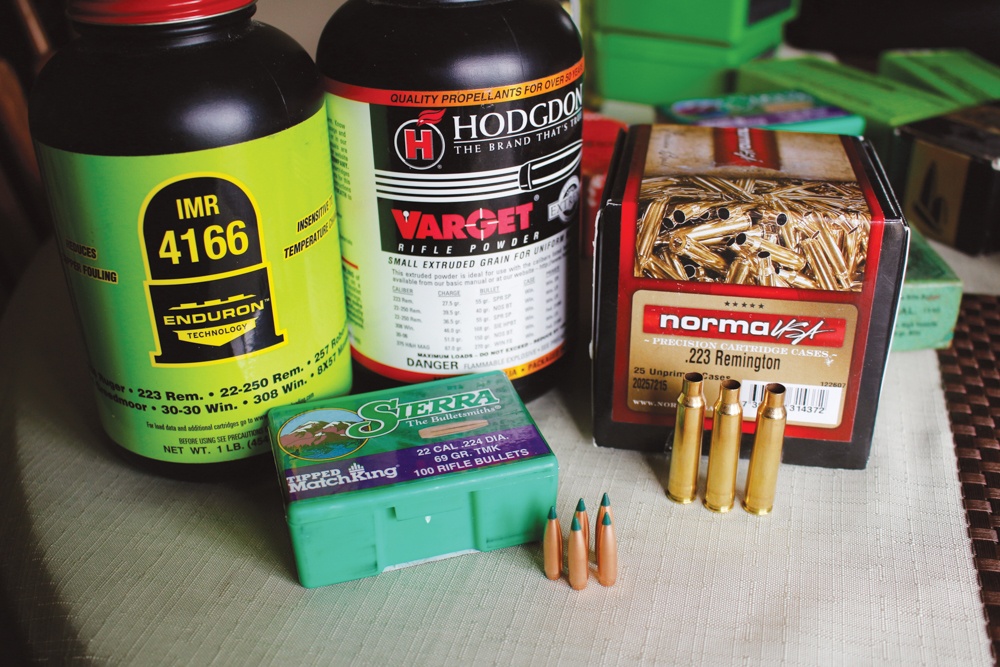
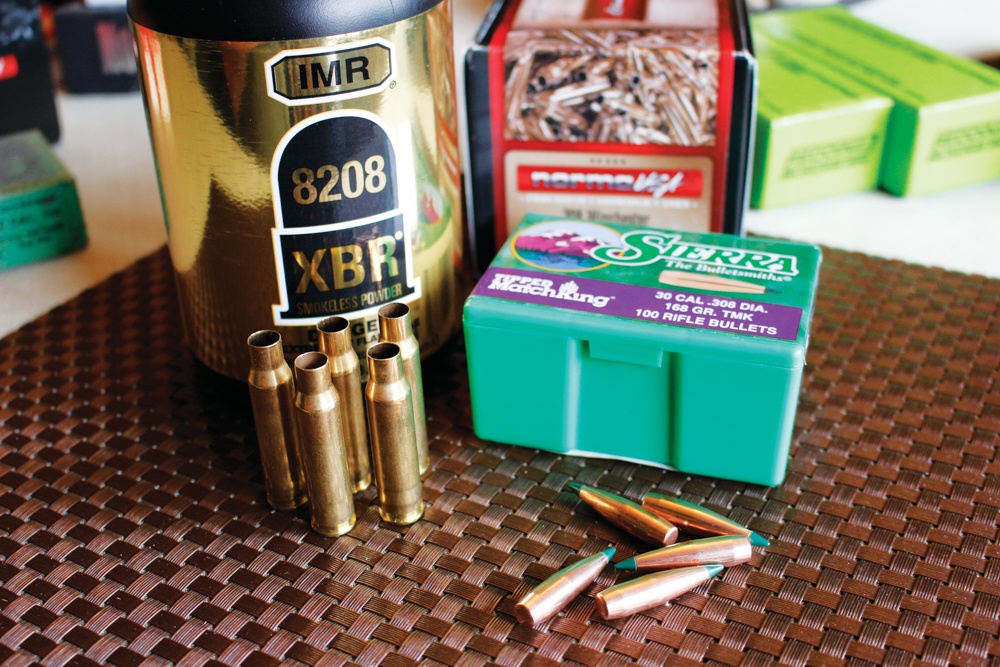
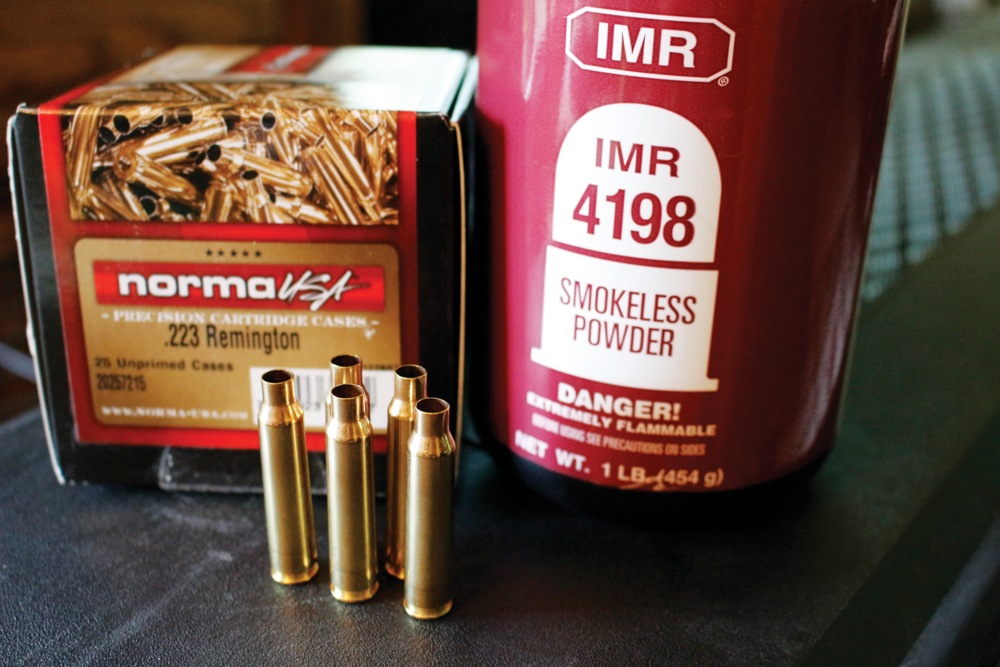
After that it was time to pick some powder. For the .308 I picked Accurate Arms LT-30, IMR XBR 8208, Hodgdon Varget, and the classic IMR 4064. For the .223 I grabbed cans of Reloder #7, Varget, IMR 4198, and X-terminator by RamShot. After settling on my choice of brass, powders, and primers it was time to pick the projectiles.
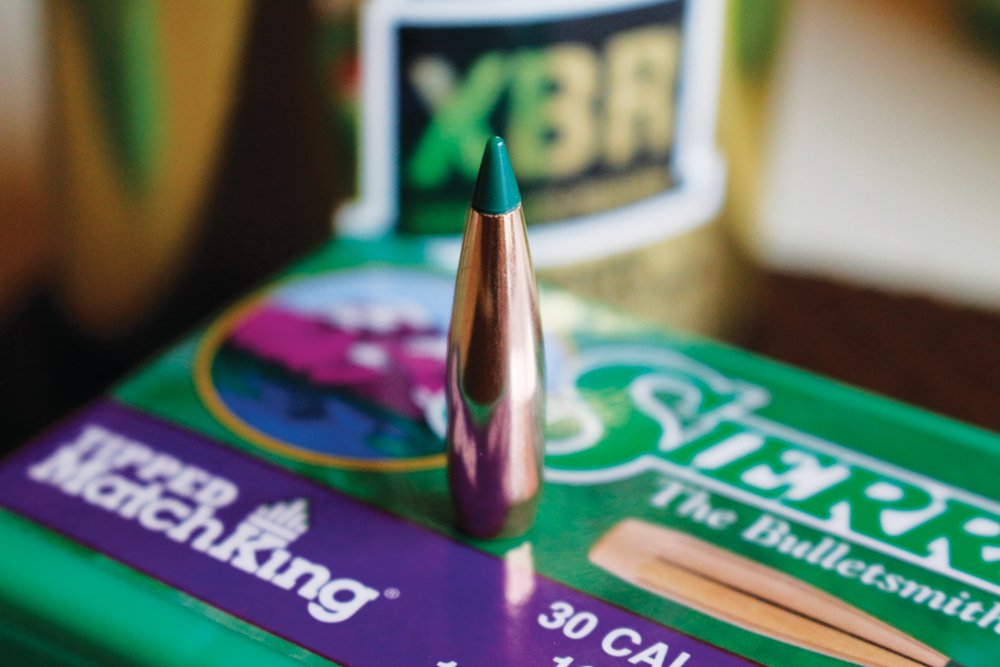
Since I had been tasked with delivering accuracy, I decided to grab a few boxes of my favorite target bullets, the Sierra MatchKing hollowpoint boat-tail. This has long been one of my favorites. I was also able to acquire a few boxes of the brand new Tipped Match Kings, as well as a box of Nosler Ballistic Tips that I have found to be flawless in performance.
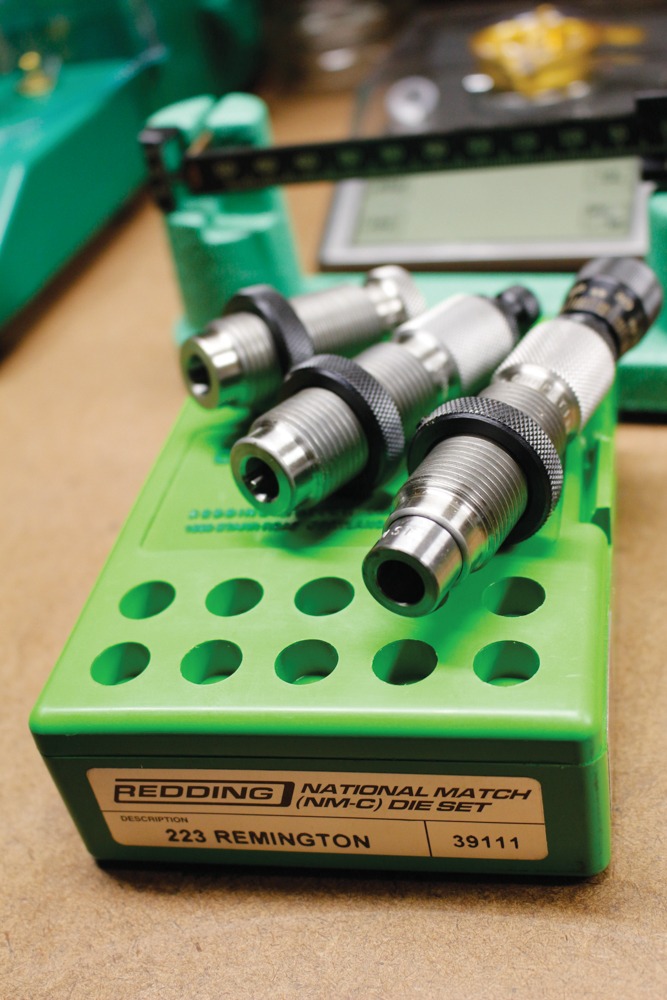
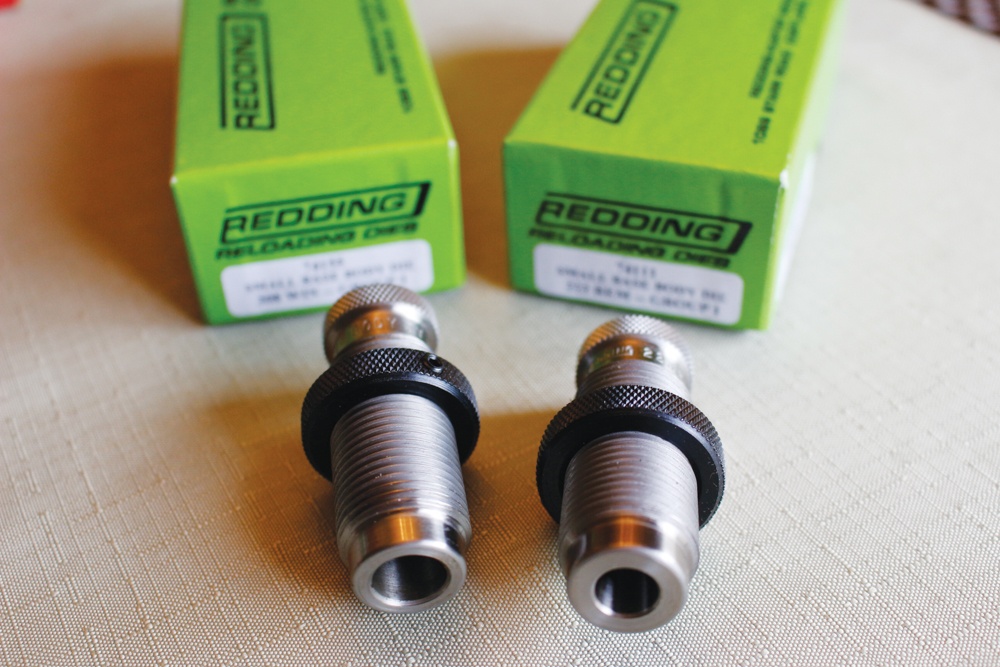
Finally, it was time to choose my dies. I tossed around a few ideas before deciding on Redding National Match dies in .223 and .308, with the added small-base sizing die included separately. Now that I had everything in front of me it was time to get to it.
 Reloading AR Cartridges for Accuracy
I decided to start with the .308. After referencing a number of different reloading manuals as well as measuring the length of the magazines I had on hand, I knew that my Cartridge Overall Length (C.O.L.) was going to be 2.800 across the board.
When I reload for accuracy I like to take all my components and lay them out, starting with the brass. I take my brass, and, one piece at a time, give it a good visual inspection before placing it into the loading block.
Once I’ve got my loading block filled up I begin my sizing process. First, I’ll take my tub of case wax and apply a little on my fingers. Next, as I grab each case to be sized, I rub the wax all over the case to ensure that it will enter and exit the die smoothly.
With the semi-automatic AR-style rifles I always use a small base sizing die as the first step. My reasoning for this is the rifles I am using — like most AR-style rifles — are a direct impingement system.
That means that as a round is fired gases from the explosion are recycled through the gas system to cycle the action, eject a spent casing, pick up a live round from the magazine, and chamber it.
After all my brass got the small base resizing it was time to run them through the full-length resizing die.
Finally, I had a full loading block of sized brass. Normally I would say this is where I trim all my brass, but as I looked in my reloading manual to acquire the trim-to length, I grabbed my digital calipers and started measuring. My trim-to length was 2.005. What I like to do is find a case in my lot that measures exactly 2.005 and set it aside. I refer to this casing as my “god case.” I’ll use it to set my case trimmer, set my die depth and height, and many other tasks.
What I found truly surprising when I started measuring was that every single case I measured was exactly 2.005 exactly.
At first, I was in disbelief. I asked my loading buddy to find me brass in this lot that did not measure 2.005. He was only able to find perhaps two pieces that measured either 2.006 or 2.004. I must tip my hat to Norma; well done, boys.
I then fired up my Lyman case prep station and began looking and feeling for burrs left from the manufacturing process. Again, and to my delight, the Norma brass came out of the box ready to deliver.
With minimal chamfering and de-burring and now with all my brass to the proper size, length, and dimensions it was time to prime. I grabbed a fresh box of Federal GM 210 M large rifle primers, which is Federal’s match-grade large rifle primer, tossed them into my Lee Auto Prime XR, and began priming my cases.
I was blown away how consistent the primer pockets of this brass were; they were tight but not too tight, and the pocket depth paired with the GM 210M primers was right on the money.
I like to seat my primers a few hairs under flush with the bottom of the case. After I had my cases fully prepped it was time to start charging them, so I grabbed a one-pound can of XBR and a load data sheet.
For load development I went with the simplest form of ladder testing. A number of published loads for XBR paired with a 168-grain MatchKing bullet showed a starting load of 33.2 grains and a max load of 43.2 grains. With this data in hand I fired up my RCBS Chargemaster 1500.
With my process of ladder testing what I do is draw a diagram in my bench notebook and start with the lowest charge weight. I’ll load five rounds at the start weight. In this case I started with 33.5 grains of XBR 8208. All five of these rounds will sit in row 1 of my ammo box.
From here I’ll step up my charge weights in .5-grain increments. In other words, row two consists of five rounds with a charge weight of 34.0 grains, and so on until I reach the maximum recommended weight.
If you do not use a reloading bench notebook I strongly recommend it. I refuse to reload without my notebooks. If asked any questions regarding my load data for any particular rifle or cartridge, I will not attempt to remember off the top of my head; only after referring to my notebook will I give such data.
With the single-stage nature of loading for these rifles, my RCBS Chargemaster 1500 was the obvious choice for me. For those who are not familiar with this extremely accurate, time-saving device, I highly recommend it. RCBS has taken a digital powder-dispensing system and paired it with a Chargemaster digital scale. You simply level the machine on a sturdy surface (I use a block of marble), calibrate it with the included weights, punch in your desired charge weight, press dispense, and away you go.
The scale and dispenser unit talk to each other until your desired weight has been reached, then the machine beeps and displays the actual charge weight as another check to insure you’ve reached your desired weight. It is a must-have for any single stage loader.
After getting all my cases charged it was finally time to break out the one die I had been drooling over since the beginning of this project, the Redding National Match Competition seating die. The micrometer adjustments were flawless, smooth and precise. The die uses a bushing system to seat the bullets, causing no deformity in the copper jackets.
I grabbed a box of .30-caliber 168-grain Tipped MatchKings, referenced as much published data as I could, and came up with a C.O.L. of 2.800. Setting my C.O.L. at 2.800 gave me enough room to be able to load in magazines and have them function properly. But what did worry me was not having much room to play with in the way of how far off the lands and grooves I was able to seat the bullet. Only time would tell if that adjustment was one that needed tinkering.
Seating the tipped 168-grain Sierra MatchKings was a dream, given the extremely high quality of the Redding dies coupled with the free-floating base plate of the Forster Co-Ax B3 press.
To Bullet Crimp Or Not To Bullet Crimp?
After getting all my bullets seated it was now time to consider bullet crimp. I’ve heard many schools of thought regarding crimping AR-style rifles, or even any semi-automatic rifle. What I do is make up a few extra rounds with no powder or primer in them, jot down my C.O.L., place two or three rounds into the magazine, then cycle the action as roughly as I can. I’ll then take those rounds and take measurements again to see if the violence of the action is pushing my bullets deeper into the case.
If I do notice my C.O.L. getting shorter I know there is not enough neck tension holding the projectile to keep it in place. If a crimp is needed, I’ll reset the test and apply the slightest crimp I possibly can, then re-test the rounds until my C.O.L. is the same going in as it is coming out.
Each rifle is different; some have military feed ramps and some do not. Some chambers are tighter than others. Always take some extra time to determine if a crimp is needed in your case.
One thing to keep in mind is how the feeding system in AR-style rifles works: the bolt pushes a round from the magazine into the feed ramps, the feed ramps then guide the round into the chamber. This is a very violent action and could potentially push your bullet too deep into the case, causing a catastrophic failure resulting in possible serious injury, death, and destruction of a very expensive set-up. After applying a wee bit of crimp to my rounds it was finally time to get behind this beautiful system.
Testing the Ammo
I first loaded a few mags of factory-loaded ammo to get the rifle on paper. Again, the Nightforce scope was an absolute dream to work with. All the adjustments on the turrets were flawless and of the utmost precision. If you dialed up an inch adjustment at 100 yards, an inch is exactly what you ended up with. When you take the .308 out past 100 yards and really let it stretch its legs the zero stop feature of the Nightforce allows you to transition between what you are zeroed at and whatever distance you care to dope to quickly, efficiently, and with precision.
The way I run my ladder test is, I will shoot from a bench with a rest on the front and rear of the rifle to take as much human error out of the equation as possible. I fire one round, then lock the bolt open to let it cool back down to ambient temperature. I find the ejected brass and inspect it for any signs of high pressure; then I take the round that the rifle chambered and measure it to ensure that my crimp and neck tension is holding the projectile in place properly.
Once the chamber and barrel have reached ambient temperature I’ll fire my second round, repeating the process until my string of five rounds has been fired. After that I’ll take a walk down to the target with calipers for my group measurements. After all my rounds have been fired I’ll sit and compile my data.
Using the same chart for my ladder test, I’ll write the group size in the corresponding row that already has the charge weight in it.
I was easily able to get five-shot groups under an inch at 100 yards at right around the 43.0-grain mark with the XBR powder.
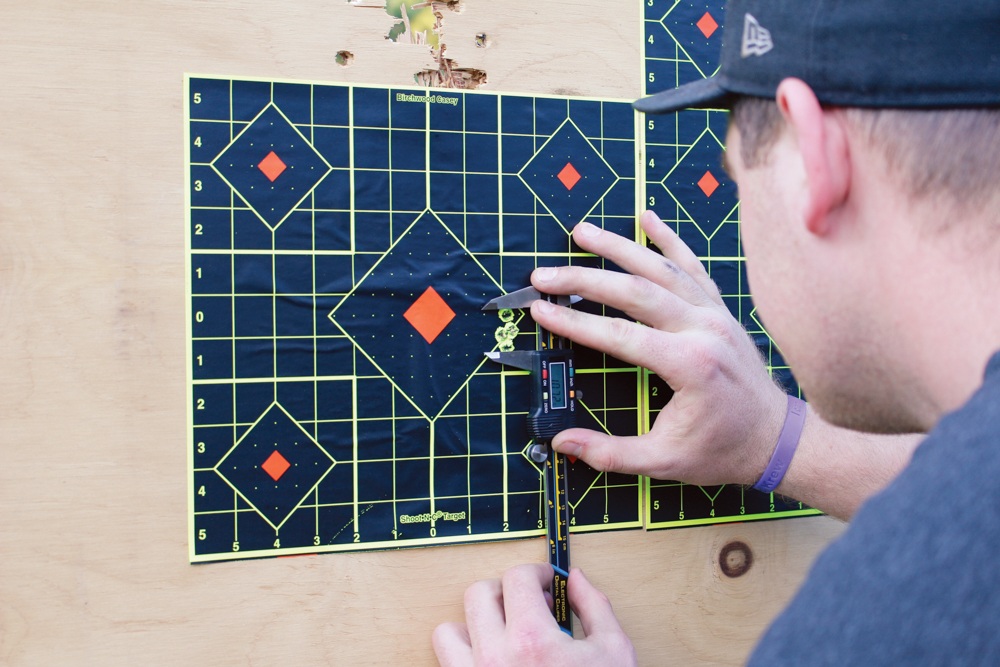
Throughout my XBR testing I found the closer I got to the max load, the tighter my groups were getting. I finally settled on using 43.0 grains of XBR. This load was consistently between .5 and 1.00 inch, cycled perfectly, and generally performed flawlessly. I also was able to find great accuracy with the other powders I tested but stuck with the XBR because I was happy with the results and it metered like a dream.
Now it was time to grab the .223 and basically duplicate the testing. For powder I grabbed cans of X-terminator, IMR 4198, and Reloder #7. After looking at bullets for a while and keeping in mind that I had to keep the C.O.L. less than the size of my magazine, and the fact that I was dealing with a tight Kreiger match chamber, I ended up grabbing a box of 40-grain Nosler Ballistic Tips and a box of 40-grain Sierra BlitzKings.
I found that both bullets delivered five-shot, one-hole groups at 100 yards.
At the end of my load development 23.5 grains of Reloder #7 was the magic number when it came to the Nosler Ballistic Tips, delivering group sizes of under a half-inch at 100 yards. When I switched to the 40-grain BlitzKings it was 22.5 grains of IMR 4198 that delivered very similar results.
What I recommend, if tighter grouping is what you’re after, is a second round of ladder testing. Let’s take our .308 load of 43.0 grains of XBR and go back to the loading bench. Using the same diagram as we did before, let’s load row 1 with 43.0 grains of XBR, row 2 with 43.1 grains, and row 3 at our max recommended charge of 43.2 grains.
What I also like to do in the second installment of ladder testing is go on both sides of the accuracy, so my 4th row will be 42.9 grains and 5th row of 42.8 grains. After that it’s back to the shooting bench and let the fun data collection process begin. This second round of ladder testing will help you fine tune your load to the rifle and conditions you shoot in.
Tips For Accurizing Military Brass For Reloading
One last thing I’d like to touch on when it comes to reloading for AR-style rifles is the endless ways to make cheap, accurate ammo for them. Military brass is some of the most available brass out there but does require a little extra attention to bring it up to spec.
Military brass comes with a crimp applied to the primer pocket, as well as primer glue applied; this is to ensure that water cannot enter the cartridge and that primers do not back out under fully automatic fire.
I’ve found that my loading buddies will normally just give away the brass they have acquired with the military crimp simply because they don’t know how to — or don’t want to — deal with it.
You can either cut the crimp from the primer pocket or you can swage the entire pocket back into spec. I’ve heard good and bad results about cutting the pocket, but after reviewing the data I decided to go with the swaging option. I called up Dillon and had them send me a primer pocket Super Swage 600. Let me tell you: this little device is a must have if you deal with large quantities of military-primed brass. It chews through casing after casing without so much as a flinch, and with a little extra work you now have reloadable brass.
One other thing to keep in mind with military brass is that case capacity is slightly different from that of non-military brass. Keep this in mind if you’ve got a load worked up for your rifle using store-purchased brass, but discover a nice cheap lot of military stuff.
Let’s use our load from the .223 testing of 23.5 grains of Reloder #7 as an example. Say we want to transfer that load to the pile of military brass we have. Keep in mind your max load, then load a string of five rounds at 23.5 grains, then in the following rows back your charge off .1 grains until you achieve the original accuracy.
As always practice safety with every step of reloading and never go above your skill level.
Editor’s Note: This excerpt is from Handloader’s Digest, 19th Edition available now at GunDigestStore.com
DISCLAIMER: Any and all loading data found in this article or book, including past or future editions, is to be taken as reference material only. The publishers, editors, authors, contributors, and their entities bear no responsibility for the use by others of the data included herein.
Next Step: Get your FREE Printable Target Pack
Enhance your shooting precision with our 62 MOA Targets, perfect for rifles and handguns. Crafted in collaboration with Storm Tactical for accuracy and versatility.
Subscribe to the Gun Digest email newsletter and get your downloadable target pack sent straight to your inbox. Stay updated with the latest firearms info in the industry.

![Best Concealed Carry Guns In 2025 [Field Tested] Wilson Combat EDC X9S 1](https://gundigest.com/wp-content/uploads/Wilson-Combat-EDC-X9S-1-324x160.jpg)


![Best 9mm Carbine: Affordable PCCs [Tested] Ruger Carbine Shooting](https://gundigest.com/wp-content/uploads/Ruger-Carbine-Shooting-100x70.jpg)
![Best AR-15: Top Options Available Today [Field Tested] Harrington and Richardson PSA XM177E2 feature](https://gundigest.com/wp-content/uploads/Harrington-and-Richardson-PSA-XM177E2-feature-100x70.jpg)
