At GunDigest, we independently review products. However, we may earn a commission when you purchase through links on our site. Learn More
Zero Problems When Zeroing Your Rifle
Zeroing your rifle is one of the most fundamental skills a shooter can have, yet many still lack the knowledge to do so.
A rifle that doesn’t hit to the sights isn’t of much use. I saw a lot of those as a gunsmith, and I spent a lot of my time handling that chore for customers. No, really: You’d be surprised how many hunters back then (and for all I know, today) buy a rifle, scope, mount and ammo, and ask, “Can you sight it in for me?” Sometimes, they even have detailed instructions for that outcome: “I want it 2 inches high at 200 yards.” (No idea why that was a common request, but it was. Someday, I’ll run the math and see what it gets you.)

So, once a week, leading up to Opening Day, I’d load up my pickup truck with guns to be sighted in and head off to the gun club. Zeroing a rifle (or shotgun or handgun) ends up being one of two processes, one of them easy and one of them hard.
The easy one? Checking something that was already sighted in and hadn’t been changed since then. A previously zeroed rifle that has been in the rack or gun safe since the end of last hunting season isn’t likely to have changed its zero. So, you just post a target (usually at 100 yards) and shoot as many rounds as it takes to determine to your satisfaction that it was still zeroed. For me, that was a grand total of three rounds.
The hard ones? Those where the scope has just been mounted. Or the owner says, “I don’t know where it’s hitting.” On those, posting a target at 100 yards was almost always a waste of time.
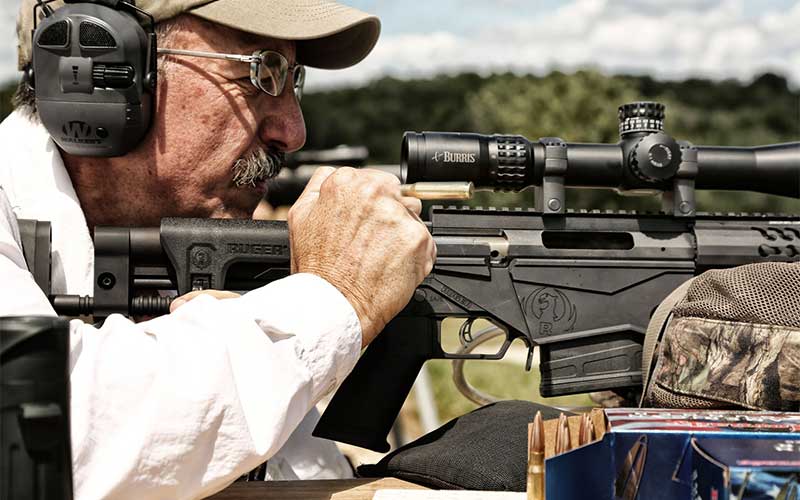
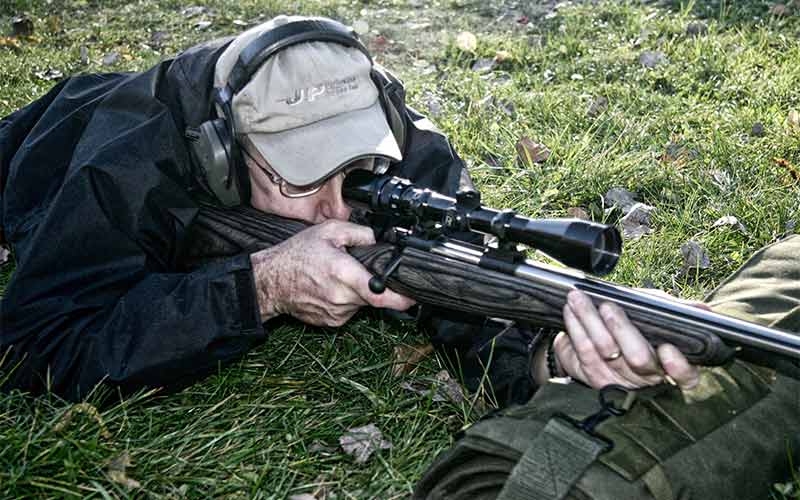
Before we get started, here’s a reminder: There’s no such thing as “offhand zero.” You don’t check the zero of a rifle standing, kneeling, sitting…and rarely even prone. Get a solid bench, use sandbags or a shooting support. Get the rifle as solid and unmoving as you can. Then, you can shoot.
There are two ways of dealing with this. Both are easy at some ranges and really tough at others, for different reasons.

The 25-Yard Approach
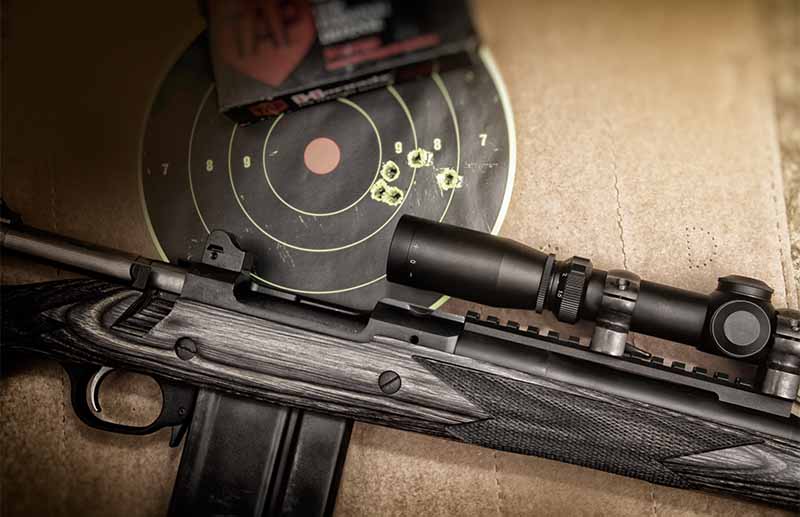
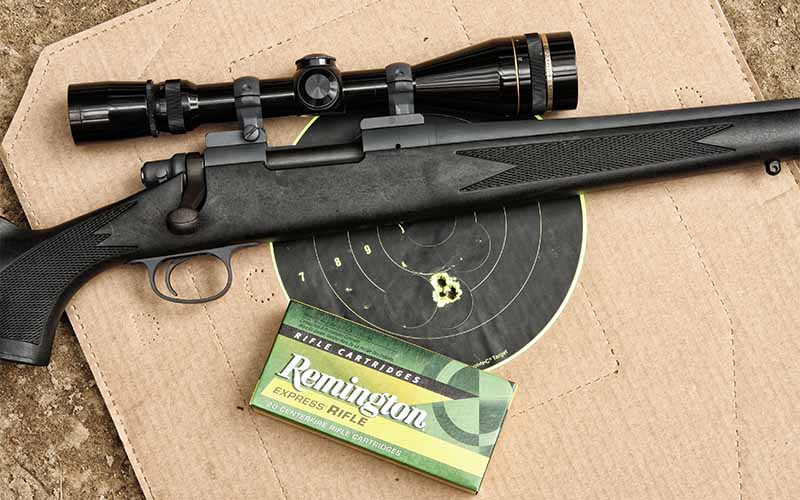
Post a target at 25 yards. Carefully shoot a group (three shots will do) and see where it’s hitting. Given a foot-square target, on a 2-, 3- or 4-foot square target holder, you’re going to get hits somewhere. Then, you crank the sights or scope around until you’re as close to your point of aim a 25-yard target can get you.
Quick tip: You probably want to be about an inch or so low at 25 yards, to be dead-on at 100.
Oh, and remember: The scope units of adjustment are predicated on a 100-yard distance. So, if your group is 1 inch from the point of aim at 25 yards, you have to crank in 4 inches of scope adjustment. If the scope instructions read “four clicks per inch,” that means 16 clicks. And don’t be bashful—don’t “sneak up on it.” If the group looks an inch off at 25 yards, give the scope the full 4 inches of correction for your 100-yard target testing.
Now, you can go out to 100 yards and do a final check.
When doesn’t this work? When the range setup or organization doesn’t permit a 25-yard rifle target check. If it’s 100 yards or nothing, then you have your work cut out for you.
The ‘Getting Dirty’ Method
The other method is what I called the “dirt splash” method.
First, I’d post a half-dozen targets at 100 yards and set up my spotting scope. I’d then set up my gear (and the pile of rifles) at the 100-yard firing line of my gun club, and as soon as shooting time rolled around in the morning, I’d get started. I’d pick a spot on the backstop (our club had a 60-foot backstop, with mature pine trees on top), and from a sandbagged shooting position, I’d fire a shot. I’d compare the hit to the aiming point and crank the scope over. If the next one obliterated the dirt clod, I’d then pick one of the targets and fire a shot.
From there, it was simple: Plot the hit, make a correction and fire another shot. I could, when things worked out, get a rifle on-center in three shots. If it took more, then I’d shoot more. When a target got too many hits on it to keep track (even plotting the hits on a chart on the shooting bench, it got messy), I’d switch to the next target. Each target was good for two, three or four rifles.
It’d take me a couple of hours to zero a truckload of rifles. I’d stack them back in their cases, in the truck, and get back to the shop to write them up and put them in the rack.
When doesn’t the dirt-splash method work? When the light or the condition of the dirt doesn’t let you see the splashes. Back before cheap digital video, this was sometimes a problem. Now, I’d just set up a camera, video the shot into the dirt and play it back. Sometimes, technology is wondrous. Sometimes.
Last-Resort Troubleshooting
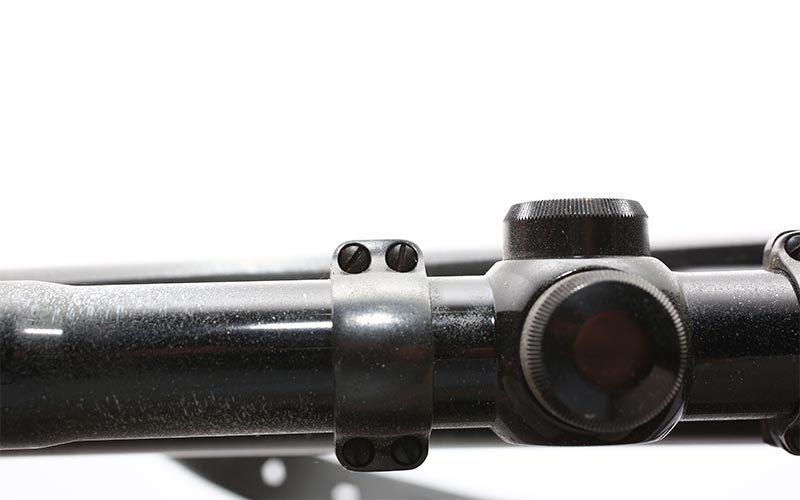
What if a rifle just won’t zero? There are a few reasons that are simple … and one that you don’t want to be telling people about. First, check the action screws. If it’s a bolt-action rifle, are the screws holding it in the stock all tight? If it’s a two-piece stock, is the stock tight and the forearm snug? Loose screws cause problems. Yes, obvious, I know, but you’d be surprised how many people don’t check.
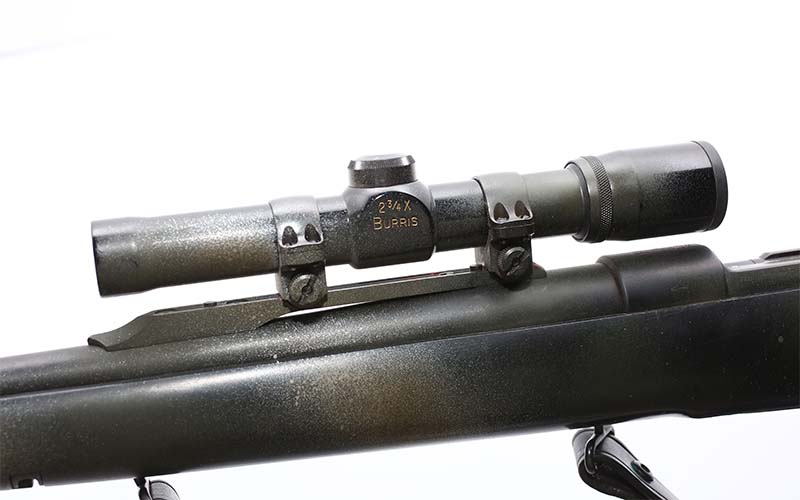
Next, check the scope mount and ring screws. Anything loose here causes problems.
I was at a gun writer event and took a few shots on a manufacturer’s .338 Lapua, at a steel plate in the next zip code. My third shot was high-right. “Hmm, I held center on that.” My spotter remarked, “It did the same thing, low-left, to me.” Yep, a loose scope base was the problem.
So, check those screws and make sure they’re tight. A busted scope? There’s nothing you can do about that but send it back to the manufacturer.

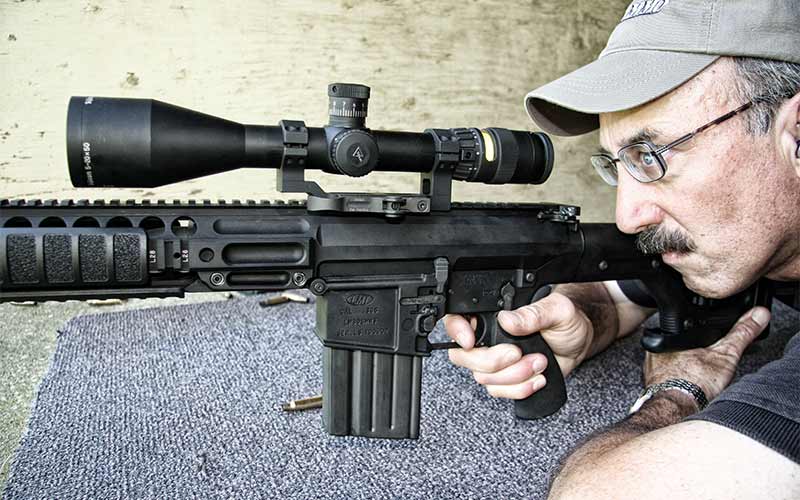
The last one is simple: wrong ammo. In an AR-15, putting “green tip” 62-grain ammo in a 1:12 twist rifle will get you keyholes at 25 yards and nothing on paper at 100. There are some rifles with too-slow twists, and if you aren’t careful, using a bullet that’s too heavy can cause problems.
But the classic instance I experienced was a customer who brought in his Marlin lever-action because “it won’t hit the target.” I checked it out, took it to the range, and printed three shots touching at 50 yards, on-center. He picked it up and, later that afternoon, came back saying, “Won’t hit the target.” I finally got around to asking about his ammo, and he produced an ancient box of .30-30 170-grain soft-points. That’s great deer ammo, but it’s not at all suited for a rifle chambered in .35 Remington. He had only ever known of lever-action rifles being chambered in .30-30 Winchester, so that was the ammo he bought for his new rifle. No wonder it wouldn’t hit the target. A .308-inch bullet going down a .358-inch bore isn’t going to receive much in the way of guidance or stabilization.
You Get to Define Accuracy
Oh, and how much is “enough” accuracy?” That depends. I had another customer who, by the 1980s, had gotten a deer each hunting season since the Eisenhower administration. His kids were embarrassed at how grubby his rifle was, and finally prevailed on his bringing it in for a cleaning and checkup.
It was a worn-to-white-steel Winchester 94 rifle in .32 Special. I scrubbed it up, checked the bore and, just out of curiosity, took it to the range. That rifle shot 8- to 10-inch groups at 100 yards. When he picked it up, I mentioned that I had range-tested it. “You didn’t change my sights, did you?” Nope. But how did he get a deer each year with accuracy like that. “I neck-shoot them in the swamps” was his reply.
Well, 8 to 10 inches at 100 yards doesn’t seem like much, but if you’re ghosting in the swamp and shoot a deer at 50 feet, you have plenty of accuracy. The man was a hunter, not a rifleman.
So, when you’re fussing over your zero, trying to get the last half-inch of precision at 100 yards, keep in mind that the “A” zone of a whitetail is about the size of a basketball. If you can keep your shot within 3 or 4 inches of your point of aim, you’re going to get the job done. Well, the shooting part. Then, there’s the tracking, tagging, cleaning and hauling.
Once your rifle is zeroed, the rest, of course, is on you.
Editor’s Note: This article originally appeared in the September 2021 issue of Gun Digest the Magazine.
Get More Information On Sights:
- Open Your Eyes! Red-Dot Sights Are Superior
- Open Sights 101: Upgrades, Adjustments and Uses
- Shedding Light On Laser Sights
- How-To: Adjust Iron Sights On Fixed-Sight Pistols And Revolvers
- Concealed Carry Sights: Which Are Best For Your Gun?
Next Step: Get your FREE Printable Target Pack


Enhance your shooting precision with our 62 MOA Targets, perfect for rifles and handguns. Crafted in collaboration with Storm Tactical for accuracy and versatility.
Subscribe to the Gun Digest email newsletter and get your downloadable target pack sent straight to your inbox. Stay updated with the latest firearms info in the industry.
