At GunDigest, we independently review products. However, we may earn a commission when you purchase through links on our site. Learn More
What Are Your Options For AR Optics?
There are a lot of choices out there when it comes to AR optics. Make sure you choose the right one for your rifle’s intended purpose.
What are your basic choices when it comes to AR optics?
Today, it’s rare to see an AR without some type of optic on it, but it wasn’t always this way. I remember attending training classes where one guy might have some type of scope on his AR — in the “old” days there were only a couple of options for attaching optics to the AR. Now, it’s considered almost primitive — like bow-and-arrow-type technology — if you don’t have some kind of optic on your AR.
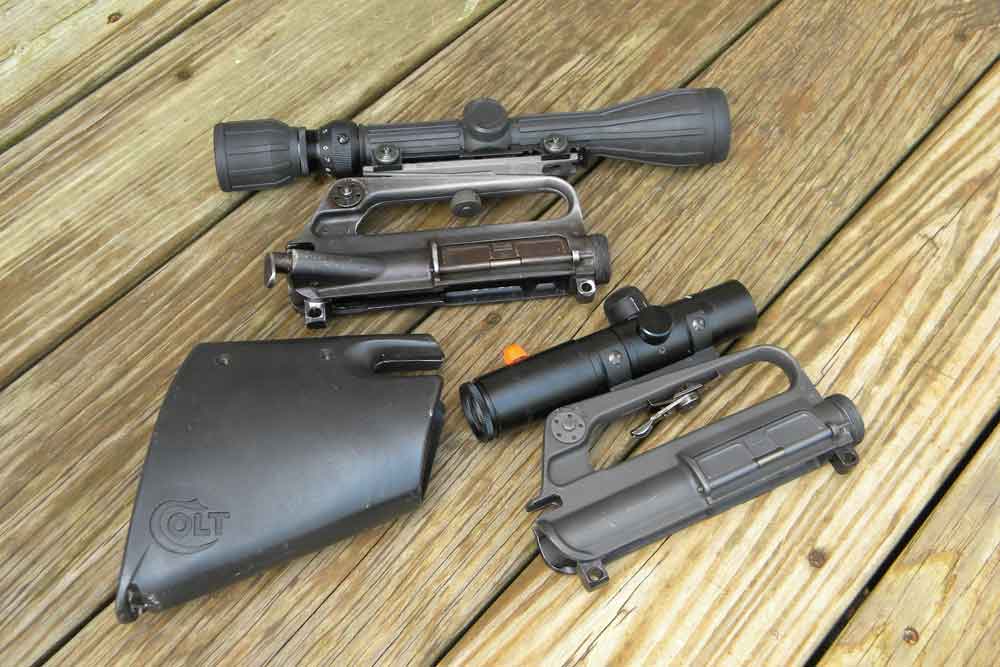
From the very beginning, in an effort to make the AR more versatile, mounting optics was a priority. Colt experimented with “flat-top” uppers in the early days, although they weren’t readily available, especially to the public. Back in the ’80s when I looked into scopes for my first AR, there was the “Delta” scope, a Tasco 3-9x variable power optic and smaller fixed-power scopes with three- or four-power magnification.

Both style scopes mounted to the carry handle of the AR, so your eye had to be about 4 inches above the stock. To create a proper cheekweld on the stock you used a clamshell that bolted around the stock that provided a higher comb (it has a cutout in it for the charging handle). Both of these scopes worked well, but neither really “fit” the AR and its applications.
The first flat-tops I ever saw were handmade. Guys cut the carry handle off the receiver, and then they bolted a section of rail onto the receiver. In 1994, the U.S. military adopted the M4 carbine with a flat-top upper. You can attach a carry handle to it, but it was built to allow you to mount almost any type of optic to the AR. In 1997, Colt introduced its first “accurized” AR with a flat-top receiver. I purchased one of these upper assemblies, stripped it down and used the flat-top receiver on my carbine. Eventually flat-tops became “standard,” and a host of AR optics designed specifically for the rifle became available.
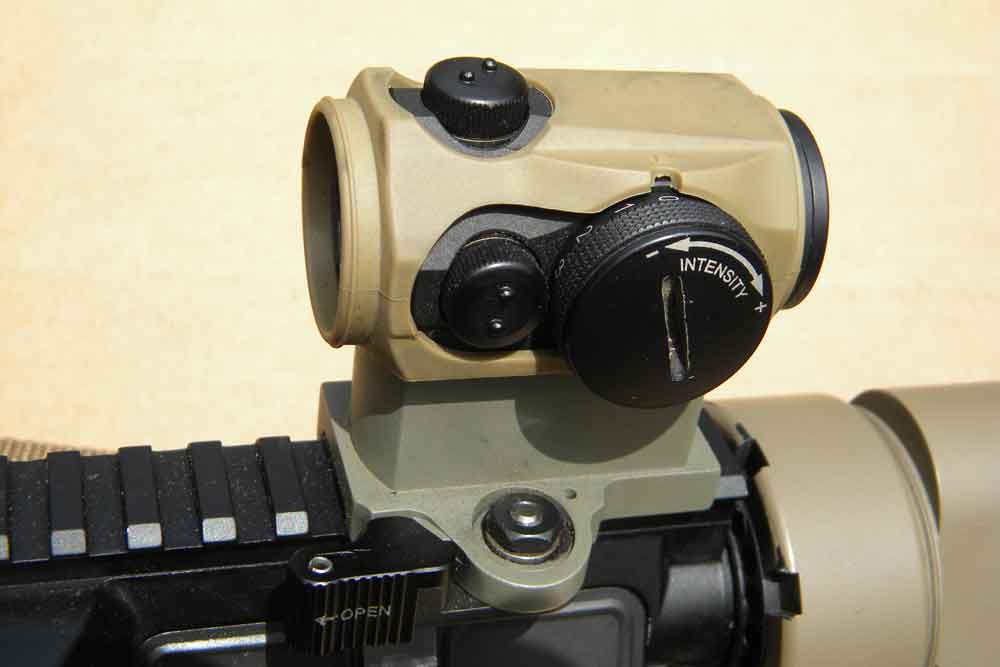
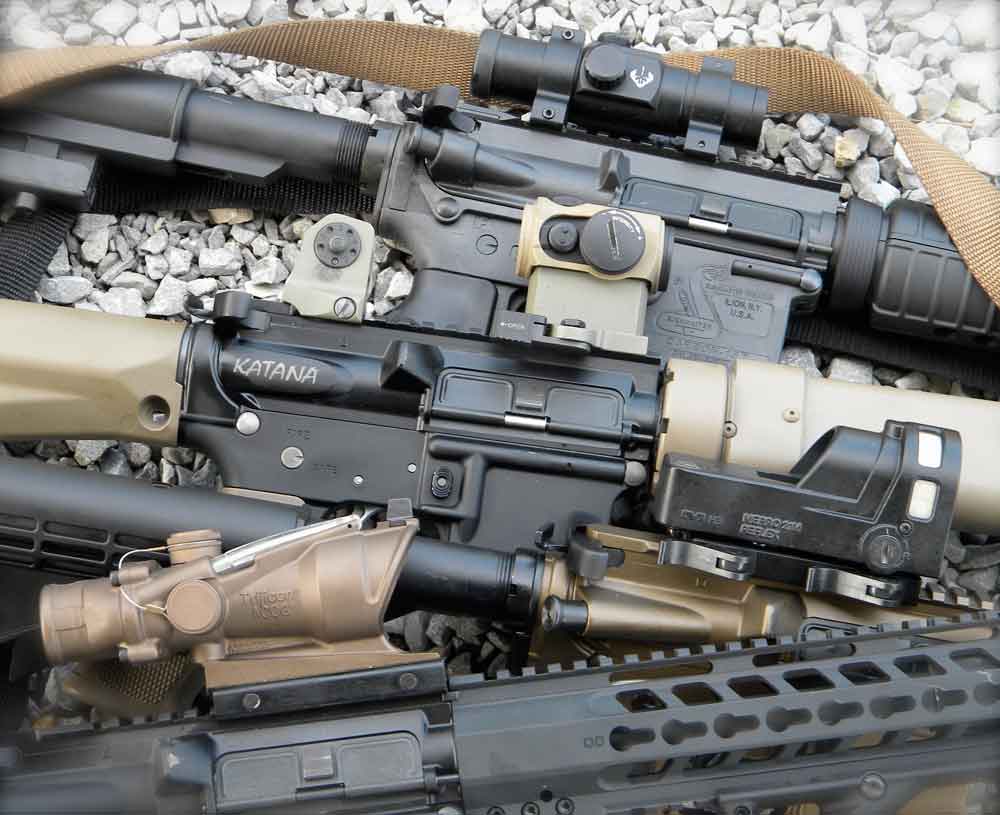
The most popular AR optics are red-dots. These sights use a couple different methods to create a red dot or point of aim inside the optic. They’re quick to acquire, easy to use and almost parallax free. Aimpoint was the first to offer this type scope in 1975, and today there are dozens of companies offering red-dots.
Red-dots are extremely simple. Once zeroed, you focus on the target, place the dot where you want the bullet to hit — compensating for distance and windage — and press the trigger. They work great at close range and are accurate enough for mid-range work, too.
There are a variety of methods to mount the red-dot. One of the major differences is choosing between what’s called “1/3” or “½” co-witness. The 1/3 setup positions the optic a little higher above the bore. The backup sights will be in the bottom 1/3 of the red dot’s window. If the dot fails or stops working, you simply lower your cheekweld slightly to acquire the irons.
The ½ co-witness mounts the optic slightly lower, with the red-dot and iron sights lined up. With your eye centered while looking through the optic, the dot and the mechanical sights are aligned. If the dot stops working, there’s no movement required to get the iron sights lined up in front of your eye.
Even if you have an older AR with a carry handle, you can still attach a red-dot by using a “dog-leg” mount. This mount attaches at the carry handle and extends forward, dropping down over the carry handle. This mount locates the red-dot in a “scout,” or forward-mounted location. Holes in the mount allow you to still use the iron sights.
Make sure when zeroing your red-dot that the bullets are hitting in the center of the dot. The most common dot sizes are 2- and 3- or 4-MOA dots, which means at 100 yards the dot appears to be 2, 3 or 4 inches in size. A 2-minute dot covers 2 inches of target at 100 yards, 4 inches of target at 200 yards and 6 inches at 300 yards. If the bullets are actually hitting on the left side of the dot as opposed to the center, this can be the difference between a hit and a miss at extended ranges.
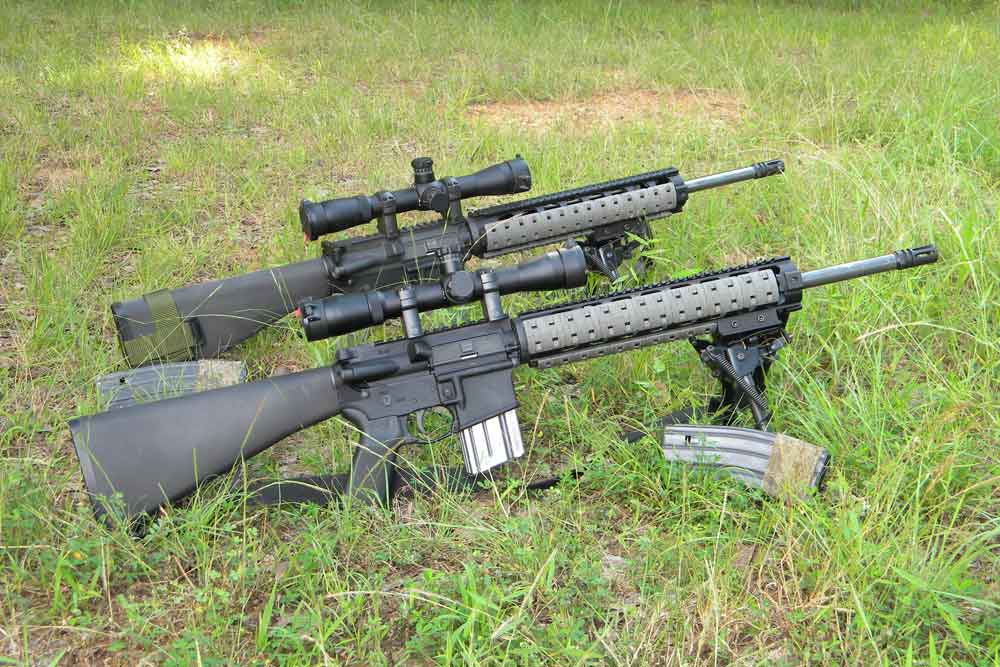
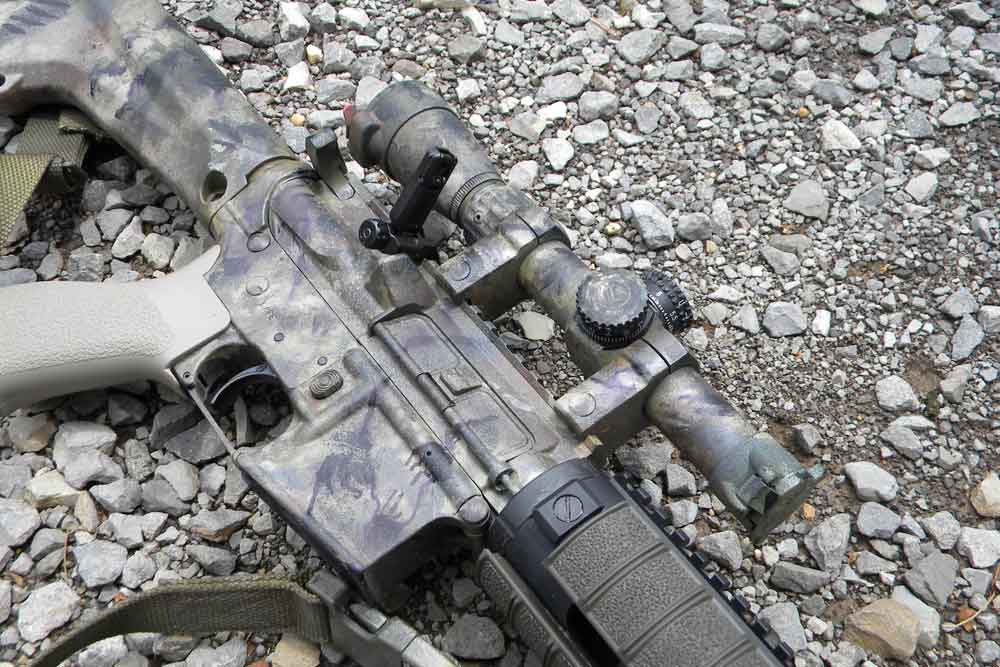
The flat-top receiver also allows you to attach a traditional magnified riflescope. Because the carry handle has been removed, the scope mounts lower and there’s normally no need to increase the comb of the stock.
A lot of the magnified optics now have pre-calculated reticles, with hash marks calculated for various bullet weights and distances. After establishing the initial zero, you simply hold on the reticle for that distance, calculate for the wind and you’re good to go.
Normally a variable-power, traditional-type optic will extend farther back on the receiver for proper eye relief. The scope is now over the charging handle, so you’ll likely need a charging handle with extended and ambidextrous latches. I highly recommend Mech Armor’s TacOps-1 charging handle. It has extended ambidextrous latches, which allow you to cycle from either side — important when working from various positions — and is almost unbreakable.
There are also scopes set up as a two-power optic, sort of a high and low — with no in between. For example, Elcan’s SpecterDR is a 1x and 4x power scope. It has a lever that you flip to switch from one setting to the other. This lets you work with one-power red-dot mode for a wide field of view and rapidly acquiring the target. And, unlike traditional adjustable scopes, the eye relief — the distance between your eye and the rear objective — is the same for both 1x and 4x power. The bad news is that these scopes start at about $1,400 and go up from there.
A good quality, affordable option is Leupold’s Mark AR MOD 1 1.5-4x scope. This is a variable-power scope with a minimum magnification of 1.5x and a green dot. On low power, you can use it with both eyes open just like a red-dot, similar to the Scout Rifle scope. Twist the adjusting ring and you work up to 4x, plenty of magnification for mid-range shooting. These scopes are great for self-defense, hunting and patrol work.
One of the cool things Leupold does now is offer “customized” factory optics. You can order your scope with it set up just for you, with custom knobs, reticles and other features.
With a traditional optic, you’ll need rings to attach it to the upper receiver. They need to be the proper height to ensure the scope and receiver clearance is correct, but not too high. Having the right mount is also important in order to get the correct eye relief.
Ultimately, what you’re wanting is to come up on target, hitting your cheekweld on the stock and have perfect sight alignment. Properly set up, you shouldn’t have to move your head and eyes for a clear sight picture.
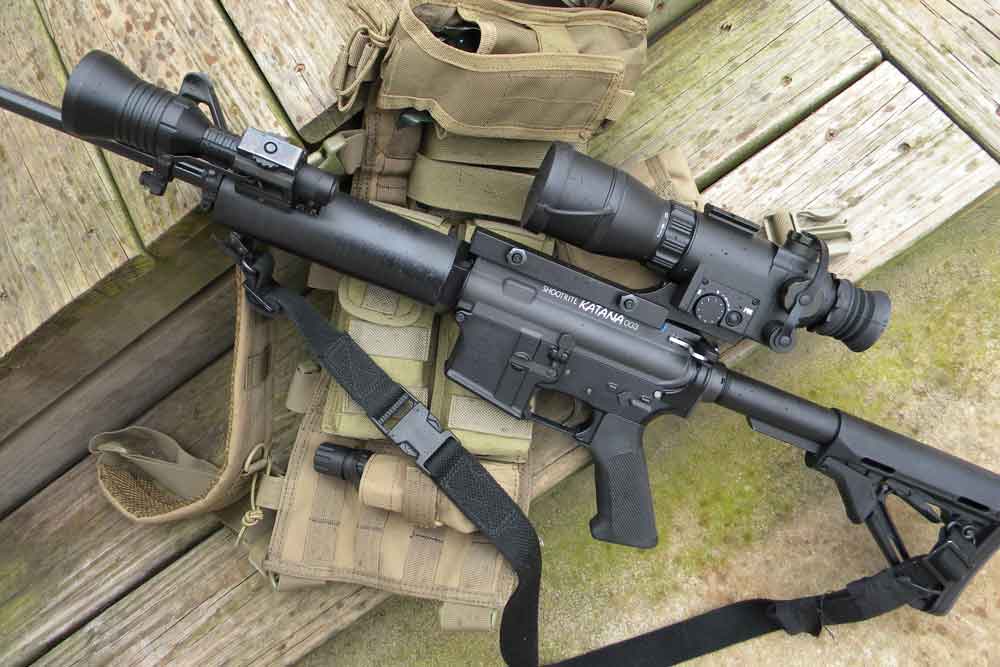
In the past, night vision optics were expensive. Today you have affordable options. Traditional night vision scopes magnify existing ambient light, allowing you to see in the dark. You can get dedicated night vision scopes or units that mount in behind your red-dot optic. Prices start around $400 and go up. The more affordable ones are larger and often use older technology. More money buys a smaller package and better technology.
Night vision scopes work well; they allow you to see what’s in the environment. But, everything appears in differing ranges or shades of the same color, making it difficult to locate or identify something not moving. The hot ticket, which costs a little more, is a thermal scope. Thermals pick up on heat, and the hotter something is, the brighter it appears. This makes it easy to pickup targets, especially if they’re hotter than the surrounding environment.
A quick search on the internet shows prices starting about $1,500 and going up from there. Once you determine what you need, it’s likely you’ll be spending a few thousand for a high-quality thermal scope. But, if you’re working in the dark, this is your best option to be able to “see.”
Just like traditional optics, night vision scopes are available with different reticles, allowing you to choose what works best for you and the application. Some allow you to flip between reticles, using a knob or button to cycle through different choices. And, just like traditional scopes, units with graduated reticles are available, which means once you’ve determined the distance, it’s easy to use that hash mark to compensate for trajectory.
A lot of the night vision and thermal riflescopes can be used for double duty. Yes, obviously you mount them on the AR, but they can also be used as a monocular or spotting scope. Most of these units come with quick-release mounts, and as long as it’s a high-quality product, you’ll be able to take it off and put it back on the AR without losing your zero.
So, you’ve researched, studied and found the right AR optics for you. The scope is mounted, zeroed and ready to go. But there’s still one more thing to think about: back-up sights. If your optic stops working, regardless of why, you’ll need back-up sights to fall back on. (This might not be a requirement for target shooting. For hunting, competing or defensive/combative use, they are mandatory.)
On my AR carbines with red-dot sights, I use two types of back-up sights. The rear sight is attached to the rear receiver, behind the red-dot. I use either Daniel Defense’s A1.5 sight, which is a fixed sight, or Magpul’s MBUS sights, which can be folded down and flipped up when needed.
I prefer to keep them up all the time so they are ready for use. If you keep them down, practice flipping them up, especially from different positions such as sitting, kneeling and prone. Up front, I use a standard AR front sight base attached to the barrel or the Magpul front sight attached to a rail.
Some AR optics feature back-up sights built into the top of the scope body. They have a very short sight radius — the distance between the front and rear sight — so you won’t get surgical accuracy out of them, but they will allow you to get combat effective hits. Other optics are designed so you can attach a small red-dot on top of them. For example, there are mounts that allow you to attach sights like Trijicon’s RMR (Ruggedized Miniature Reflex) red-dot sight on top of your primary optic.
With a traditional magnified optic, you will require offset back-up sights. These sights, for example Magpul’s MBUS Pro Offset sights, come with a mount that doglegs off your rails, positioning the sights at a 45-degree angle to the primary optic. For a right-handed shooter, the back-up sights would be on the right side of the AR. If your primary sighting system stops working, you flip up the back-up sights, roll or cant the top of the AR inboard, and continue getting hits.
Selecting AR optics is all about application. What are you going to use it for? For target shooting at long distances, you’ll need one type of scope. For self-defense or law enforcement/patrol work, you’re looking at a different set of needs. There’s no one perfect option to do everything you want or need, but there are some excellent choices that fit the middle pretty well.

Once you’ve decided on what style “glass” you need, it’s time to research and study in order to determine exactly which specific model will suit your needs. The right AR optics will likely be a healthy investment, so take time to make sure you get things right.
Be sure to buy quality components for mounting optics. It’s a real shame to see a great rifle and good optics fail because the mounts didn’t hold up or provide the same zero after taking the scope off and installing it again.
Think real hard about what you plan to do with your AR. Research and study to determine the optics you need. Buy high-quality parts and any accessories that might be required. Get a good zero, and then shoot under all different conditions to determine what you and the scope can do. Remember: high-quality equipment is good, but it’s no substitute for the fundamentals of marksmanship. Finally, practice a lot, until you can acquire the target quickly and make good hits efficiently and with regularity.
Editor’s Note: This article is an excerpt from the August 2017 issue of Gun Digest the Magazine.
Next Step: Get your FREE Printable Target Pack


Enhance your shooting precision with our 62 MOA Targets, perfect for rifles and handguns. Crafted in collaboration with Storm Tactical for accuracy and versatility.
Subscribe to the Gun Digest email newsletter and get your downloadable target pack sent straight to your inbox. Stay updated with the latest firearms info in the industry.
