


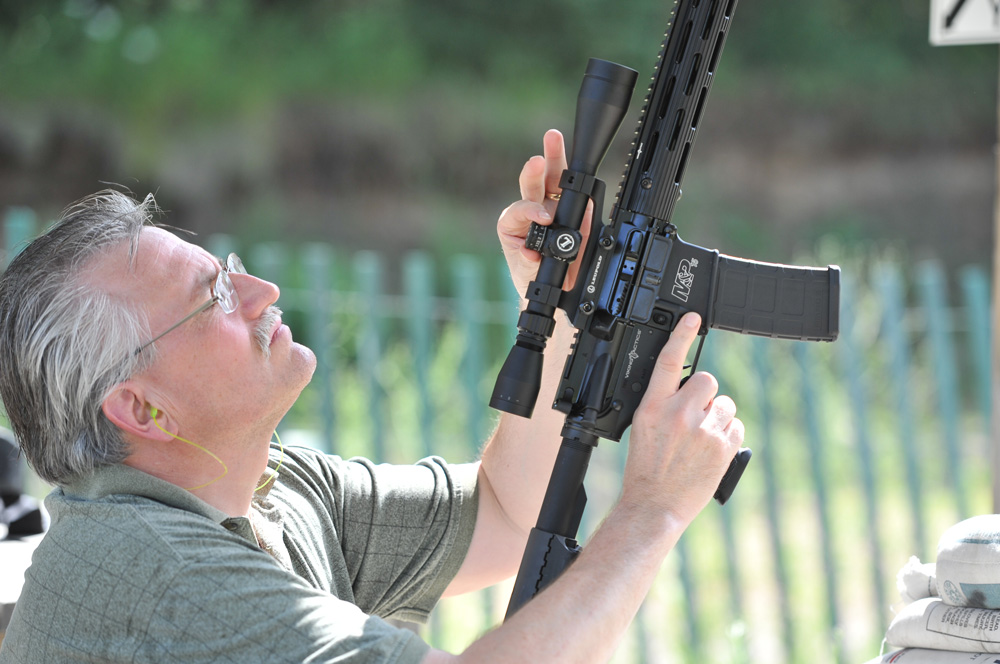
Every rifle Patrick Sweeney owns has had the following things checked and, if need-be, tended to. It just so happens that winter is the ideal time for these easy AR-15 DIY projects.
Chamber check for 5.56 leade, with M-guns gauge. If not 5.56, it gets M-guns 5.56 reamed. (I long ago gave up checking headspace, as the problem has not been a problem for so long, it wasn’t worth the effort. Someday that will “bite” me, but until then….)
AR-15 rifles with .223 Remington leades have caused more problems than anything else with the exception of the next step.
The only barrels not to be reamed are those which have been treated to the Melonite process. This makes the steel surface so hard it will take the edge off the leade reamer. The carrier key is staked, double-staked, and if I thought it would help and still had the tools, I’d tack-weld the thing on.
Gas blow-by from the carrier key is the cause of many other problems, problems that have in the past been erroneously attributed to other sources.
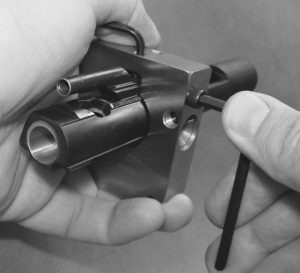
This calls for use of the MOACKS (carrier key staking tool), after disassembling, cleaning and then applying Loctite.
If the stock is a fixed stock, A1 or A2, I make sure it is tight. The A1/A2 gets the screw removed and checked. If it has a nylon locking section, great. If it has a smear of blue Loctite, fine. If not, I use blue and tighten it down.

If it is a tele-stock, I make sure everything is tight and aligned, and I then stake the castle nut.
I take off the pistol grip, remove the spring that activates the selector plunger, and apply a small wedge/diamond of masking tape to it. I then jam the spring back down into the pistol grip, tape end first. The tape makes sure the spring doesn’t fall out when next I disassemble the pistol grip.
I do all the inspections I’ve described, to make sure all the parts are there, tight, straight, and properly secured. I then paint-in the various parts that might try to move, such as BUIS, and then I’m done.
Well, done until the next round of experimentation, adjustment, trying new gear, etc.
This article is an excerpt from Gunsmithing the AR-15, Vol. 2.
Looking for More DIY Tips?
DIY (Do-It-Yourself) Month at GunDigestStore.com!

- Resources for upgrading and maintaining your rifles, shotguns and handguns
- Learn AR-15 troubleshooting
- Take your handguns to the next level. And do it yourself! Learn more


")
")
")
")
Thank you for sharing that if the gun stock is a fixed stock, you have to make sure that it is tightly attached, and to be sure, yoo can remove it and check if it is tight enough. I think most of the problem with the guns when not checked property is the loose stock, and it is just nice to know that you can do upgrades to AR-15 firearms yourself. My father has had a considerable interest in guns since I was small, and I always learn about this stuff whenever he researches upgrades and reads about different kinds of guns like the one he owns, the AR-15 mentioned in your article. https://shoot-on.com/gun-diy-upgrades